Archive | April, 2014

Oatmeal Chocolate No-Bake Cookies

15 Apr

Before I jump into this post about cookies that will knock your socks off…wanted to hint that we’re getting VERY close to another giveaway post. I’ll provide all of the details in my 60th post so everyone is aware of what’s IN said giveaway of treats and what level of excitement they should have (aka high excitement or HIGH EXCITEMENT). Being eligible to win the giveaway box o’ treats is super simple, you just need to be a follower of the blog. That means, you clicked the button in the upper right of the homepage to “follow”, confirmed you’re “following” via the email notification you received and now get lovely emails each time I post. I think it would be great fun to have two winners this time around, so your chances to win are even better than last time!

So if you’re not already a follower of the blog but you enjoy getting baked goods in the mail and enjoy the occasional blog post from me, now is time to make things official.

More details to come in my next post!

Enough with giveaways, let’s get to the baked goods…

IMG_4567

Ok, so I’m on this no-bake treats kick. Not sure where that came from but no complaints as I’ve discovered a plethora of tasty and SUPER easy recipes to share with you all that you can make in a snap. This particular awesome recipe is one that I think most everyone has had at some point. You may have had one at a past potluck, your 3rd grade classmate’s birthday treat, your coworker brought them in as they’re expecting a baby, I don’t know. (I had my first in Girl Scouts in Elementary School and they were called “monkey poop”…how appetizing)

Regardless, I bet some $ that you’ve had some form of this cookie before and now you shall know how to make it.

This recipe is from my soon-to-be Mother in Law (81 days to go until that’s official…not counting down or anything…) and I cannot articulate to you more clearly than to say that these are GOOD and SO addicting. I had coworkers who ate >5 because once they had their first, they couldn’t stop.

This is your forewarning. You can’t have just one. I don’t know if it’s physically possible. (Nor, do I think it’s that fun to have one and be done. C’mon!) What is it about oatmeal, chocolate and peanut butter that is so hard to resist?! As you recall with my other recent post on a very similar yet very different recipe (no coconut or additional nuts/dried fruit additions in these cookies) for no-bake bars, those are also hard to stop consuming. Ah well, we only live once right?!

So, hold on to your socks as we go through the super simple process of making one of the greatest cookies to grace our world.

Ingredients:

  • 2 cups sugar
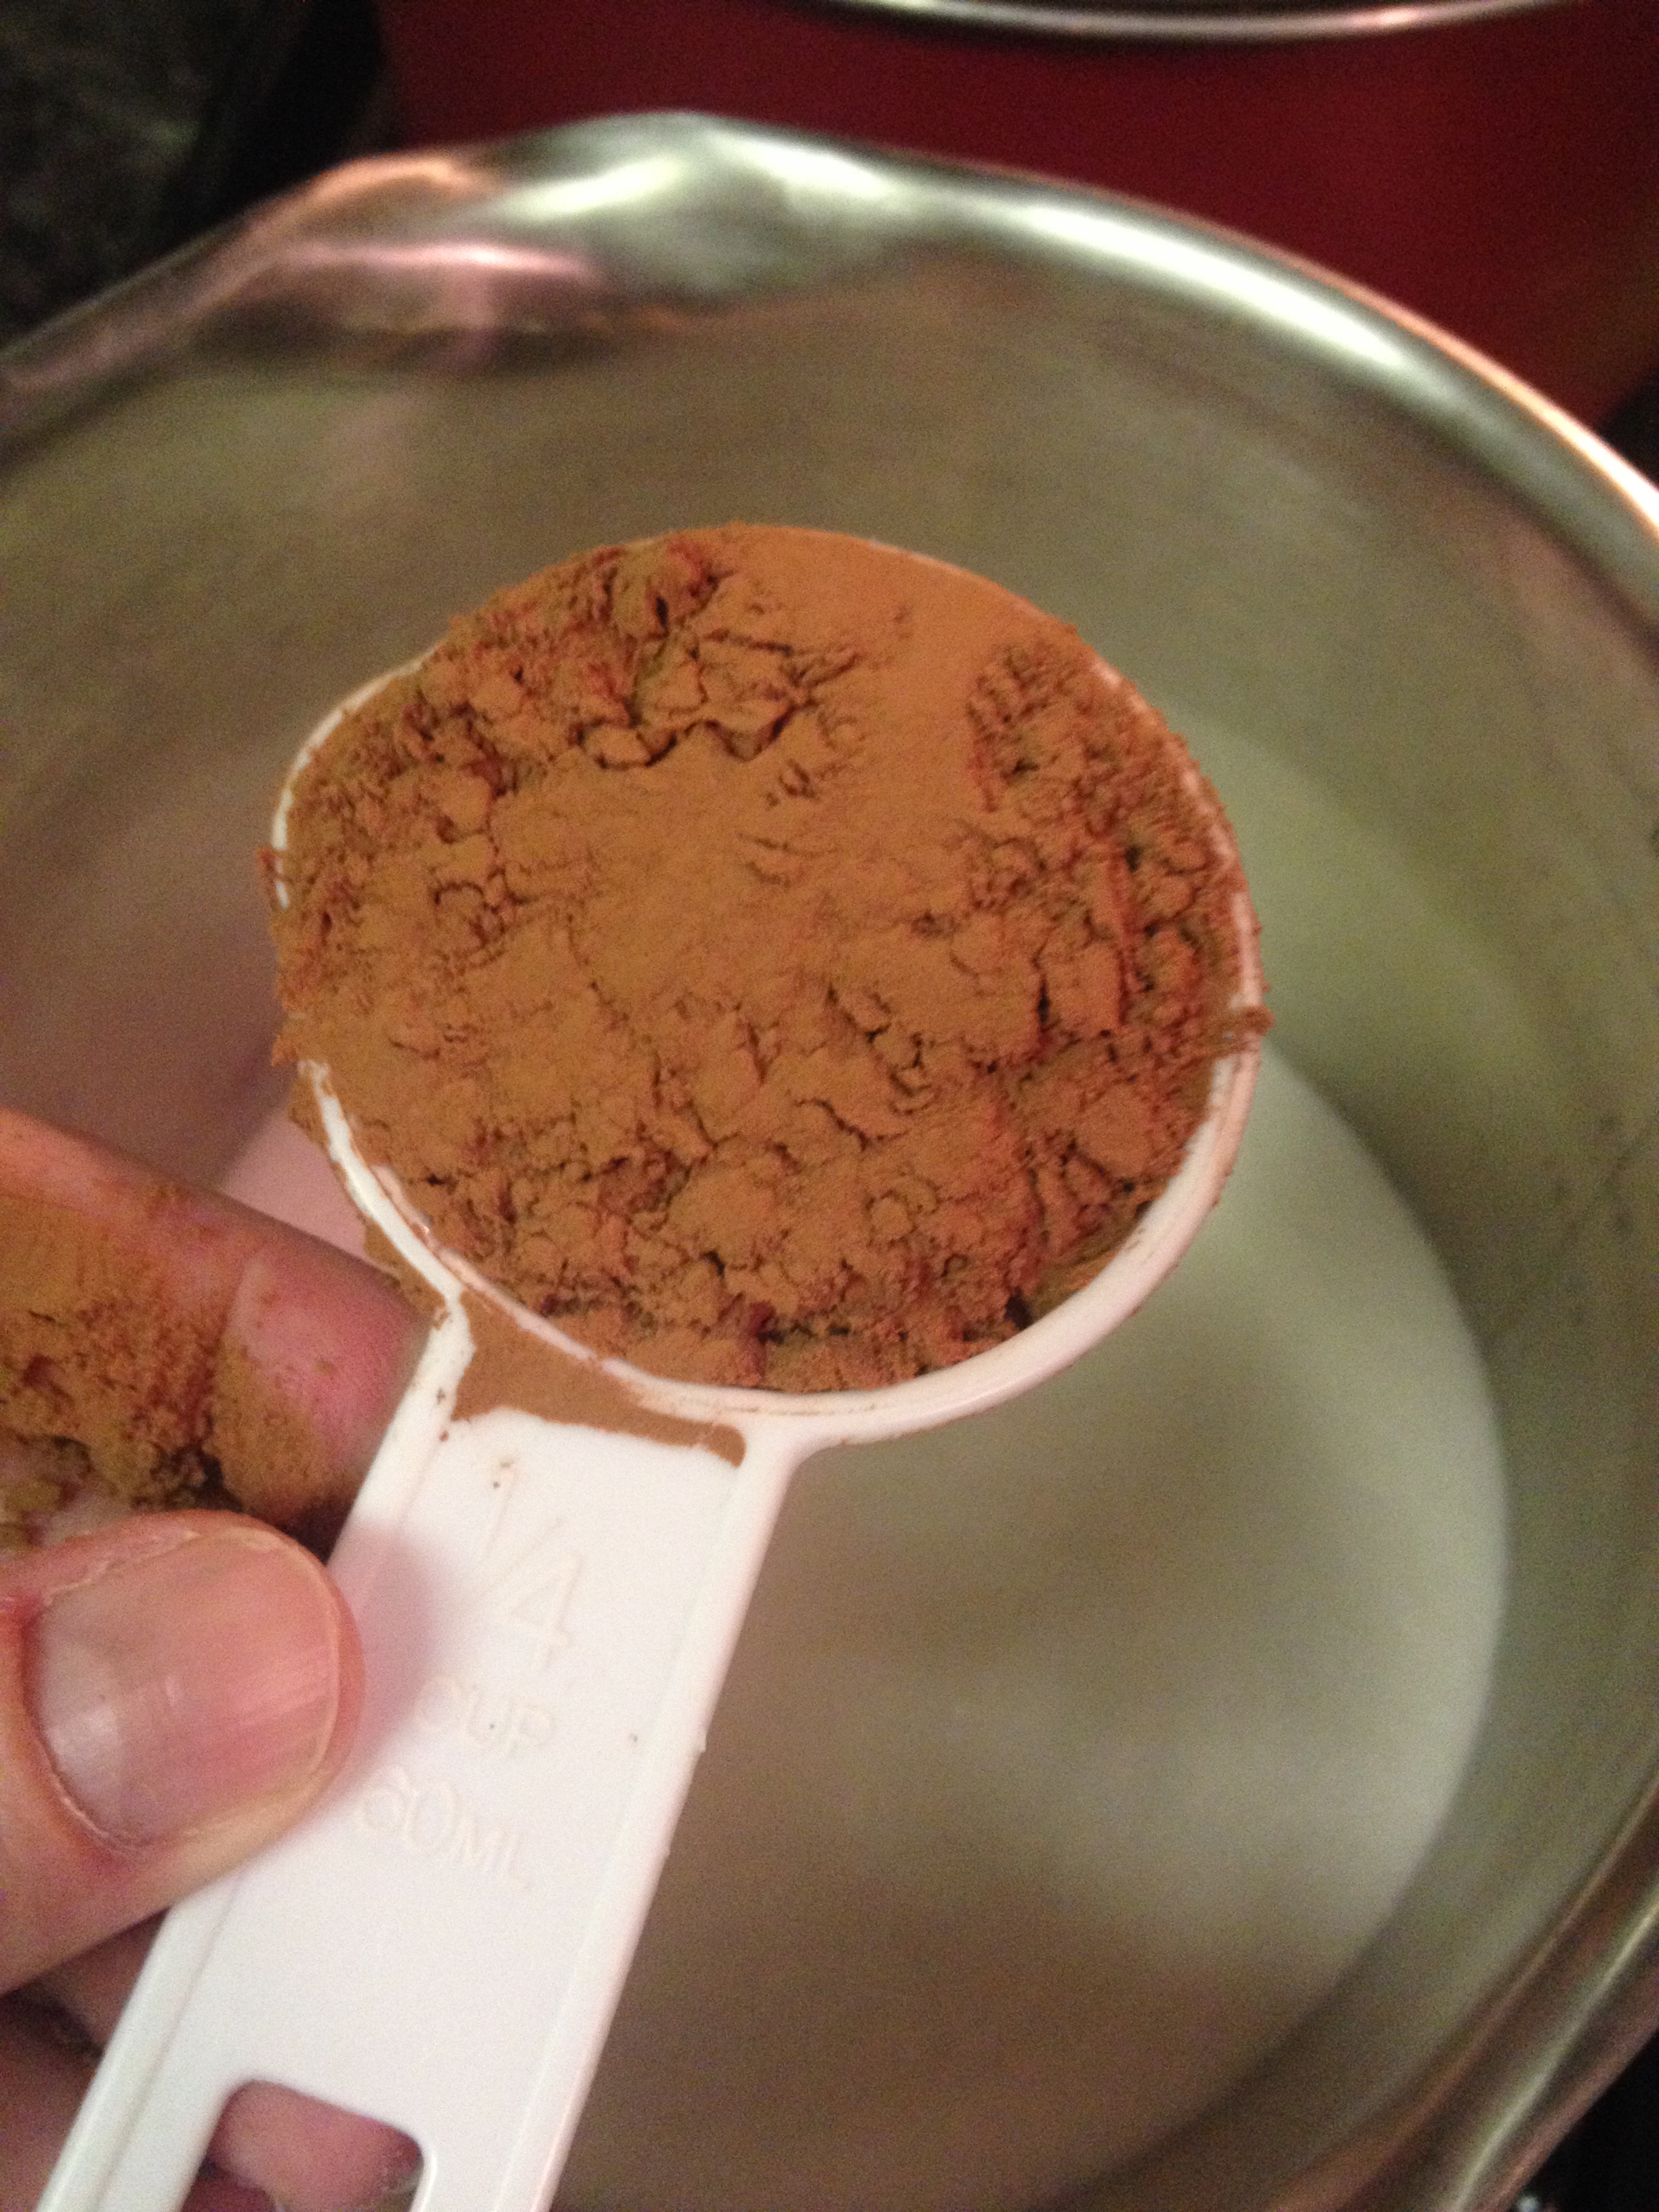
  • 1/4 cup cocoa powder
  • 1/4 lb butter (aka 1 stick)
  • 1/2 cup milk
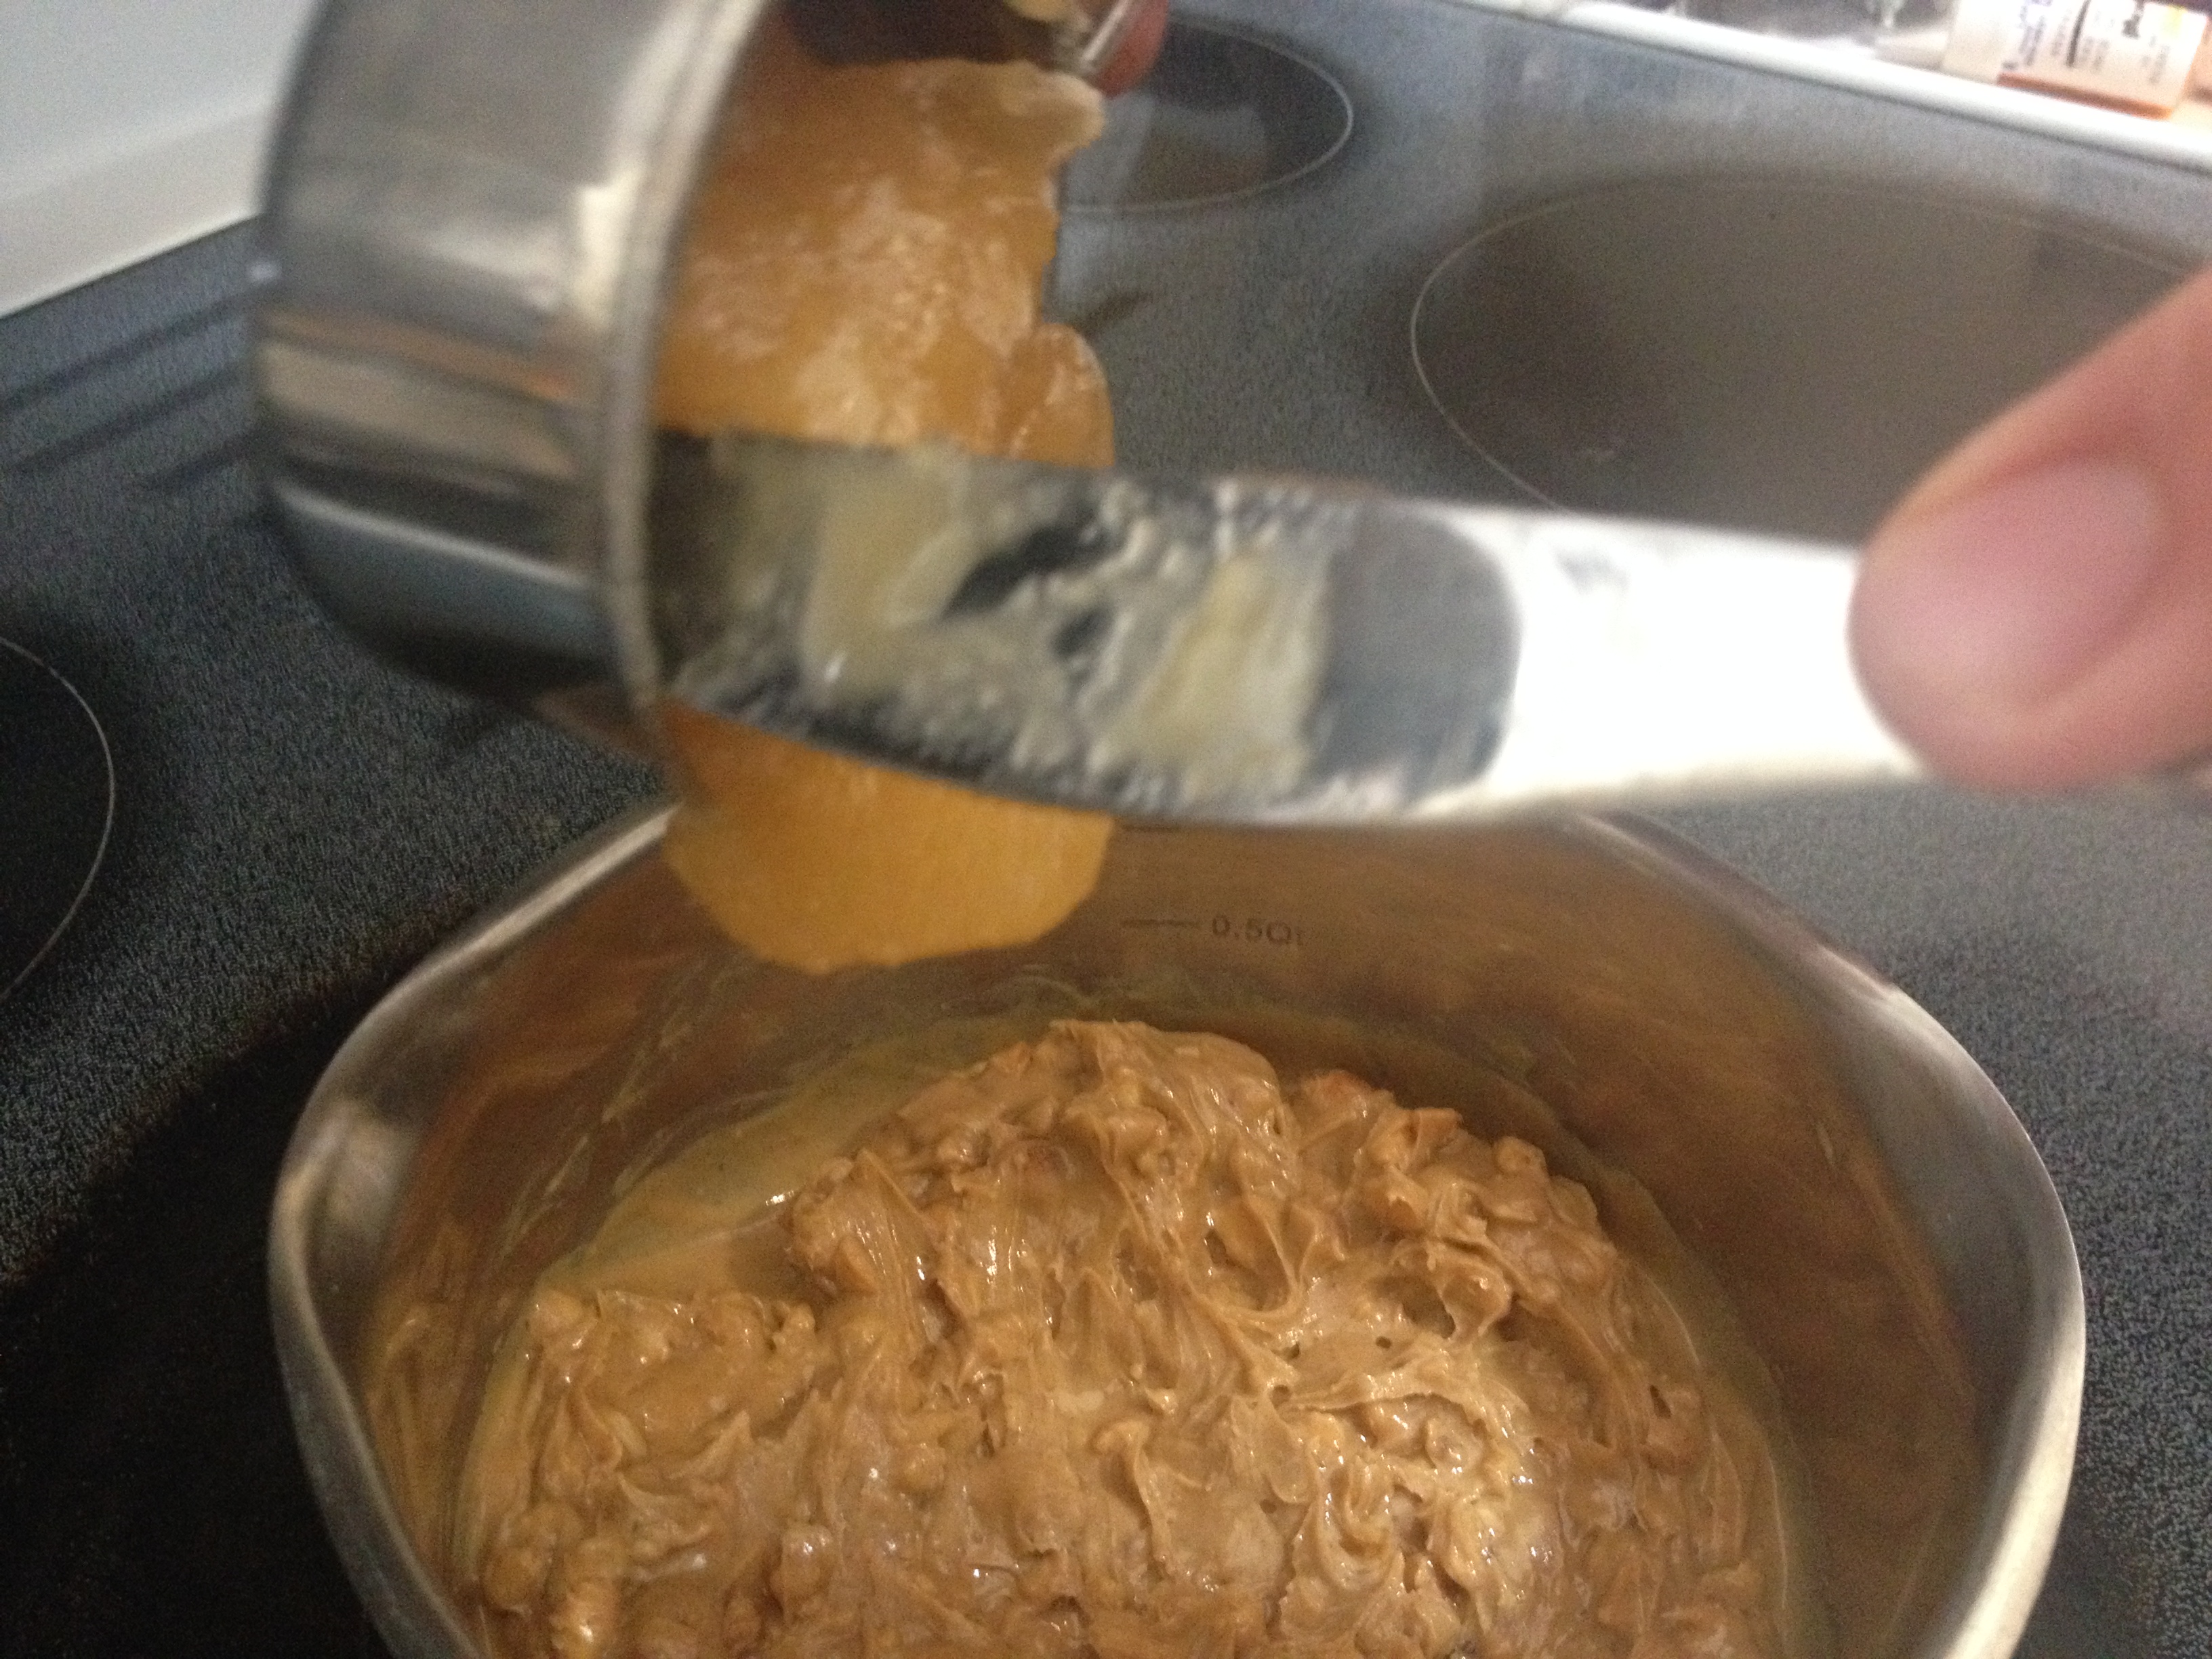
  • 1/2 cup crunchy peanut butter
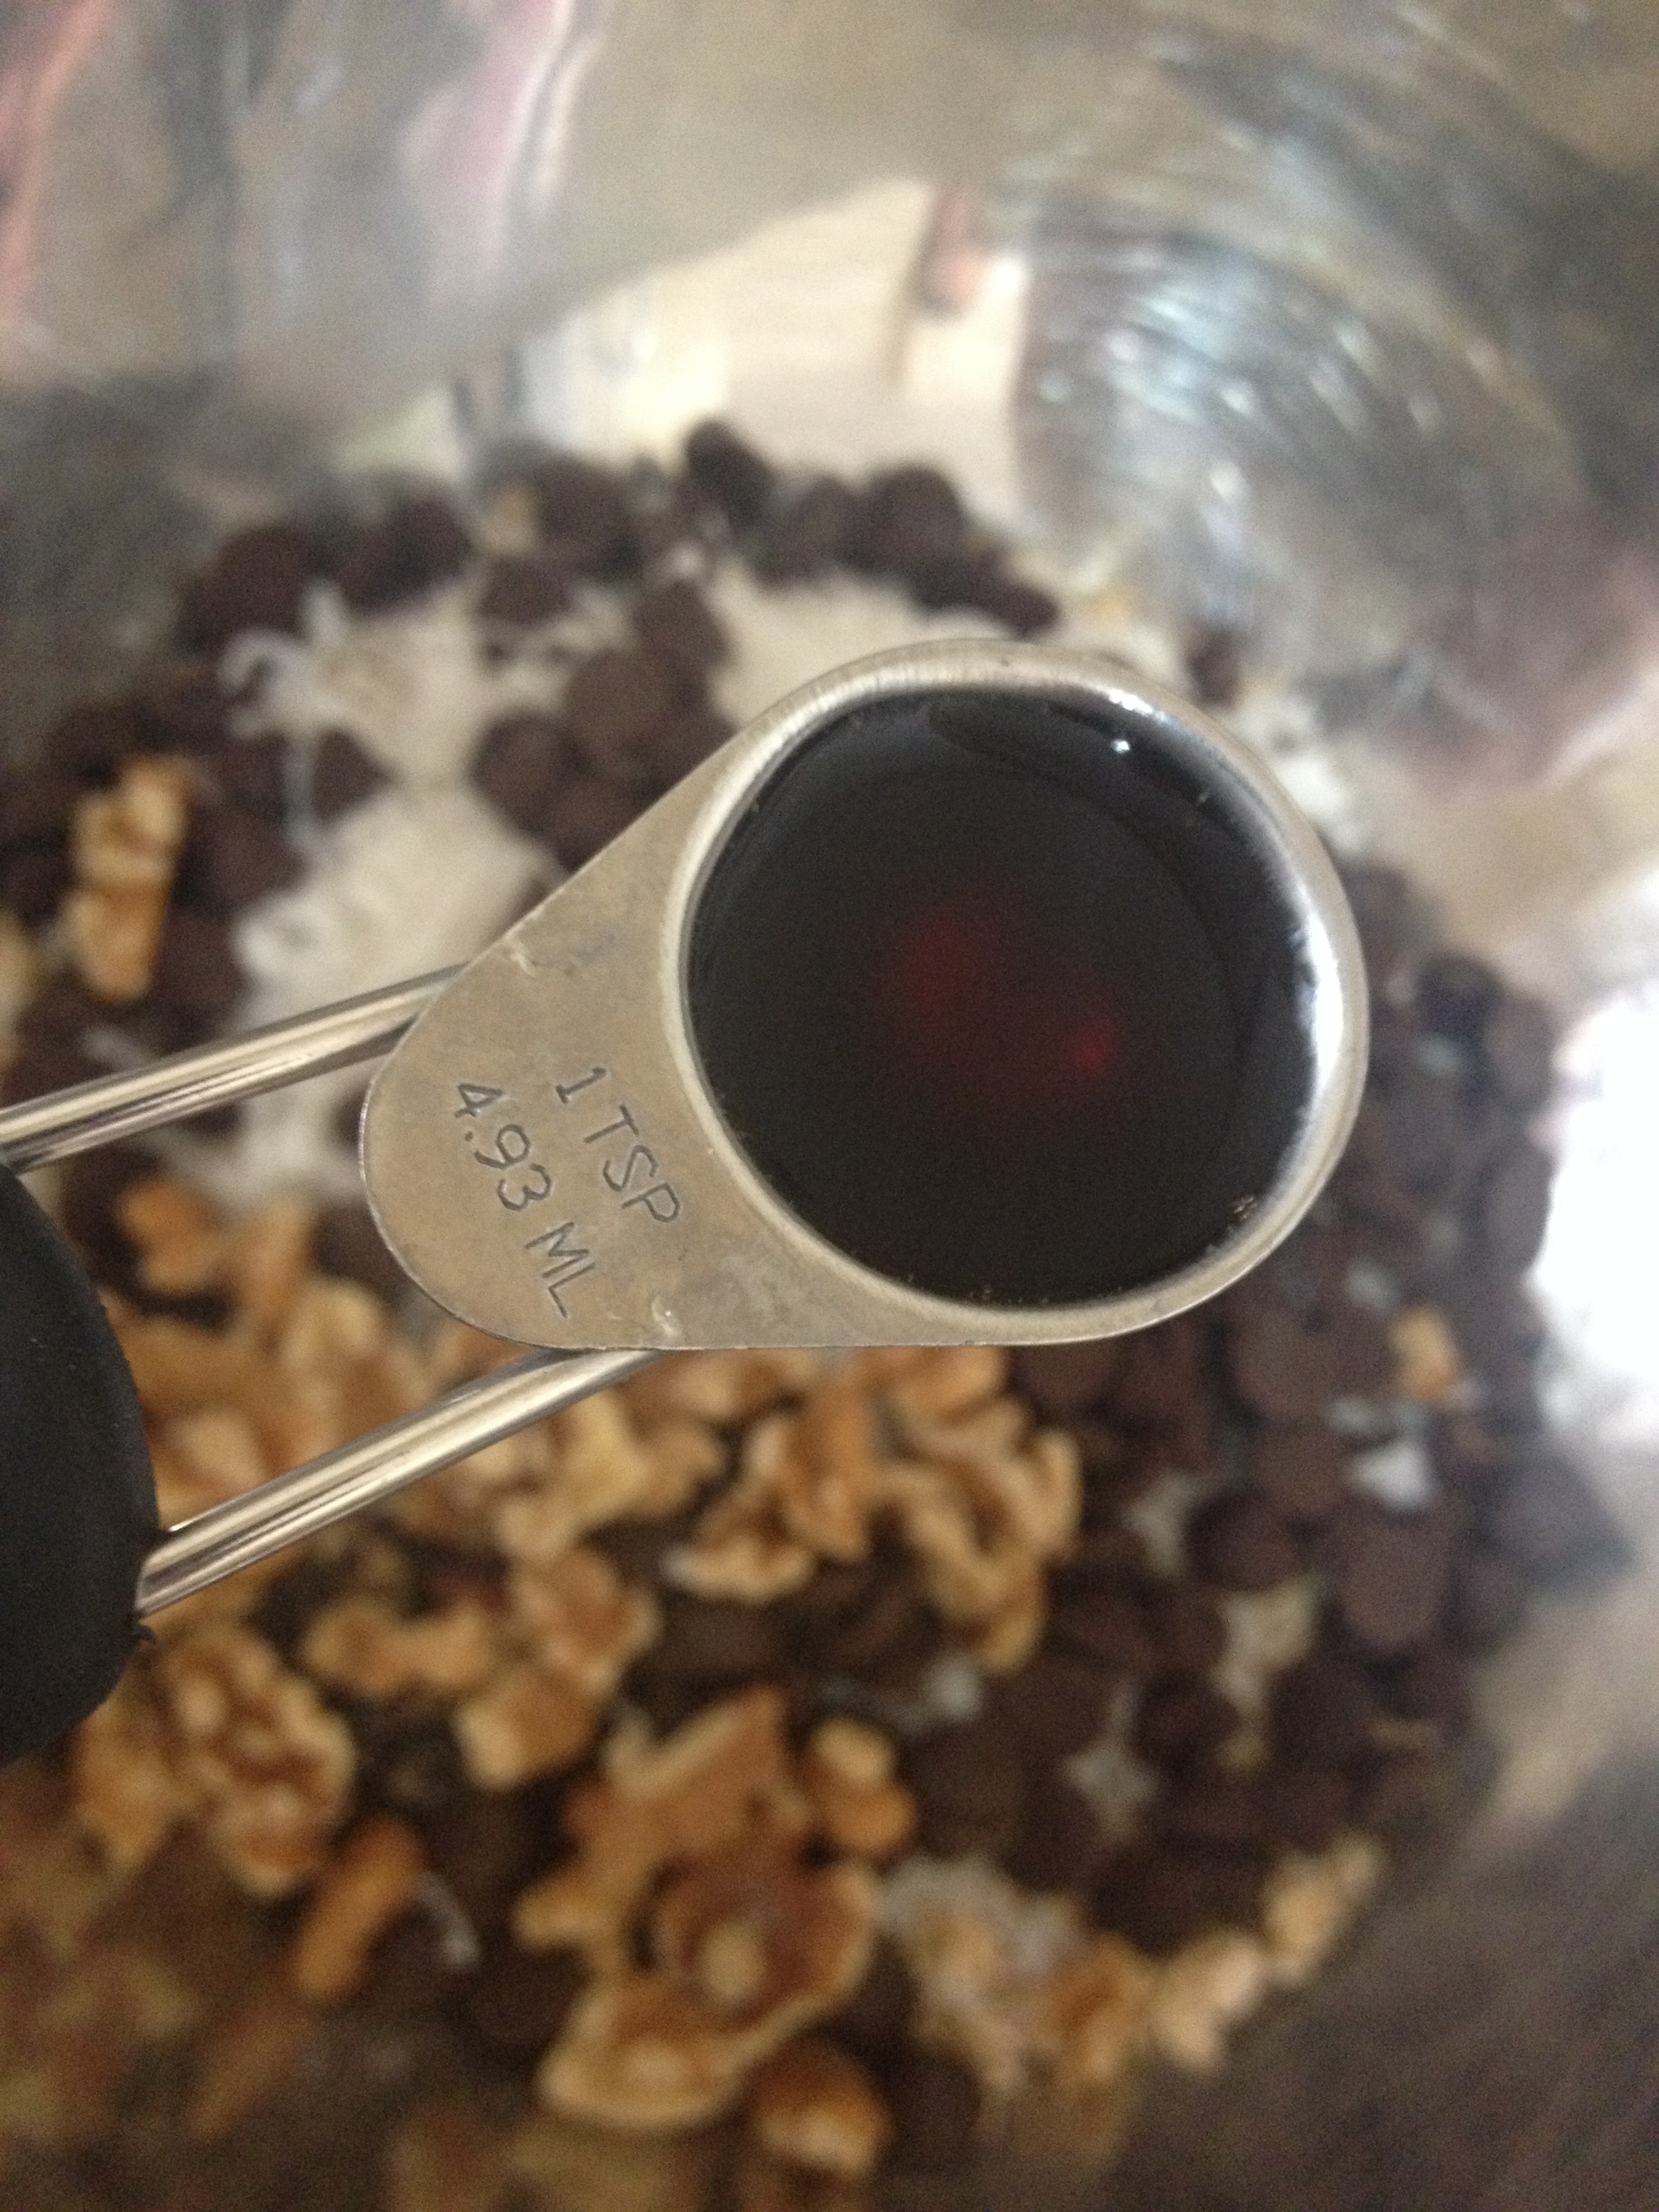
  • 1 tsp vanilla
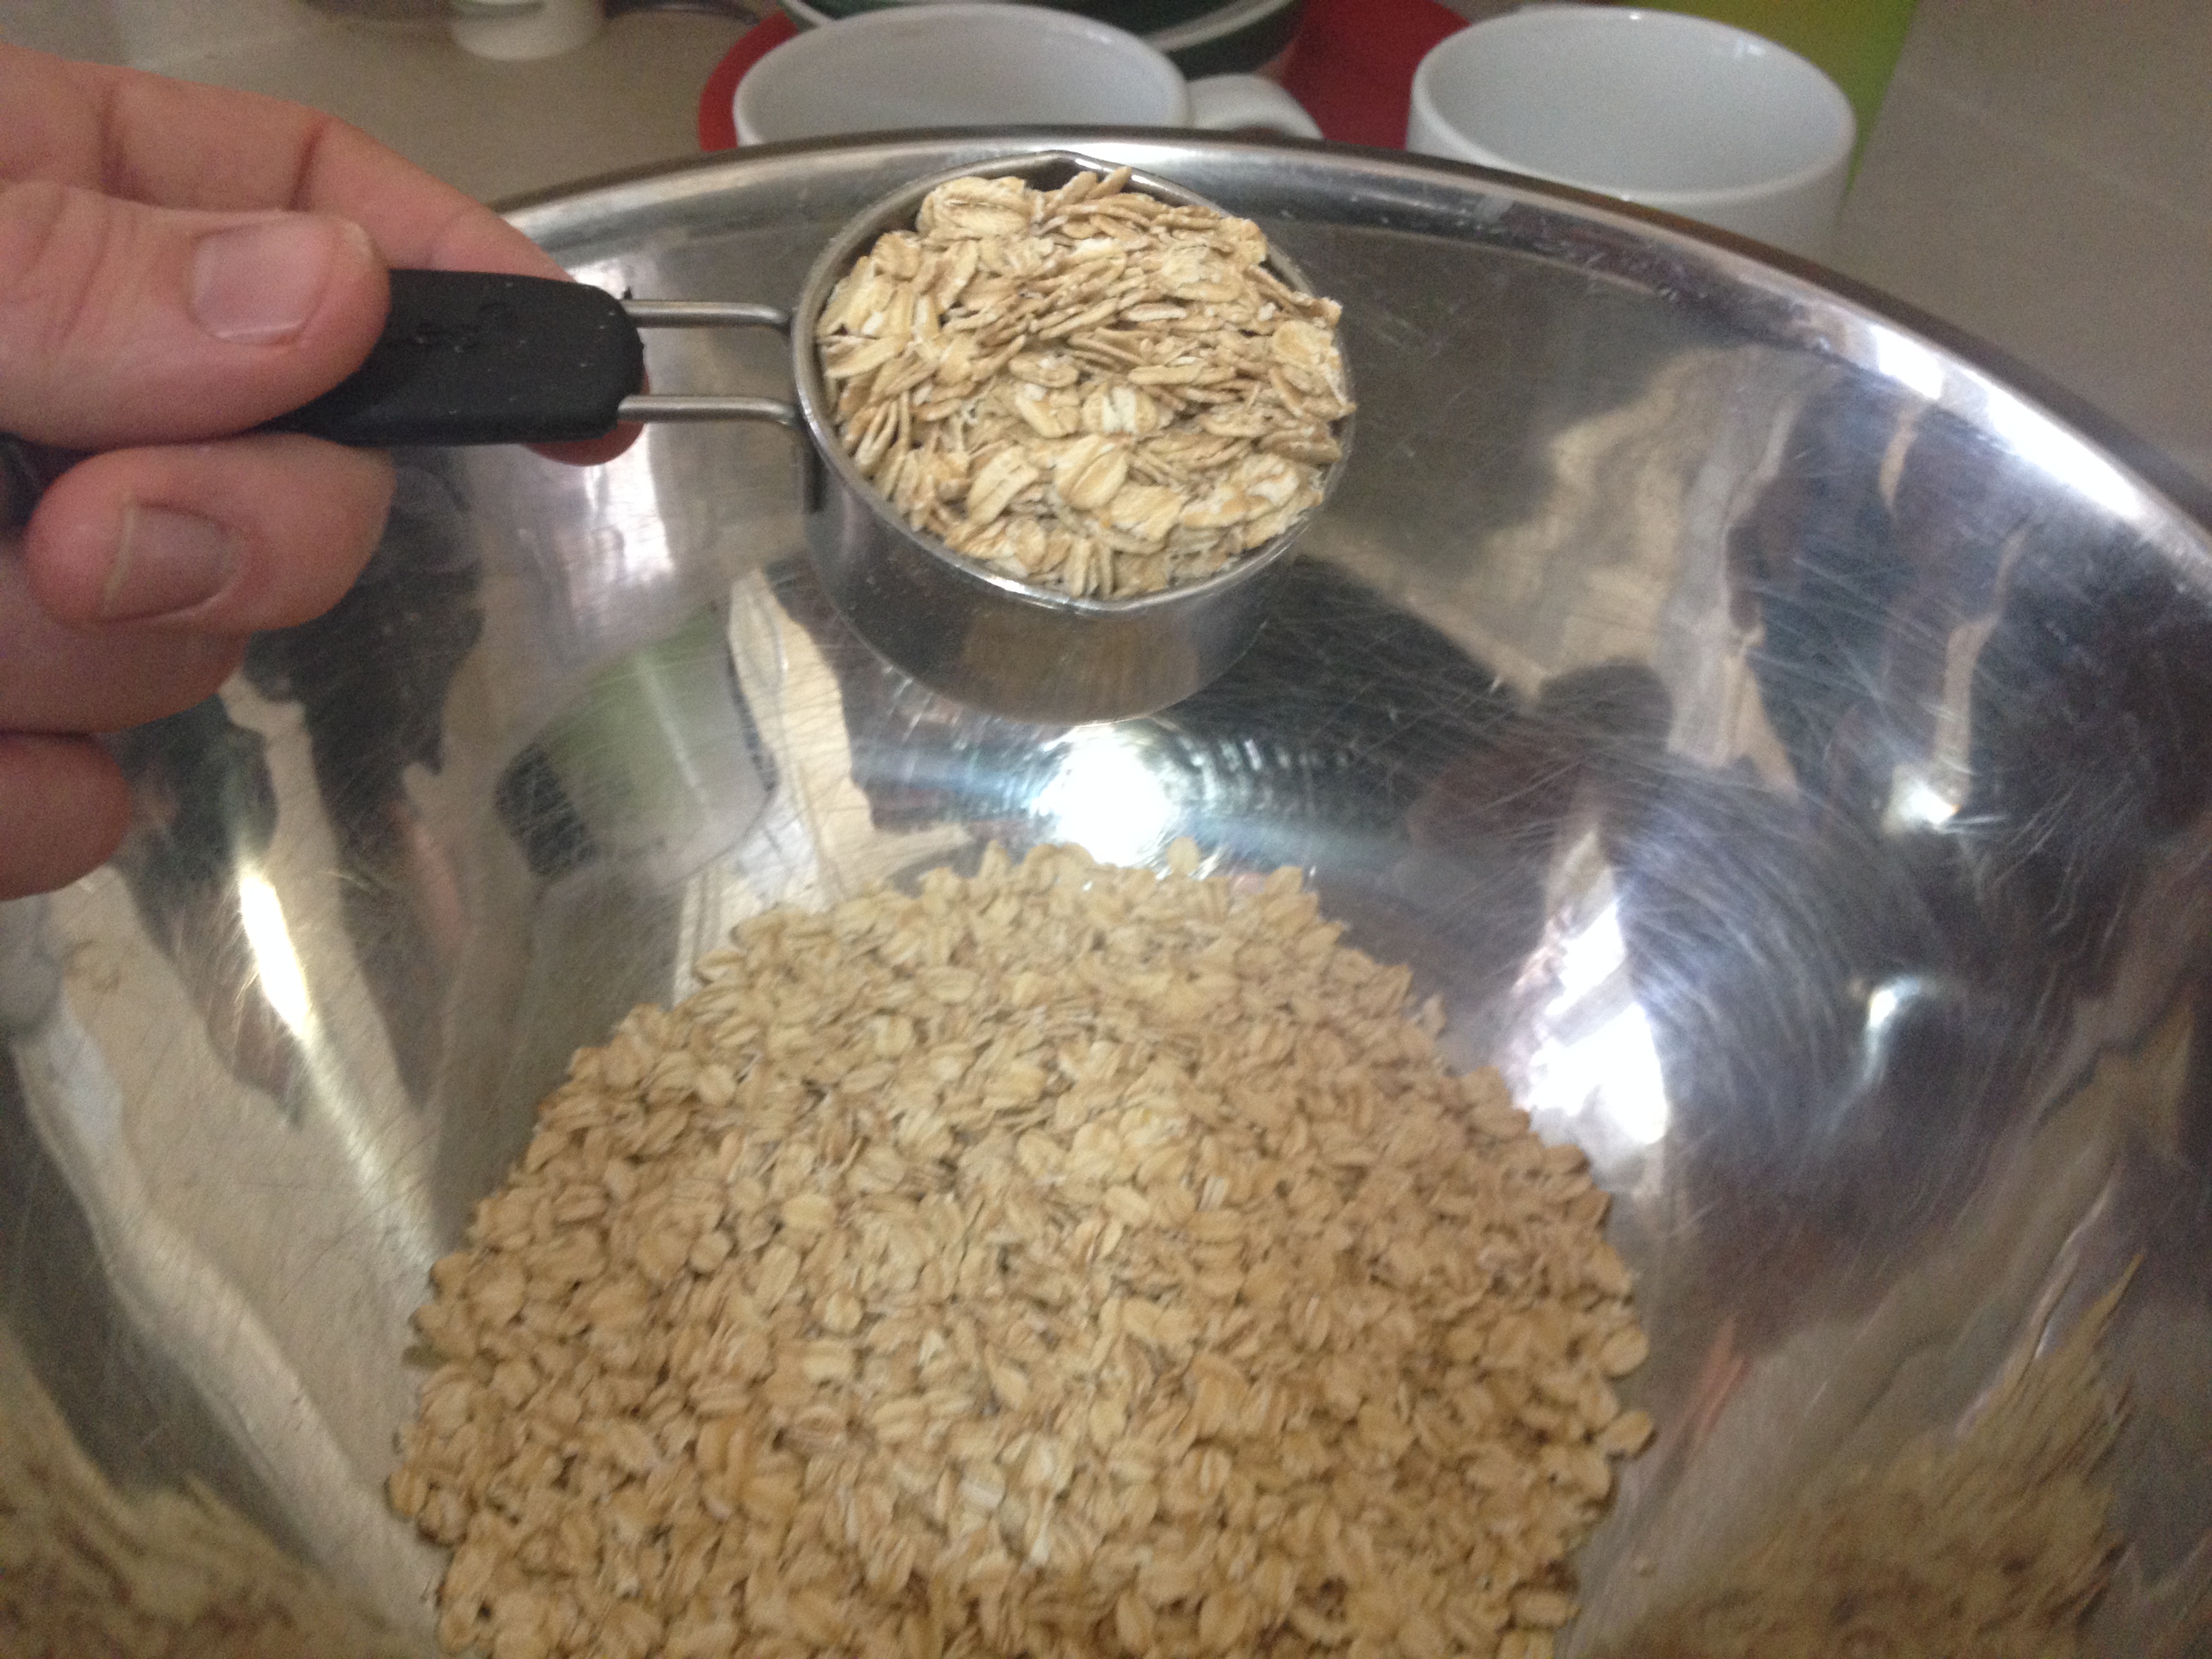
  • 1 3/4 – 2 1/2 cups of oats (you’ll need to eyeball it to see if it needs more or less oats…ready below to learn more)

How to Make:

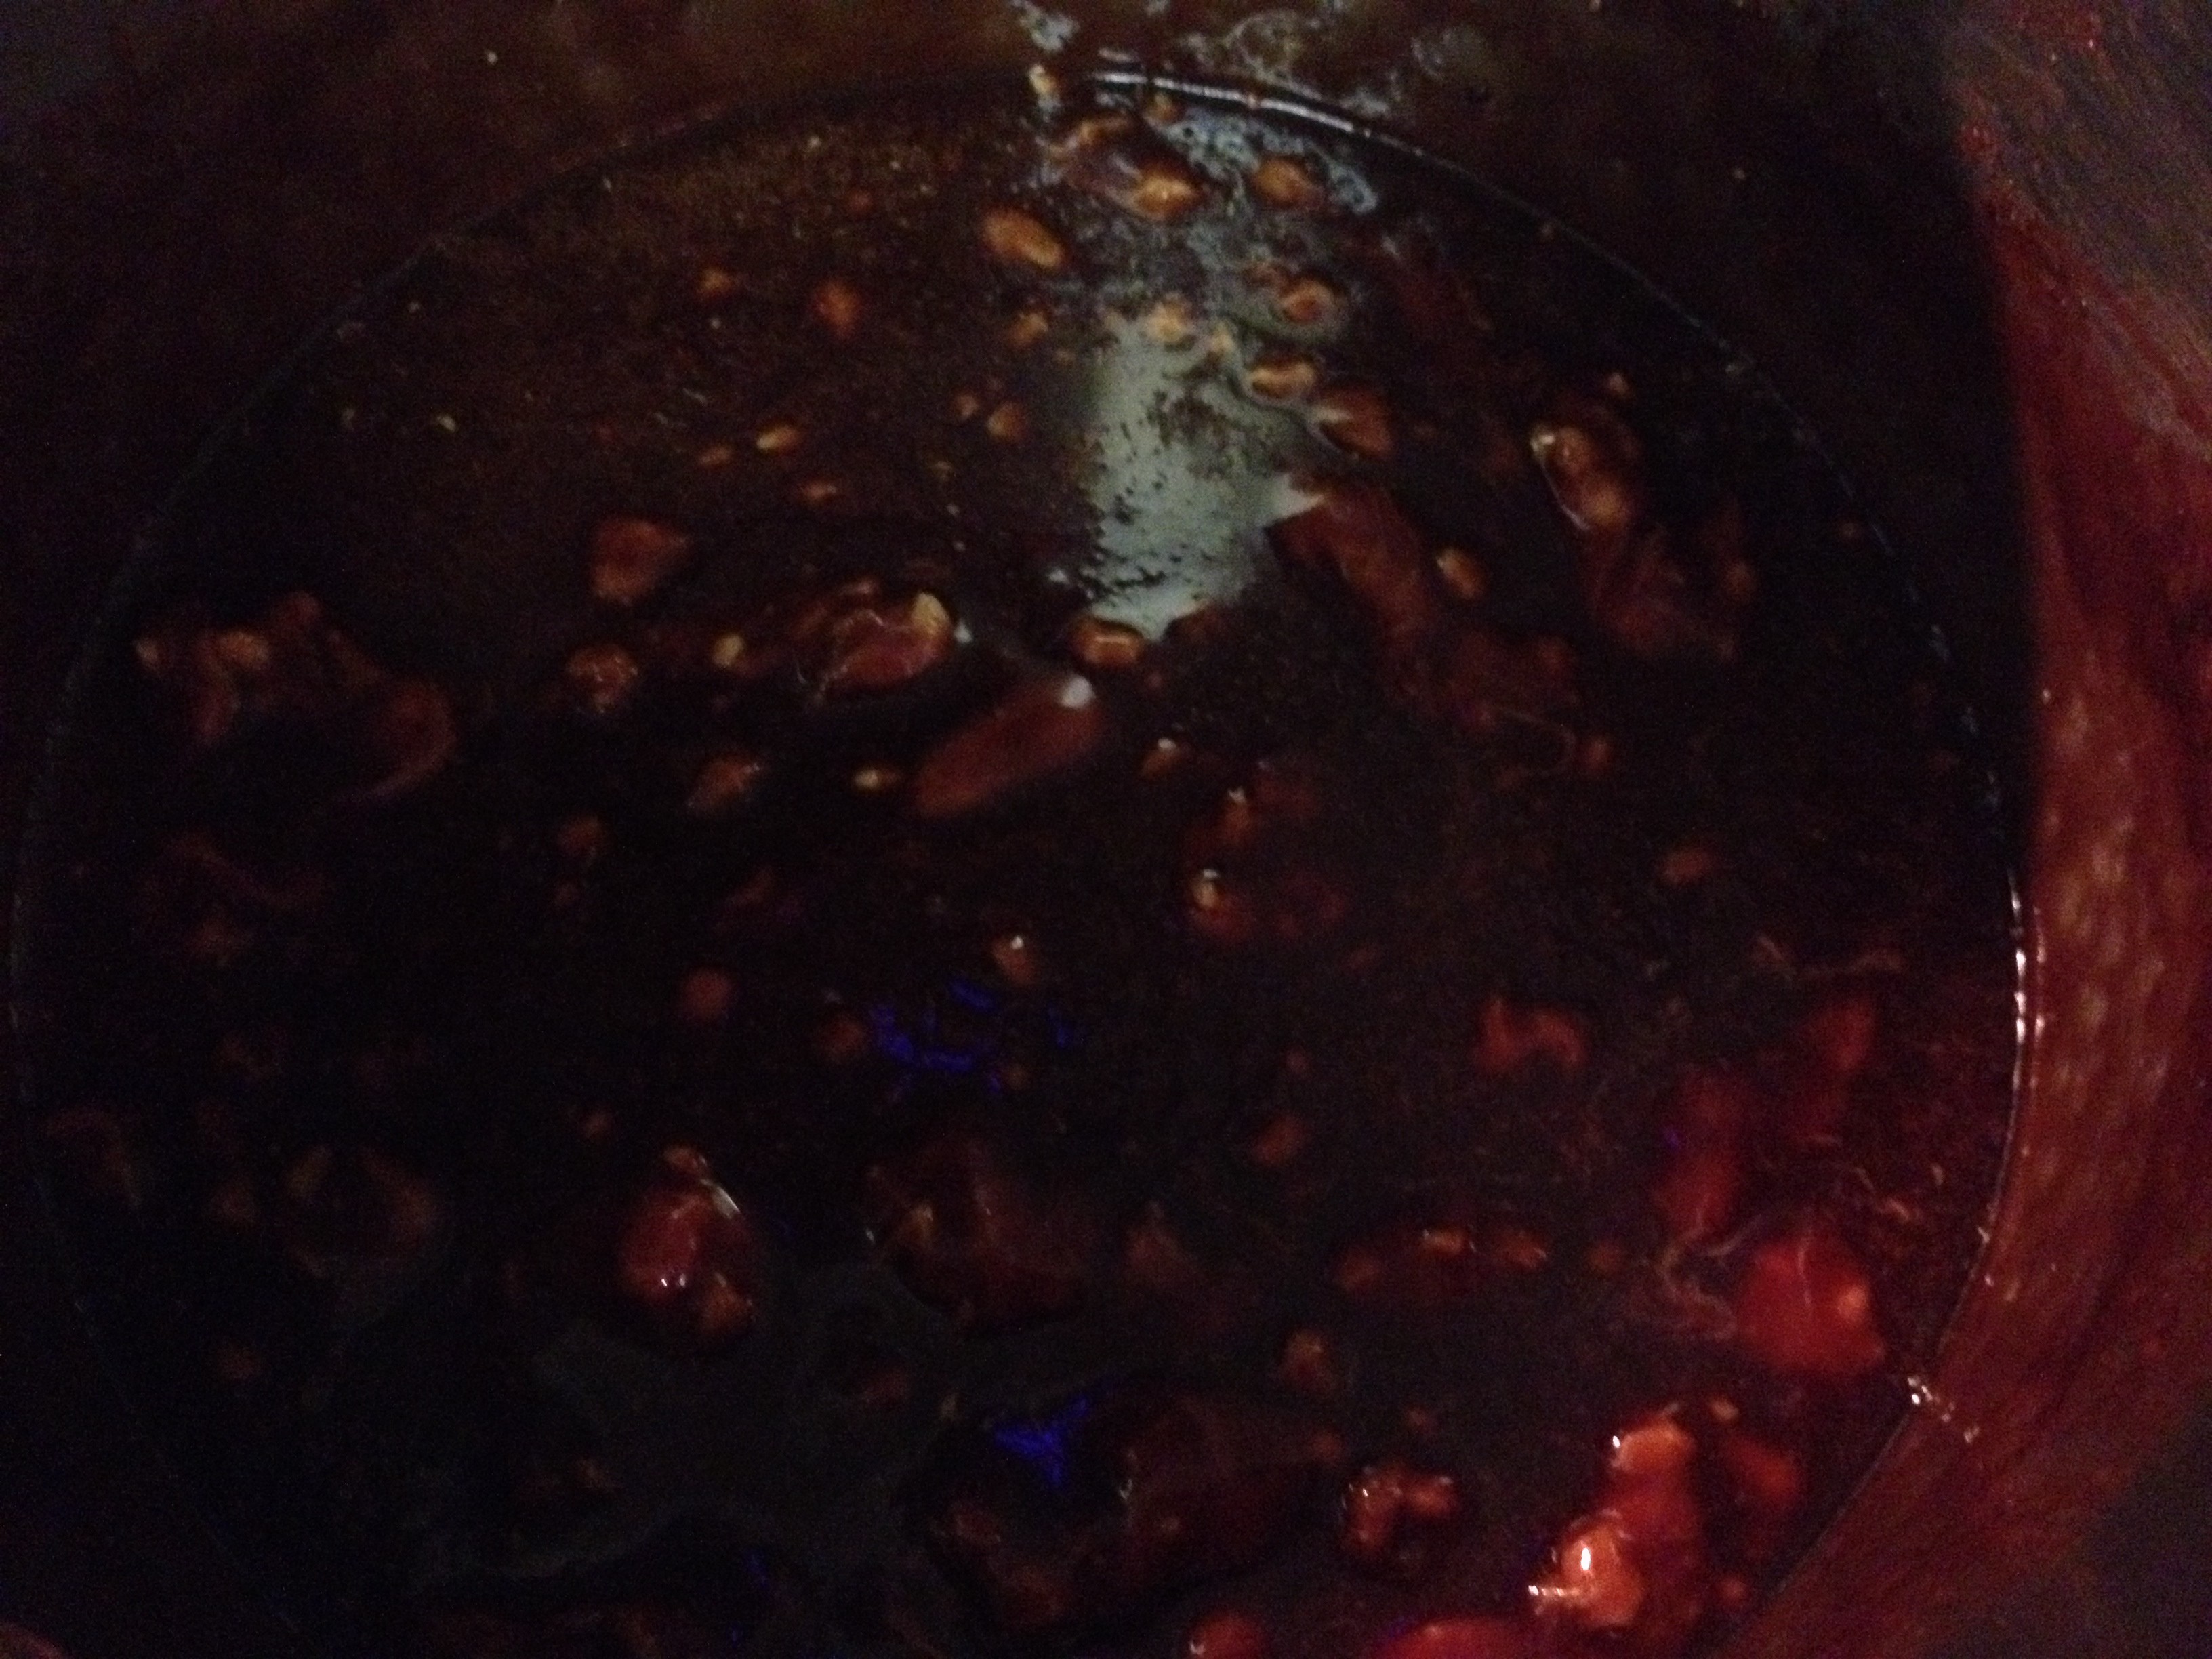
This recipe starts off with the first four ingredients being combined in a medium saucepan over medium heat. So in goes the sugar…

IMG_4554

…cocoa powder (thought I’m sure you’re more neat than I was)…

IMG_4555

…butter…(I recommend slicing the butter into smaller chunks to aid in the melting process)…

IMG_4556

…and milk. Bring this mixture to a boil for 3 minutes, stirring constantly. You don’t want that sugar to burn!

IMG_4557

Once your 3 minutes are up, take off the heat and add in the peanut butter. Crunchy PB is the best as it gives the cookie not only a little crunch but also texture. Highly recommend, friends. (I failed to photography the PB going in…fail…but it’s in there!)

IMG_4558

After the PB comes the vanilla. Stir everything up to incorporate fully.

IMG_4559

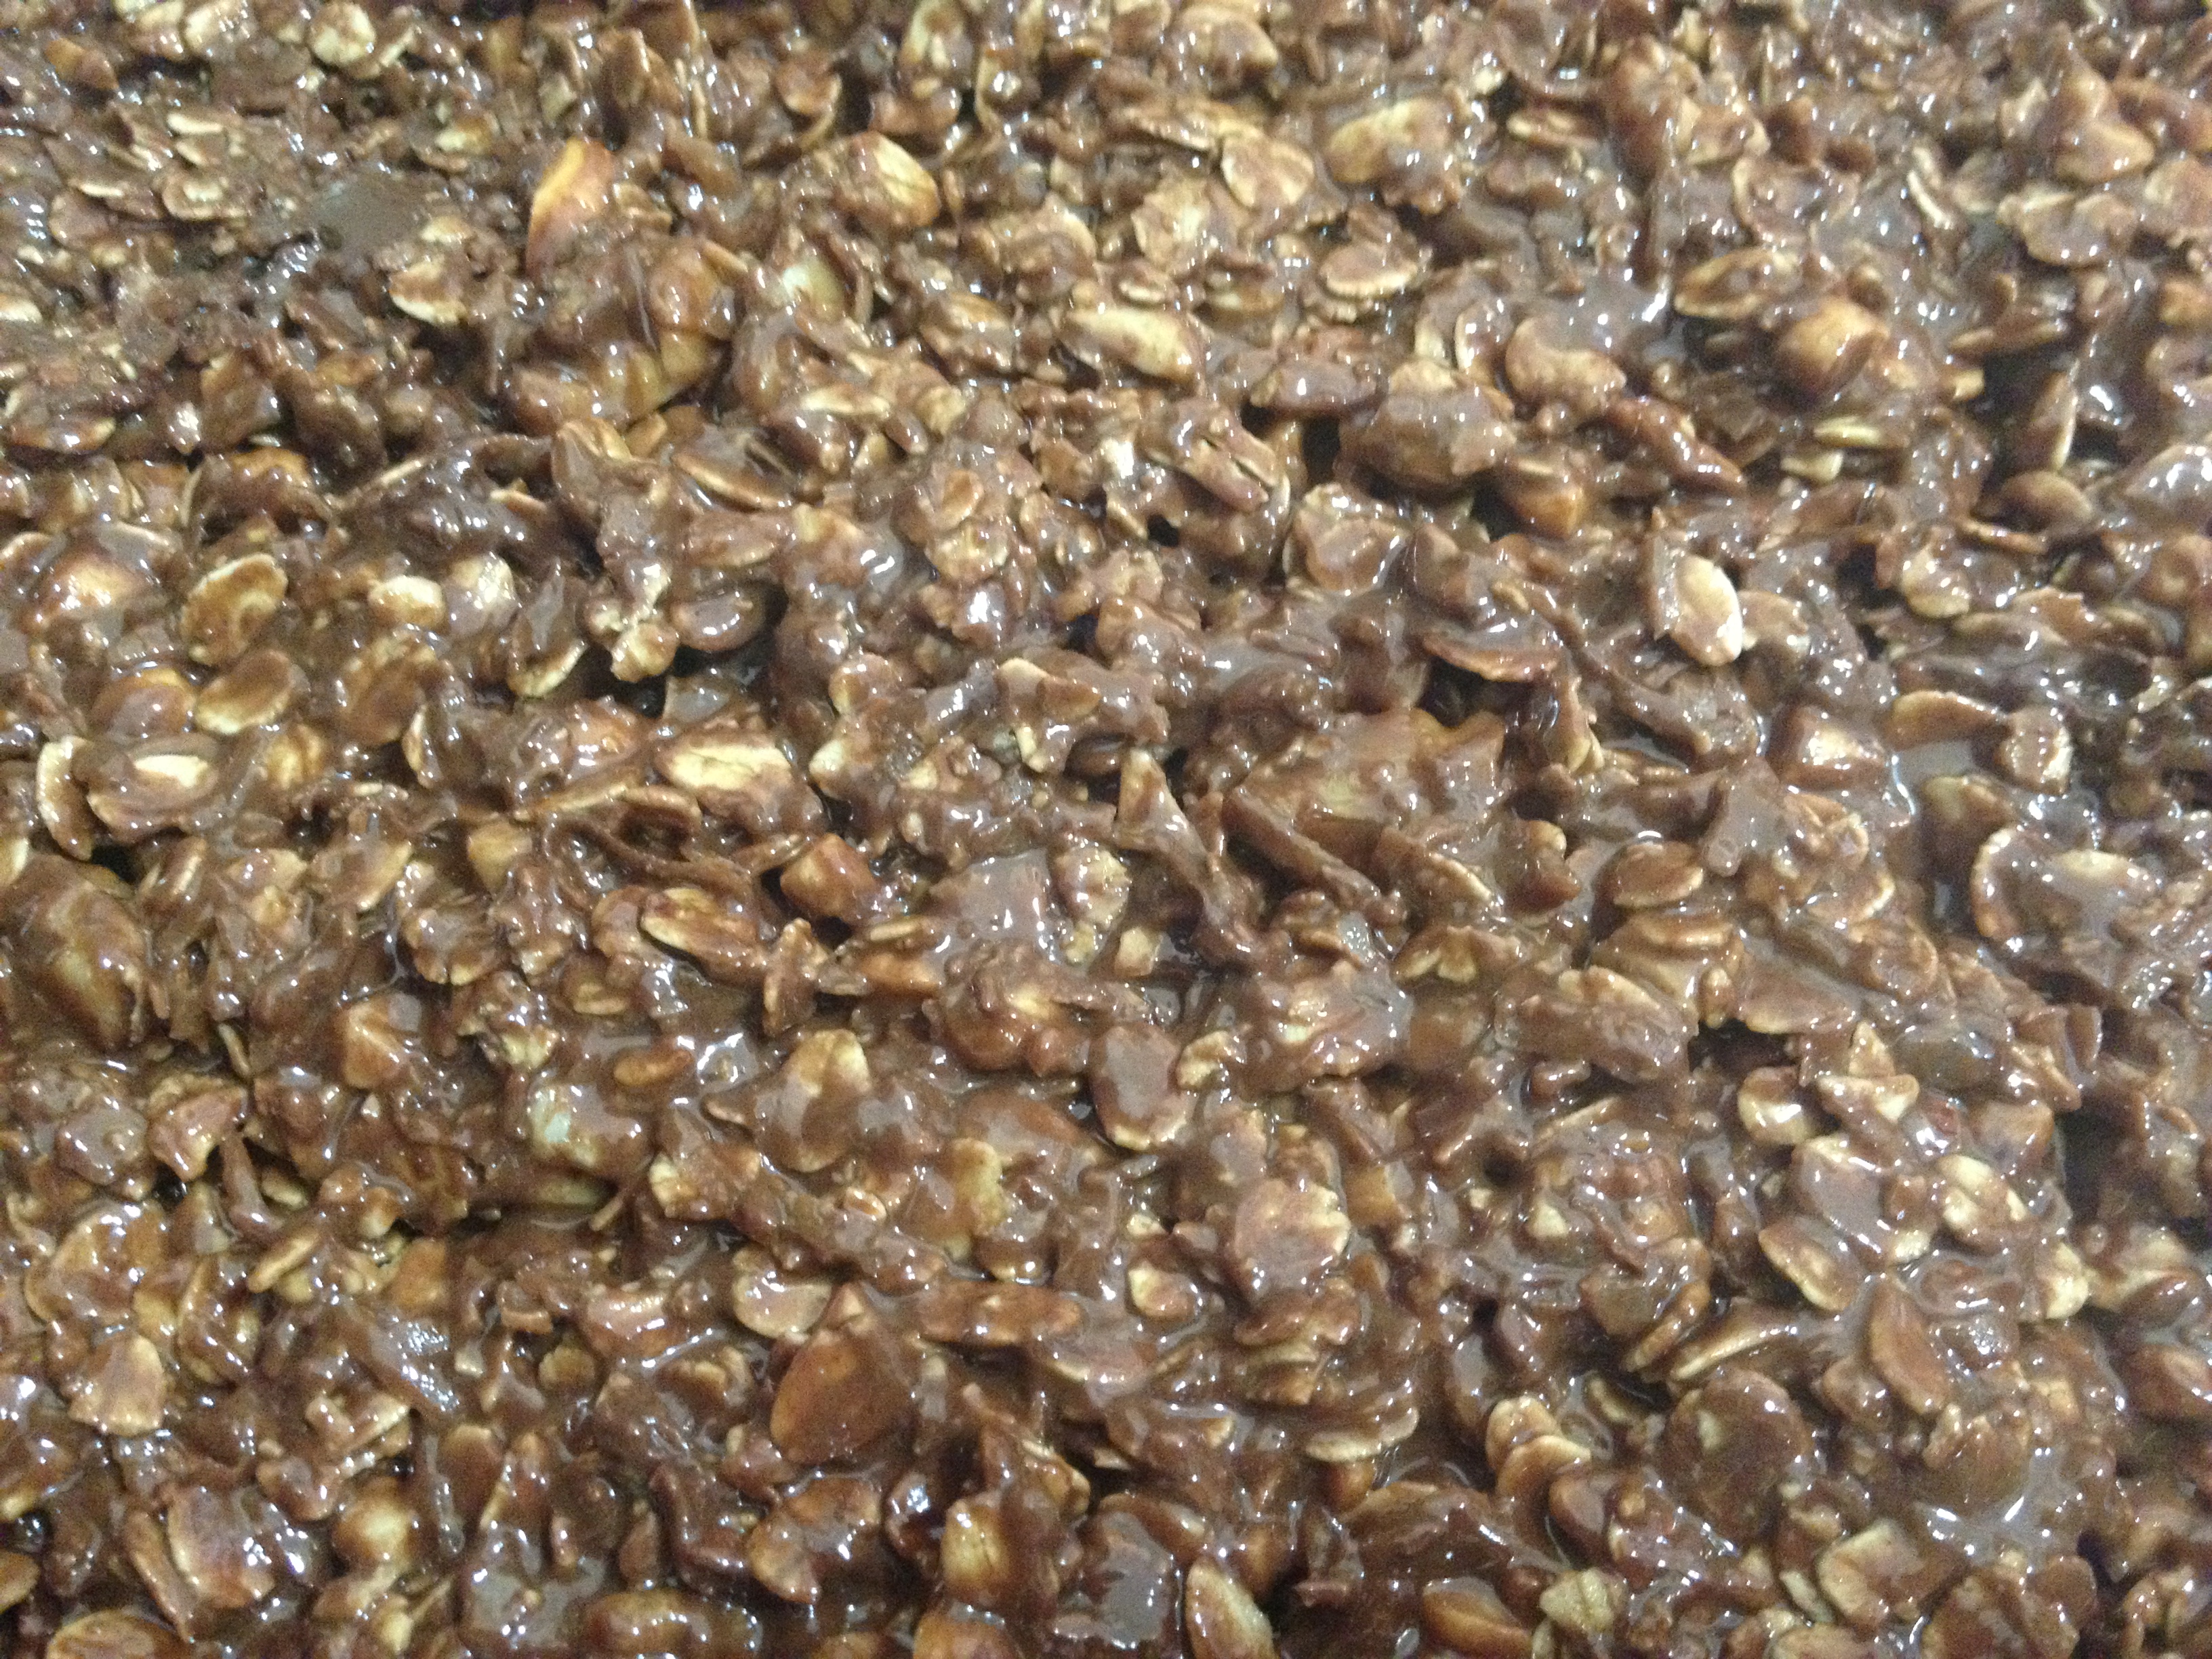
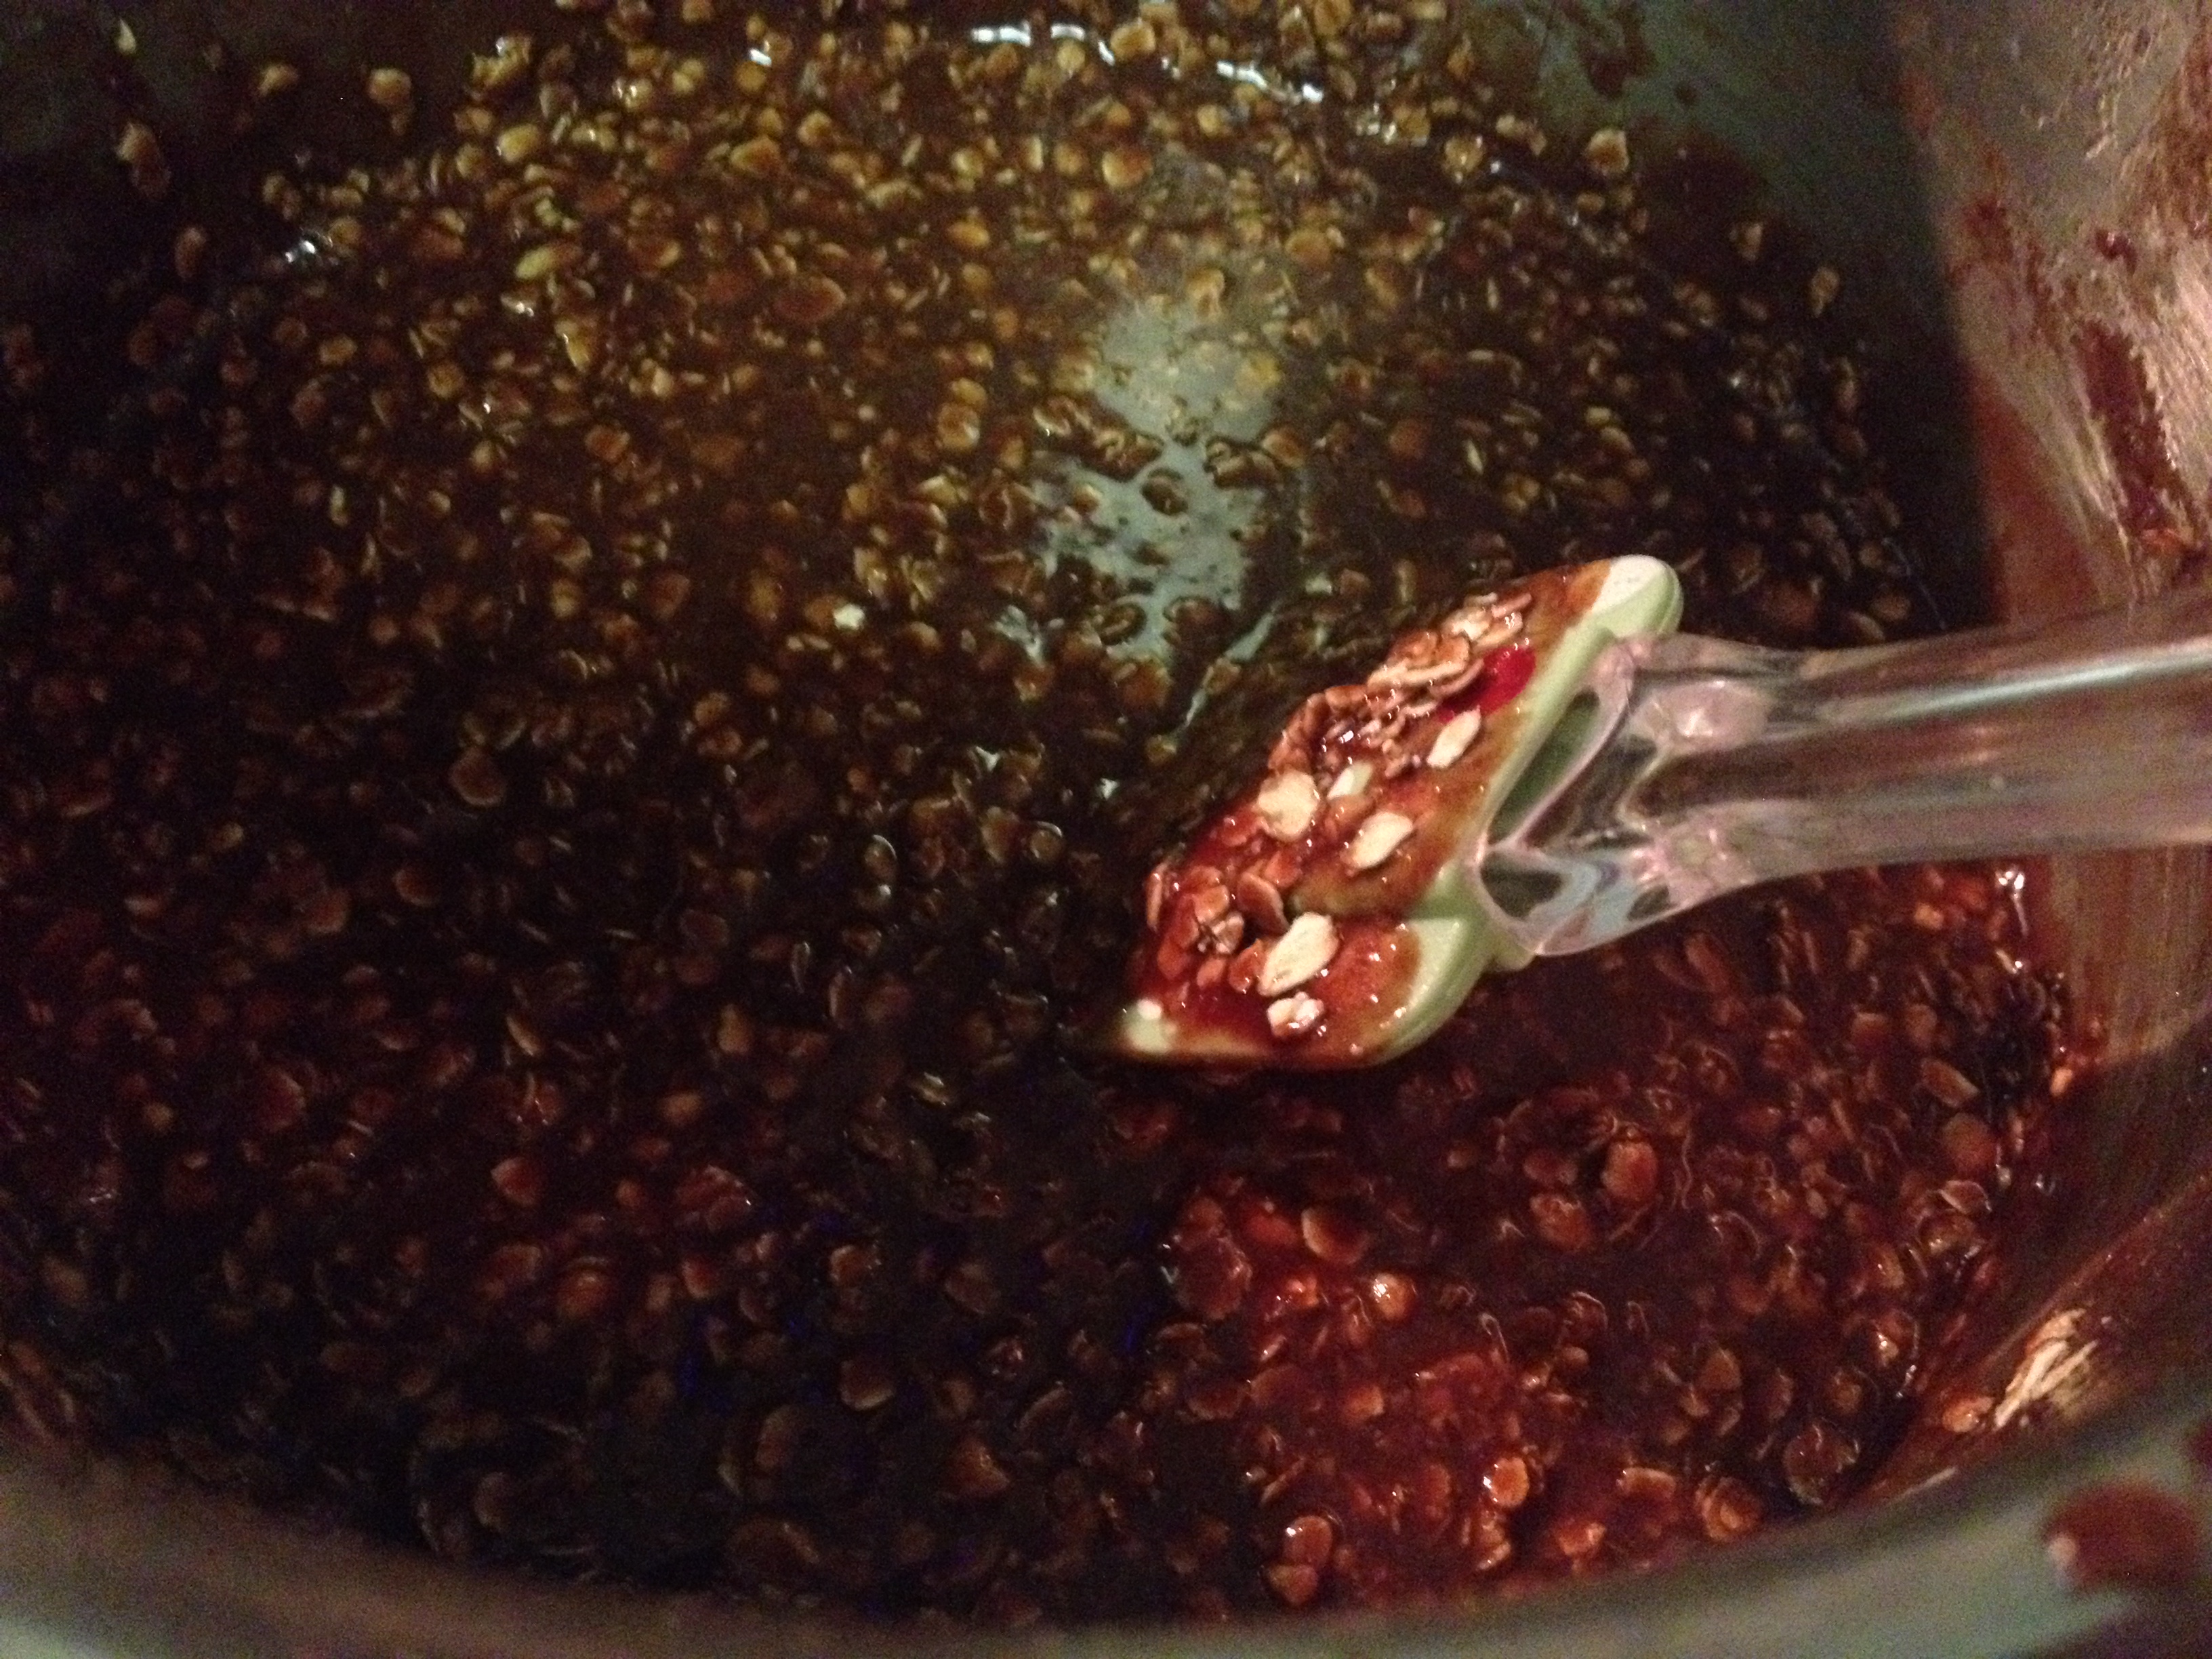
Now, the oatmeal. Start off with 1 1/2 cups of oats and then add more, up to 2 cups, to reach the consistency you’re looking for. If the mixture seems too soupy, add more oats. Keep adding until the mixture doesn’t seem to be too soupy. Check out the pictures below if you’re uncertain what level of soupiness is okay and what means more oats.

IMG_4560

Mix everything really well before you begin scooping!

IMG_4561

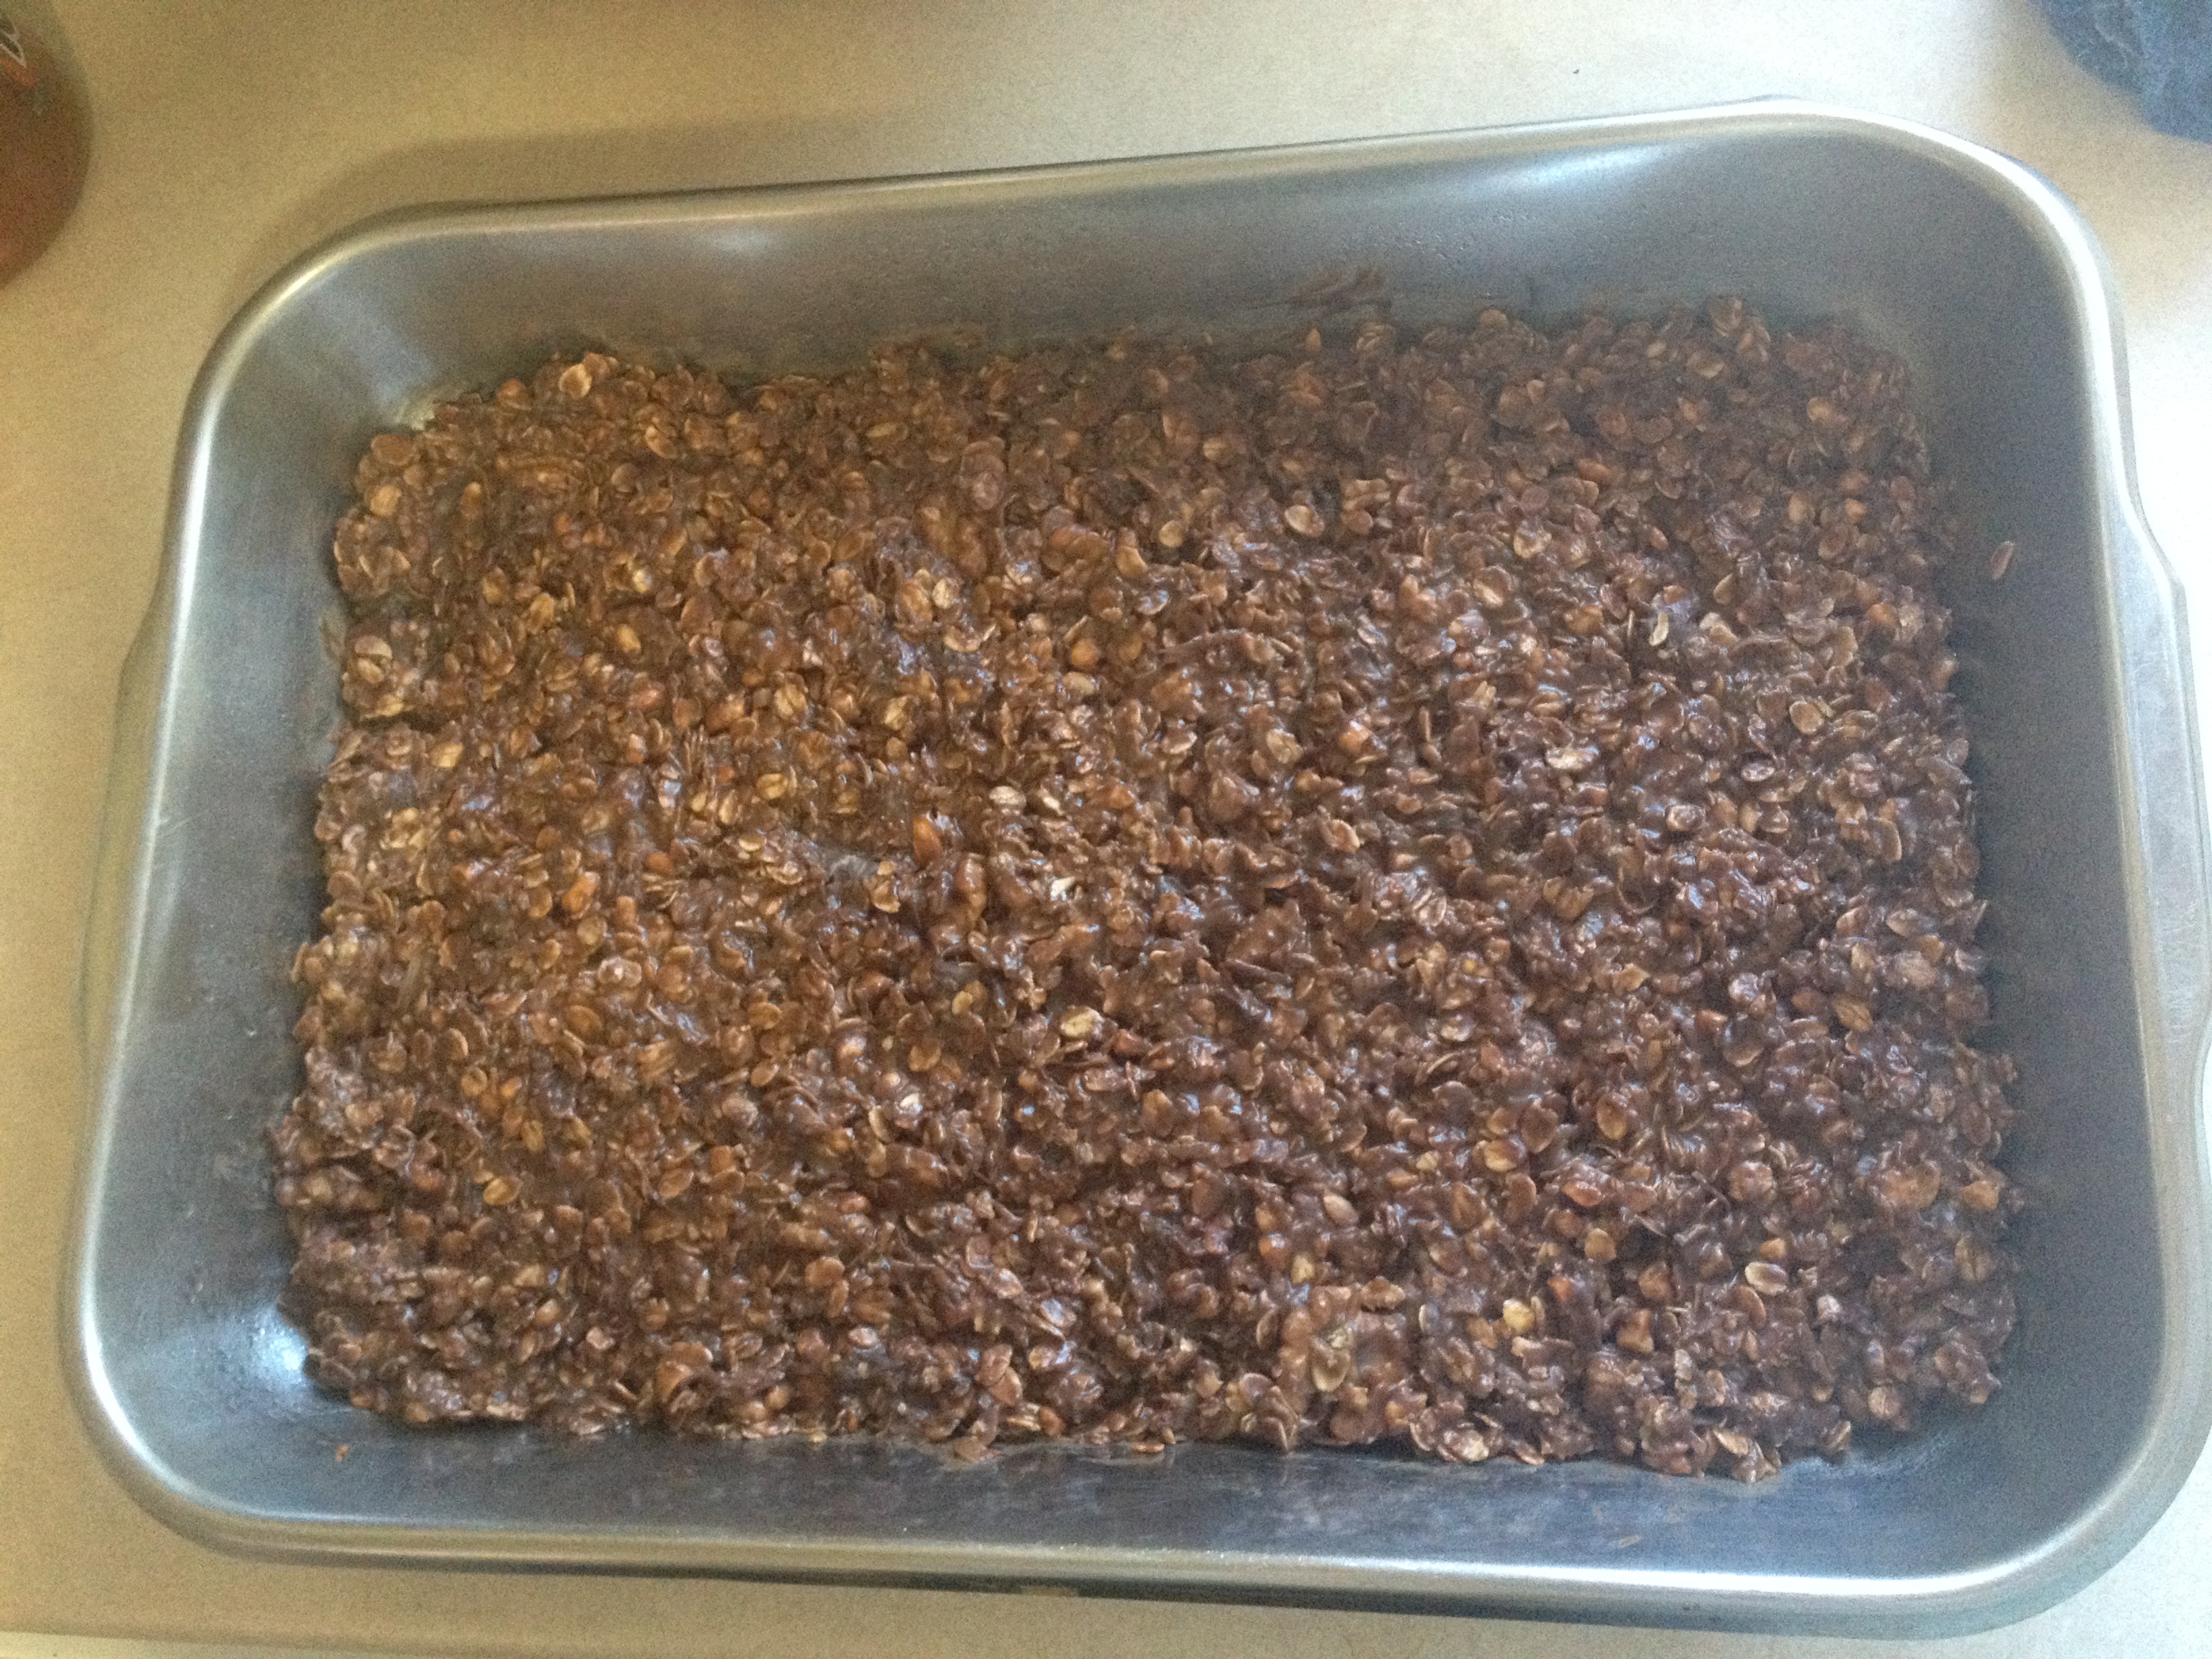
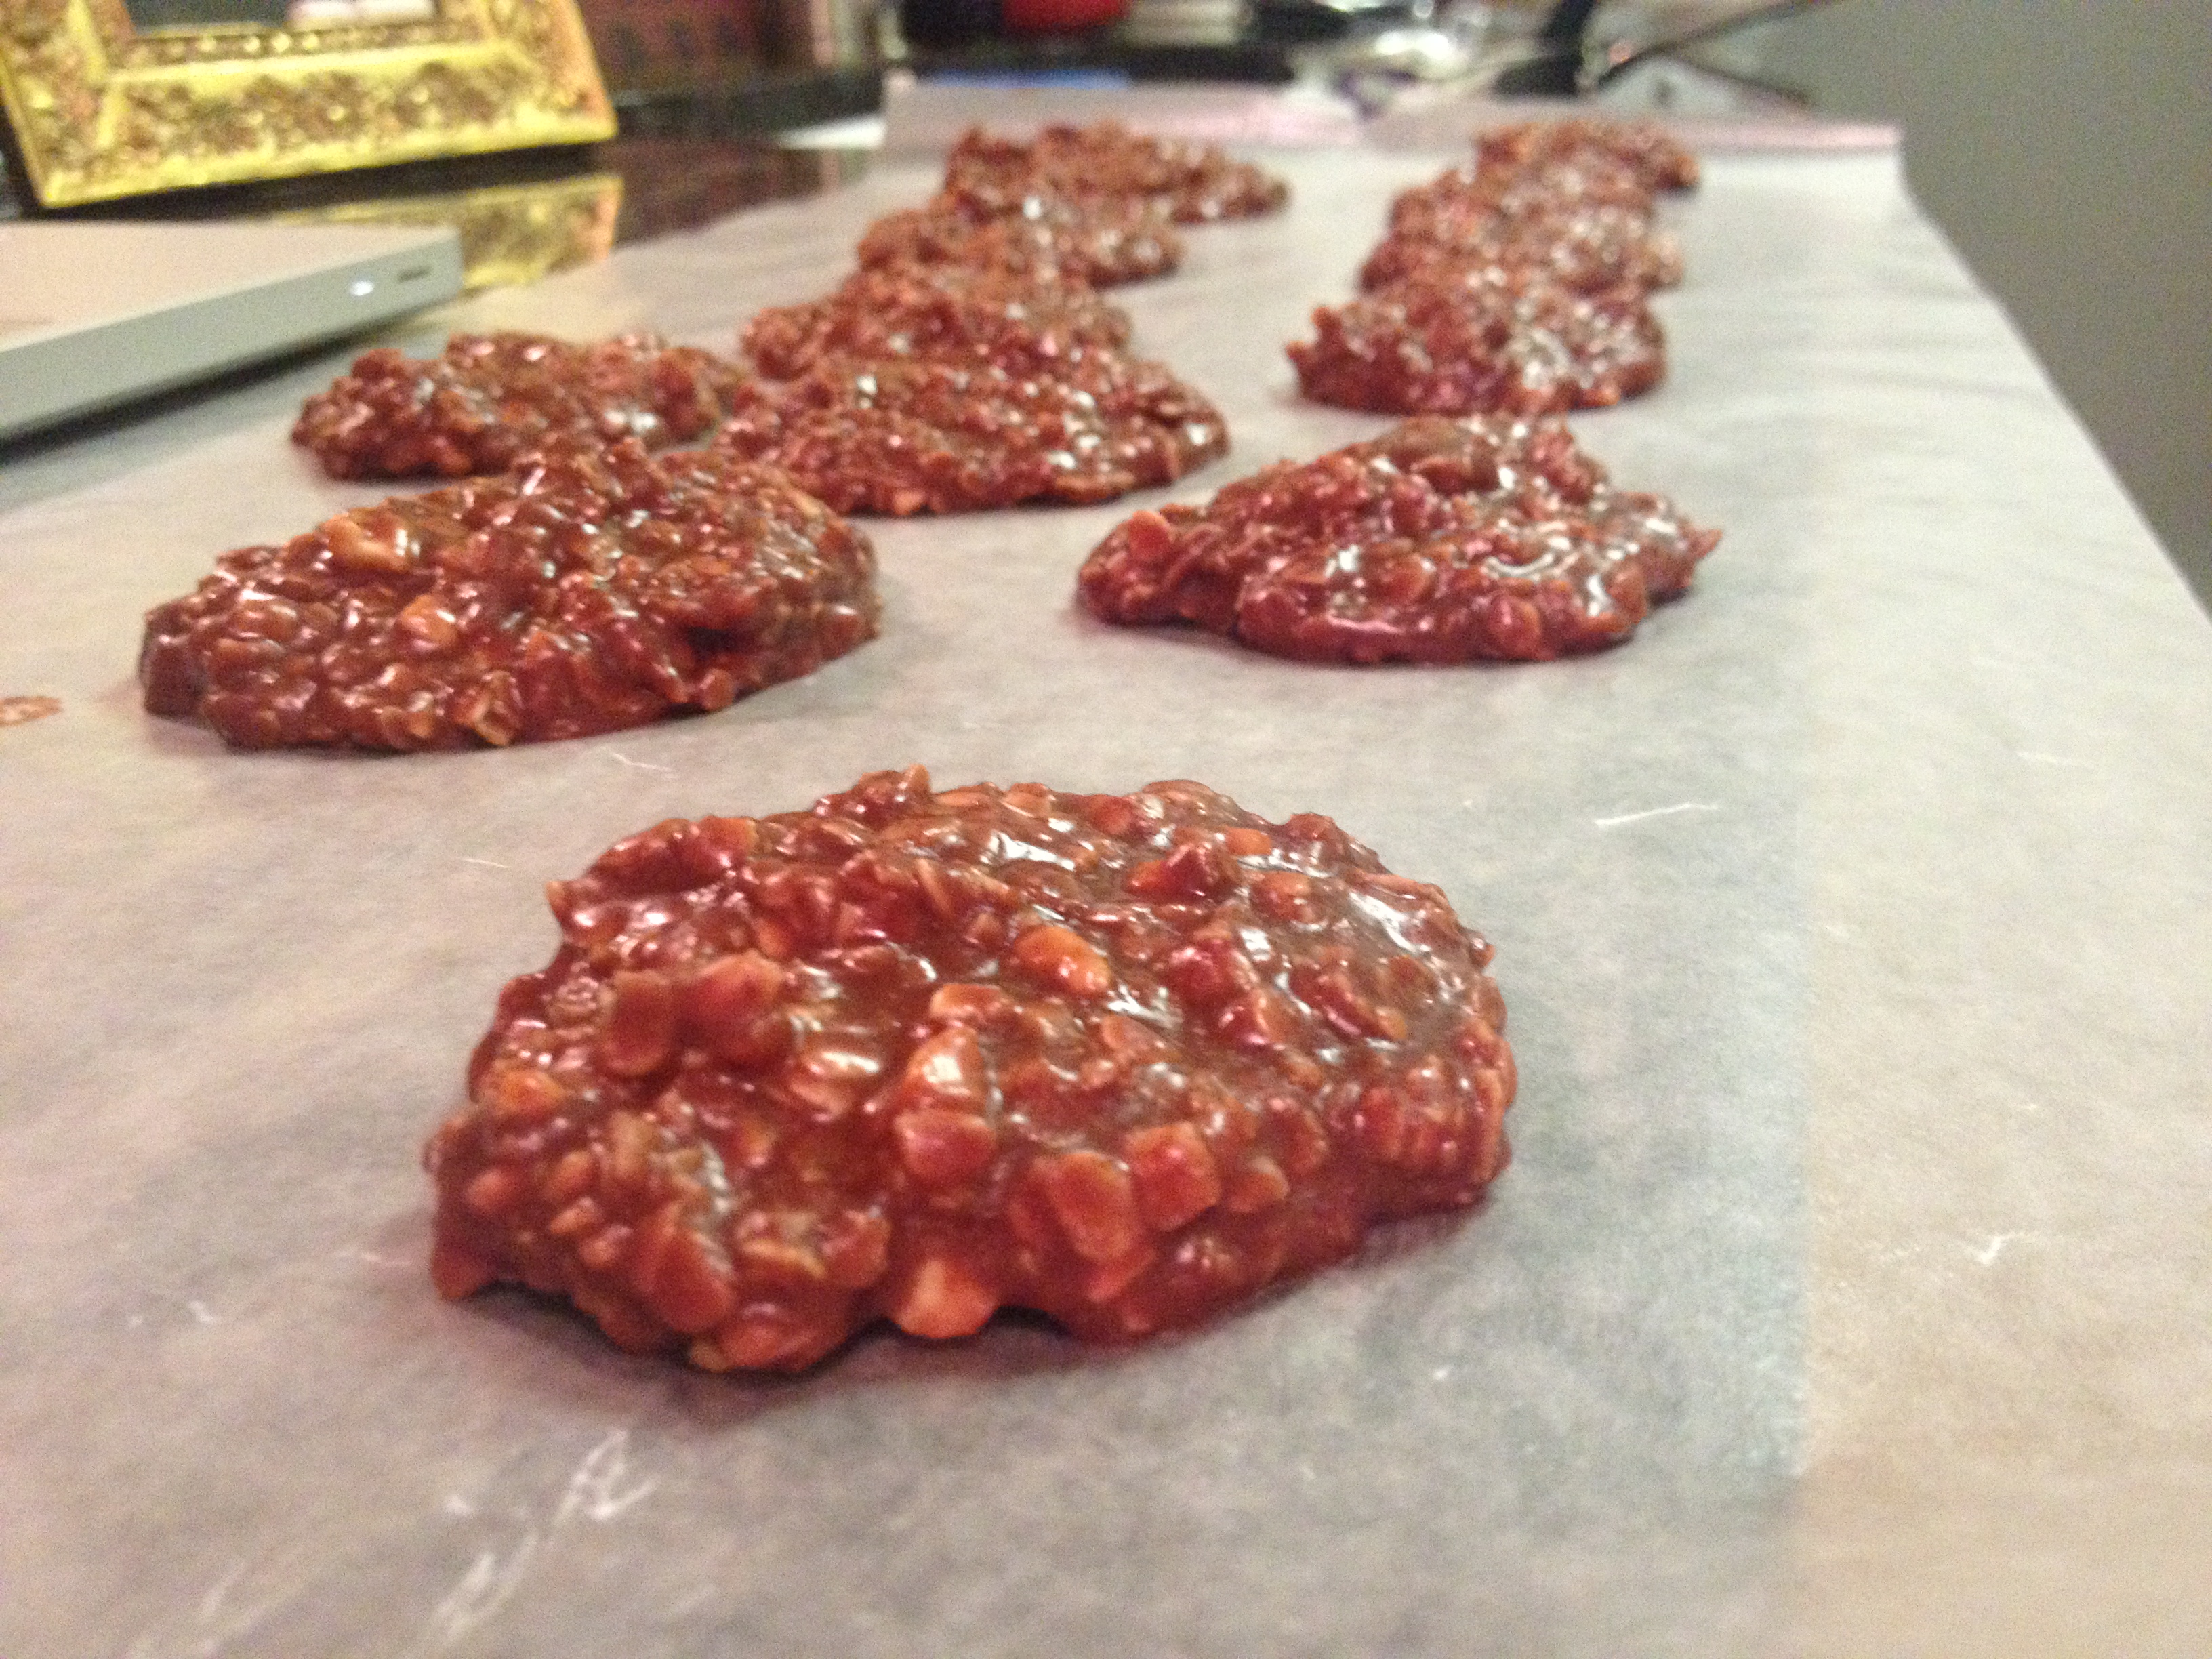
I have found a new use for my ice cream scoop…perhaps I’m late the game everyone was already playing…but the ice cream scoop is perfect for grabbing cookie batter. PERFECT I tell you! However, before you begin your scooping, lay out wax paper on your counter-top.

IMG_4562

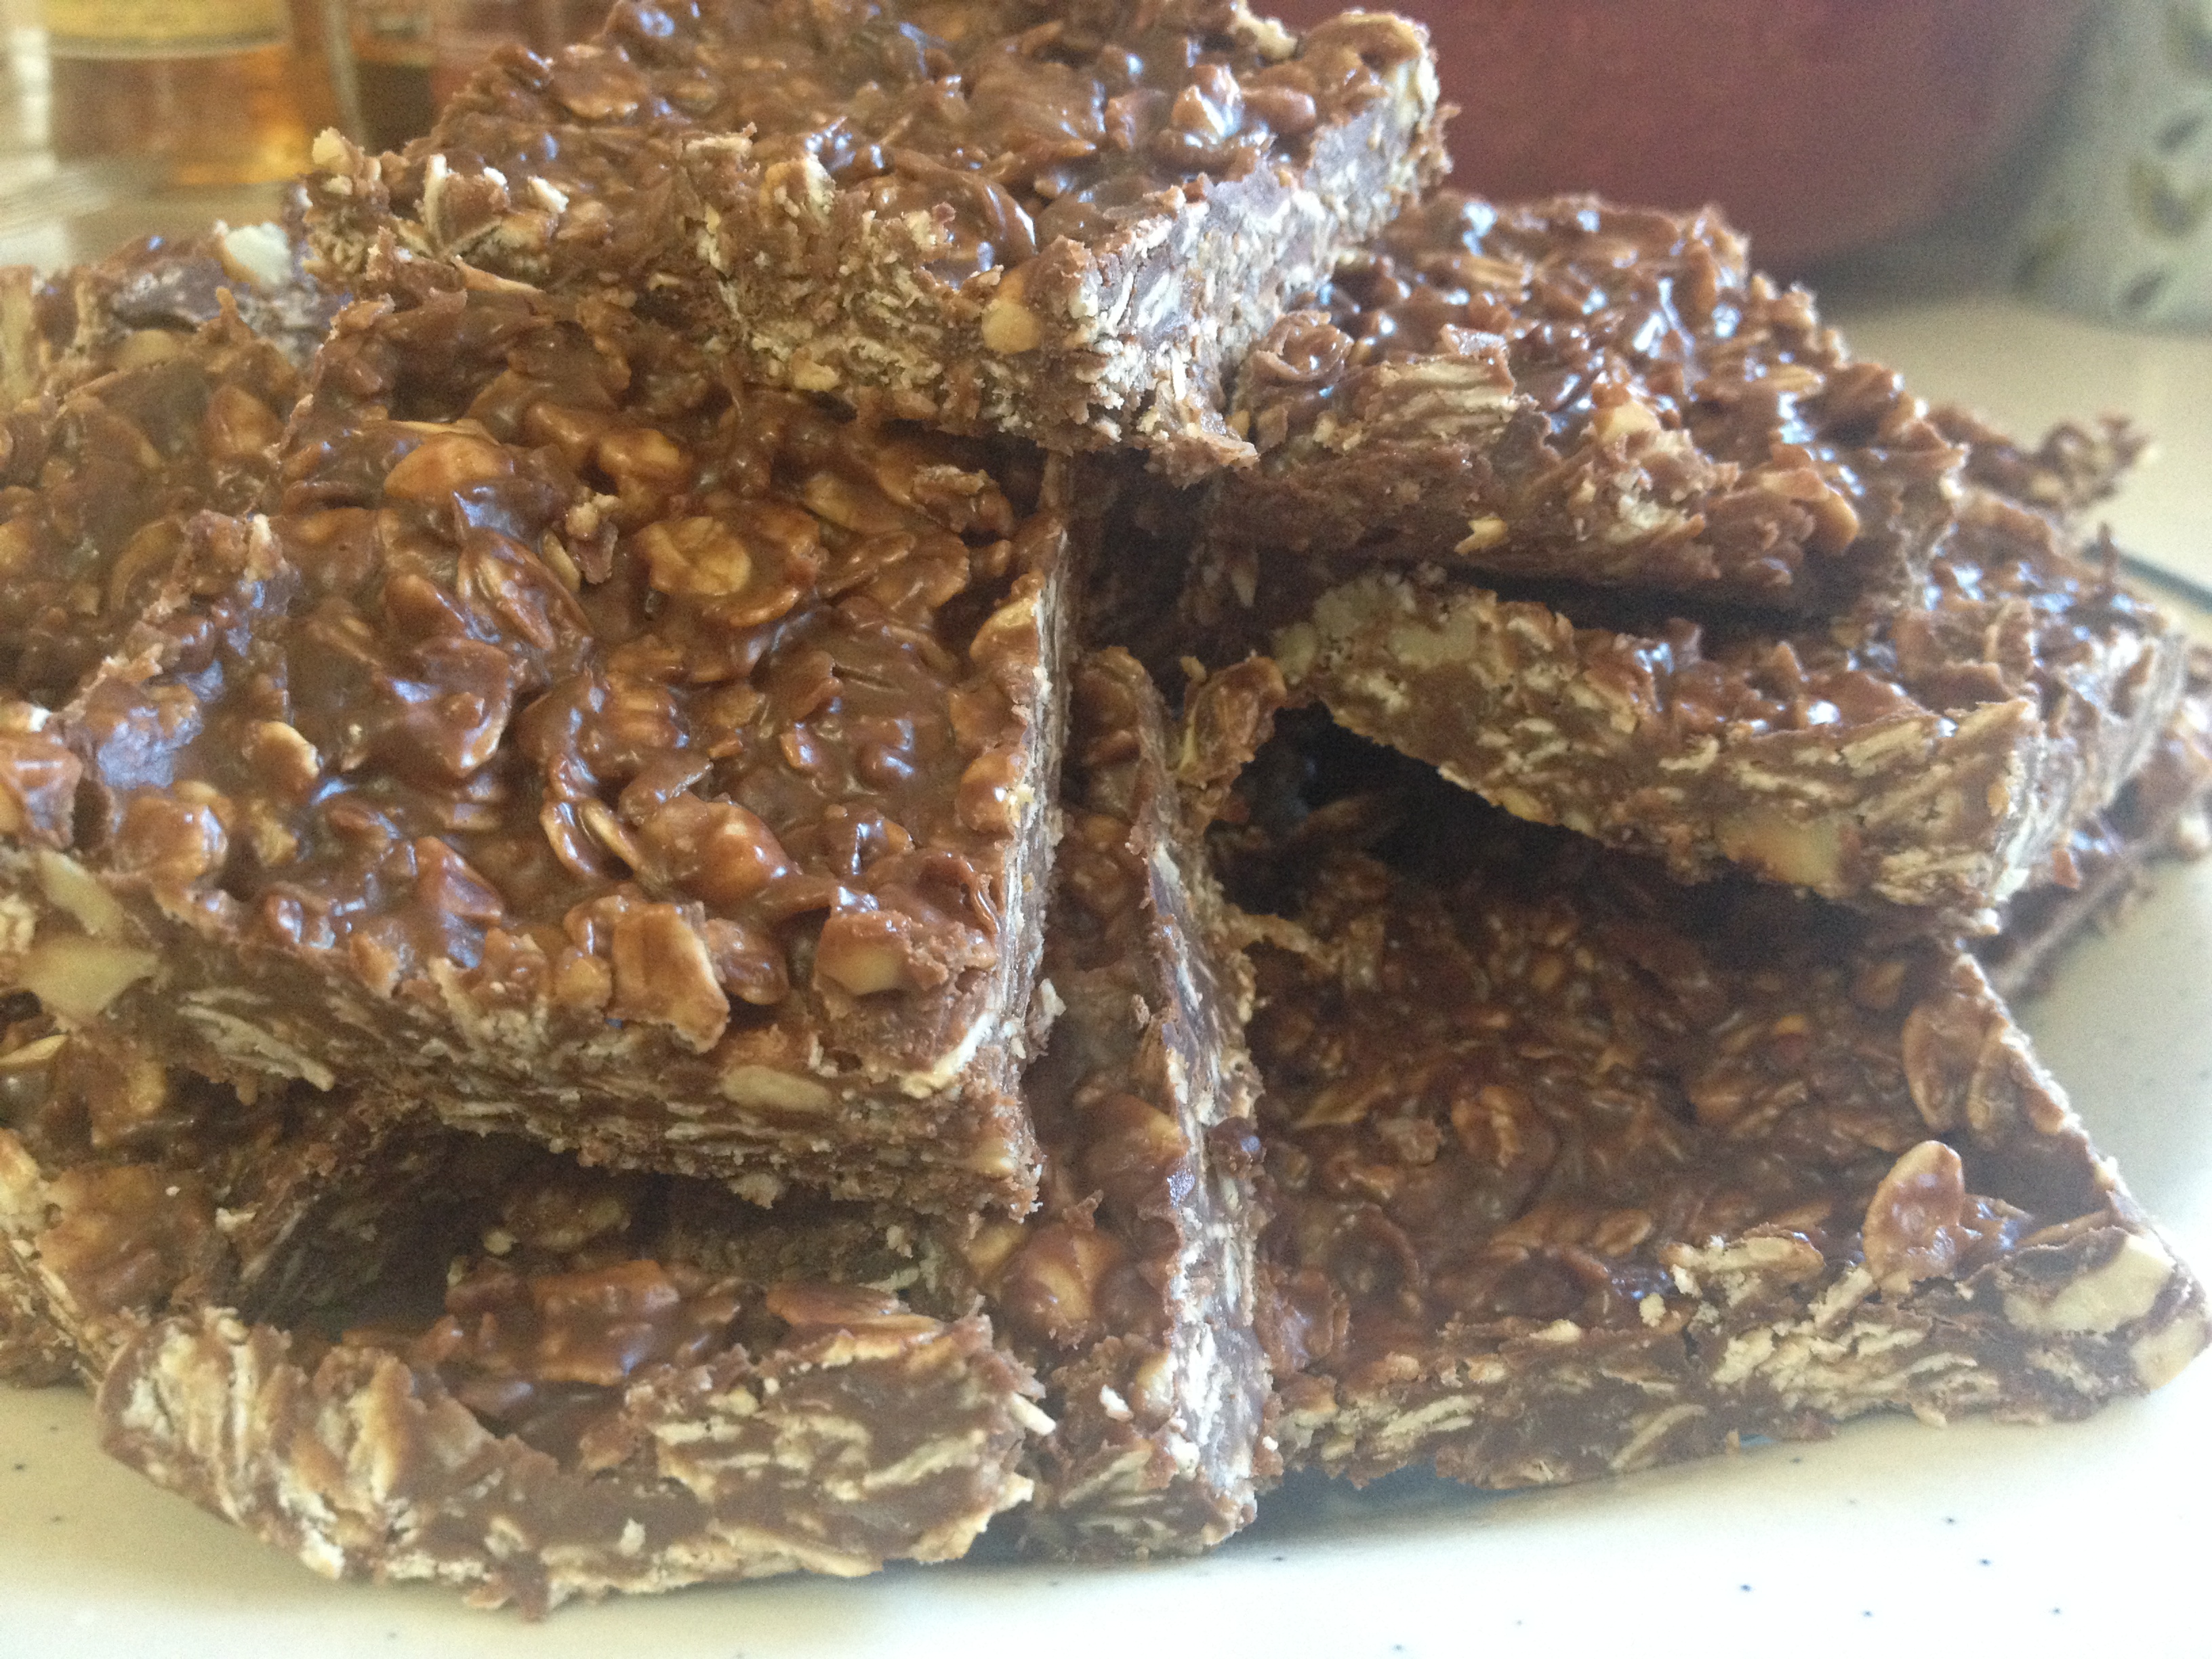
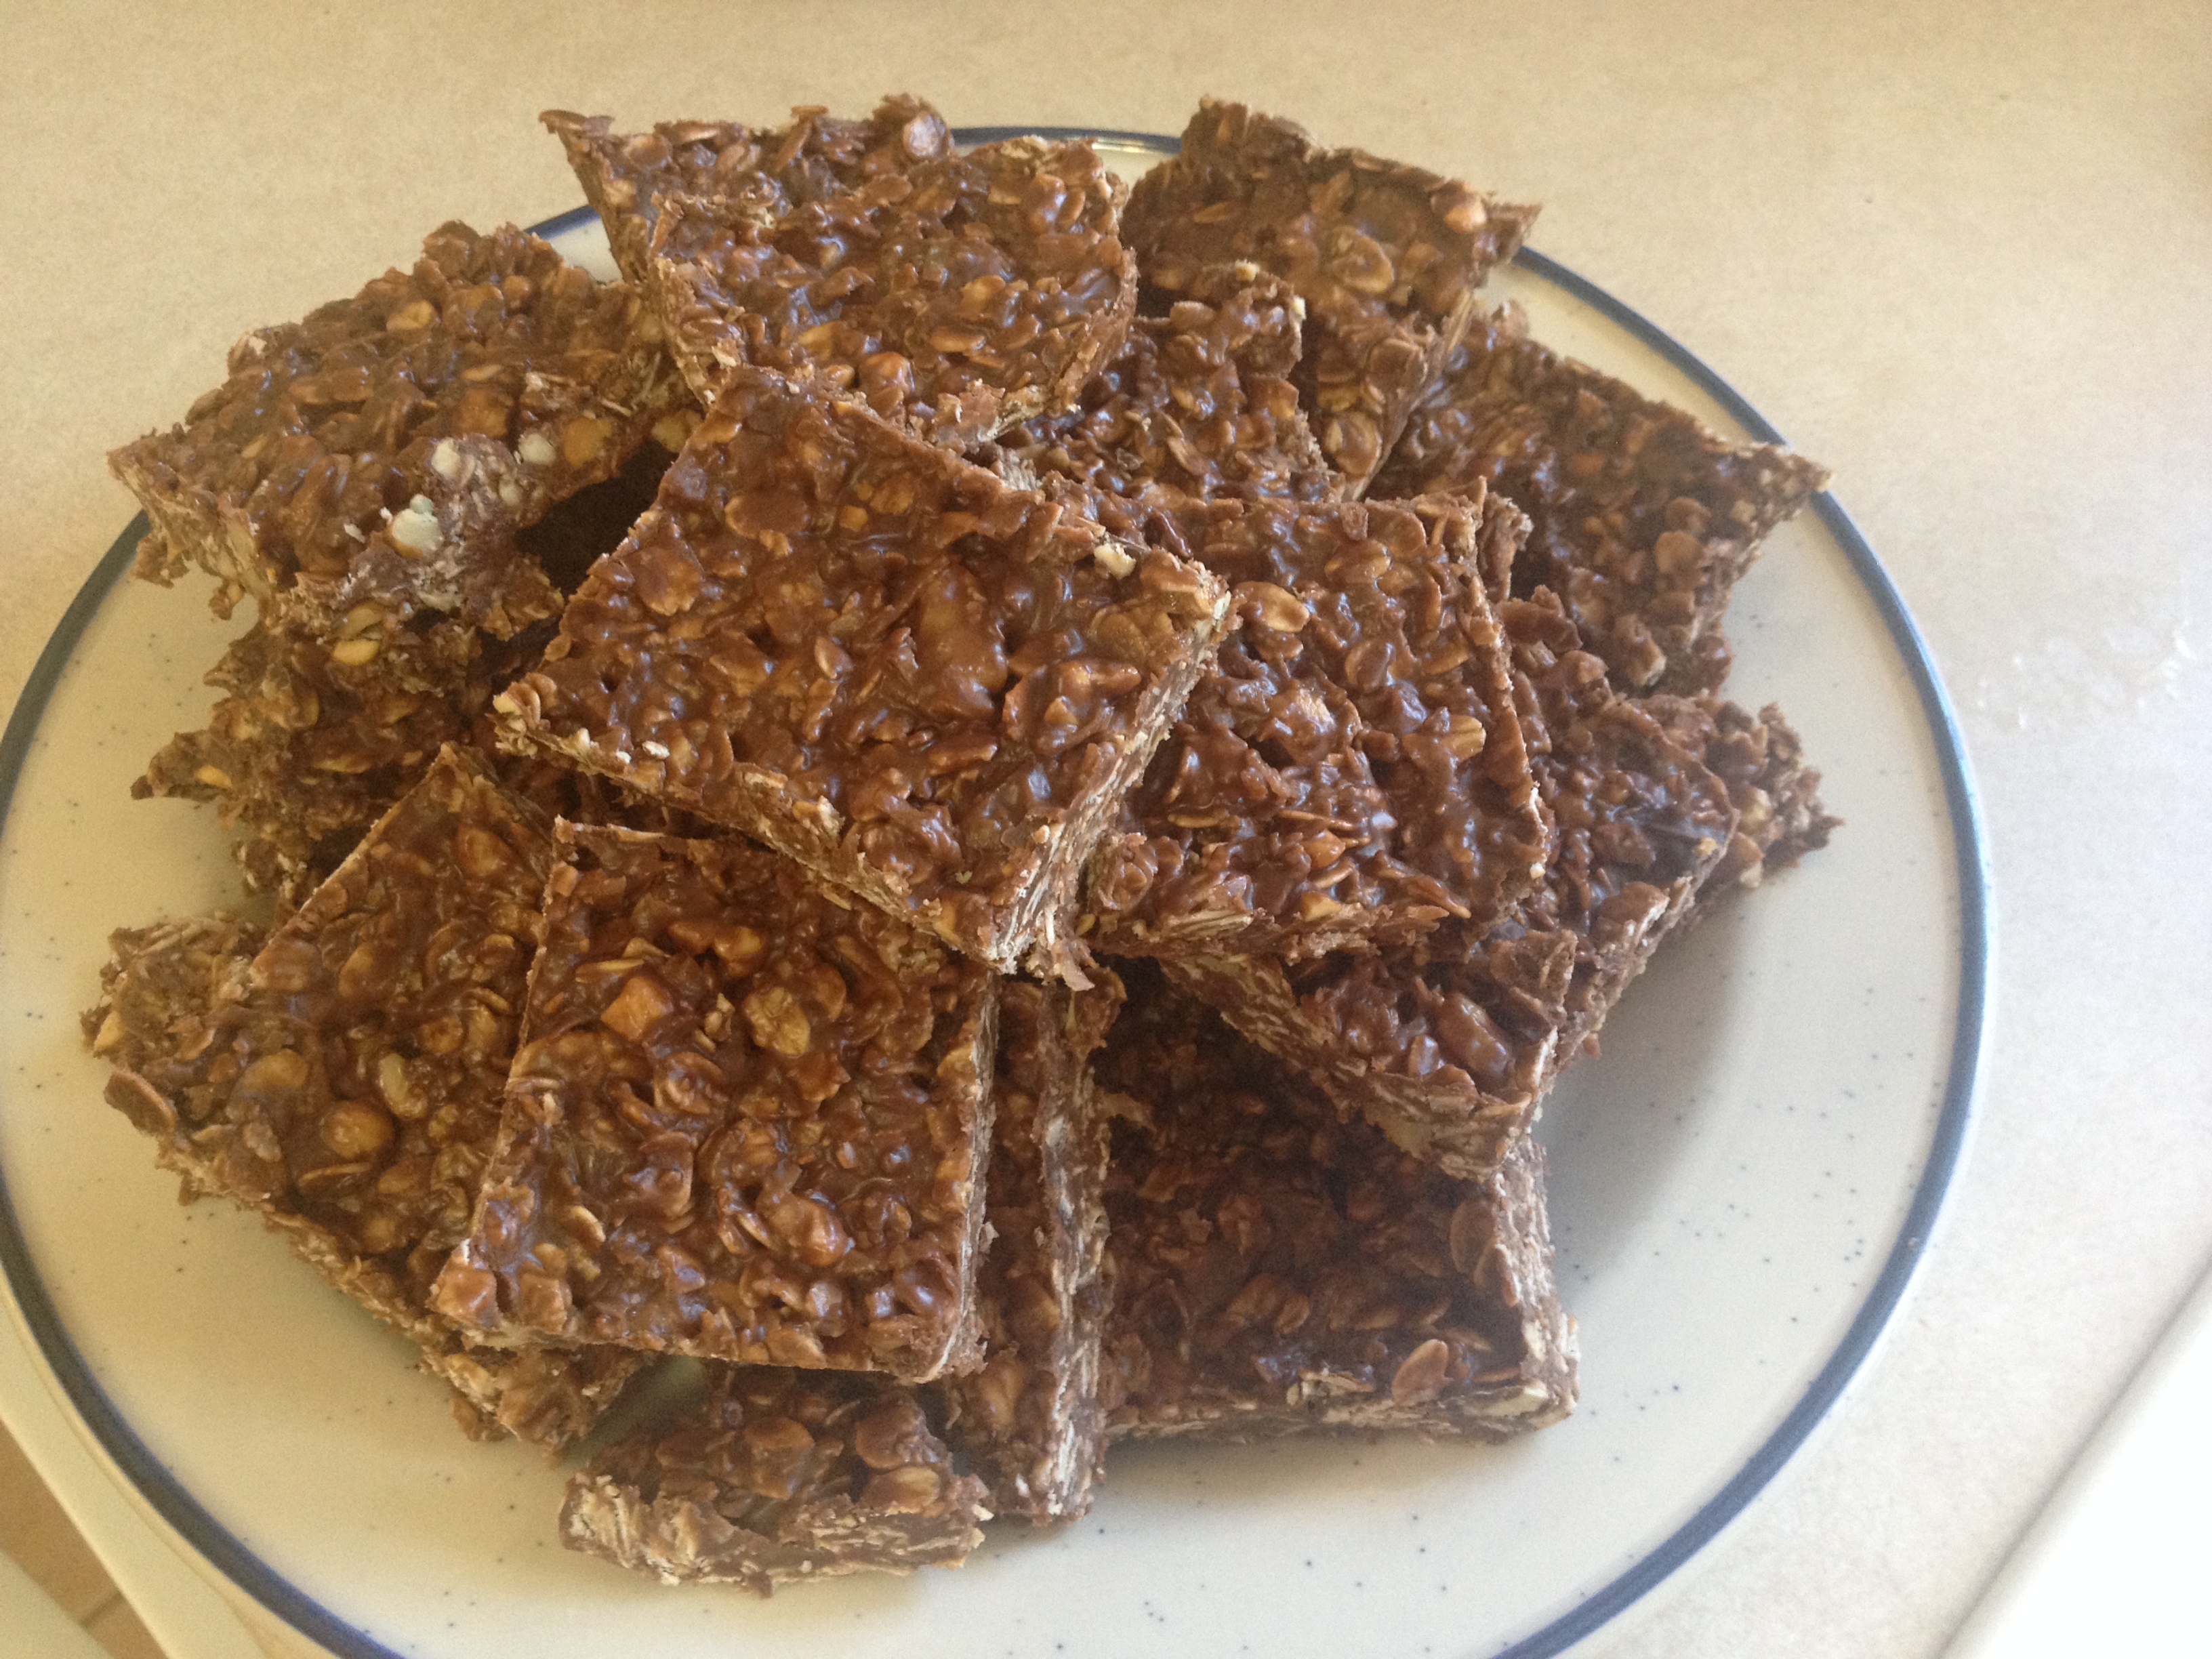
Now, scoop each cookie and plop on to the wax paper to harden. Be sure to leave space between each cookie! This will harden up really fast and are actually insanely delicious when they’re still somewhat moist and falling apart. So if you test one out too soon, it won’t be bad. I promise.

IMG_4563

Once these set (I checked mine after 30 minutes and they were all hard), you can store in Tupperware or feed to hungry humans nearby!

IMG_4564

Enjoy friends!!

And stay tuned for giveaway box details in the next post!!

Advertisement

Cake Batter Dip

7 Apr

Holy cake batter heaven Batman! This may be one of the best dips I’ve ever made and I cannot WAIT for you try it! I’ve already memorized the recipe and know that Luke and I will always have this one in our arsenal when we’re having people over.

IMG_4773

Why is this so good?

I don’t know folks, but it just IS:

  1. Do you sneak cookie dough from the bowl as you’re SUPPOSED to be putting the cookies on baking sheets (you know who you are)?
  2. Do you always order cake batter ice cream when it’s an option (guilty)?
  3. Do you love finding an excuse to still eat teddy grahams (I forgot how AMAZING chocolate teddy grahams are friends…a travesty I realize)?
  4. Do you still enjoy finding ways to add sprinkles into things, just because (c’mon, they make everything more fun)?

If you answered yes to ANY of these things…you…must…try…this…dip.

I found this on Pinterest and was challenged by a friend to give this a go, blog about it so she’d know if this was worthy. Friends, it so is. This is worthy.

Thanks so much to Cassie Craves blog for bringing this joyous concoction to our attention! I made a few tweaks to the original recipe, but the basic concoction was from the aforementioned blog. Can’t wait to check out more of her posts!

Enough with the rambling, let’s get right into the thick of it!

Ingredients:

  • 1 package of Pillsbury Funfetti Cake Mix
  • 2 cups of Vanilla Greek Yogurt
  • 1 1/2 cups Whipped Topping
  • 1-2 tsp of Vanilla Extract
  • 2 Tbsp of colorful Sprinkles (plus extra for sprinkling on the top)

For Dipping:

  • Chocolate Teddy Grahams
  • Nilla Wafers
  • Other ideas: flat cookies, fruit, graham crackers

How to Make:

Locate a bowl and your mixer of choice. Then, prepare for some ingredient blending.

First pour in the Funfetti cake mix…

IMG_4729

…the 2 cups of Greek yogurt…

IMG_4731

…the cup and a half of whipped topping…

IMG_4732

…splash in the vanilla…

IMG_4734

…throw in the sprinkles…

IMG_4735

…and blend baby blend! This whips up nice and quick and the sprinkles create a really fun and colorful look too. Use a spatula to help get the dip off the sides if it starts to creep up. Then, spoon into some Tupperware as you need to pop it in the fridge for about 2 hours (minimum) before you dig in. (You can refrigerate longer too, it just needs a few hours to firm up a bit.)

IMG_4737

That does not mean that you can’t lick the beaters…and the extra spoon you just happened to have used…and the bowl that you used…

Sigh. So delicious.

Before you serve, scoop into your serving bowl of choice and have some sweet crispy snacks on hand to use to  dip. We chose Nilla Wafers and Chocolate Teddy Grahams. But plain graham crackers or fruit would work too, just be sure it’s durable so it holds up  as you pile on the goodness, forewarning.

IMG_4772

Make sure to add some sprinkles on top for garnish before you serve it up to all those excitedly lined up with their dipping mechanisms.

IMG_4773

I loved this, those who consumed it also gave it a thumbs up and I really, deeply think you will too.

Let me know what you think when you give this a whirl!!

Oatmeal Chocolate No-Bake Bars

5 Apr

Okay my friends, are you looking for a sweet treat (for a Final Four party perhaps?) that doesn’t take you long to pull together and doesn’t completely throw you off of your “eating-healthy” plan? Something sweet enough to truly make you want to have two but won’t make you feel guilty about eating “bad”?

IMG_4437


You have found the perfect treat!! Plus, these are truly DELICIOUS! There’s a subtle coconut flavor (which can be replaced if you so choose…so sad for you if so) , peanut-buttery goodness and the typical amazing concoction of oatmeal and chocolate to contend with. You cannot NOT like these. I challenge you!

Found these bad boys on Pinterest and featured on the Money Saving Mom blog and wanted to give them a try. I’ve had something similar (which will be shared in a future blog post) from my future mother-in-law – she makes the BEST no-bake oatmeal chocolate cookies. These are similar but slightly different with a coconut spin and are in bar form. You can also customize these guys to be however you’d like with dried fruit and nuts. And if you’re not into coconut, you can leave that out!

And I don’t know why I keep referring to them as ‘guys’, apparently these bars are male?!? Ha anyways, I digress…

Ingredients:

  • 1 c. peanut butter
  • 1/2 c. honey
  • 1/2 c. coconut oil
  • 2 c. old fashioned oats
  • 1 c. shredded coconut (if you’re anti-coconut, I swear this consistency isn’t too weird…my anti-coconut fiance loved it!)
  • 1/2 c. chopped walnuts (insert in here any nut you choose OR dried fruit)
  • 1 1/4 c. dark chocolate chips
  • 1 tsp vanilla extract

How to Make:

Prepare yourself for the easiest bar making on the planet! No need for an oven, you just need a stove top. That’s it!

First, you’re going to melt together the first three ingredients. The cup of peanut butter…

IMG_4412

…the 1/2 cup of honey…

IMG_4413

…the 1/2 cup of coconut oil (butter works too if you don’t have coconut oil on hand).

IMG_4414

Melt all of the ingredients together but stirring over medium to low heat. Once thoroughly warmed and mixed, turn down to low and grab another bowl for mixing the remaining ingredients.

IMG_4415

Measure out 2 cups of oats…

IMG_4416

…a cup of shredded coconut (or another dried fruit if you’re REALLY anti-coconut)…

IMG_4417

…the 1/2 cup of chopped walnuts (or another chopped nut of choice)…

IMG_4421

…the 1 and 1/4 cup of dark chocolate chips…a few may escape and end up consumed, it happens…

IMG_4420

…and the teaspoon of vanilla extract.

IMG_4422

Mix all of these dry ingredients up and then slowly pour in your melted warm ingredients on top. Stir, stir, stir! You need to thoroughly coat everything!

IMG_4427


IMG_4428

Then, pour into a greased 9×13 baking pan (higher sides would be better) and spread as evenly as you can on the bottom.

IMG_4430

IMG_4431

Then pop this into the fridge until it hardens! Ours was ready to go in about an hour or so, but just keep checking in on it to see if it’s ready to go! Then, slice these up with a sharp knife and serve ’em up to your favorite people…or if you desire after having one, hoard them for yourself 😉

IMG_4433

IMG_4434

IMG_4435

Regardless, these are delicious, addicting and you really can’t feel too terribly bad about having a treat or two of these.

Enjoy!!

%d bloggers like this: