Archive | Beverages RSS feed for this section

Tom & Jerry Cocktail

2 Jan

DSC_0479

Happy New Year, all!! I hope you enjoyed a relaxing holiday season and had plenty of time with those you love most. This time of year is always great for reconnecting with friends you don’t see often, getting extended time with family AND…..plenty of delicious food and libations!

About that last part…libations…I have a new favorite ‘warm drink’ that I can’t wait to share with you. It’s perfect for this cold time of year when you want to stay in and drink something warm and toasty. Have YOU had a Tom & Jerry?

  • If YES: I’m so happy that I finally know what all the fuss is about.
  • If NO: MAN you need to try this!

The best way I can describe a Tom & Jerry is an egg noggy ice cream (the “mix”) that’s added to a hot beverage of either hot milk or hot water, some booze is mixed in and TA DA…a boozy float of goodness. It’s GOOD.

Now, you can buy Tom & Jerry mix at the grocery store…it’s usually near the ice cream in the frozen section. However, you can also make this at home and it’s really not terribly hard to do so. You likely already have everything on hand anyway, so I like to think you’re saving yourself a couple of bucks. 🙂

We made this over the Christmas holiday with Luke’s family and I’m sure I’ll be whipping up a batch for him and I to have in our own freezer for when we have friends over.

So, if you’re looking for a way to continue to celebrate New Year’s with fun and fancy drinks, this is one I recommend with two thumbs WAYYYYYY up in the air. It would also be great on a night in with your significant other, friends or heck, just a fun drink to have while you’re curled up binging on Netflix (ummm….Friends is on Netflix…already fully committed to watching the whole series from start to finish). Whatever the occasion – make this. Do it.

Here we go…thanks to Girls Guide to Butter for the base recipe! We adapted a bit but I was so thankful to have a place to start from. We made 6 cups of batter so we’d have enough for family throughout the time we were in WI, but you can easily adjust for the amount you’d like to make. Essentially, the amount of eggs equals the quantity of batter (in cups) you’ll end up with. Just adjust the other ingredients up or down depending on how much batter you’re going for. I

Ingredients (for 6 cups of batter):

For the Tom & Jerry mix…

  • 6 eggs, separated (whites in one bowl and yolks in another bowl)
  • Pinch of salt (helps when whipping the egg whites)
  • 2 sticks of softened unsalted butter
  • (approximately) 7 cups of powdered sugar
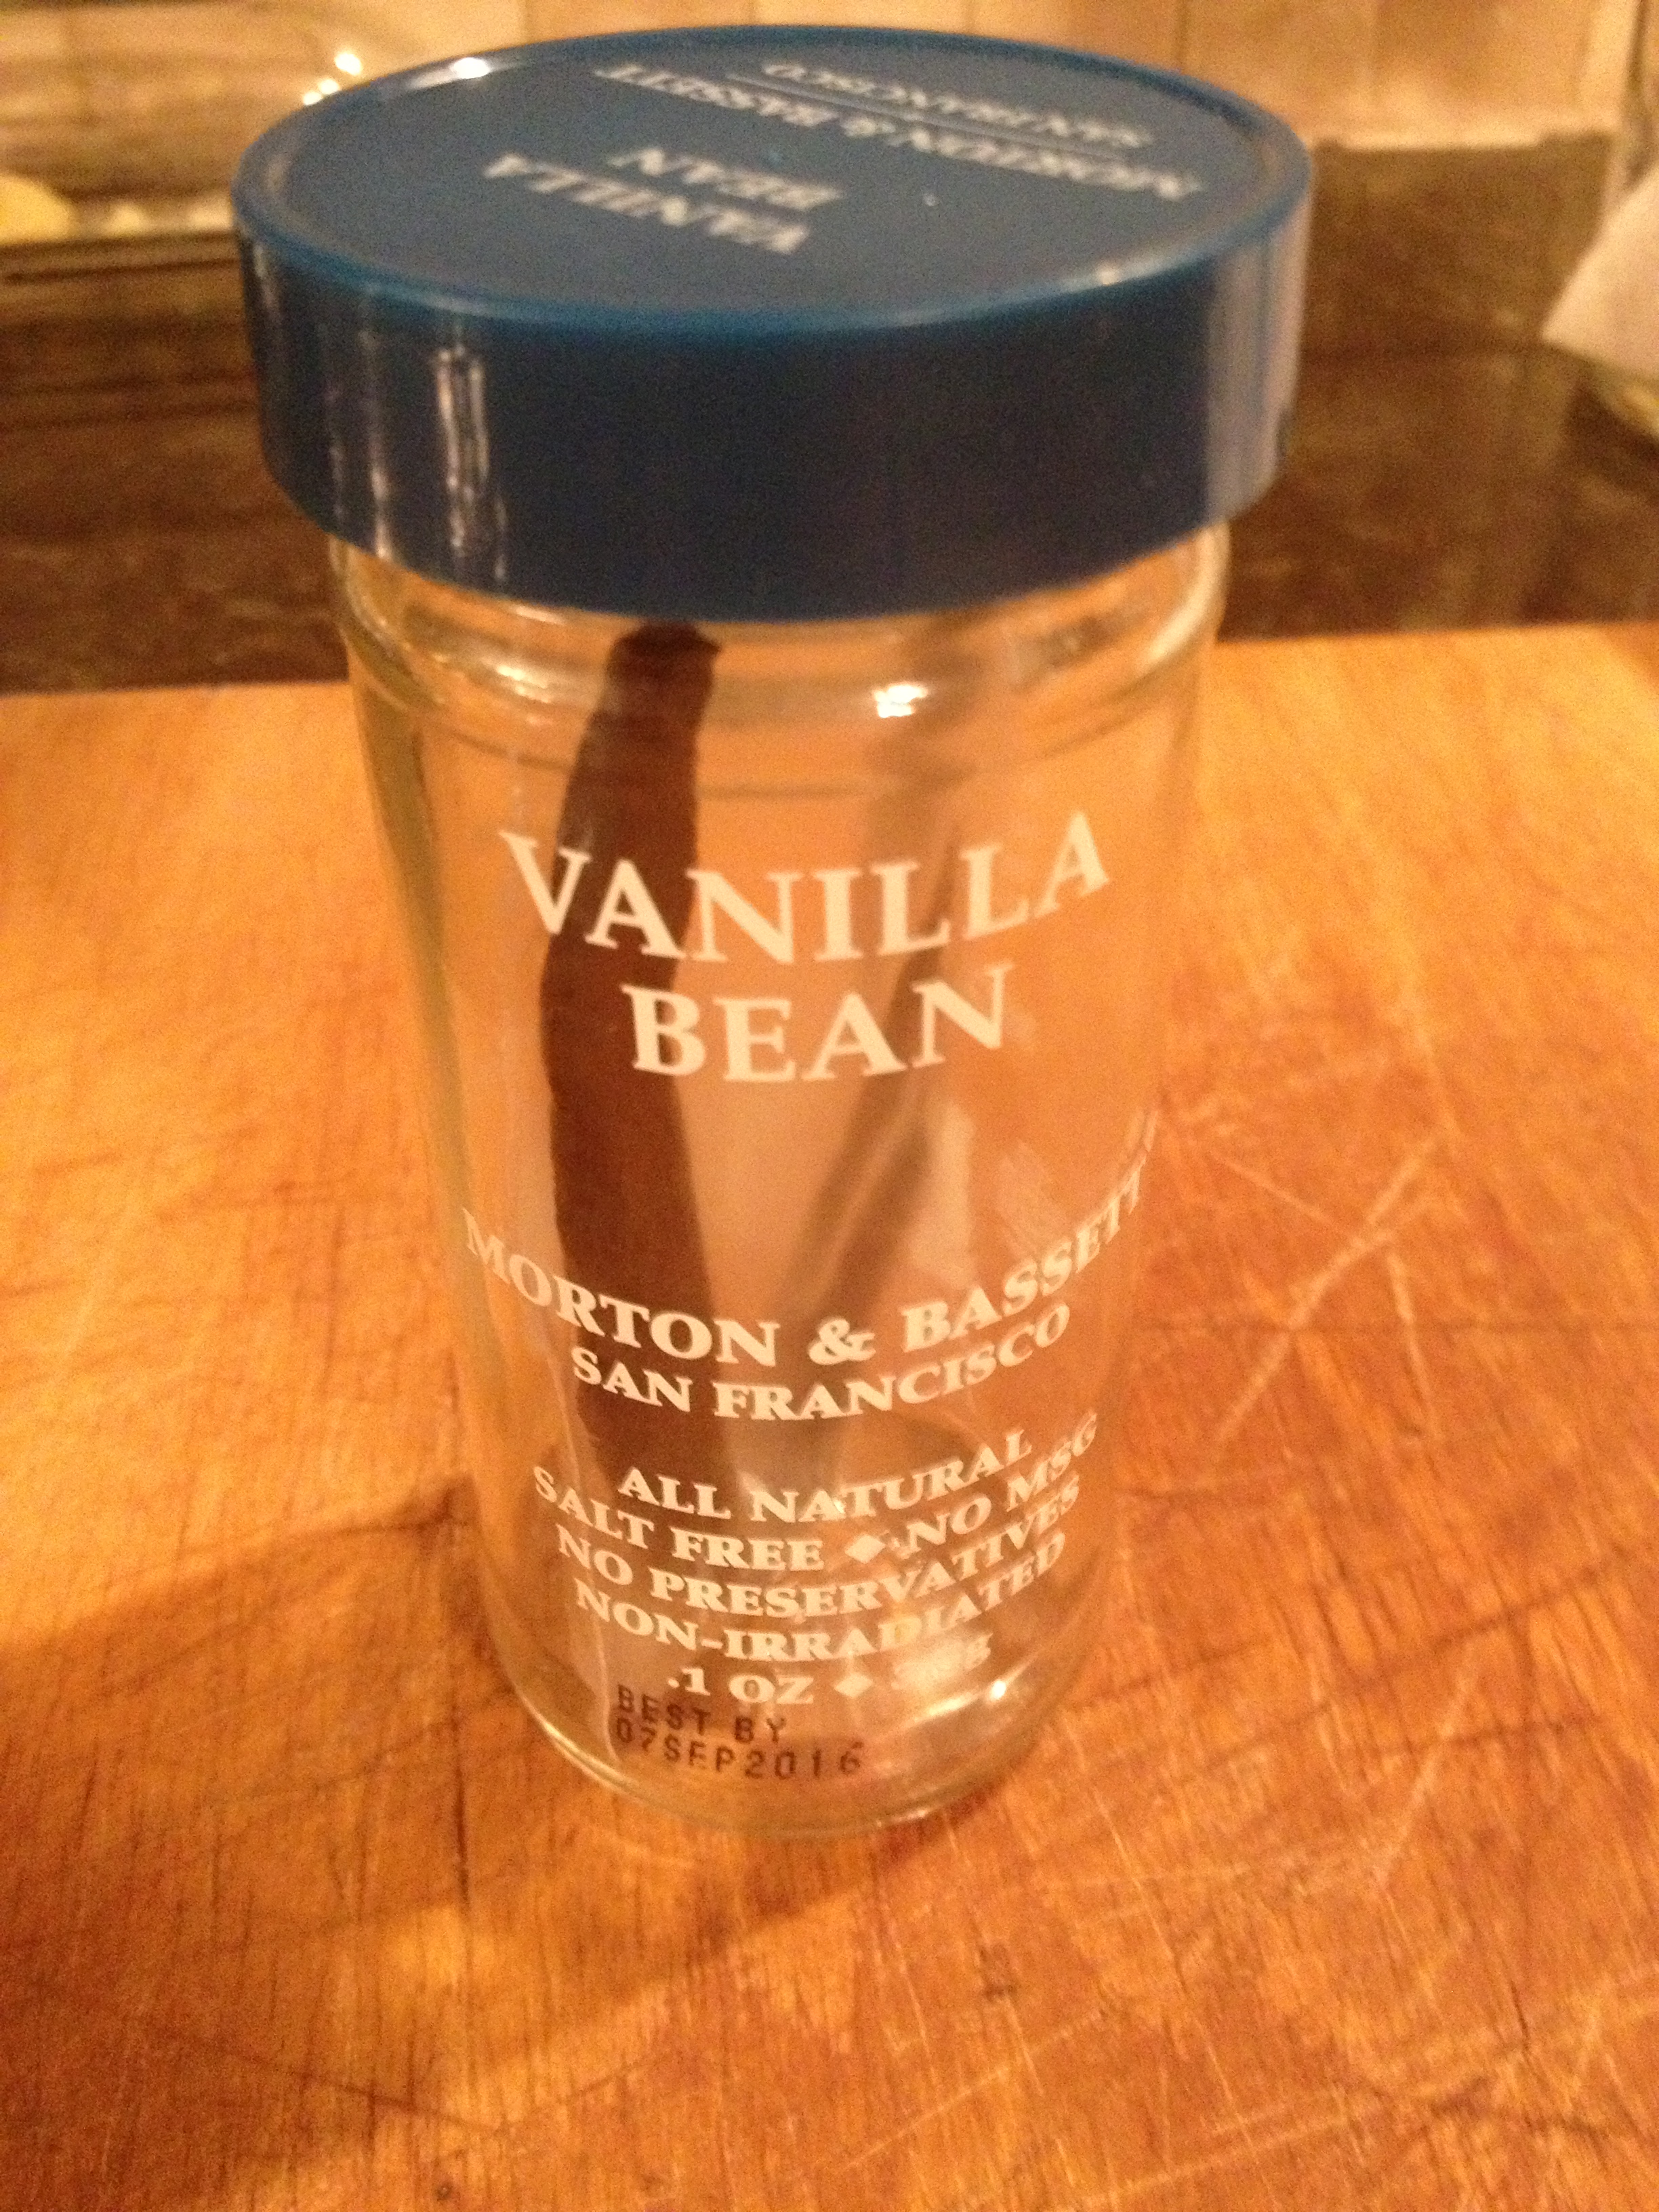
  • 2 tsp of vanilla extract
  • 1 tsp nutmeg

When ready to make the drinks…

  • Hot water or hot milk (your preference)
  • A “glug” of your favorite brandy
  • A “glug” of your favorite rum
  • Nutmeg to sprinkle of top

How to Make:

First step is to separate your eggs. I do this by cracking each in my hands and letting the whites slip through my fingers into a bowl until I’m left holding just the yolk. Then I slide the yolk into a separate bowl. Easy! Messy, but easy. Do this with all of the eggs and then set aside the bowl with the yolks.

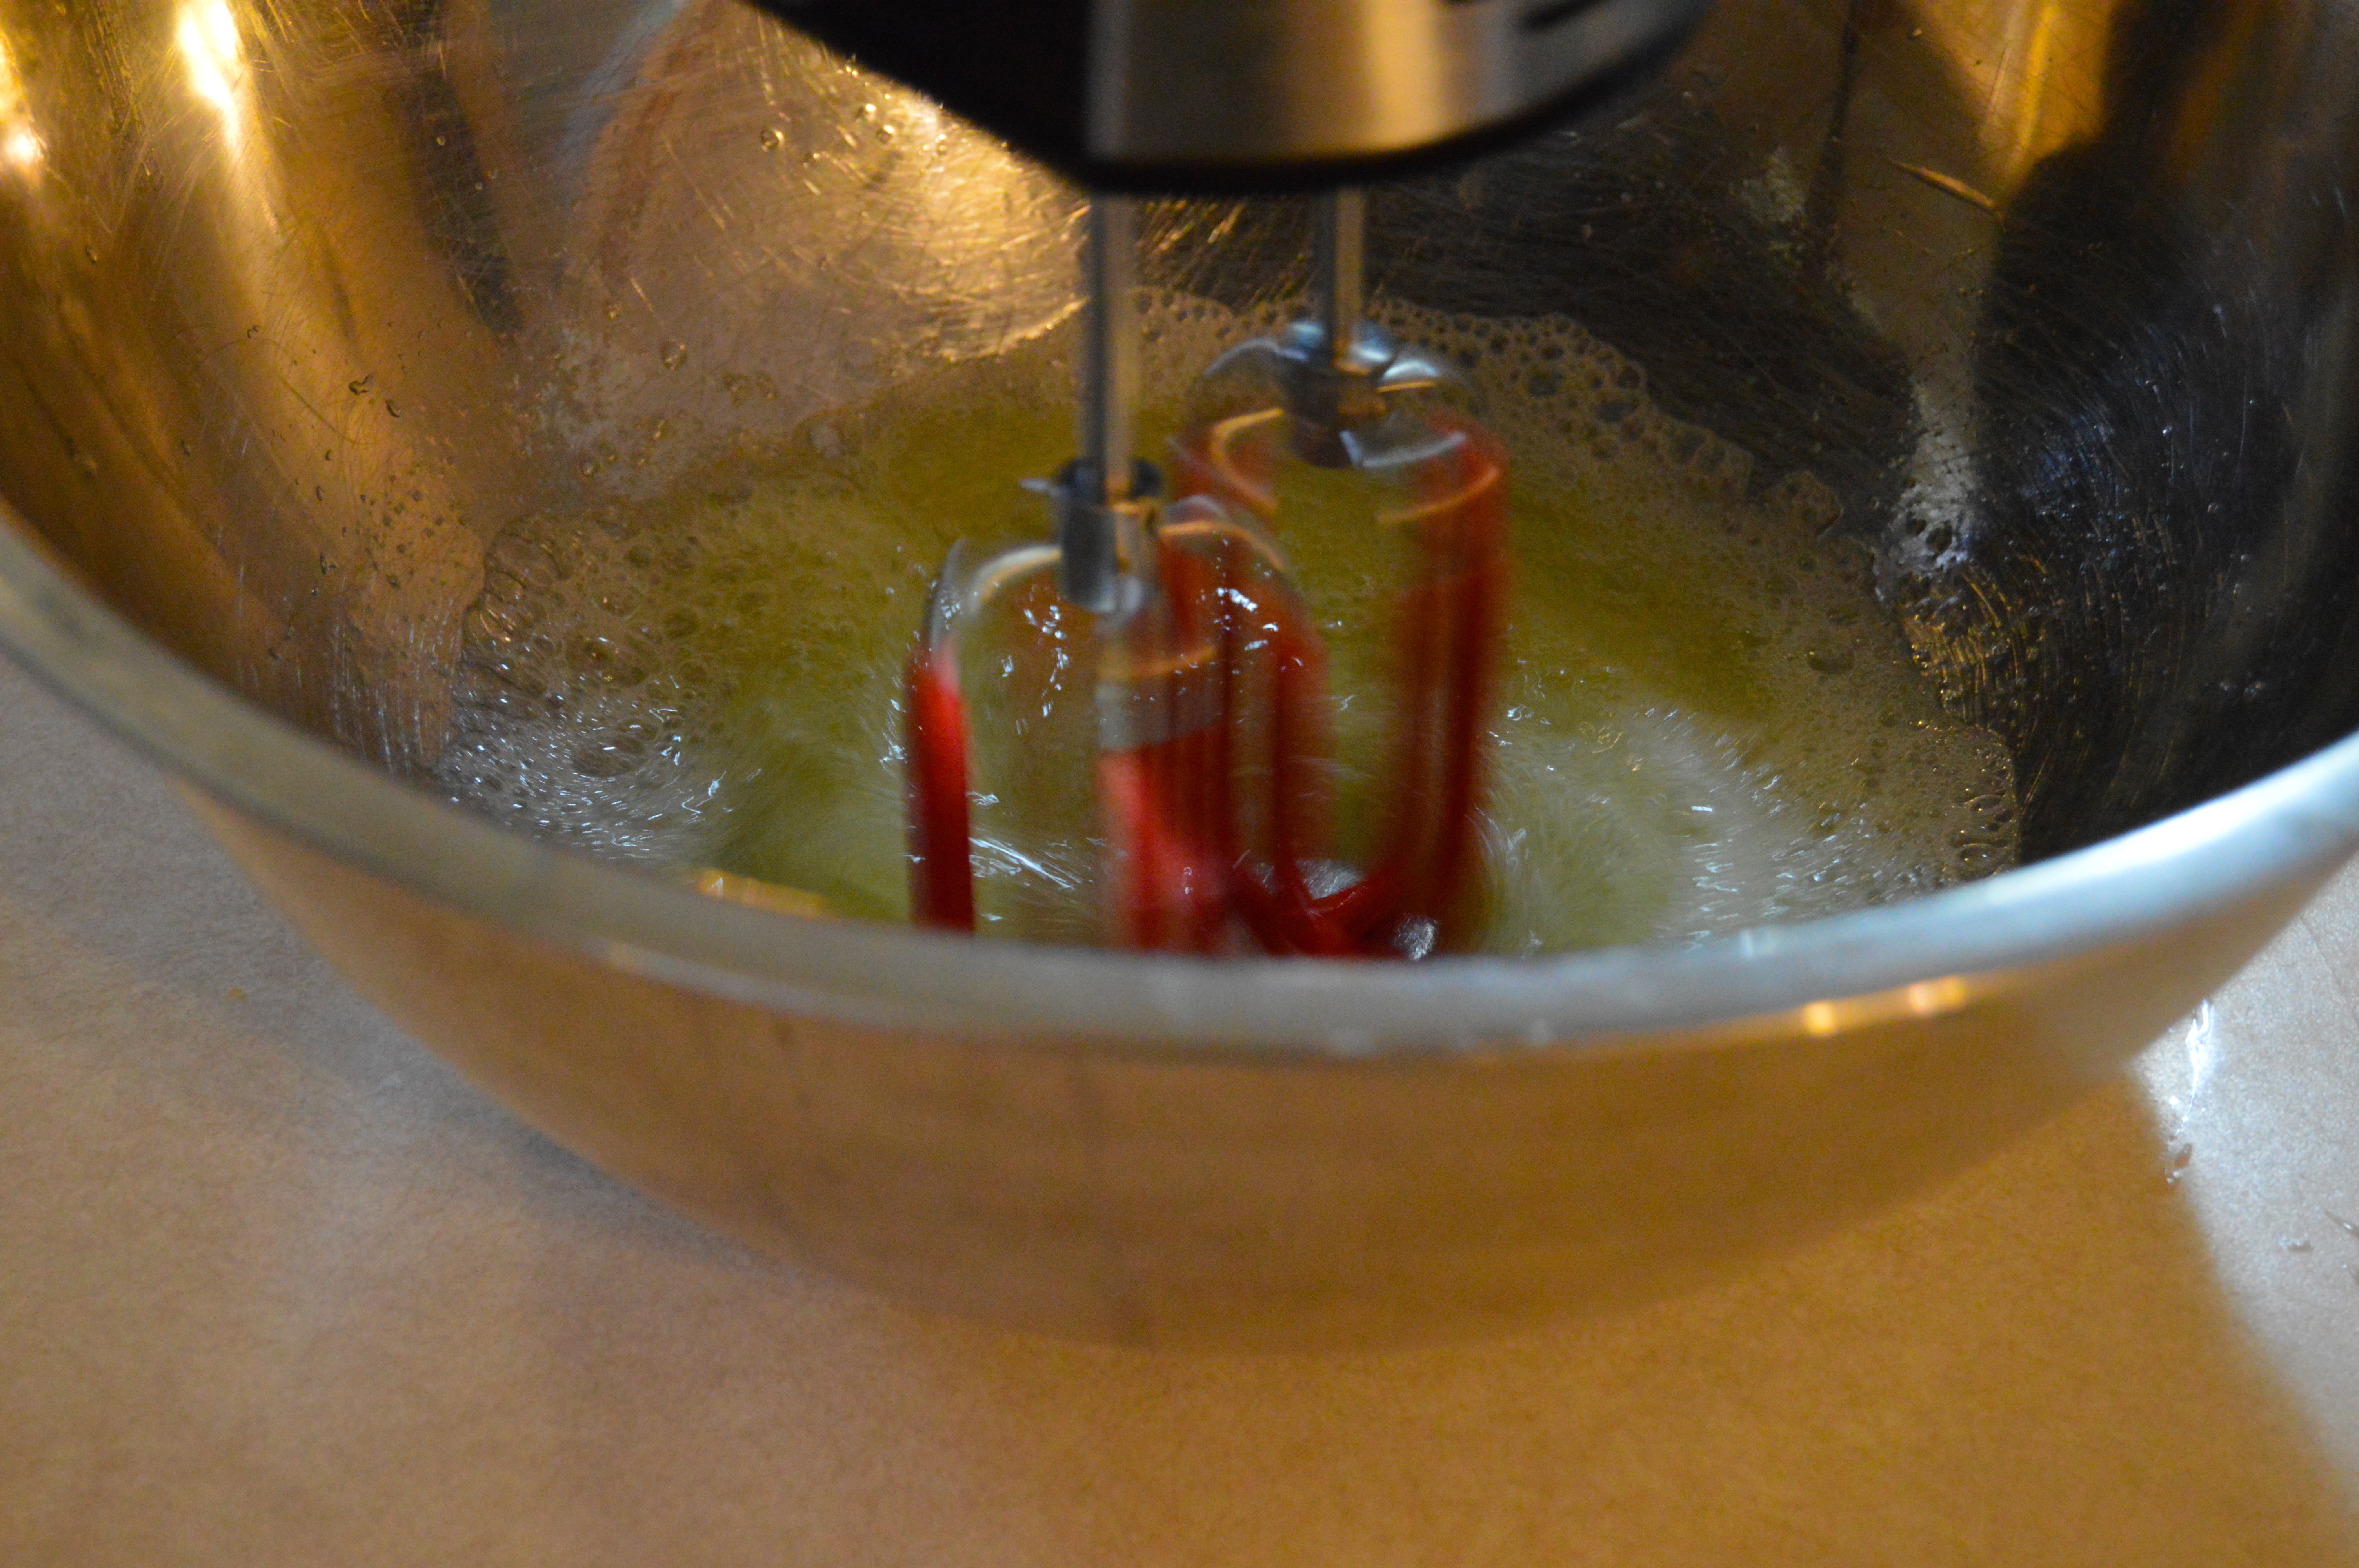
Grab the bowl with the whites and locate your hand mixer or prep your stand mixer. Beat your eggs whites for several minutes until the whites come together to form stiff peaks. This takes several minutes, so chat up those in the kitchen or enjoy your current Netflix selection. One helpful hint would be to sprinkle in some salt while you’re whipping the egg whites, it helps!

DSC_0433

DSC_0434

DSC_0436

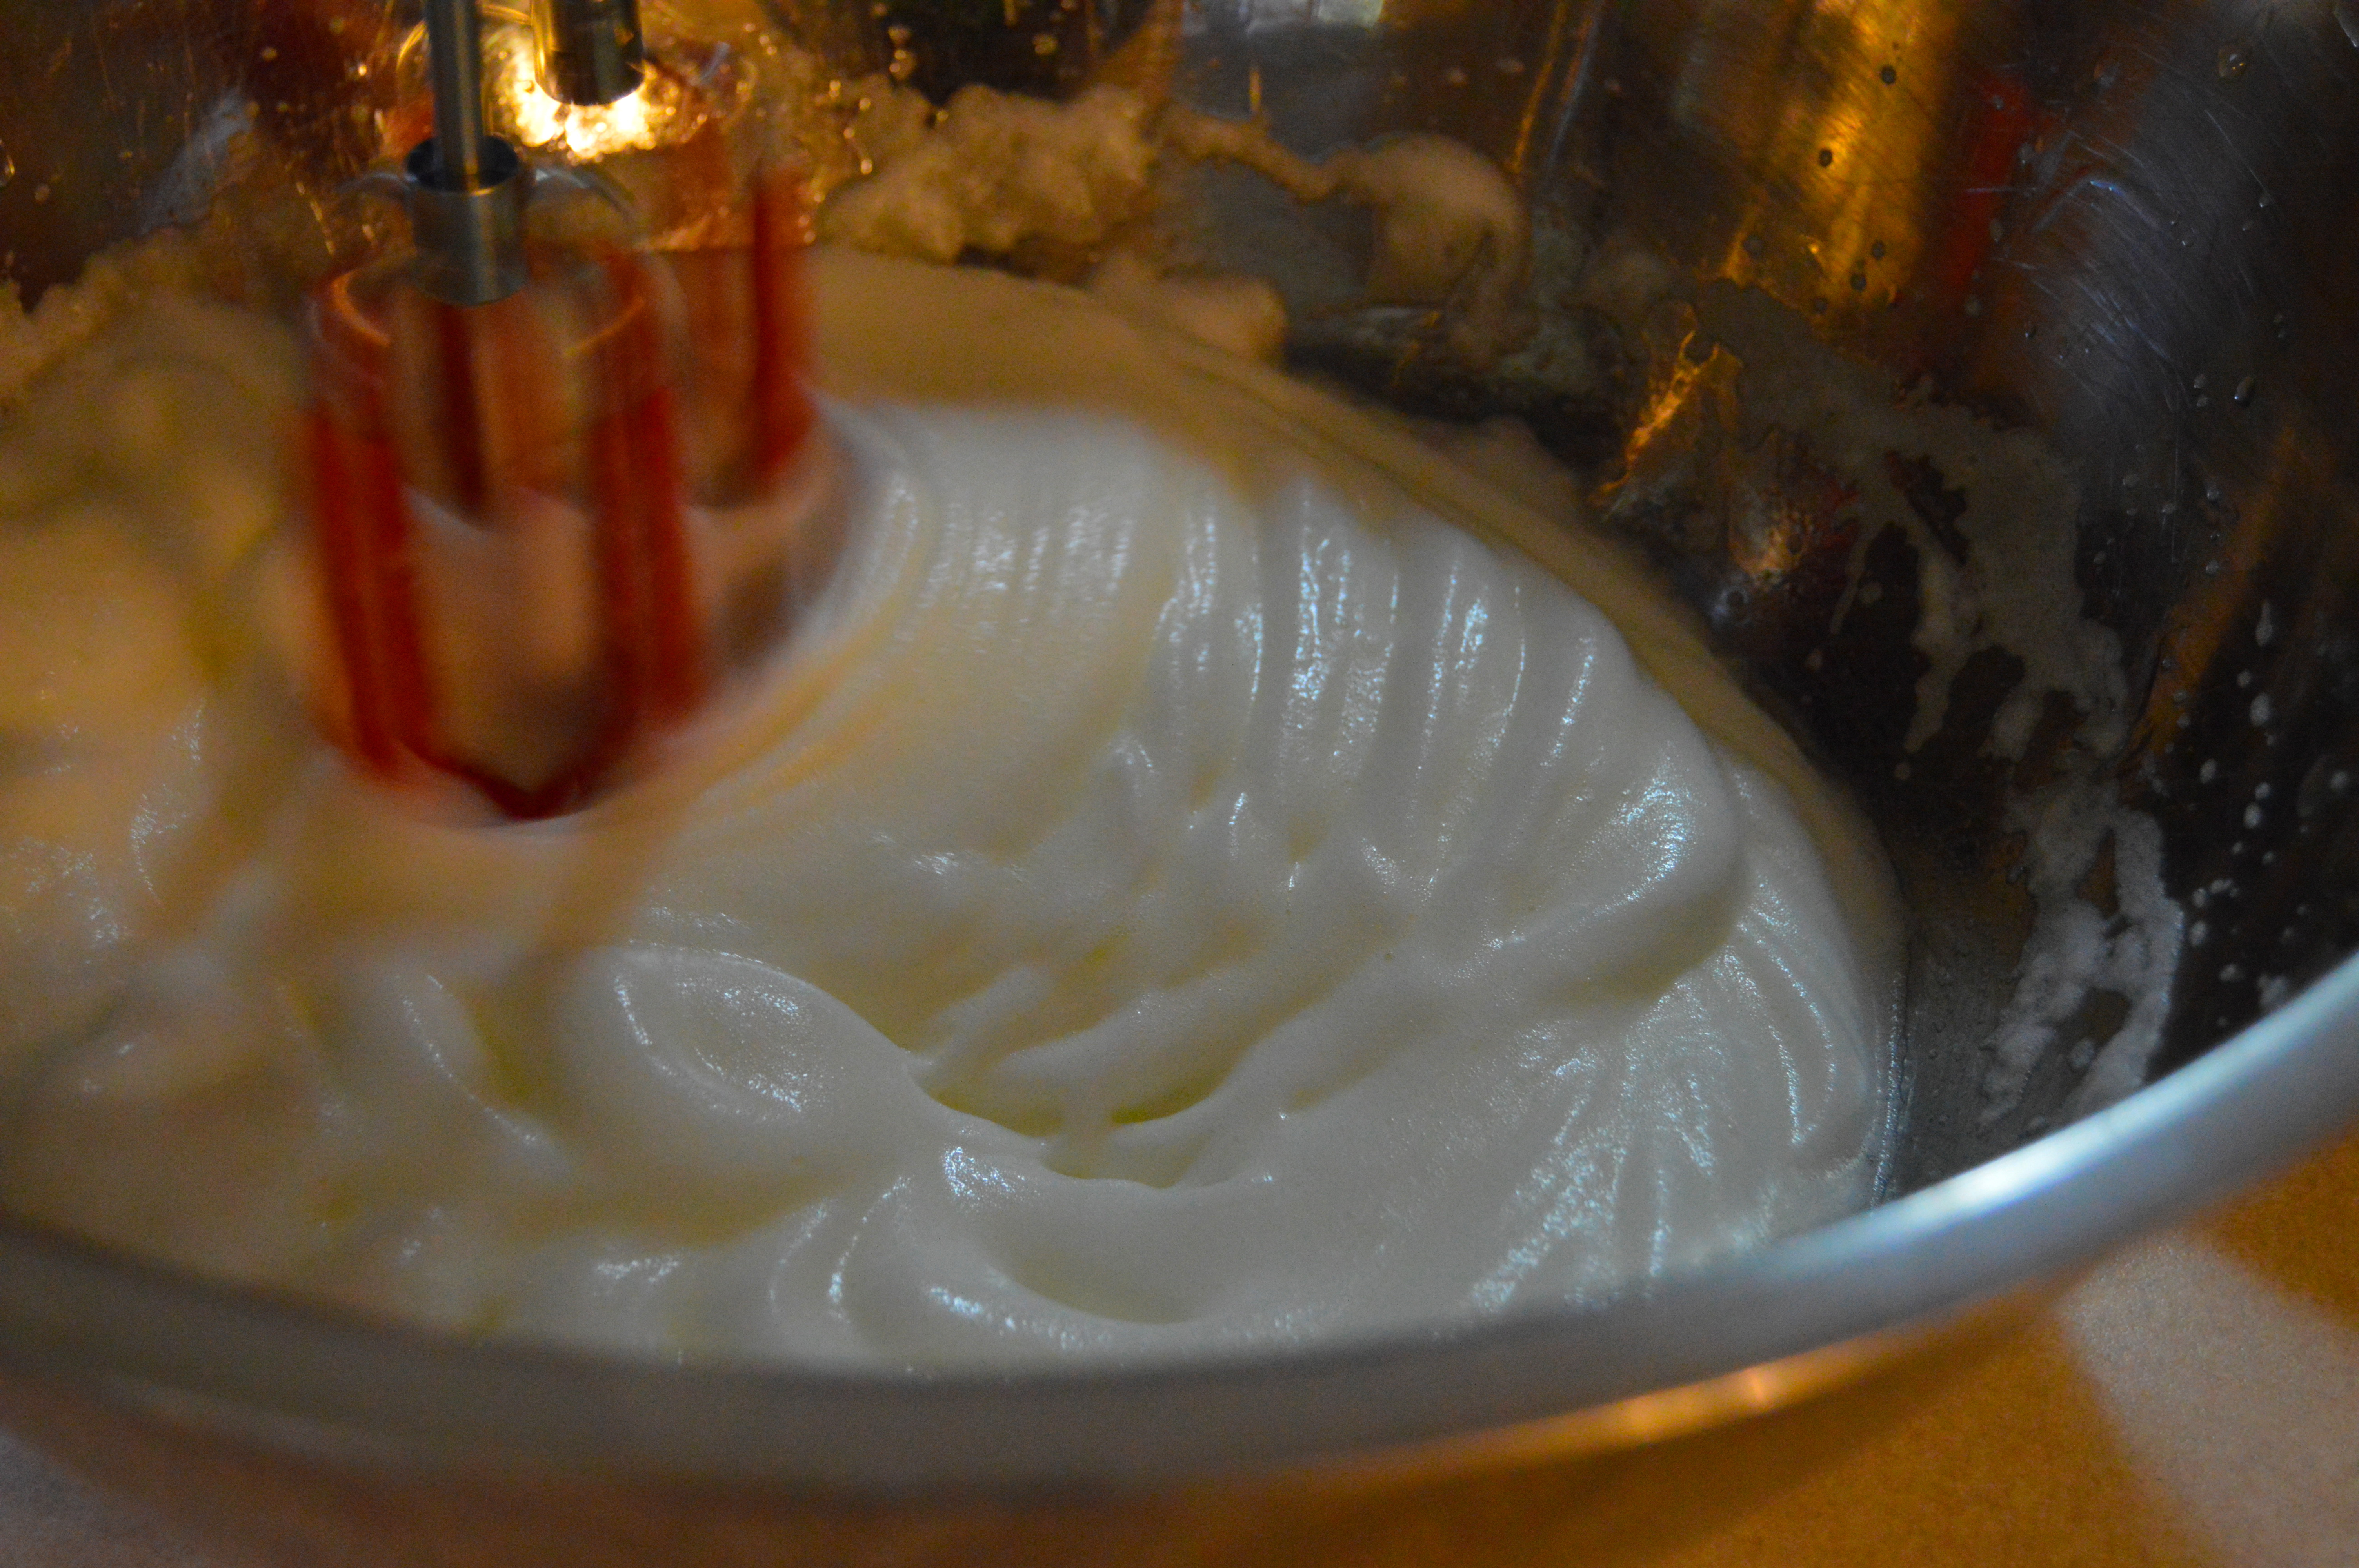
Once the egg whites look something like the Rocky Mtns, slide them out of the bowl and into another bowl off to the side.

Back in your mixing bowl, add the softened butter and beat it until it’s light and creamy. Then add in the egg yolks and beat them in, then slowly add in the powdered sugar (I recommend adding a cup at a time, to prevent the powdered sugar cloud poofing up from the mixer).

DSC_0437

DSC_0438

DSC_0442

DSC_0443

DSC_0445

DSC_0446

Also add in the vanilla and the nutmeg and beat that in before finally beating in those egg whites you set aside.

DSC_0447

DSC_0448

DSC_0449

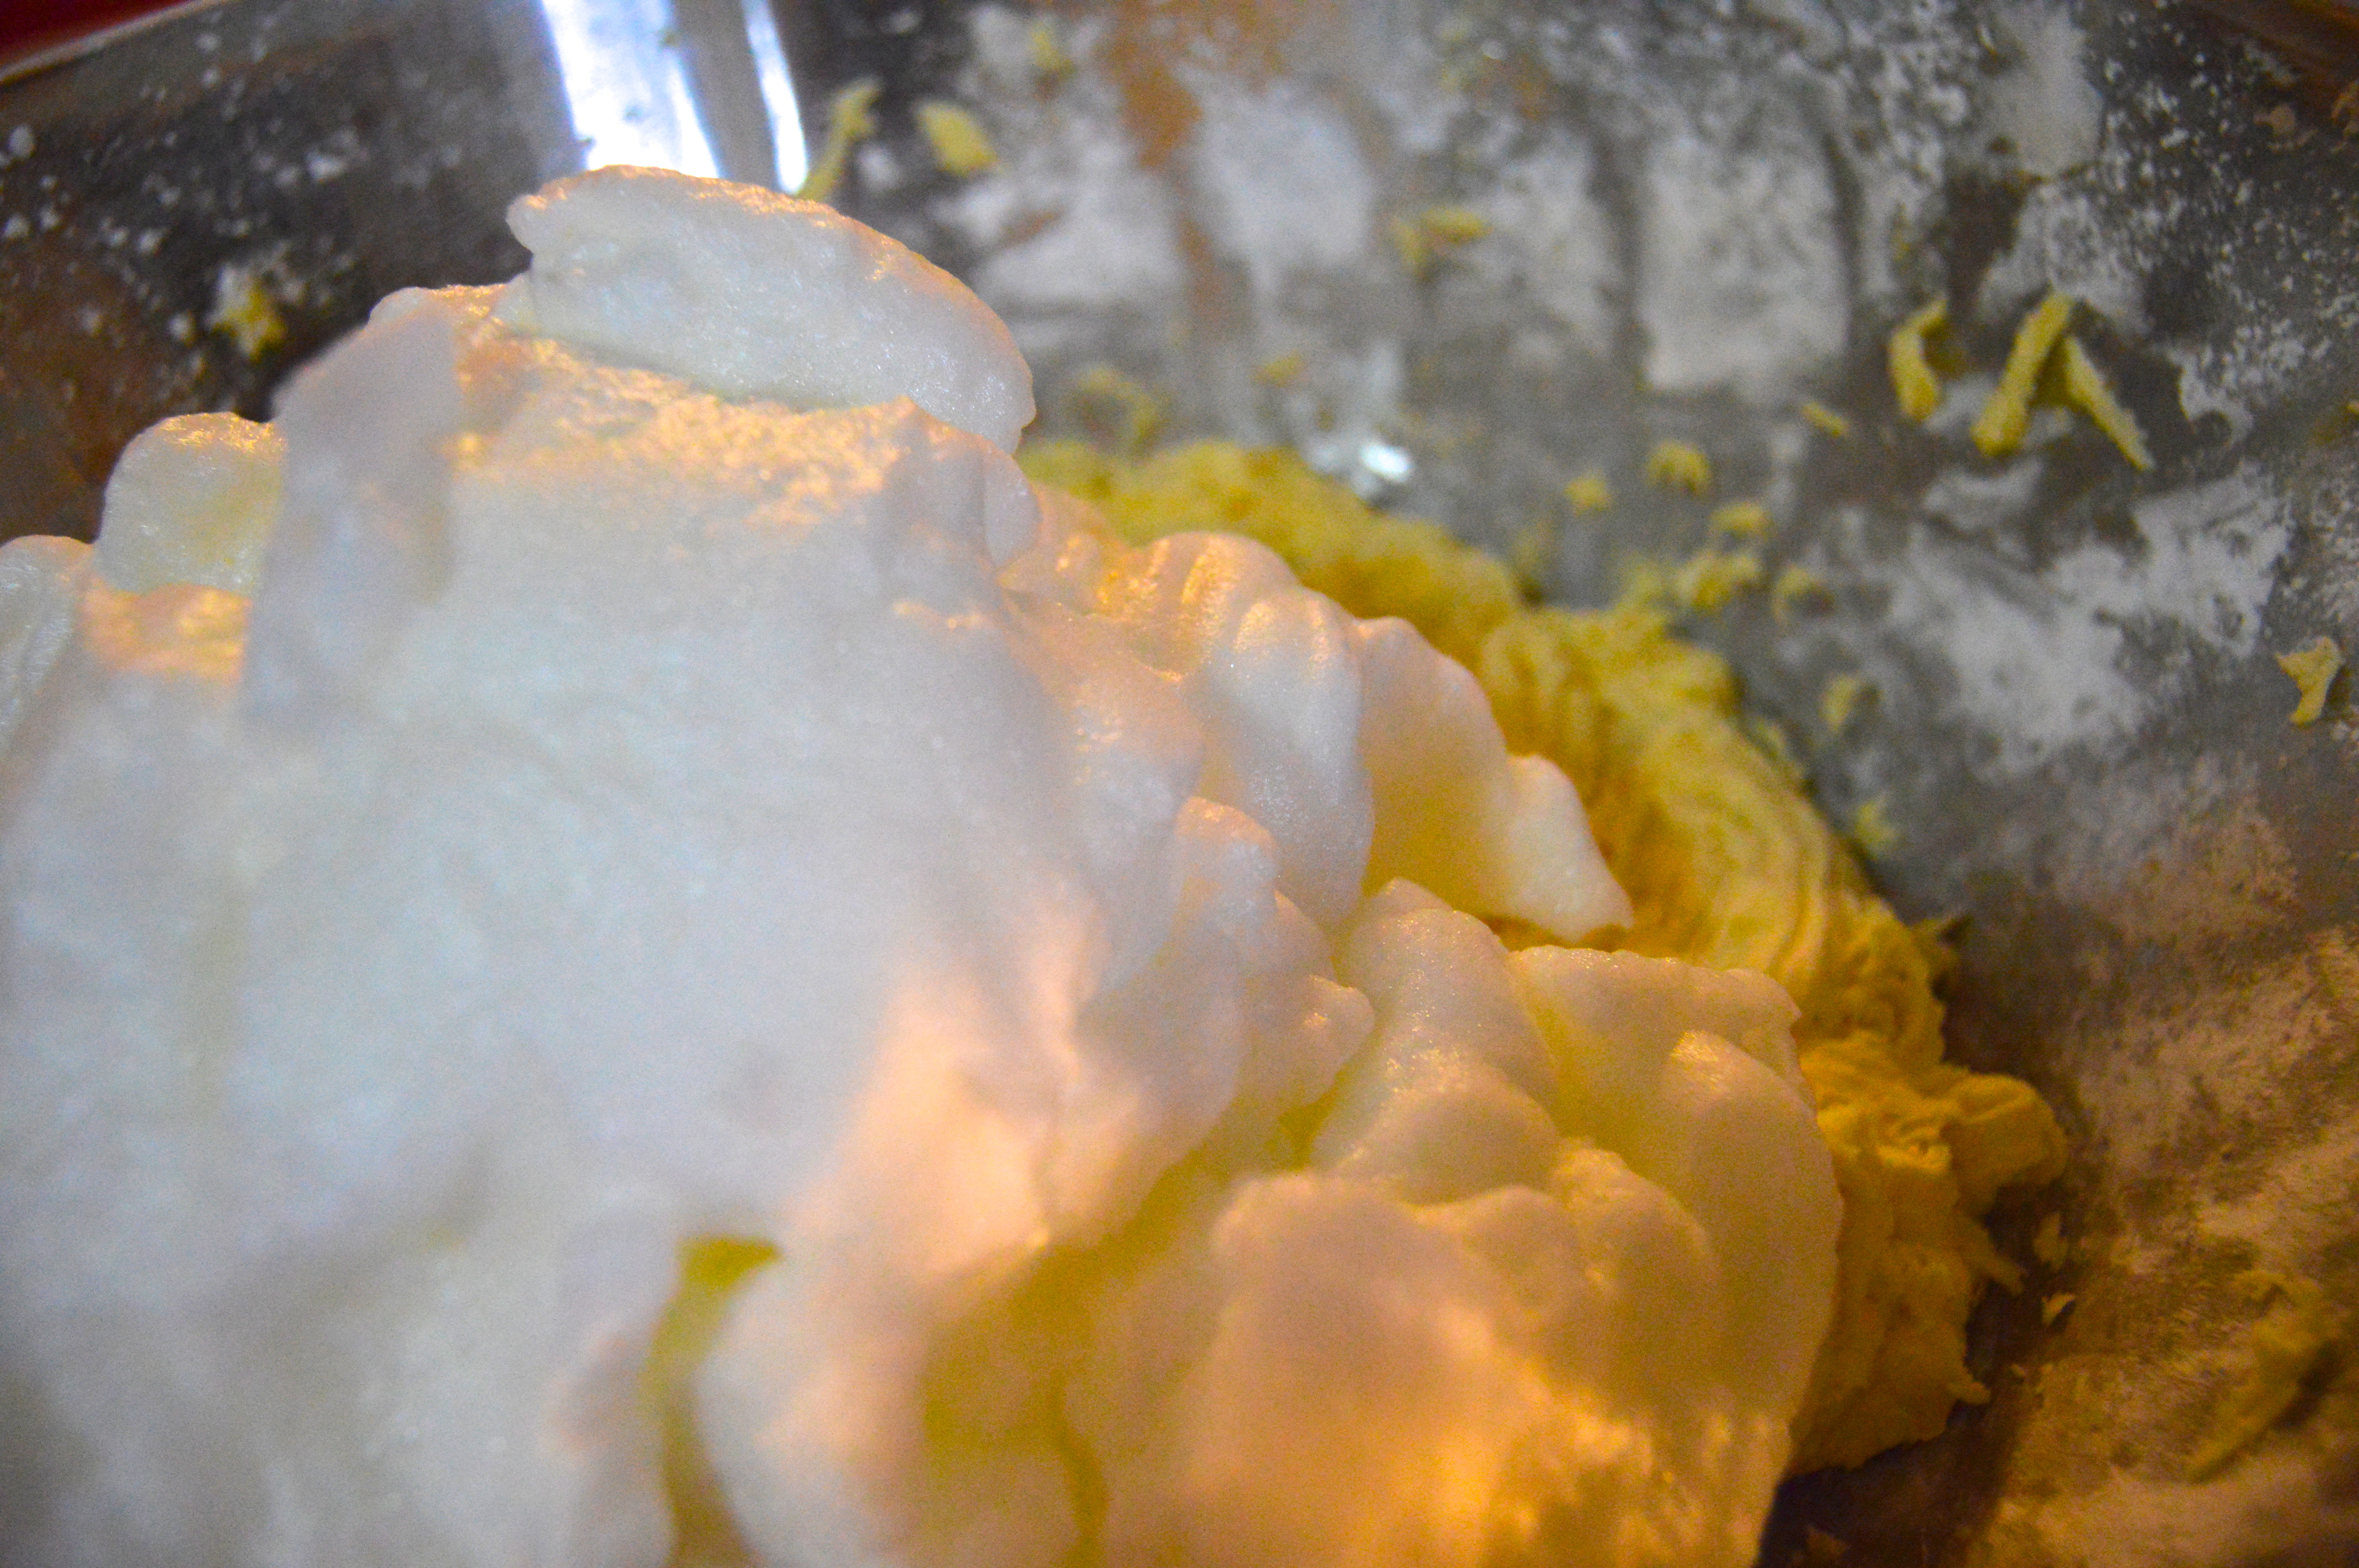
The final batter looks a bit like ice cream that’s been sitting on the counter softening for an hour…and it tastes SO GOOD. I may have tried a wee bit.

DSC_0450

All that’s left to do, is freeze it! This makes it more like a boozy float as the Tom & Jerry mix floats to the top before melting.

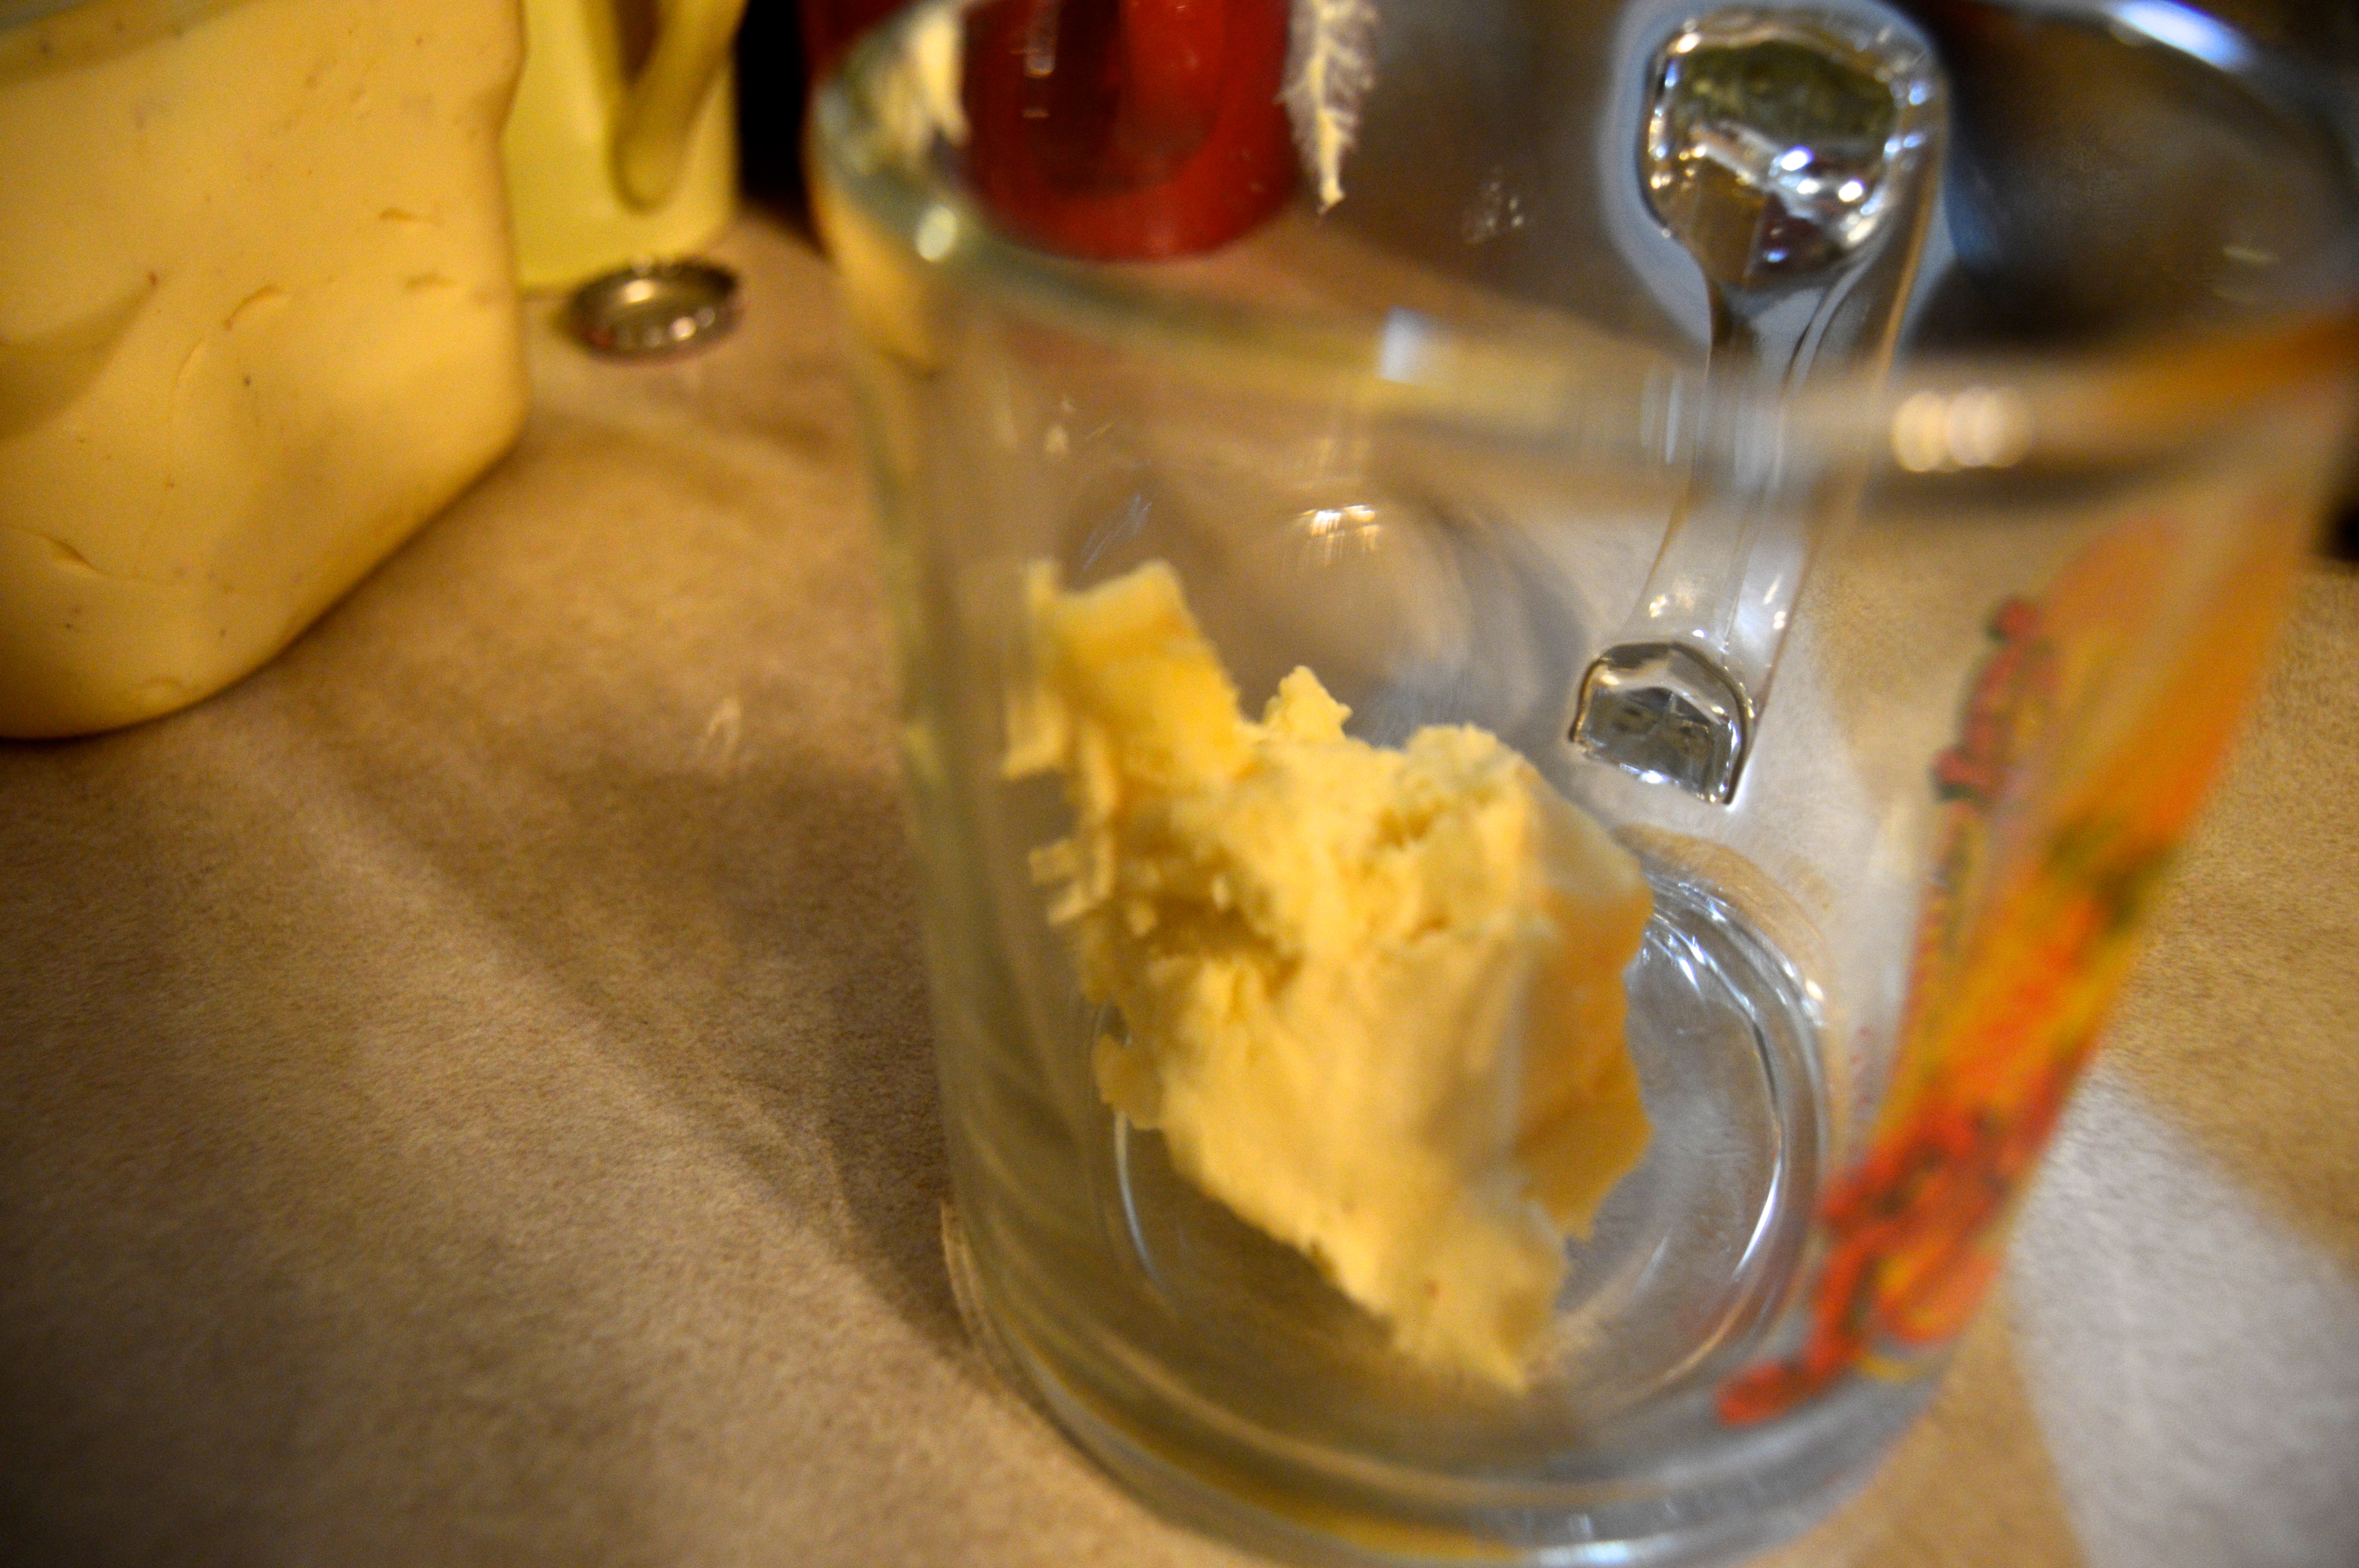
After freezing for a few hours, pull it out and grab your favorite collection of mugs.

DSC_0462

DSC_0465

Put 1 ice cream scoop amount into each mug…

DSC_0467

DSC_0471

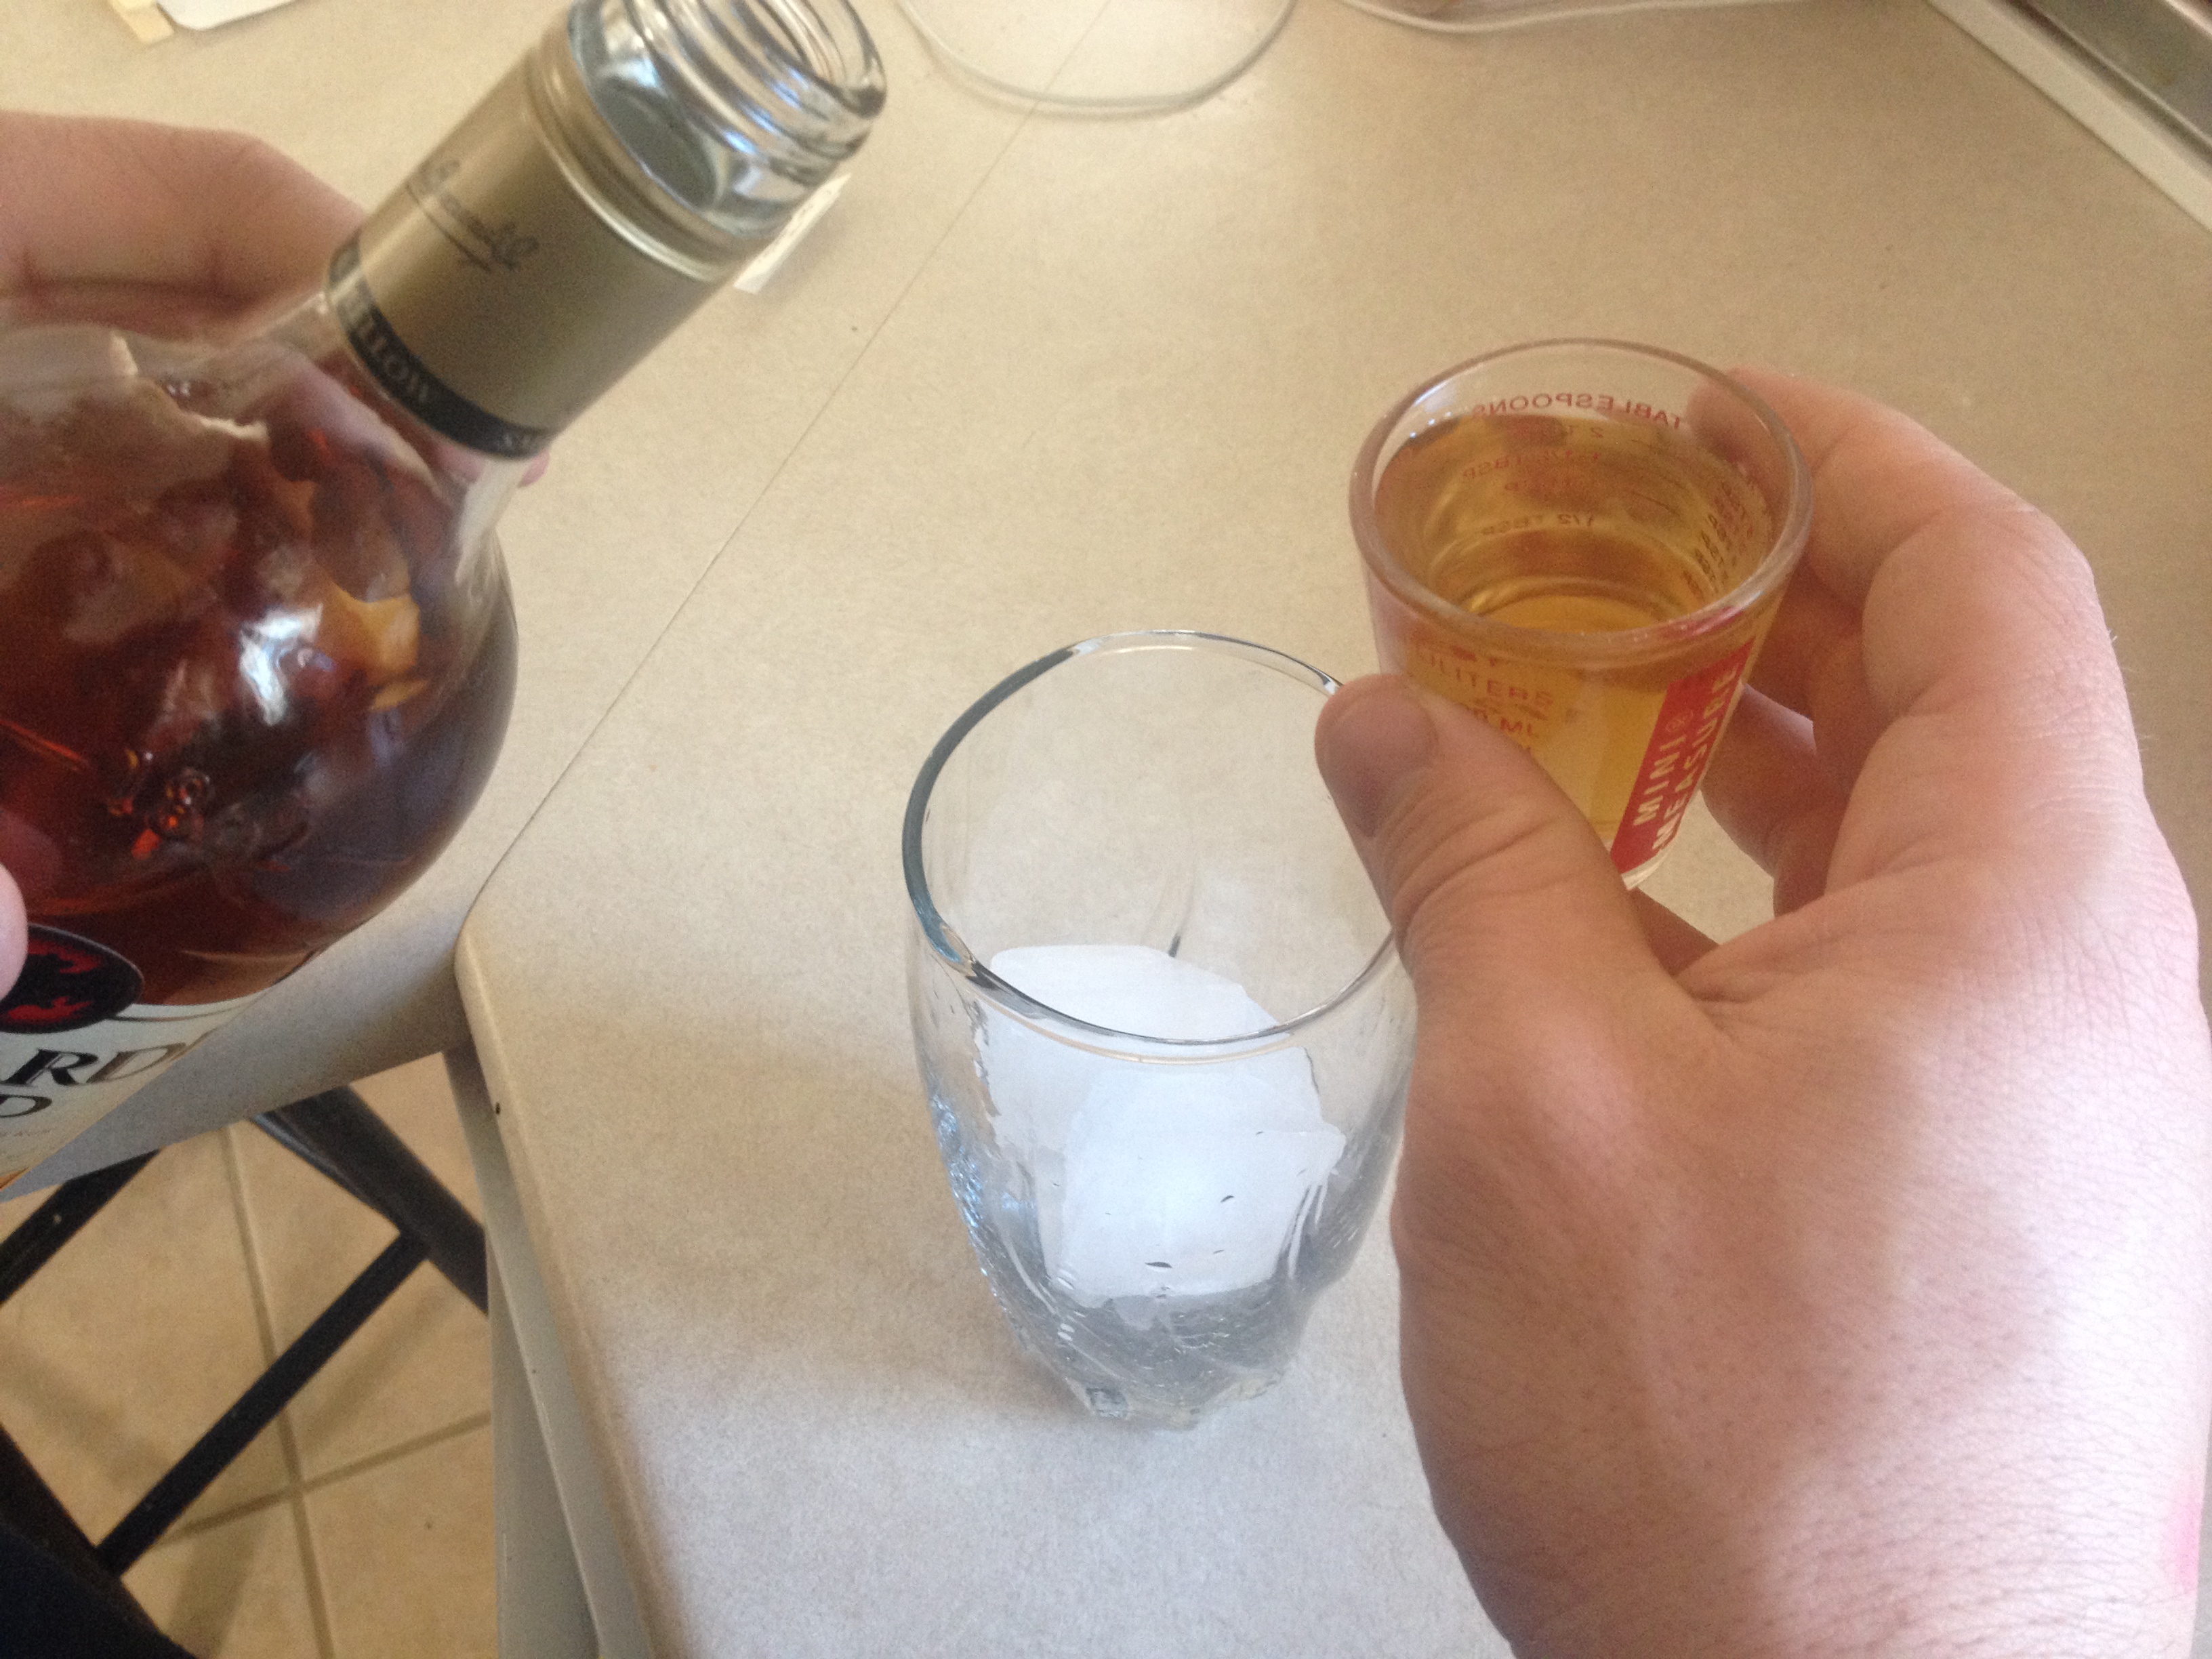
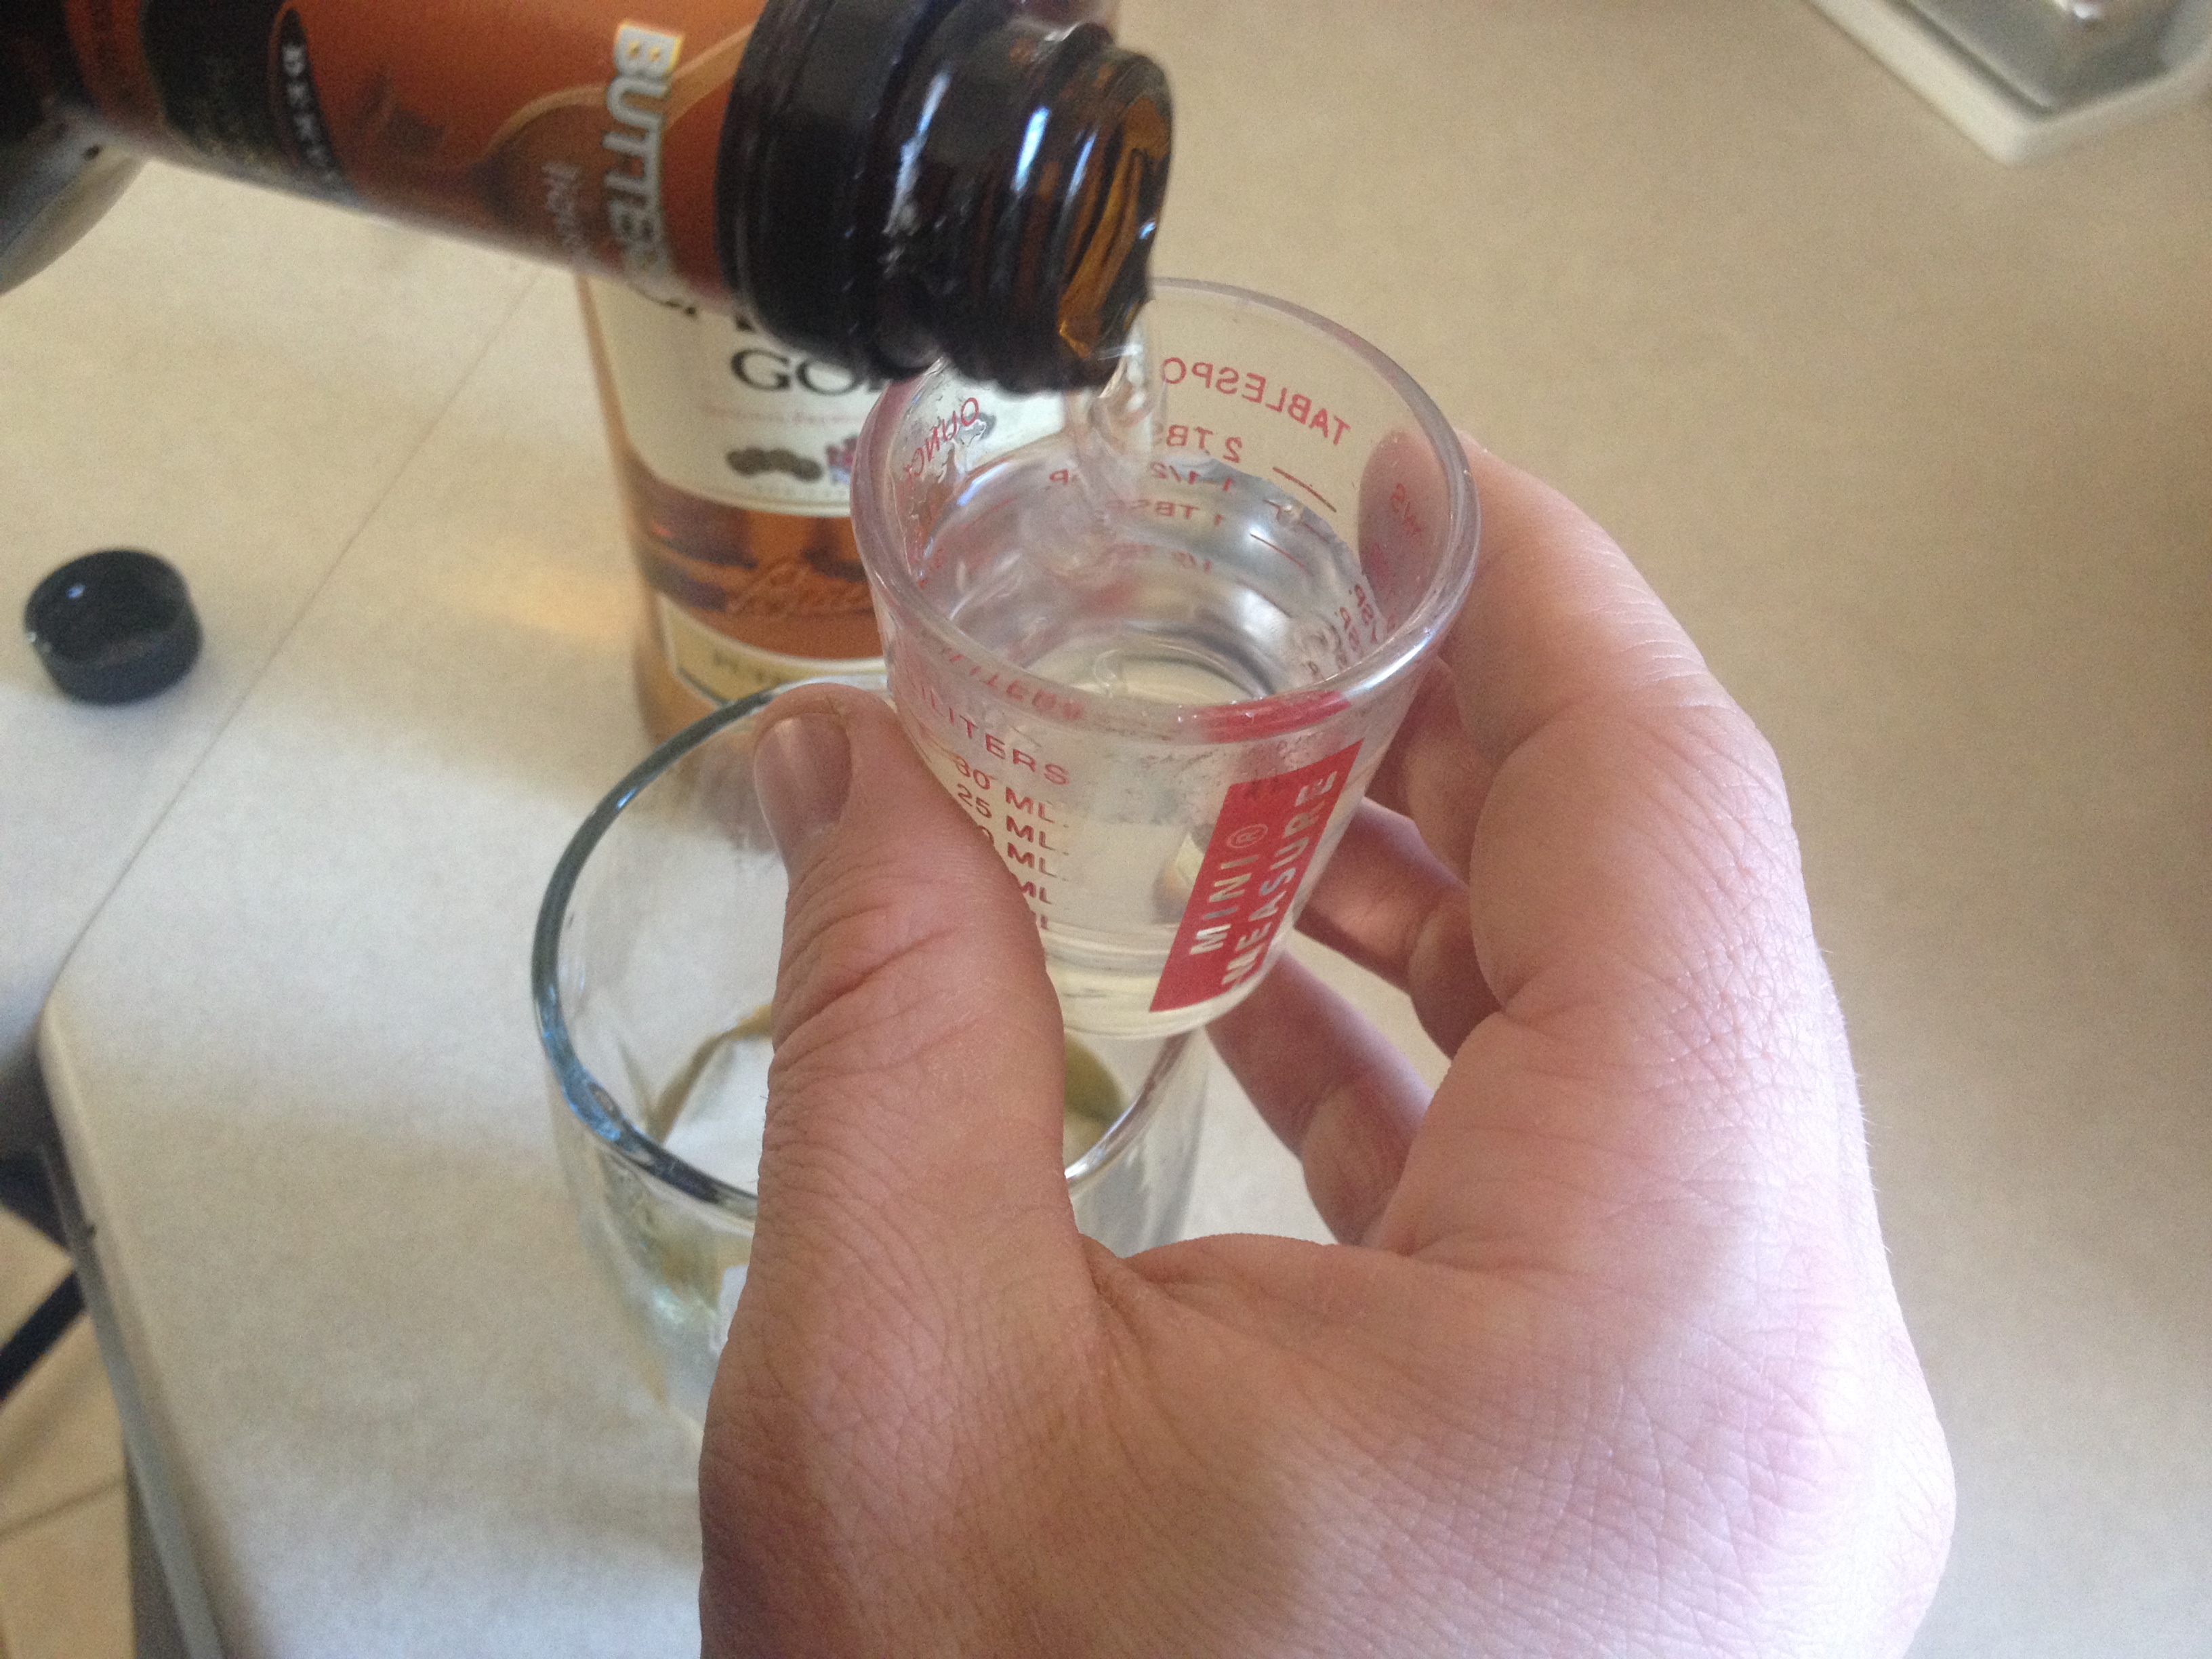
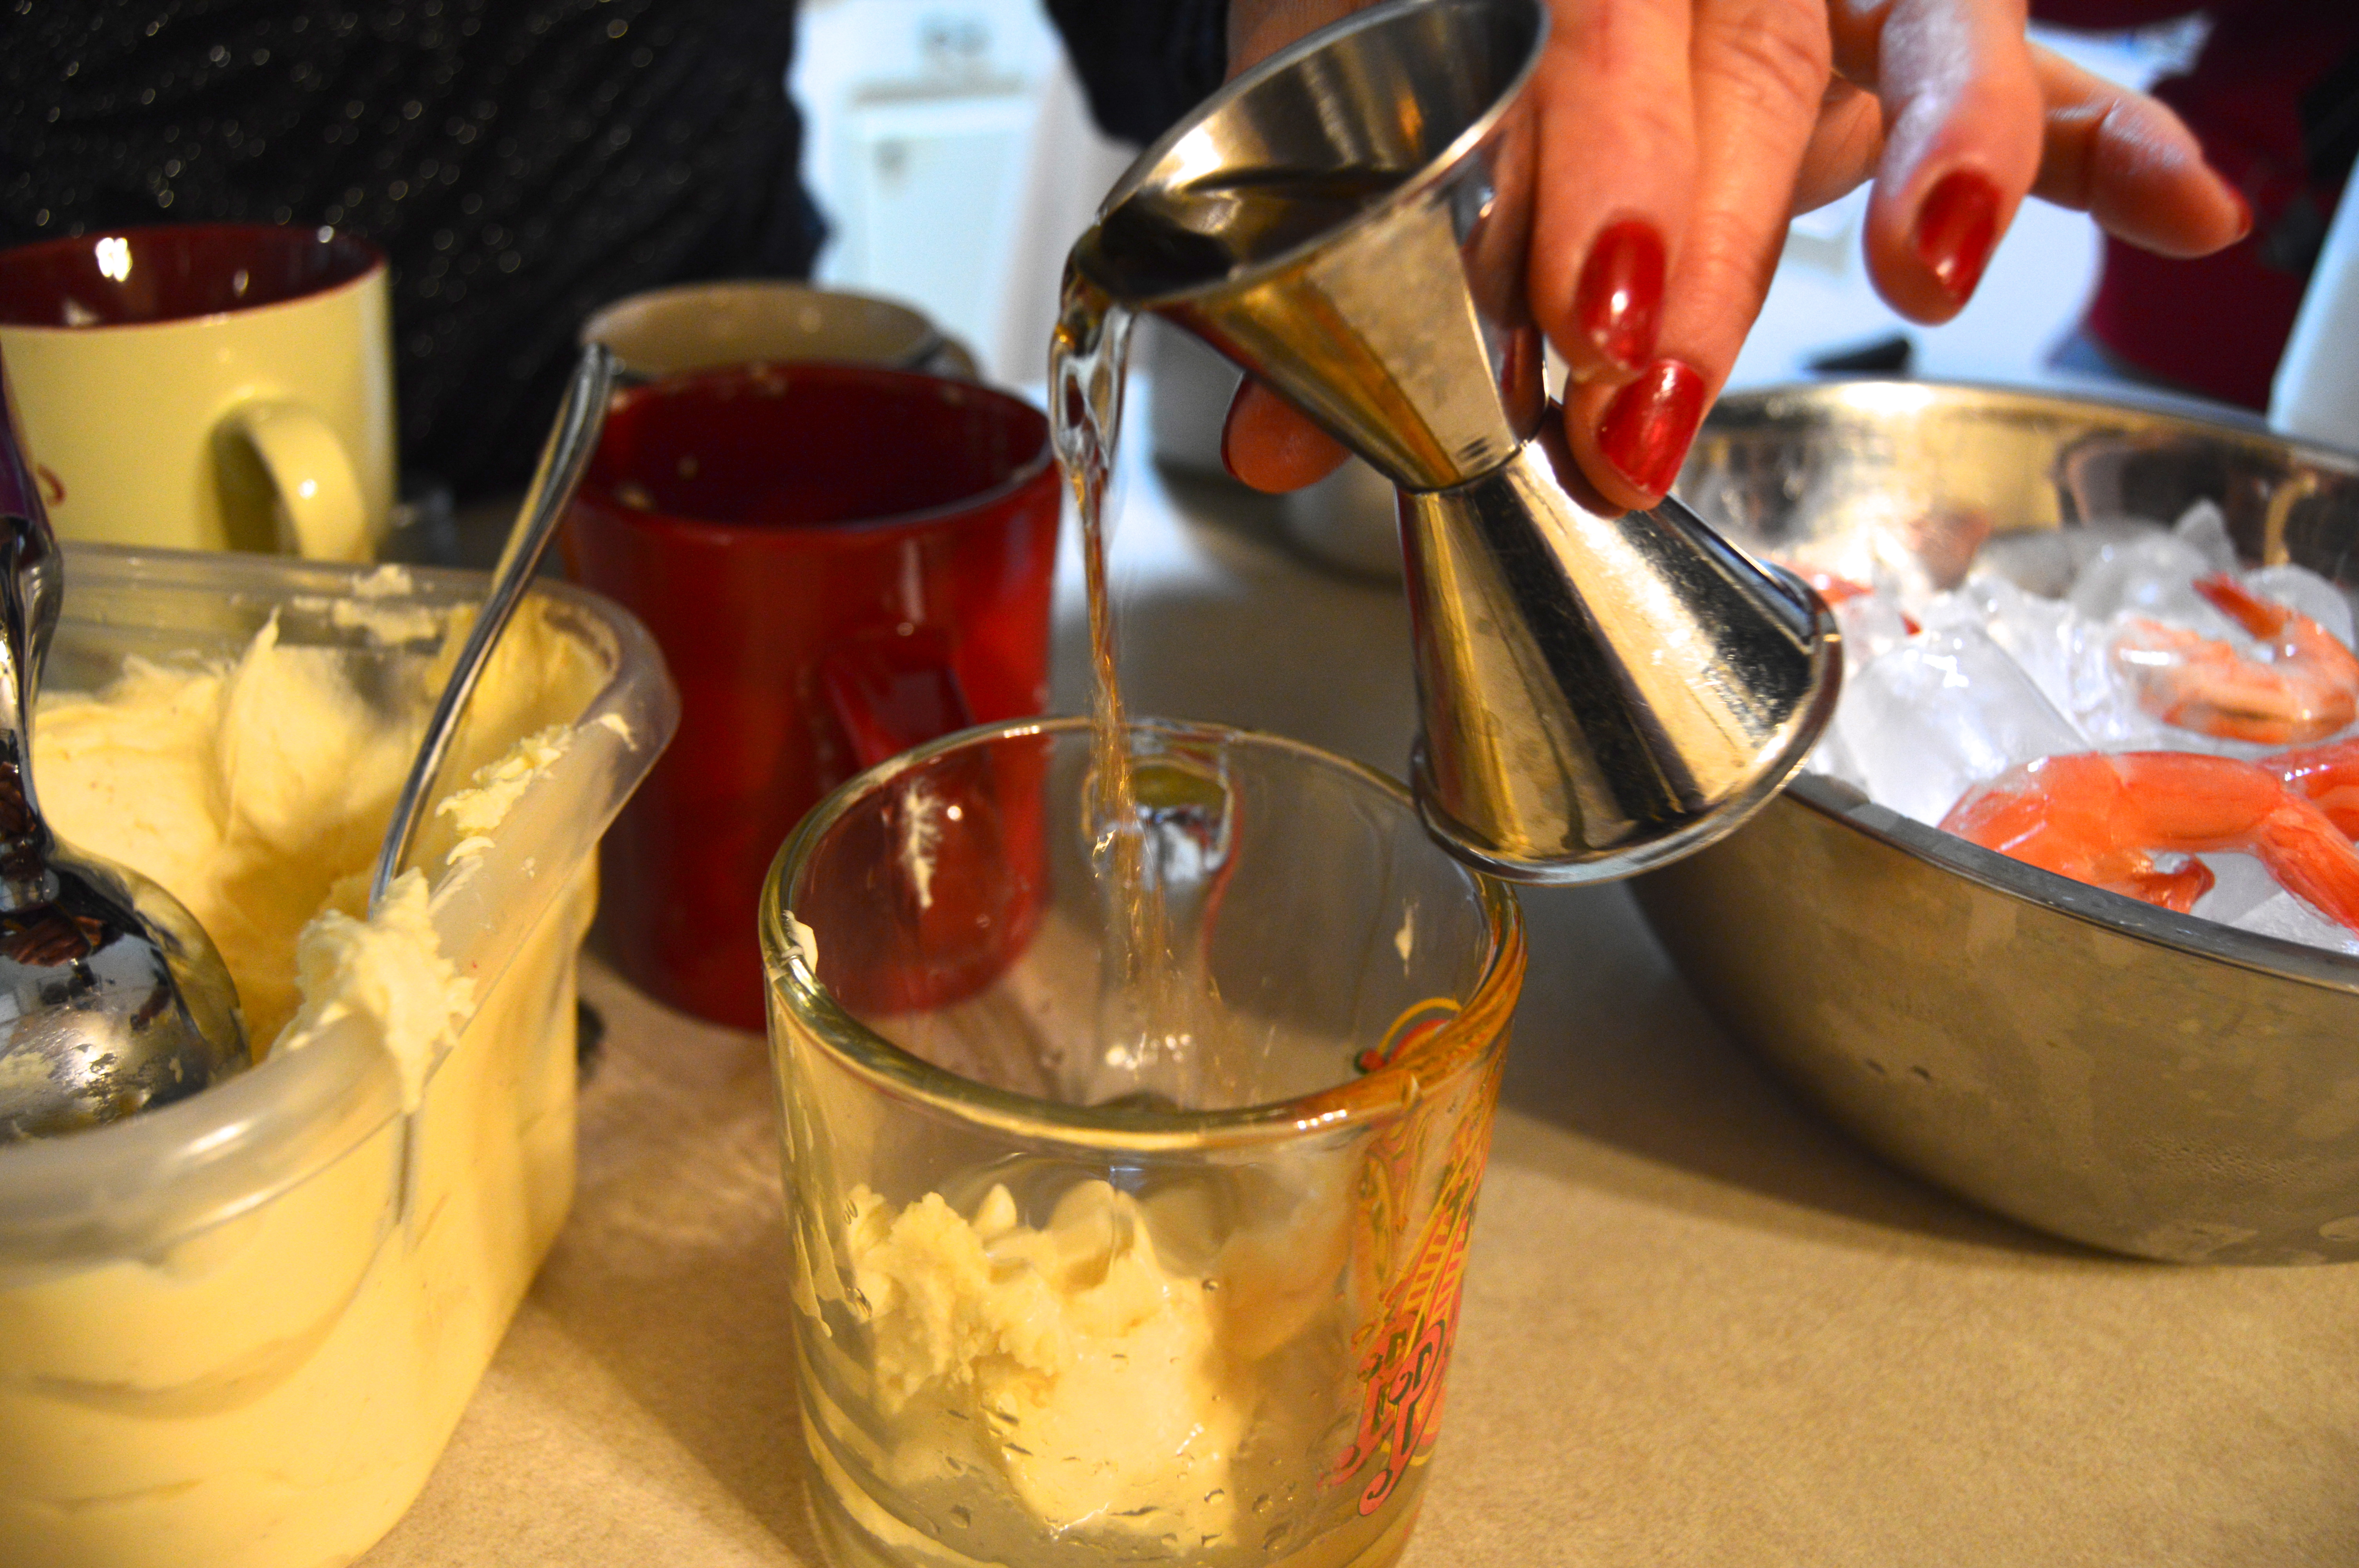
Pour a “glug” (about 1/2 a shot) of each of your booze selections (rum and brandy work really well!)…

DSC_0472

DSC_0473

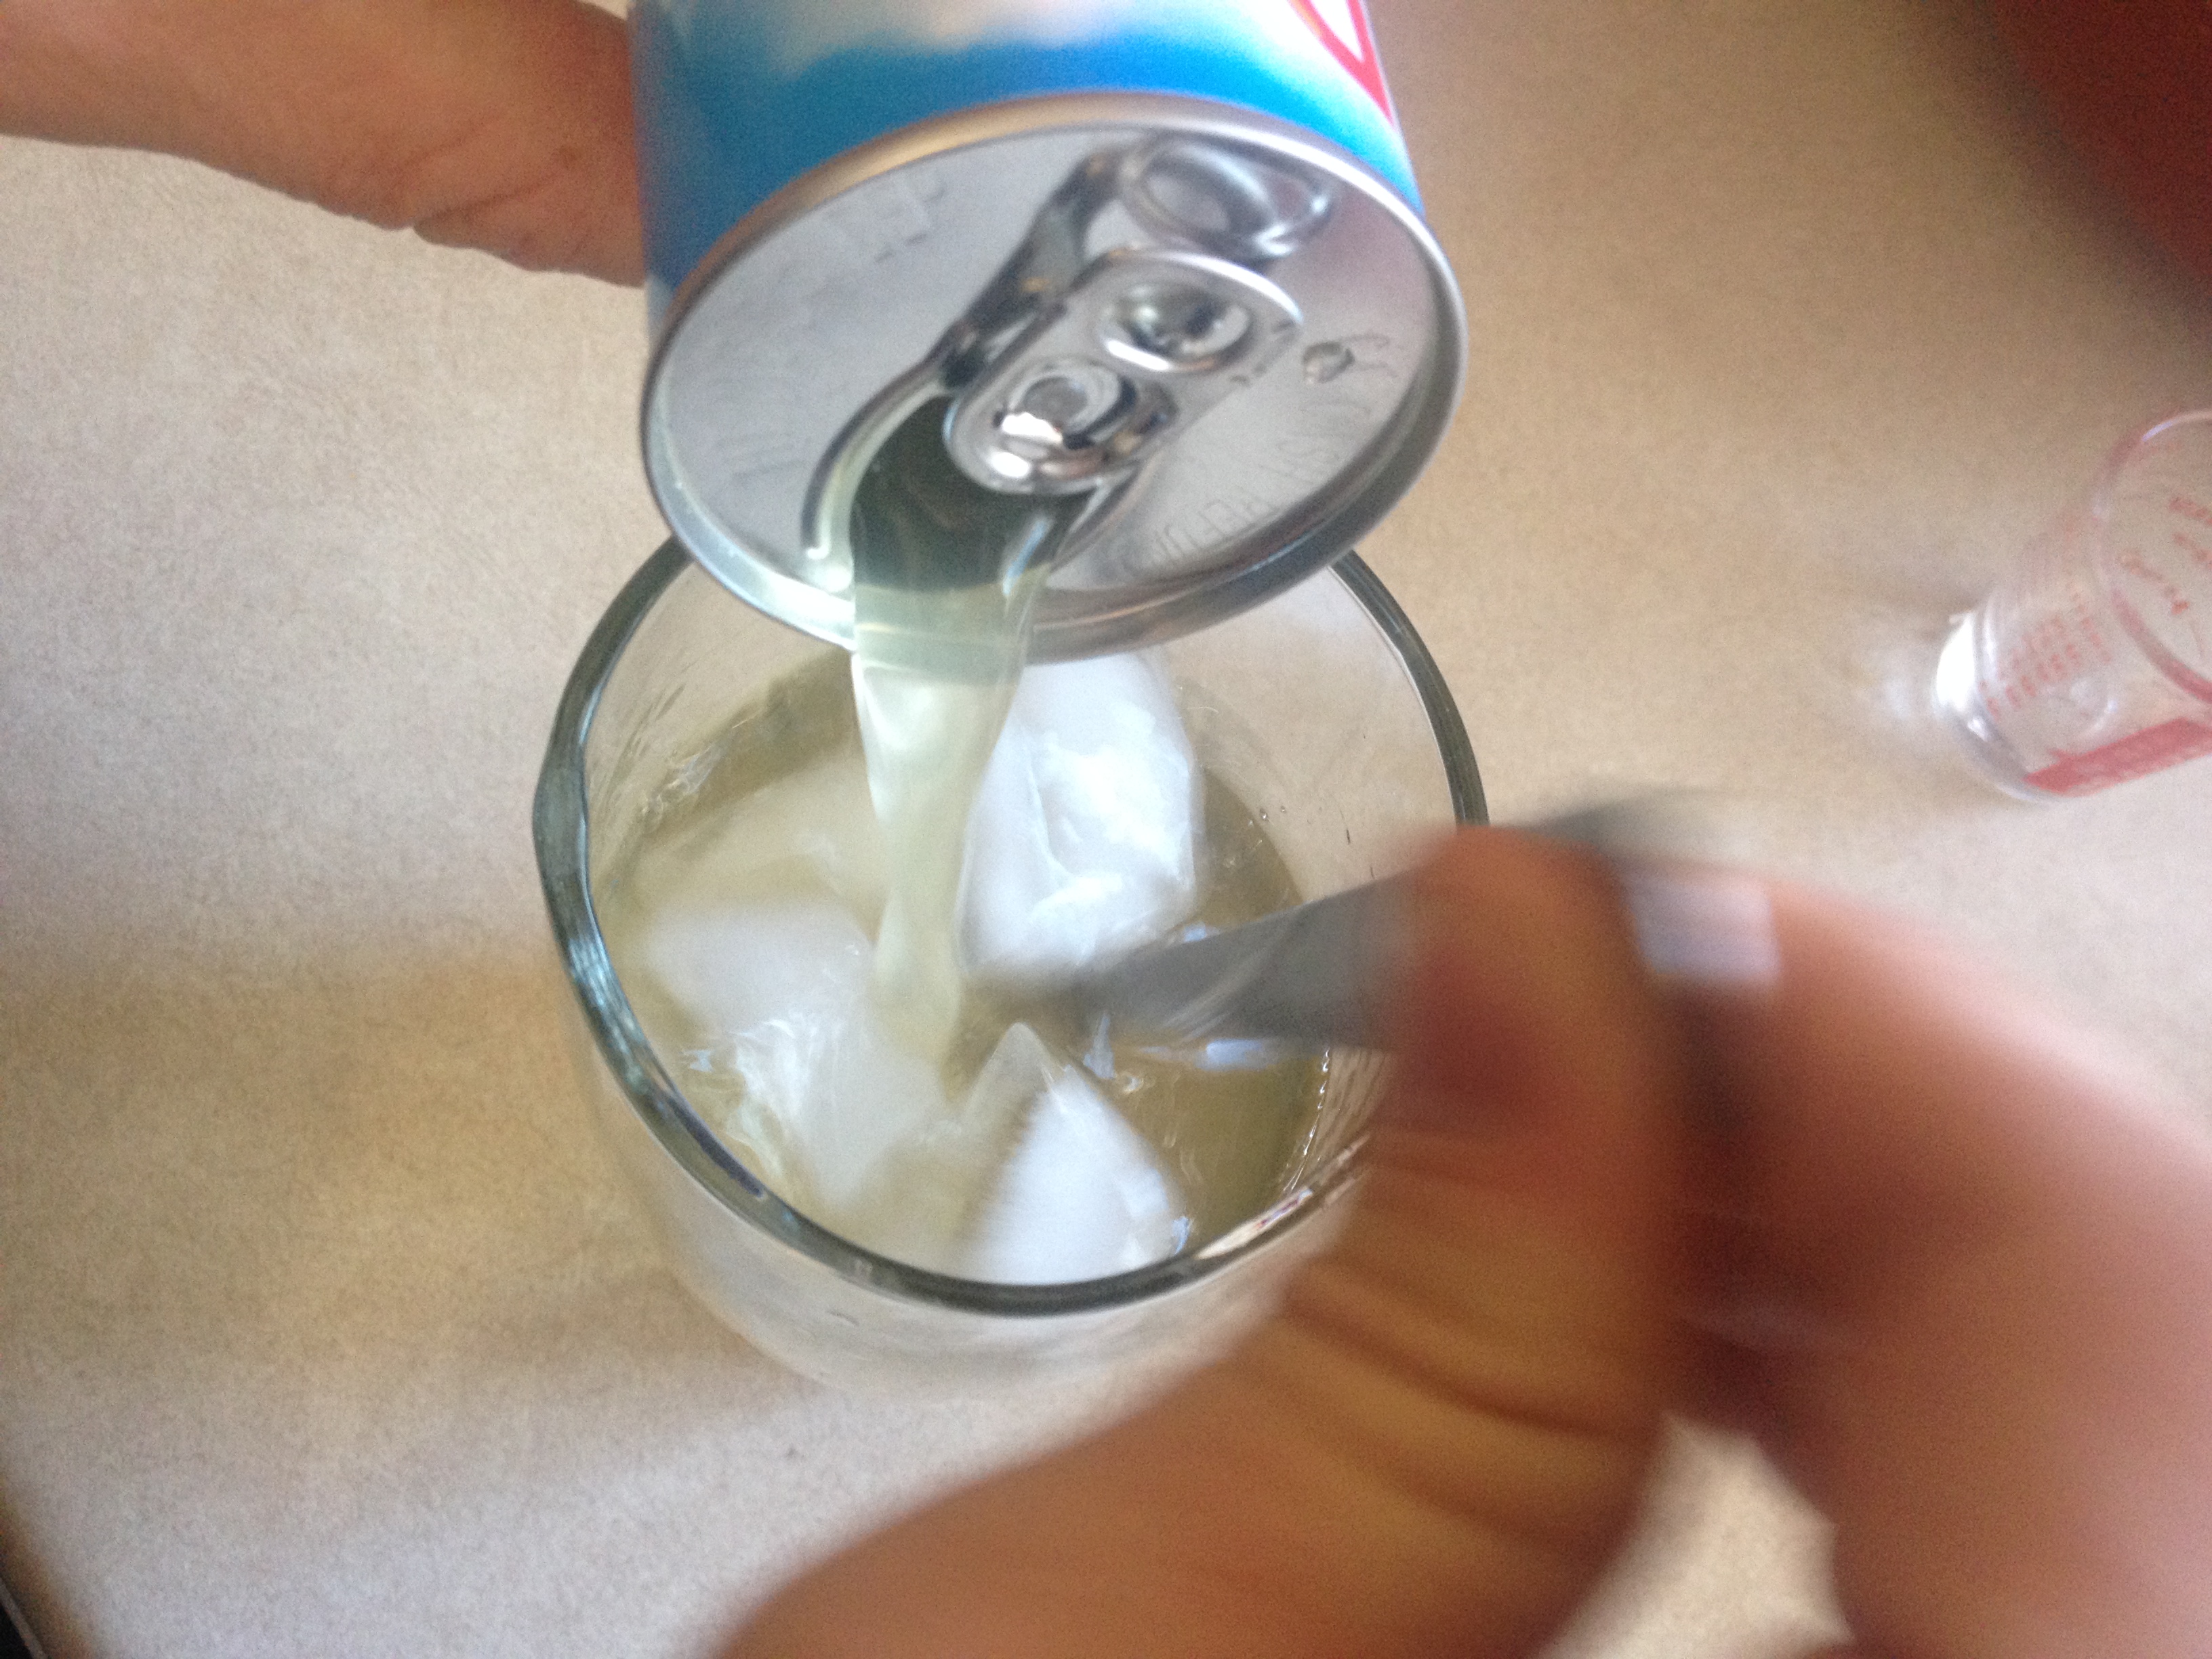
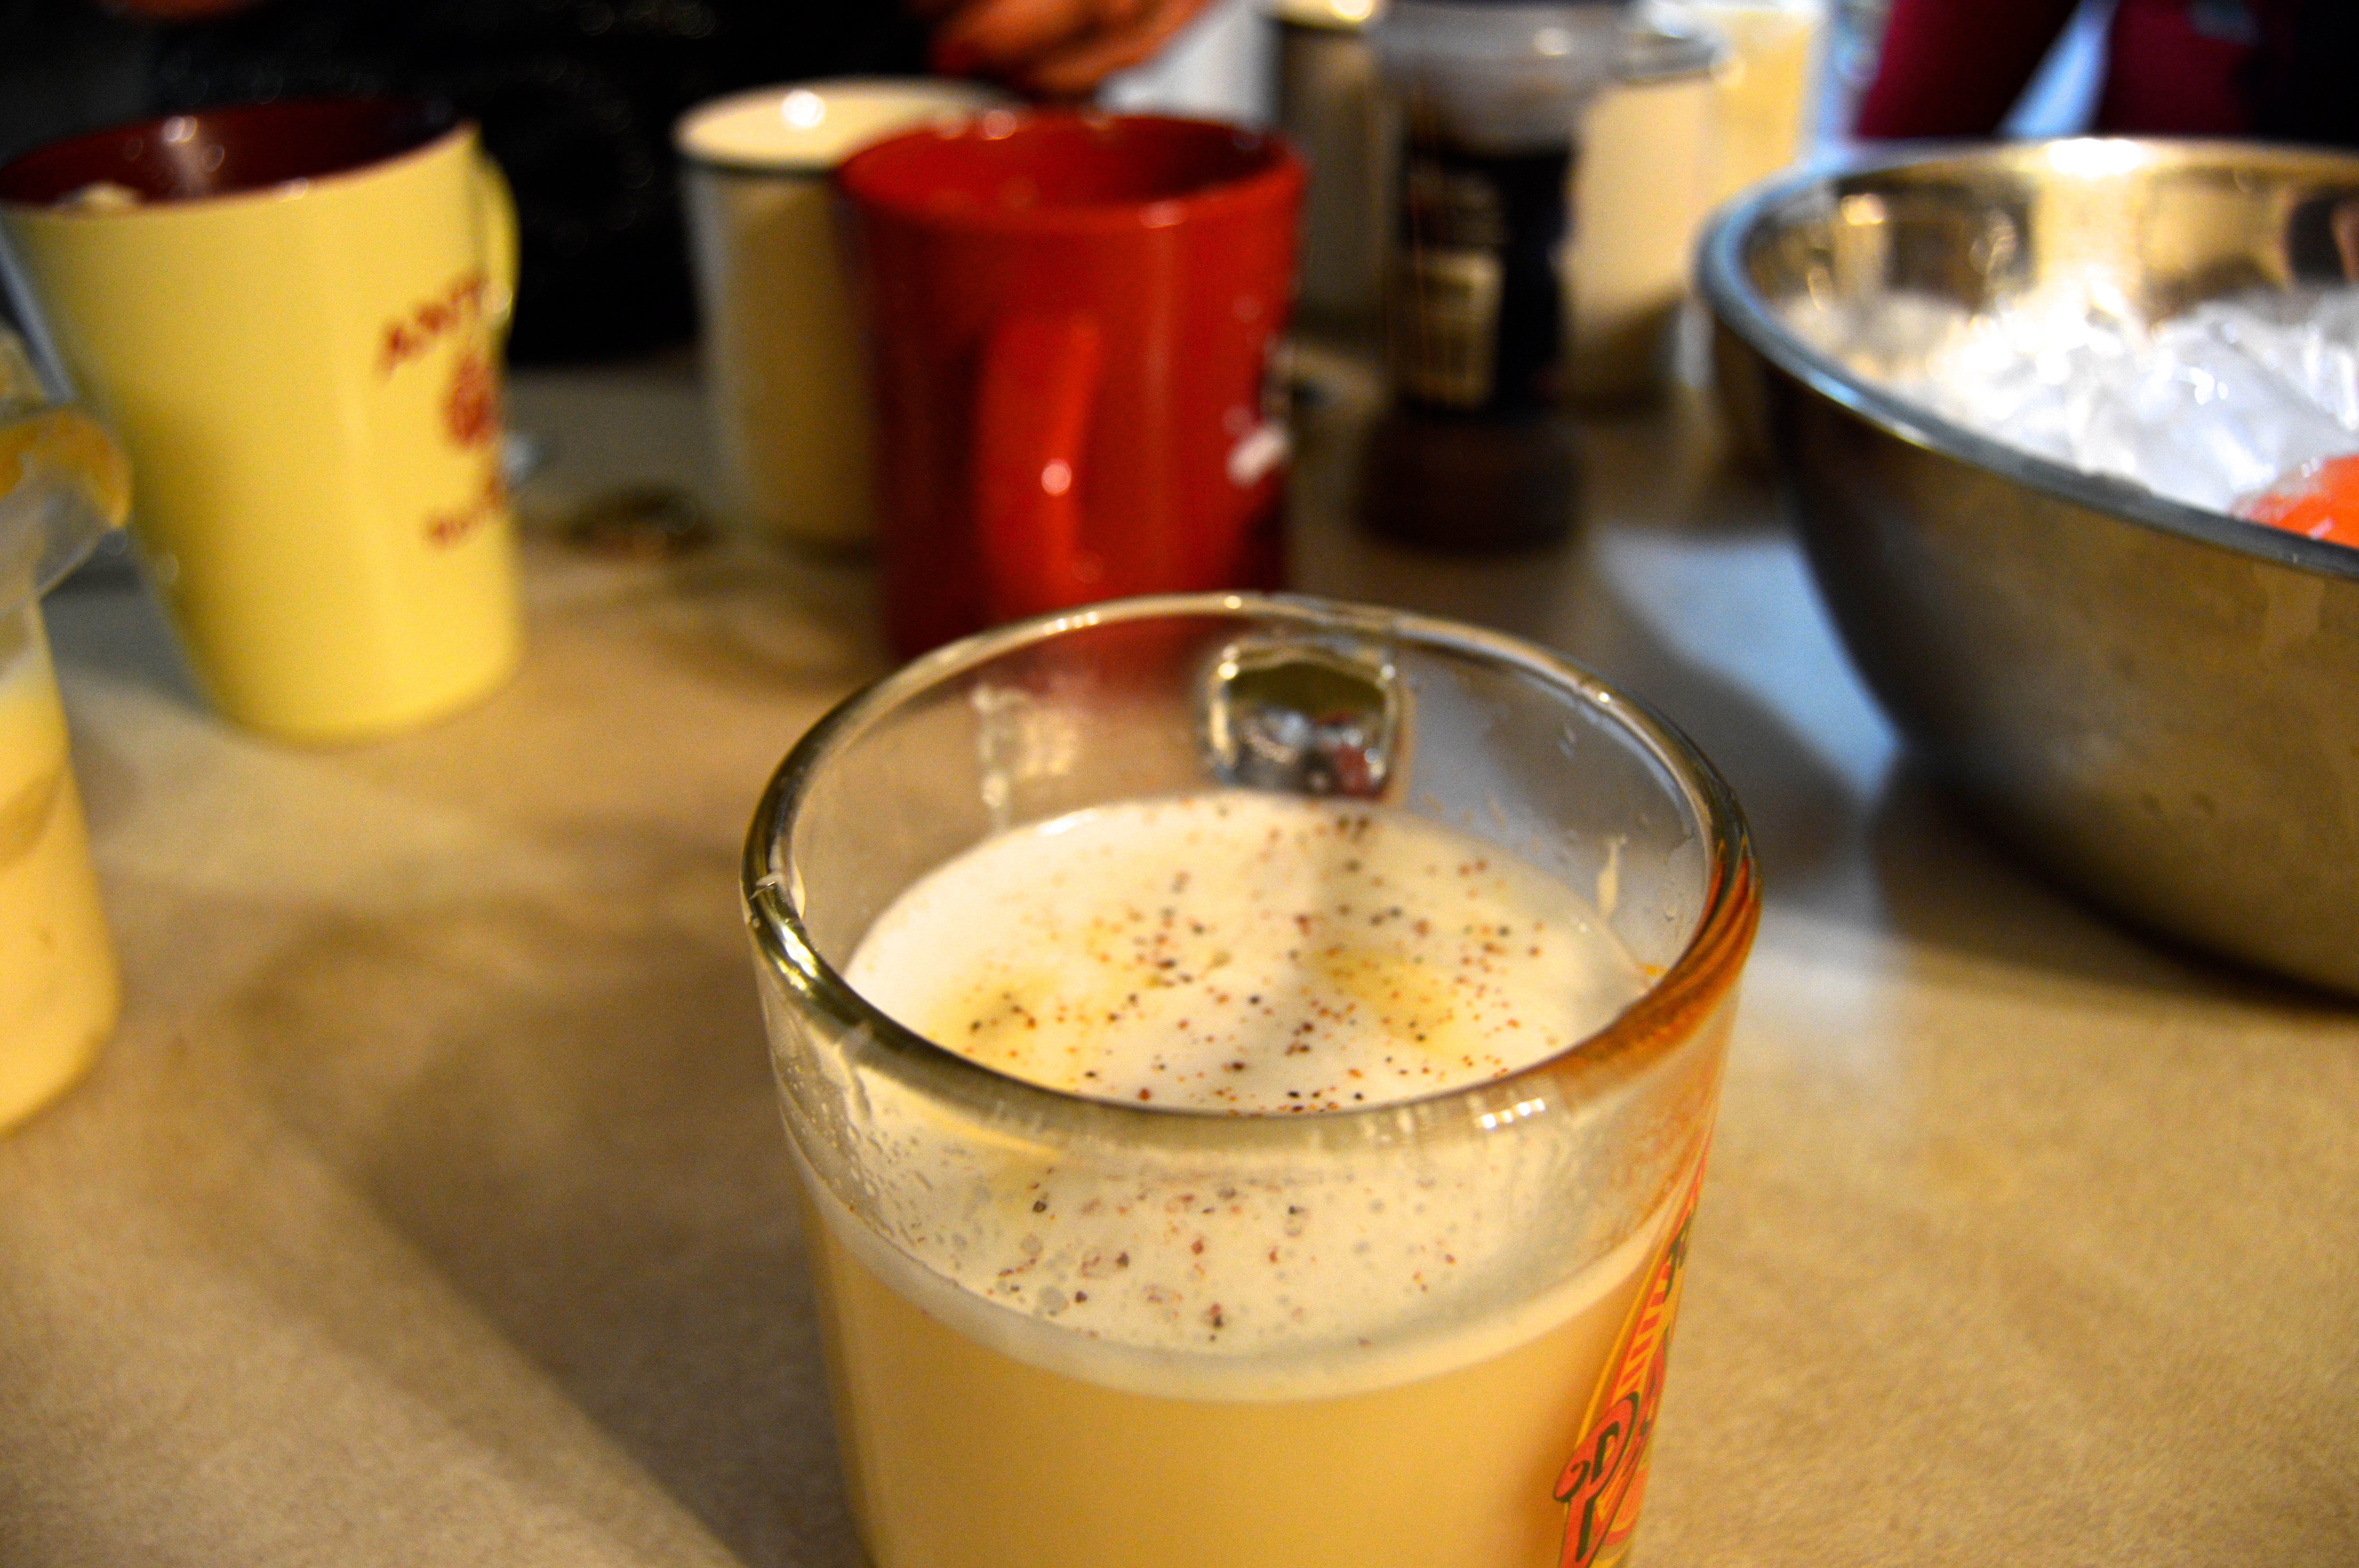
Then, fill the rest of the mug up with hot water or hot milk and sprinkle the top with nutmeg. We did water, but milk would make this even more creamy and would be JUST as great. (FYI…for anyone having a booze-free version, this can be just Tom & Jerry mix and the hot water or hot milk.)

DSC_0476

DSC_0478

Hope you guys try this beverage out and enjoy serving to family and friends too! Click this link for a printable recipe PDF.

Image

Cheers!

Pineapple Upside Down Cake Cocktail

24 Feb

Now surprising to me, one of the most popular posts I’ve had on this blog to date was the first post that involved alcohol…this beautiful White Sangria that I posted back in the Spring of 2012. Beverages in general have been very popular on here in general. Not sure if you all were in need of fun beverages to serve up or the pictures grabbed you. Regardless, I’ve been on the hunt for some fun, new beverages to try and then share with you all as you enjoyed them so much thus far. I think I have a winner!

Before I dive into this…let me explain a bit. I’m not normally a true cocktail girl. Some have their usual drink, like a martini, or an Old Fashioned, etc. I never really knew what my signature ‘cocktail’ was. However, I knew some libations that I enjoyed and wondered what concoction could fuse them all together. What libations, you may ask?

Well rum would be the hard alcohol I would choose for a drink, if ever presented with all options. And, well, this may seem odd but I have a really love for butterscotch schnapps. If you have not had the latter, you have NOT. LIVED. It literally tastes like liquid butterscotch. Deliciousness. Pure deliciousness, my friends.

So back to the signature cocktail dilemma. I wondered what would mix well with rum and butterscotch schnapps. Was there such a thing?! There is, ladies and gentlemen! I present to you….

The Pineapple Upside Down Cake Cocktail! I saw this on a few various websites/blogs and each with their own slightly different spin. This cocktail is simple, it’s not overly boozy, it’s tasty and it’s not too sweet.

In other words, it’s perfect.

I’ve decided that this shall be MY signature cocktail! Perhaps yours too?! Or maybe just a fun drink to serve up at your next gathering. Regardless…here’s what you need:

Ingredients (for one drink):

  • 1 1/2 shots of rum (your choice of brand, any will do)
  • 1 1/2 shots of butterscotch schnapps (I do recommend Buttershots, my personal favorite)
  • 1 6 oz. can of pineapple juice
  • Maraschino cherries for garnish

How to Make:

As you may have anticipated, this cocktail doesn’t require a rocket scientist to mix up. Here’s the liquid cast of characters…

IMG_4407
…and the basic step by step goes something like this:

Grab yourself a festive glass…and throw in a few ice cubes…

IMG_4403

Pour in your rum (you can go more or less than the 1 1/2 shots depending on what type of strength you’re going for here)…

IMG_4405

…pour in your butterscotch schnapps…

IMG_4406

…then while you pour in the pineapple juice on top, stir it all up with a long spoon or stir stick.

IMG_4409
IMG_4408

Grab a few Maraschino cherries and line ’em up on a toothpick to be fancy or plop ’em right in the glass if you’re anti-toothpick.

IMG_4410

Serve these up to friends and family as a delicious beverage they’ll for sure want a second round of! You can make these in bulk easily if you buy the large cans of pineapple juice vs. the small single size cans. Otherwise, each can of pineapple juice makes  one drink.

IMG_4411

I hope you enjoy this tasty libation as much as I did! If you all have other cocktail recommendations that I should try out, leave a comment below and I’ll see what I can mix up for a future blog post!

Cheers!!

Flavored Vodka

30 Jul

Upload May 28, 2013 916

Well, I think it’s about time the blogging break ended. I lost the urge to write these posts a few months back and I didn’t want to put forth blog posts that lacked enthusiasm or fun topics…both I feared if I was blogging just to blog. But the last month I’ve been getting that creative bug back and tonight I decided enough was enough. I’m back! How often I’ll post after this, who knows. But I’ll put a few out there whenever I can because creating this little blog has actually been loads of fun. And that’s what it’s about after all, right?

So, this idea came to me as I was thinking of creative gifts at Christmas time. (Yes, this is a post I meant to write months ago. Sincere apologies.) I thought it would be fun to create something that was part food, part craft and my Real Simple magazine inspired the mash-up of the two – flavored vodkas.

Truly, I thought flavoring your own vodka must be a cumbersome task. Would take lots of time, blood, sweat and tears (though read on and some of that happened by mistake.)

Boy was I wrong.

This is amazingly simple and I think you’ll want to give it a try once you see just how easy it is. These also DO make great gifts and show that yes, you can come up with a creative, out-of-the-box gift and impress your family and friends. Or, dang it, you can make these for your own enjoyment! Everyone loves a good libation now and then.

I decided to make three different varieties and followed Real Simples’ suggestions for amounts. I’ve added in my own notes below for those who’d like to give these a go.

Side note – there is an entertaining story buried below which includes a forewarning. If you read on I can assure you a slight giggle, chuckle, chortle, or whatever sort of laugh sounds you make. 

Ingredients/Supplies:

  • For each flavored vodka you decide to make, you’ll need a large, clear vessel with a stopper. I found some fun shaped ones at good ole’ Target and they worked perfectly and they were very affordable.
  • Wooden tags, so you can let your recipients know what flavor their wonderful booze contains. Although I found mine at a little boutique, you could likely find these at any craft store.
  • Twine to tie on your tags
  • Felt pen or permanent marker to label your tags with
  • 1 liter of plain, unflavored Vodka. I split this 3 ways to make the three vodkas below. You can make 1 liter of all one flavor or use 1/3 of a liter for each, whatever floats your boat

Pineapple Vodka:

  • 1.5 cups of fresh pineapple chunks

Vanilla Vodka:

  • 4-5 vanilla beans, sliced open

Jalapeño Vodka:

  • 3 halved and seeded jalapeños** (I would go towards the milder jalapeño vs. a spicier pepper)

How to Make:

First things first – wash our your clear vessels with hot, soapy water and dry them. After you decide how many flavored vodkas you’re hankering to make, split the plain vodka up amongst your clear vessels. Here are the three I chose to use:

Upload May 28, 2013 904

Next you’ll need to prepare the flavor mix-ins of your choosing.

For the vanilla vodka, I wanted a fairly sweet and intense flavor so I sliced open the vanilla beans a bit to enhance the saturation level. If you’d rather go for subtle flavor, I’d throw in just the plain vanilla beans. Recommend 4-5 beans.

Upload May 28, 2013 906

For the pineapple vodka, chop up the pineapple into nicely sized chunks. Think large, edible chunks (size wise). I highly recommend using fresh pineapple if you can.

Upload May 28, 2013 911

And for the jalapeño vodka, just slice the jalapeños in half, de-seed them with a sharp knife and drop them into the vodka.

**However…please read the below cautionary tale. Wash your hands once you’ve finished chopping!

Upload May 28, 2013 912

Once all of your mix-ins have been added, put your vessel stoppers and ensure they’re snug. As Real Simple noted, you’ll want tight seals. If you’re putting this into a gift basket or anything, I can also add some cling wrap to ensure your stoppers stay in place.

Upload May 28, 2013 914

You can either refrigerate these right away or you can give to your gift recipients right away and let them know that THEY will want to refrigerate these. You need time for the flavors to infuse! The recommended time is 3 days to 1 week in the fridge. Once it’s been a week, you’ll want to remove, or instruct your recipient to remove the flavoring mix-ins.

Wrap your twine around the neck of the bottles, add your flavor label to the gift tags and instructions for infuse time and a reminder to remove your mix-ins.

Supposedly, these will be not so good once you reach the 2 month mark but hopefully, they’re so tasty that they are consumed LONG before that 2 month mark arrives. However, to be safe, I would recommend noting the 2 month expiration date for anyone you give this to.

Tie the tags on, wrap up your vodkas or stick them in a basket and voila! A neat, homemade gift that will be a delicious addition to any fun libation.

Upload May 28, 2013 916

Upload May 28, 2013 917

Enjoy!

** So the story I must share with you for both humor and warning is this…I made the pineapple and vanilla vodkas and had turned to my jalapeño vodka to finish up with. I sliced those babies up and placed them in the bottle of vodka, closed up the stopper and thought I was done, as I reached up and gave my cheek a little scratch and rubbed my nose. Can’t explain why, my face must have itched. Well…within about 10 seconds, my face started to really itch. Then burn. I wiped my face with the side of hand, wondering what the heck was happening. My nostrils started to burn, as in, REALLY BURN. I started to sneeze. Then it hit me…I had rubbed jalapeño juice ALL OVER the bottom portion of my face.

Ran over to the sink to flush my face with ice-cold water. Let me tell you, that does NOT work.

At this point I was becoming quite vocal about my extreme discomfort to my family who was sitting in the vicinity and was initially completely perplexed at my commentary until I shared the idiocy of the jalapeño –> jalapeño juice –> face situation. All of which was explained while taking breaths between submerging my face in water. While trying to not laugh (not all were successful at this), they started to quickly Google solutions.

At this point I was starting to whine, laugh, cry, sniffle, sneeze all at the same time. While continuing with my face-dunking in the cold water. My face now felt like it had the worst sunburn on the planet and someone had then taken a hot iron to my skin. I was not in a happy place my friends. An absurd, uncomfortable place but it wasn’t too happy.

Google informed us of a few solutions…milk was the first one that we tried. I was leaning over the sink with a milk soaked rag pressed to my face. Temporary relief was felt. But it wasn’t making the burning stop. On to solution #2!

Google then informed us to try rubbing alcohol. Apparently there is oil in the hot pepper juice which is why water doesn’t help nor milk. (I honestly didn’t know this until this whole incident.) Milk helps to balance the sting but it’s not helping to remove the actual oil from your face to make the pain go AWAY.

Rubbing alcohol went all over my face. I smelled quite amazing at this point, let me tell you.

But it WORKED. Hallelujah.

My brain had started to go to the thought of…am I ending up in the ER with one of THOSE stories?

Moral of the story as I stood in the kitchen with a beet red face, tears coming out of my eyes still from both laughter at the absurdity of the situation and the true pain my skin had just been in. God bless rubbing alcohol.

*Therefore – do NOT do as i did. Wash those hands as soon as you finishing slicing the jalapeños! I knew this cardinal rule yet spaced it out. Never again folks. Never. Again. 

Thin Mint Protein Smoothie

29 Jun

Ok, so you know my feelings about mint and chocolate. I’m for their union. All the time. Even in healthy recipes.

This lovely concoction is brought to you today by a wonderful blog I found recently – Rabbit Food For My Bunny Teeth. I posted about it in my Top Five post…in the 2) category. This blog is full of inspiration to eat and just ‘be’ a healthy person. One of my favorites to read everyday.

And yes, I know I just posted a not-so-healthy cookie recipe (though it did include bff’s mint and chocolate), but I actually embrace eating food that’s good for me. You may not believe me. That’s ok. Sometimes I don’t believe me either. Then I eat a cookie.

Back to the smoothie…

This is a great way to jump-start your morning. I didn’t have any coffee today (a rarity) and I was still awake and energized throughout the day. It also is surprisingly sweet (it does taste similar to a Thin Mint!) and extremely filling. All around a win-win.

I didn’t change any part of Catherine’s recipe, so the ingredients list is fully hers. I simply wanted to share it here for you all to also enjoy.

Ingredients:

Smoothie:

  • 1 cup almond milk (never thought I’d be the person buying this…yesterday I was that person)
  • 1 cup frozen spinach (you can also use 2 cups of fresh spinach according to Catherine’s recipe)
  • 1/4 rolled oats
  • 1/8 tsp peppermint extract
  • 2 scoops chocolate protein powder (I used Biggest Loser’s brand, but I think this can be substituted with whatever brand you prefer)

Garnish:

  • 1 Tbsp walnuts
  • 1 Tbsp dark chocolate chips

How to Make:

You can whip this up in about 3 minutes, depending on how close together you store all of the ingredients in your kitchen. I took 5.7 minutes as I had to search for my walnuts in the hall closet. Don’t ask me why I put them there.

First grab your blender and as Catherine recommends for those blenders that are a big challenged (like mine), blend up the milk and frozen spinach first.

Then I dumped in the protein powder…

…and the oats…

and the peppermint extract (the one item that doesn’t really photograph well). Then push the button that says ‘blend’. I let mine go until everything looked fairly smooth, about 23 seconds. Not 22.

Measure out your two ‘garnish’ items and delicately place them on top. They will eventually sink so if you feel the need to photograph your food (who does that?) ensure you have your camera ready to snap a photo of your beautiful beverage.

Dig in with a spoon or sip – either way I think you’ll be surprised how delicious this is and how full you are when you’re finished. At least I was!

Thanks RFFMBT for a great recipe! Now go check out Catherine’s blog for more delicious, healthy recipes!

To print off the recipe for easy reference in the future, click here

Thin Mint Protein Smoothie_Recipe Card

Blackberry Margaritas

13 May

I’m baaacck! (Please say that in the voice intended). I realize I’ve been on a bit of a blogging hiatus, my apologies about that. I hadn’t been in the mood to cook or blog in the last few weeks, but I got my groove back last night. Let me explain…

I’m visiting my brother and sister-in-law in Chicago this weekend. My brother Doug just had a birthday and my present to him was to cook up some tasty items over the course of my visit. A total of five items were made last night and I think they all turned out and tasted awesome. The key piece were these babies: blackberry margaritas. Nothing gets you a little excited and a little energized in the kitchen more than a tasty libation – am I right?!

We had the music up, the margaritas in hand, and made a real tasty dinner. That dinner will be shared over the course of the next few blog posts. Get excited. These are things you WILL want to make. I think. (I know.)

I found this recipe on pinterest (where else, right?). The picture was very enticing, plus I’ve had this recent curiosity about blackberries. The pin took me to this wonderful website. This looks like another cooking blog that I must regularly explore!

This recipe has only a few ingredients, but one part involves a little elbow grease. Ready? Lets make some margaritas!

Ingredients (makes 4 servings):

  • 1 cup Tequila (we used José but I’m sure any brand will work just fine)
  • 1 cup blackberry juice (where does one buy blackberry juice? Not sure…so we’re making our own. Read on.)
  • 1/3 cup fresh lime juice (we used bottled lime juice, but you may prefer fresh lime juice)
  • 1/2 cup Cointreau (we used Triple Sec instead – still gives a nice orangey flavor)
  • ice cubes
  • sliced limes (1 lime for every 4 servings would be sufficient)
  • salt

If you don’t have blackberry juice…

  • 2 cartons of blackberries
  • 1 piece of cheesecloth or a fine mesh strainer
  • a potato masher

How to Make:

Ok, so the blackberry juice is the only piece that requires a bit of effort. At the little specialty grocery store we shopped at they didn’t have any blackberry juice. Not sure if a big grocery store has any either. However, I knew that I could use real blackberries and smash/strain the juice instead. So my little creative experiment began.

We used cheesecloth, a strainer (which didn’t have small enough holes to be used on its own), a potato masher and a plate to catch the juice. This was my first experience with cheesecloth and it worked fairly well.

Prior to the mashing, be sure to rinse your blackberries…

Picture this…strainer sits atop a large plate…cheesecloth is draped inside the middle of the strainer…blackberries sit atop the cheesecloth. My sister-in-law Laura is wielding her potato masher and the rest…history. If you can’t picture that – here’s a visual:

Really all we did was mash the berries and press against the bottom of the strainer/cheesecloth bottom as to press the juice out on to the plate. We used two small crates of blackberries which equaled exactly 1 cup of juice.

It was very entertaining and really not as messy as it sounds. When we were finished, we just lifted the cheesecloth and berries right into the garbage. Everything else got rinsed. Success!

Now…add your cup of blackberry juice, Tequila, Cointreau (or Triple Sec if you have it instead) and lime juice to a pitcher. Stir. Stir. Stir! Add in ice cubes and if you want to be fancy…sliced limes. We went the route of slicing the lime into wedges for the edge of our glasses instead. But you could easily put them into the liquid instead. The lime’s green webbing WILL be stained though, just as an FYI.

Grab your margarita drinking receptacles and use lime slices to wet the entire edge of the glass. Pour salt in a flat dish and then take your lime saturated rims and rub them in the salt. Fancy schmancy results. Take your glass, pour in your margarita, pour in any extra ice cubes if needed and garnish with a lime slice. Ta Da!

Cheers!!


White Sangria

15 Apr

This is the last of the Easter posts and a short one at that. No fear though, short or wordy, all posts are still worthwhile of you reading. 🙂 There are plenty of other posts ready to be written after these Easter posts too, don’t you worry about that!

We hosted a larger group than normal at the Vose house for our Easter this year, and instead of offering our normal array of wine, beer and pop, I thought it’d be fun to add an additional ‘fun’ drink for everyone to enjoy prior to our mid-afternoon dinner.

I’ve made this once before for a bunch of my girlfriends – and that version I made the way the original recipe was written. This new version was created out of lack of pomegranate seeds and using the selection of alcohol available. I think white sangria can truly be a great experiment for anyone and you can throw in different fruits and liquids until you’ve found the concoction that suits you and your guests.

I found the recipe on Pinterest and it caught my eye because it was so pretty. It’s always more fun to serve a fancy beverage when it looks as great as it tastes, right?! The pin took me to this website (which I can’t wait to explore more!) and the recipe below:

Ingredients:

  • 1 bottle white wine (I used a different variety for the two times I made it and even for the different batches I made at both occasions. So, just pick a white wine that you like best.)
  • 3 cans 7up or Sprite (The first time I made this I had extra ginger ale leftover from another recipe…it works just as well if you don’t have 7up or Sprite on hand)
  • A splash of Grand Marnier (I didn’t have any for the Easter crew, so we used Triple Sec instead and I think it worked just fine as a substitute)
  • Seeds of 1 pomegranate (We couldn’t find a pomegranate or any seeds in the Mankato grocery store, so we got creative and used frozen strawberries to be consistent with the pop of red color. However, highly recommend using pomegranate seeds if you can find them!)
  • Two limes, sliced
  • Ice cubes
  • (For the Easter version, as we lacked pomegranate seeds, we used a splash of pomegranate juice…just so that subtle flavor was still in the mixture…but not necessary to include this if you in fact find the seeds.)

How to Make:

Ready for it??!? All you must do…mix everything together in one large punch bowl or glass pitcher. (Well, I do hope you slice up your limes first and if you do happen upon a pomegranate, seed it and then transfer the seeds into your concoction. However, it all ends up mixed together to create one pretty and one very tasty libation.)

A few recommendations, beyond the ingredient substitutes above…

  • I do recommend using either a clear bowl or pitcher – this is too pretty to not have on display.
  • Don’t forget to pour extra ice in as needed to keep it cool (Disregard I didn’t add ice yet to the pitcher in the pictures above…I did add that right after. I solemnly swear).
  • You may need two pitchers to house all the liquid, as for us at least, we didn’t have one pitcher quite big enough and the 4th of July themed punch bowl just didn’t seem suited to Easter with its American Flag design. So, no worries if you have a ‘back-up’ pitcher in the fridge while the other is out for your guests.

Enjoy (and don’t forget to enjoy the pomegranate seeds or frozen fruit substitute too)!