Tag Archives: Raspberries

Baked Oatmeal

2 Nov

IMG_6642

This baked oatmeal is the perfect, cozy breakfast on a chilly day and the sweetness of the raspberries is a wonderful compliment to the warm, cinnamon-y oatmeal (apparently I’m on an unintentional raspberry kick). However, lots of other fruits can easily be used instead – I would love to try fresh peaches the next time they’re in season! And I’ve used blueberries for this as well and it was just as tasty. We may try apple next, as we have a plethora of apples from a recent apple orchard visit. 

Now, before we dive into the ins and outs of making yourself baked oatmeal, I first have to say that before this attempt, I had never had baked oatmeal and didn’t really know what about oatmeal would even require baking. I grew up with the delicious Quaker Oat instant packets that required a few minutes in the microwave and “ta da”, oatmeal! I associated oatmeal with – “instant”. Effective marketing, Quaker Oats.

So, when I opened my Seriously Delish cookbook (from one of my absolute favorite bloggers, Jessica, over at How Sweet Eats) and I saw this recipe, I knew it was moving up to the front of the recipe queue. For starters, Jessica talks about HER love of Quaker Oak instant oatmeal! Ha! A kindred spirit! And the recipe looked like one that would be the perfect recipe for a fall day and well, tis the season. I was sold.

IMG_6632

This does take a little planning, but I promise you that it’s not a difficult breakfast to whip up for you, you and a roommate/spouse or even for a big group! I made this the first time for my husband and I and then proceeded to make it again a week later for Luke’s family. For the second attempt I used steel-cut oats and blueberries and the twist resulted in just as delicious oatmeal but with a bit more texture.

Enough about the ‘why’ of baked oatmeal, let’s get to the ‘how’!

I made a few tweaks to the original recipe that Jessica provides in her cookbook and I can’t wait to continue to experiment with this in the future. Possibilities are endless!

Ingredients:

For the oatmeal:

  • 1 1/2 cups old-fashioned oats (I’ve also done this with steel-cut oats and it’s super tasty, but has more texture than the normal oats route, so just know that in advance. But I definitely encourage you guys to try this too! If you’re like us, you’ll just go with what you have in the cupboard.)
  • 1/2 cup loose packed light brown sugar
  • 1 tsp baking powder
  • 1/2 tsp ground cinnamon
  • 1/4 tsp salt
  • 1/2 cup canned unsweetened coconut milk
  • 1/4 cup chunky applesauce
  • 1 egg
  • 1 1/2 tsp vanilla
  • 1 Tbsp butter, melted
  • 2/3 cup fresh raspberries

For the topping:

  • 2 Tbsp browned butter
  • 1-2 Tbsp coconut milk
  • 2-3 Tbsp slivered almonds

How to Make:

If you’re anything like Luke and I, before you start making this breakfast you’re going to pour yourself a big, steaming cup of coffee. It’s the best way to make this recipe, I promise. While you’re sipping that java, preheat your oven to 350.

Grab a small baking dish or small casserole dish and spray it with Pam or whatever cooking spray you have in the cupboard. Set that aside for now.

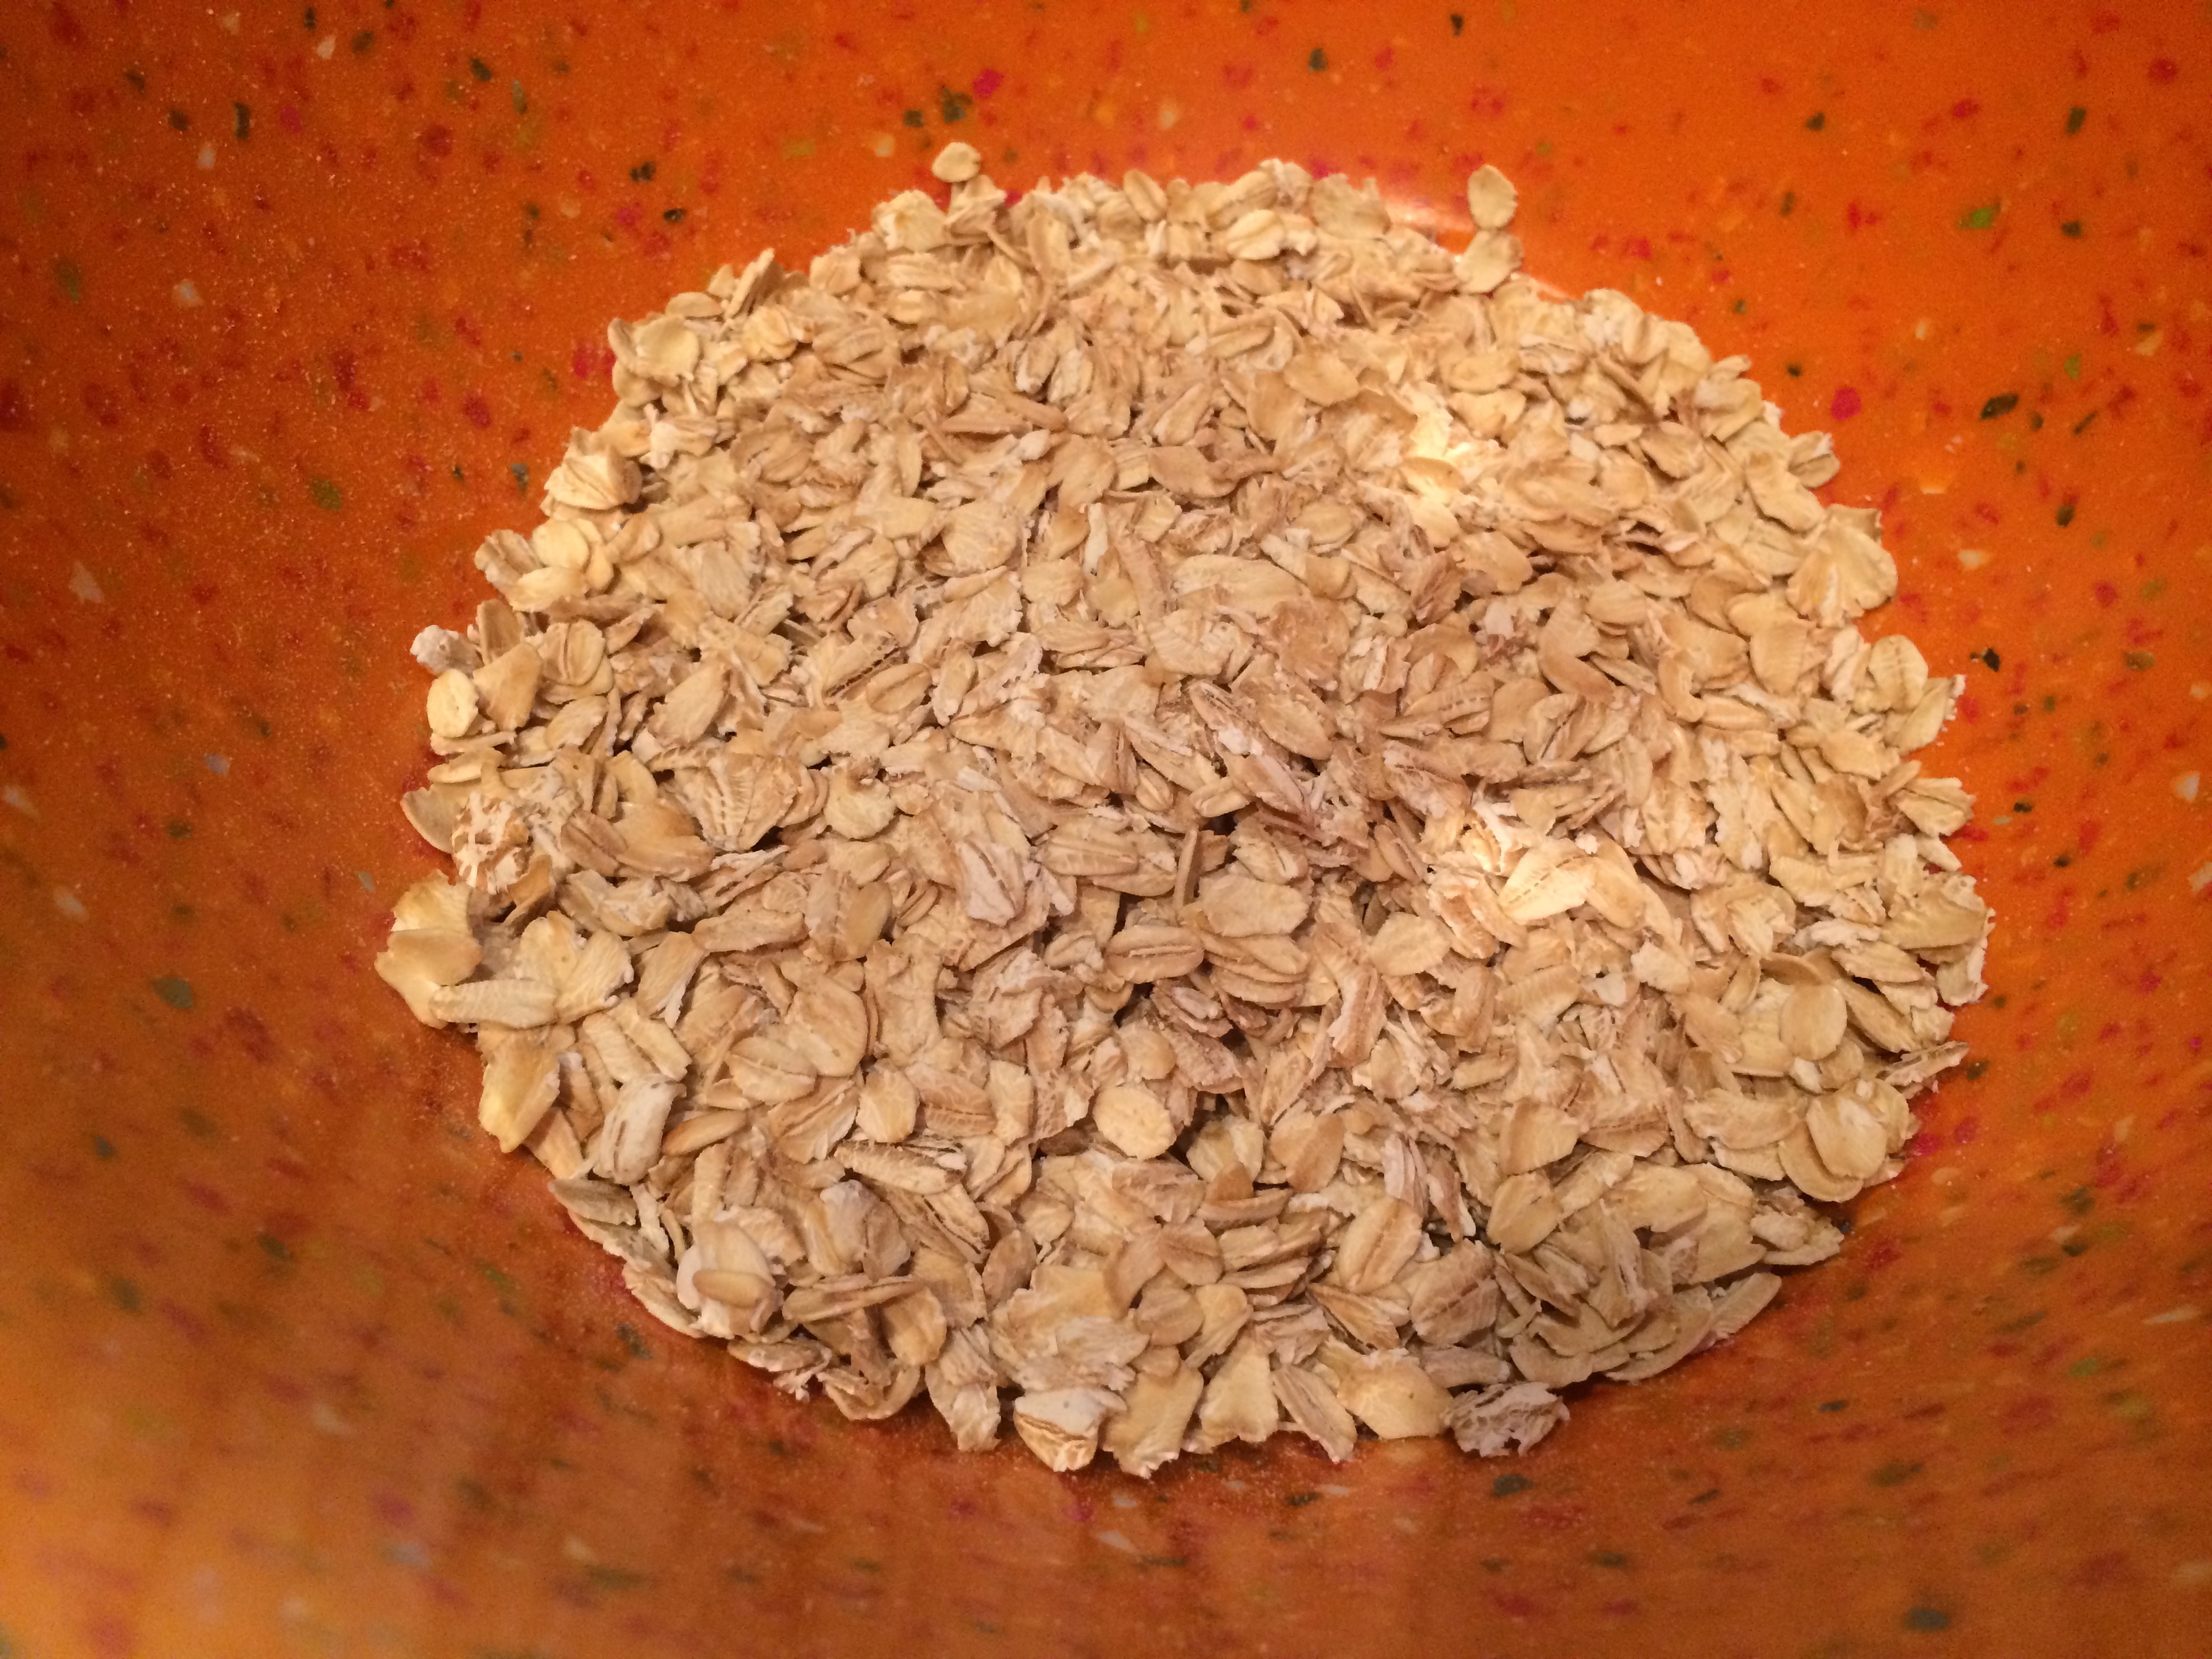
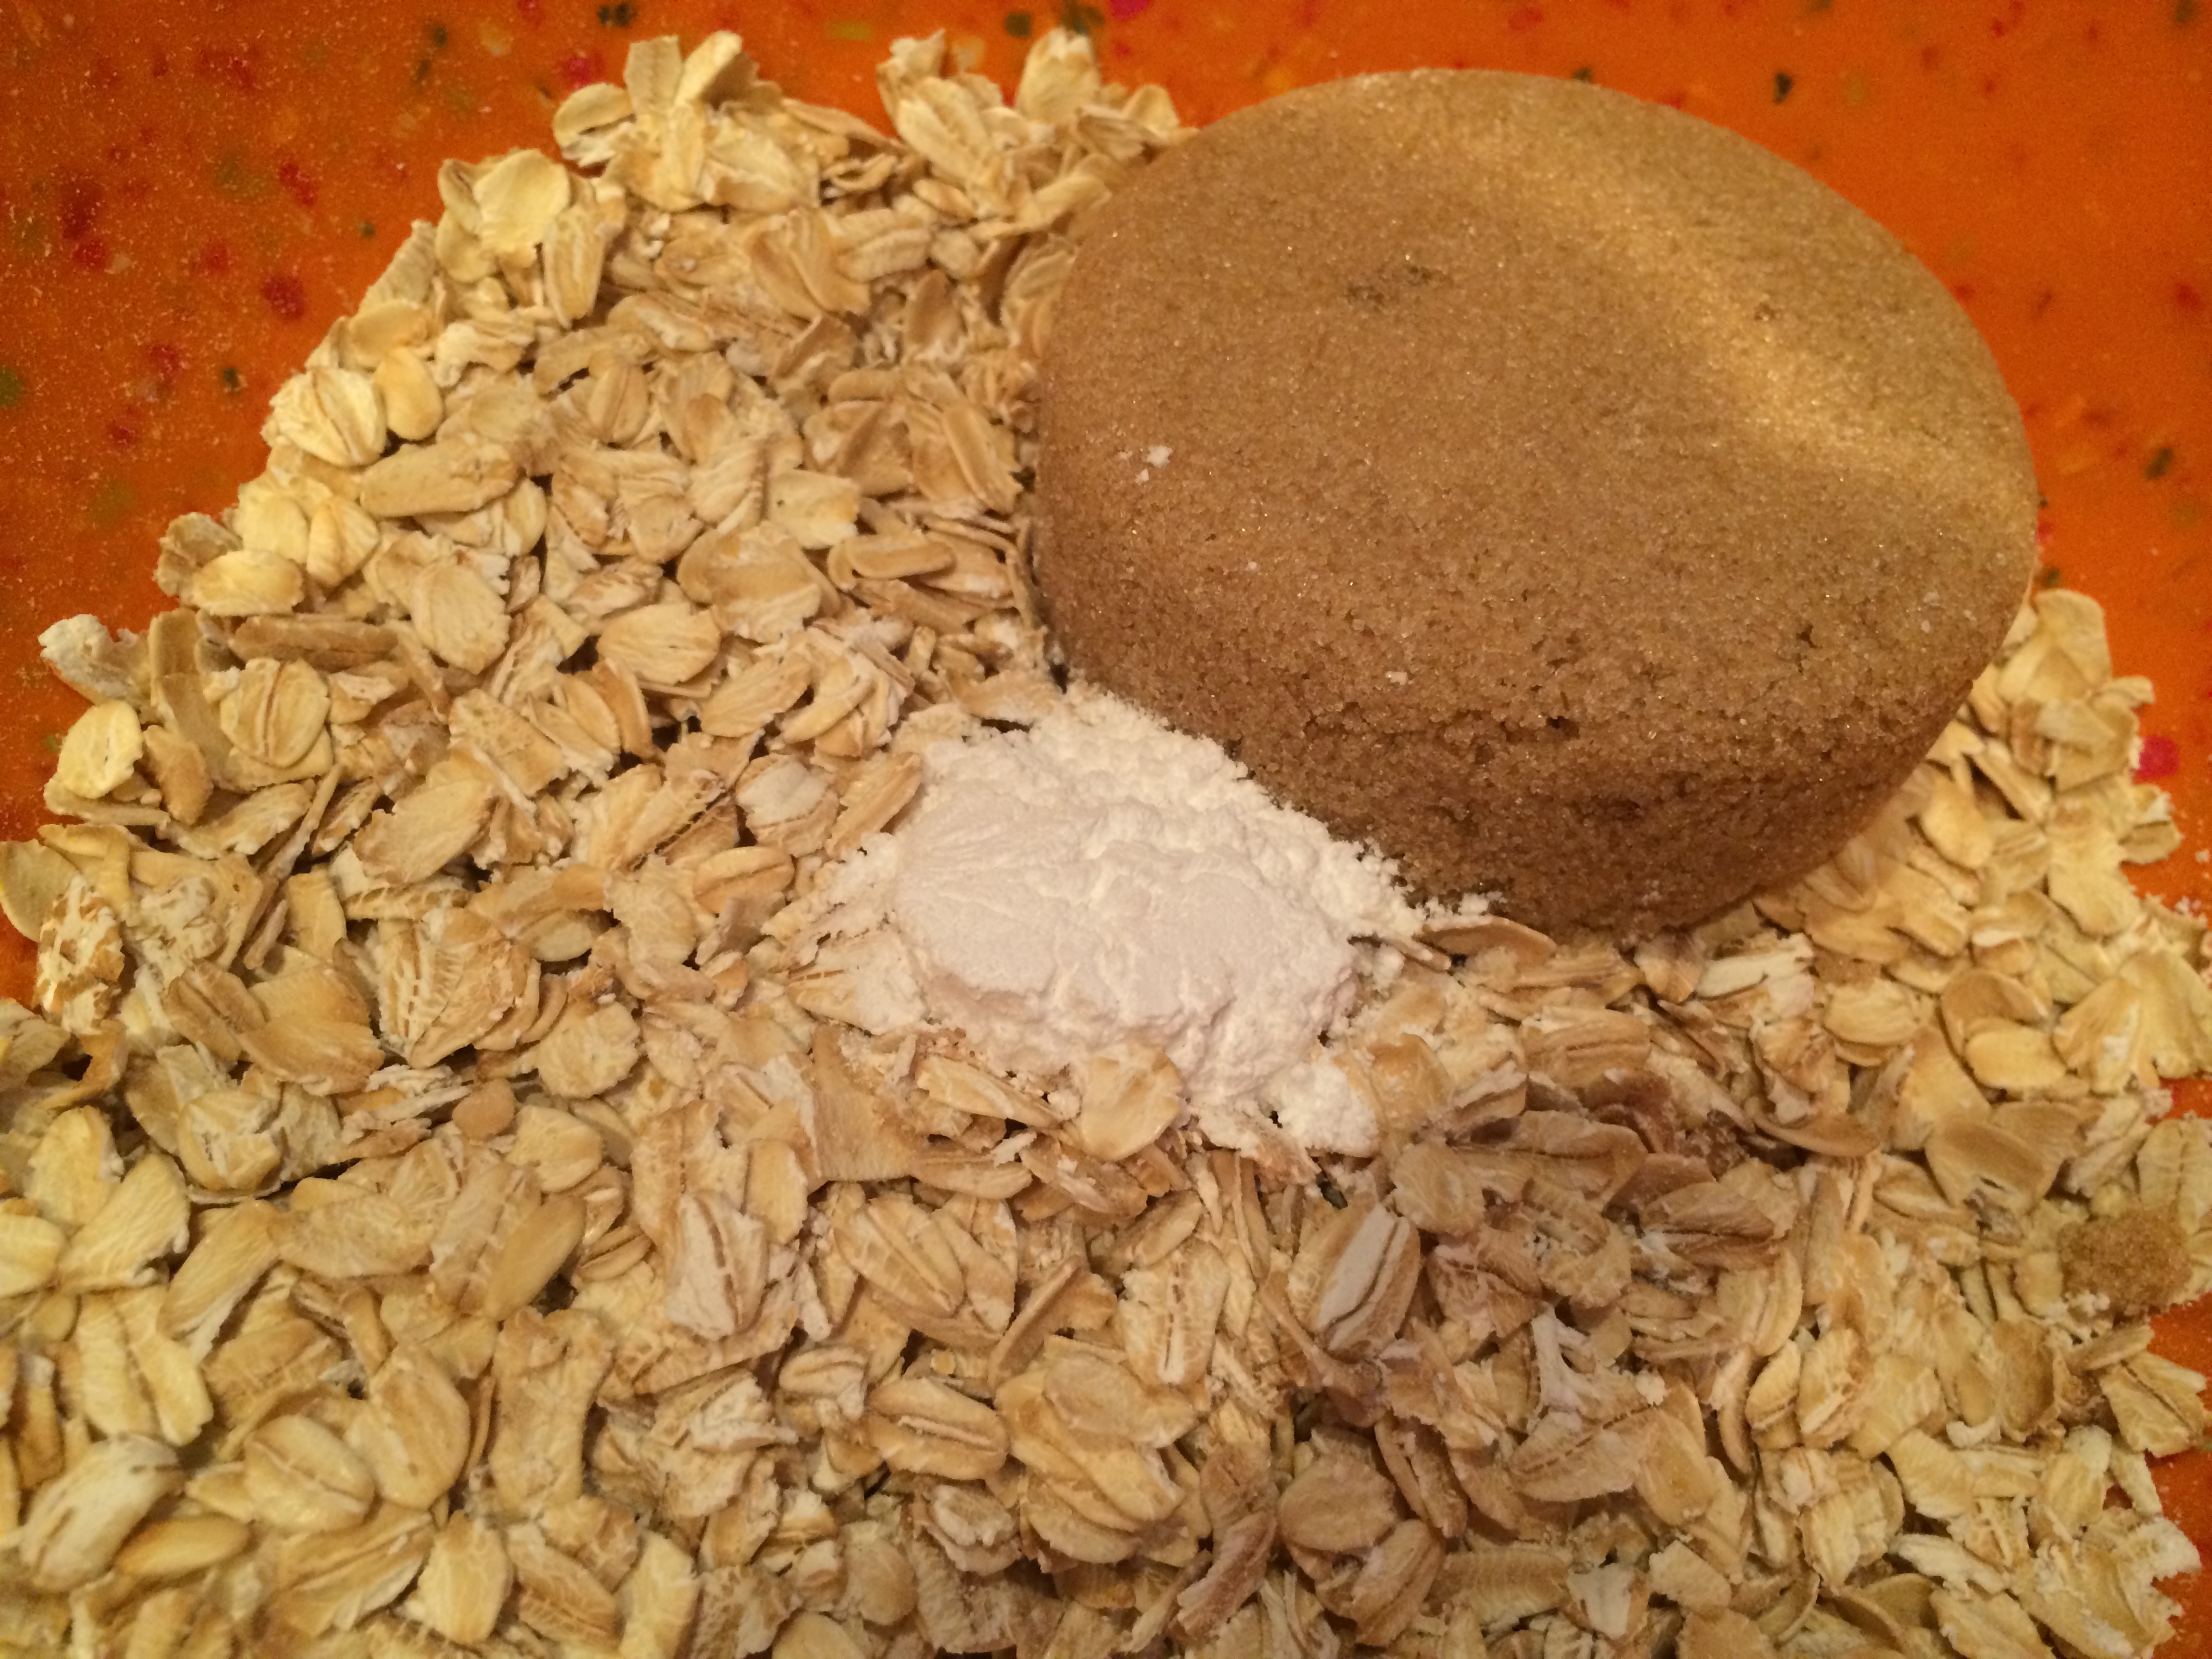
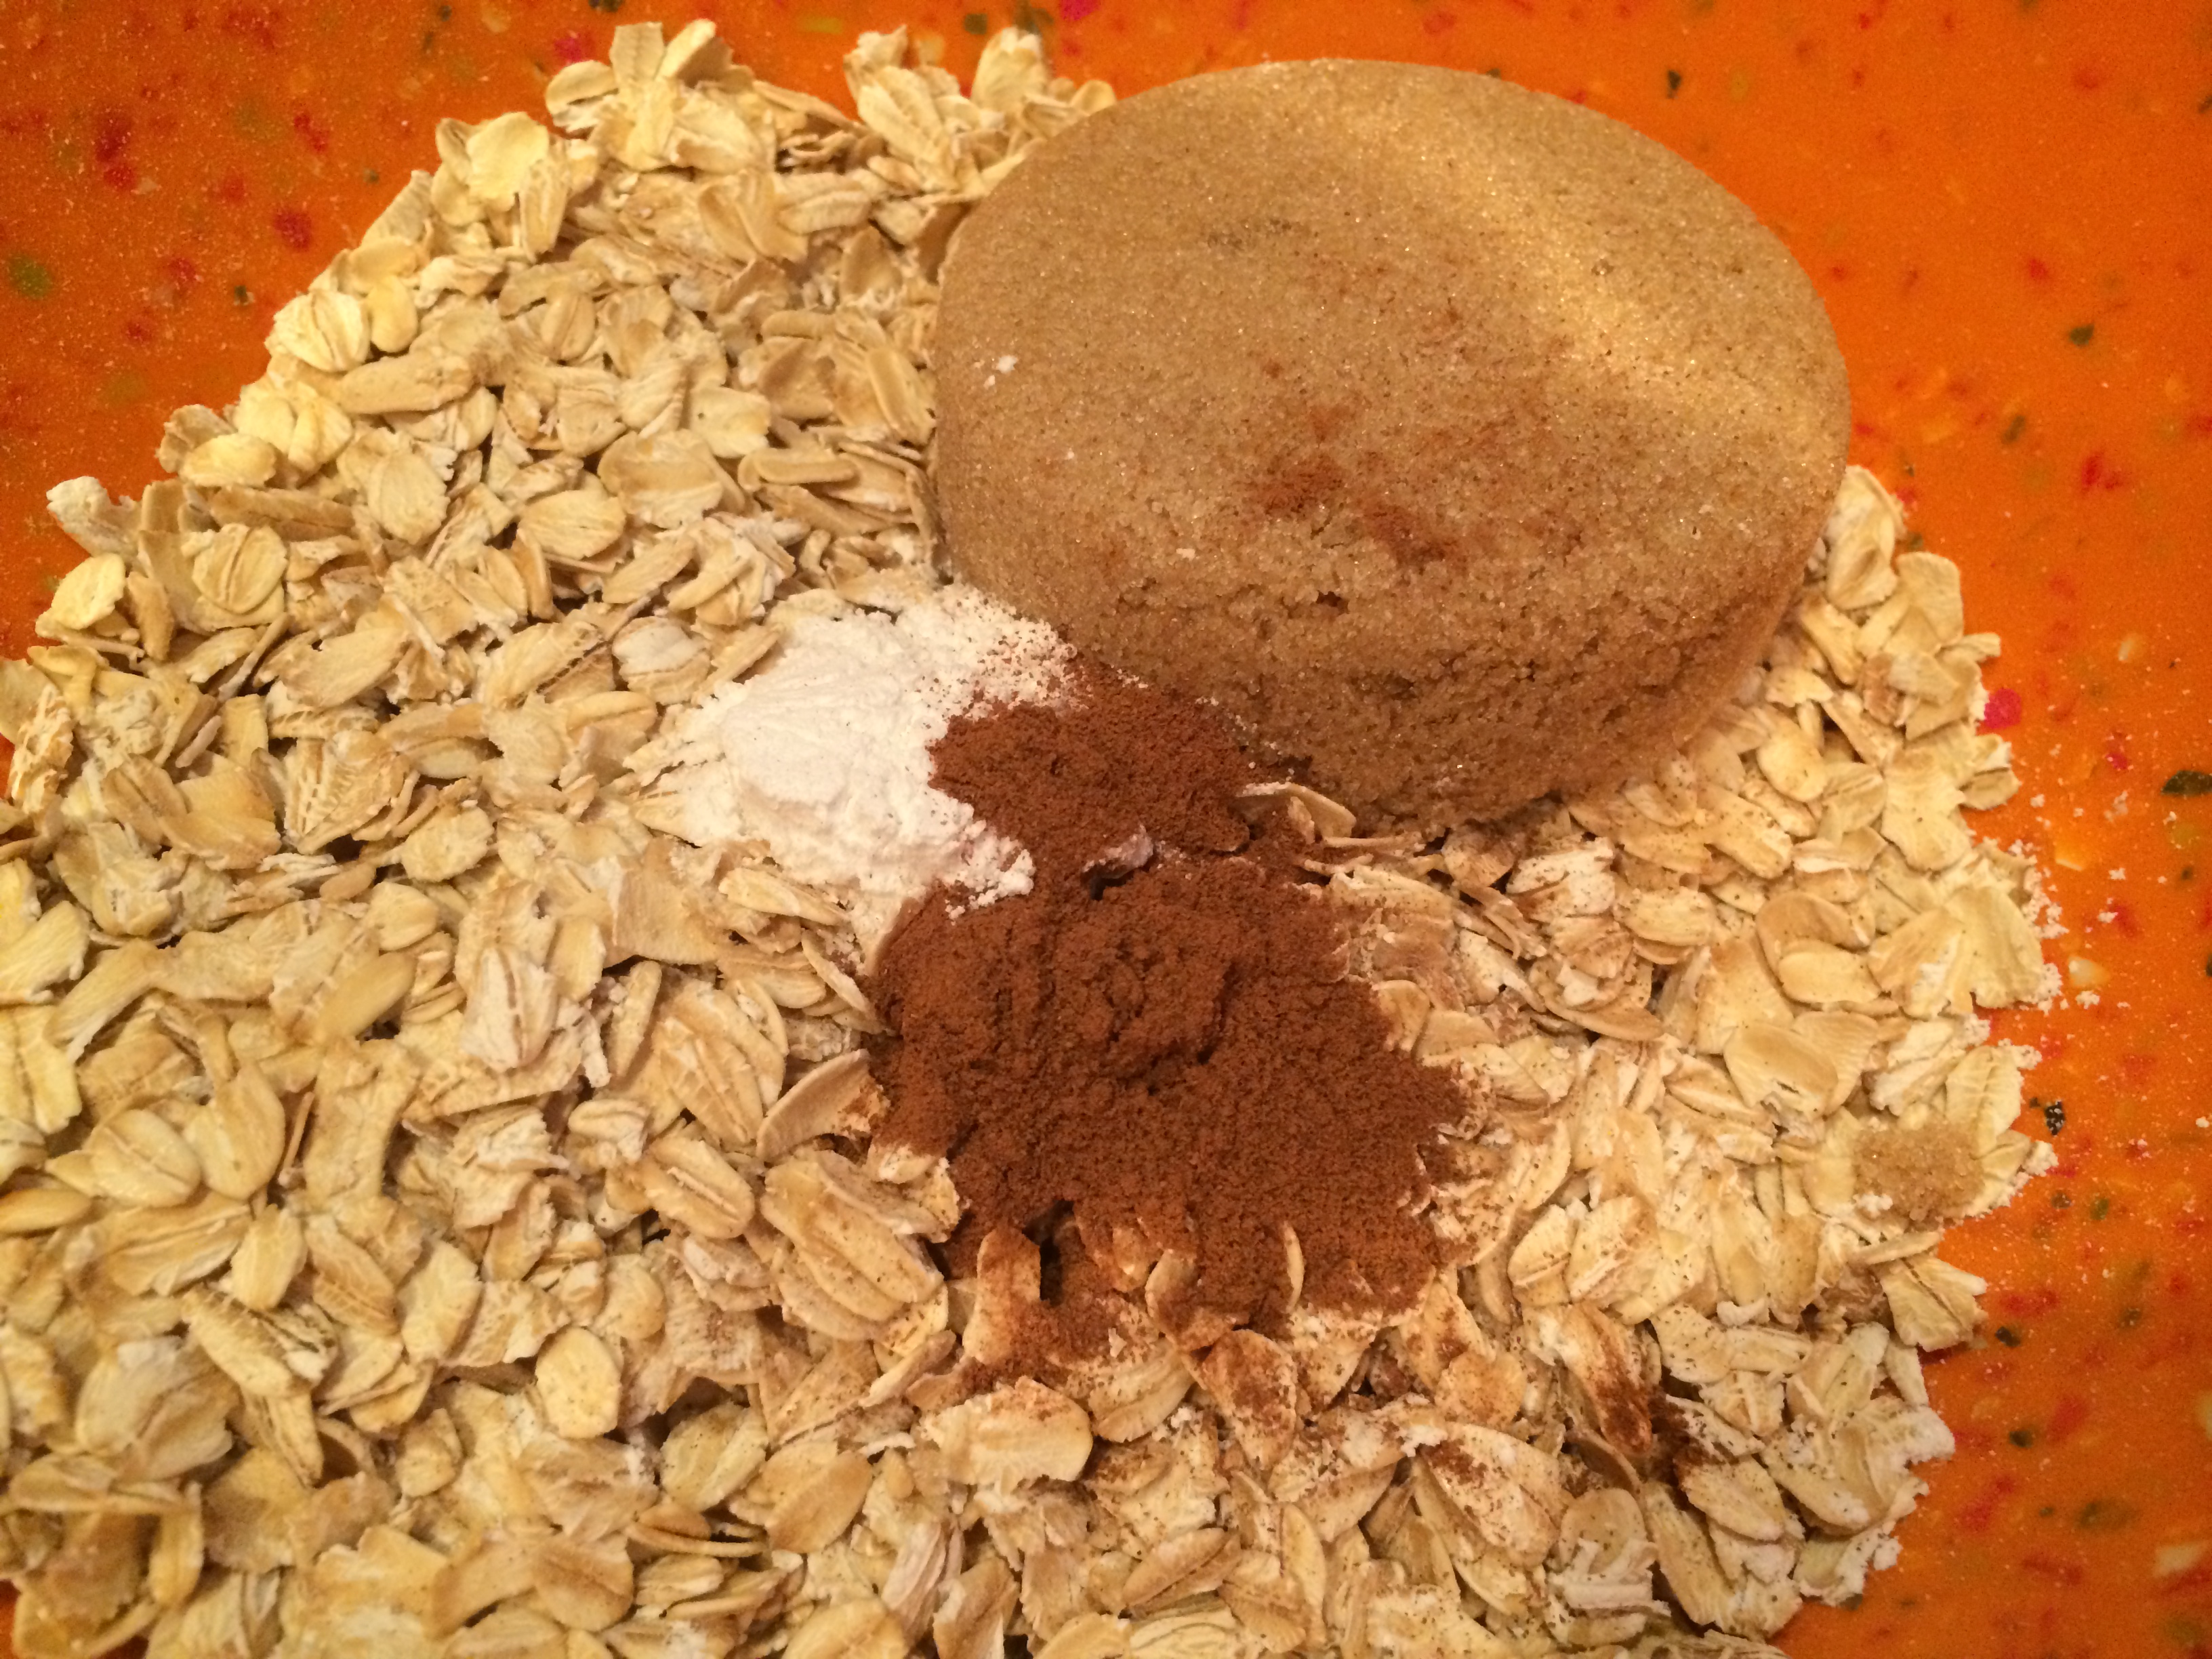
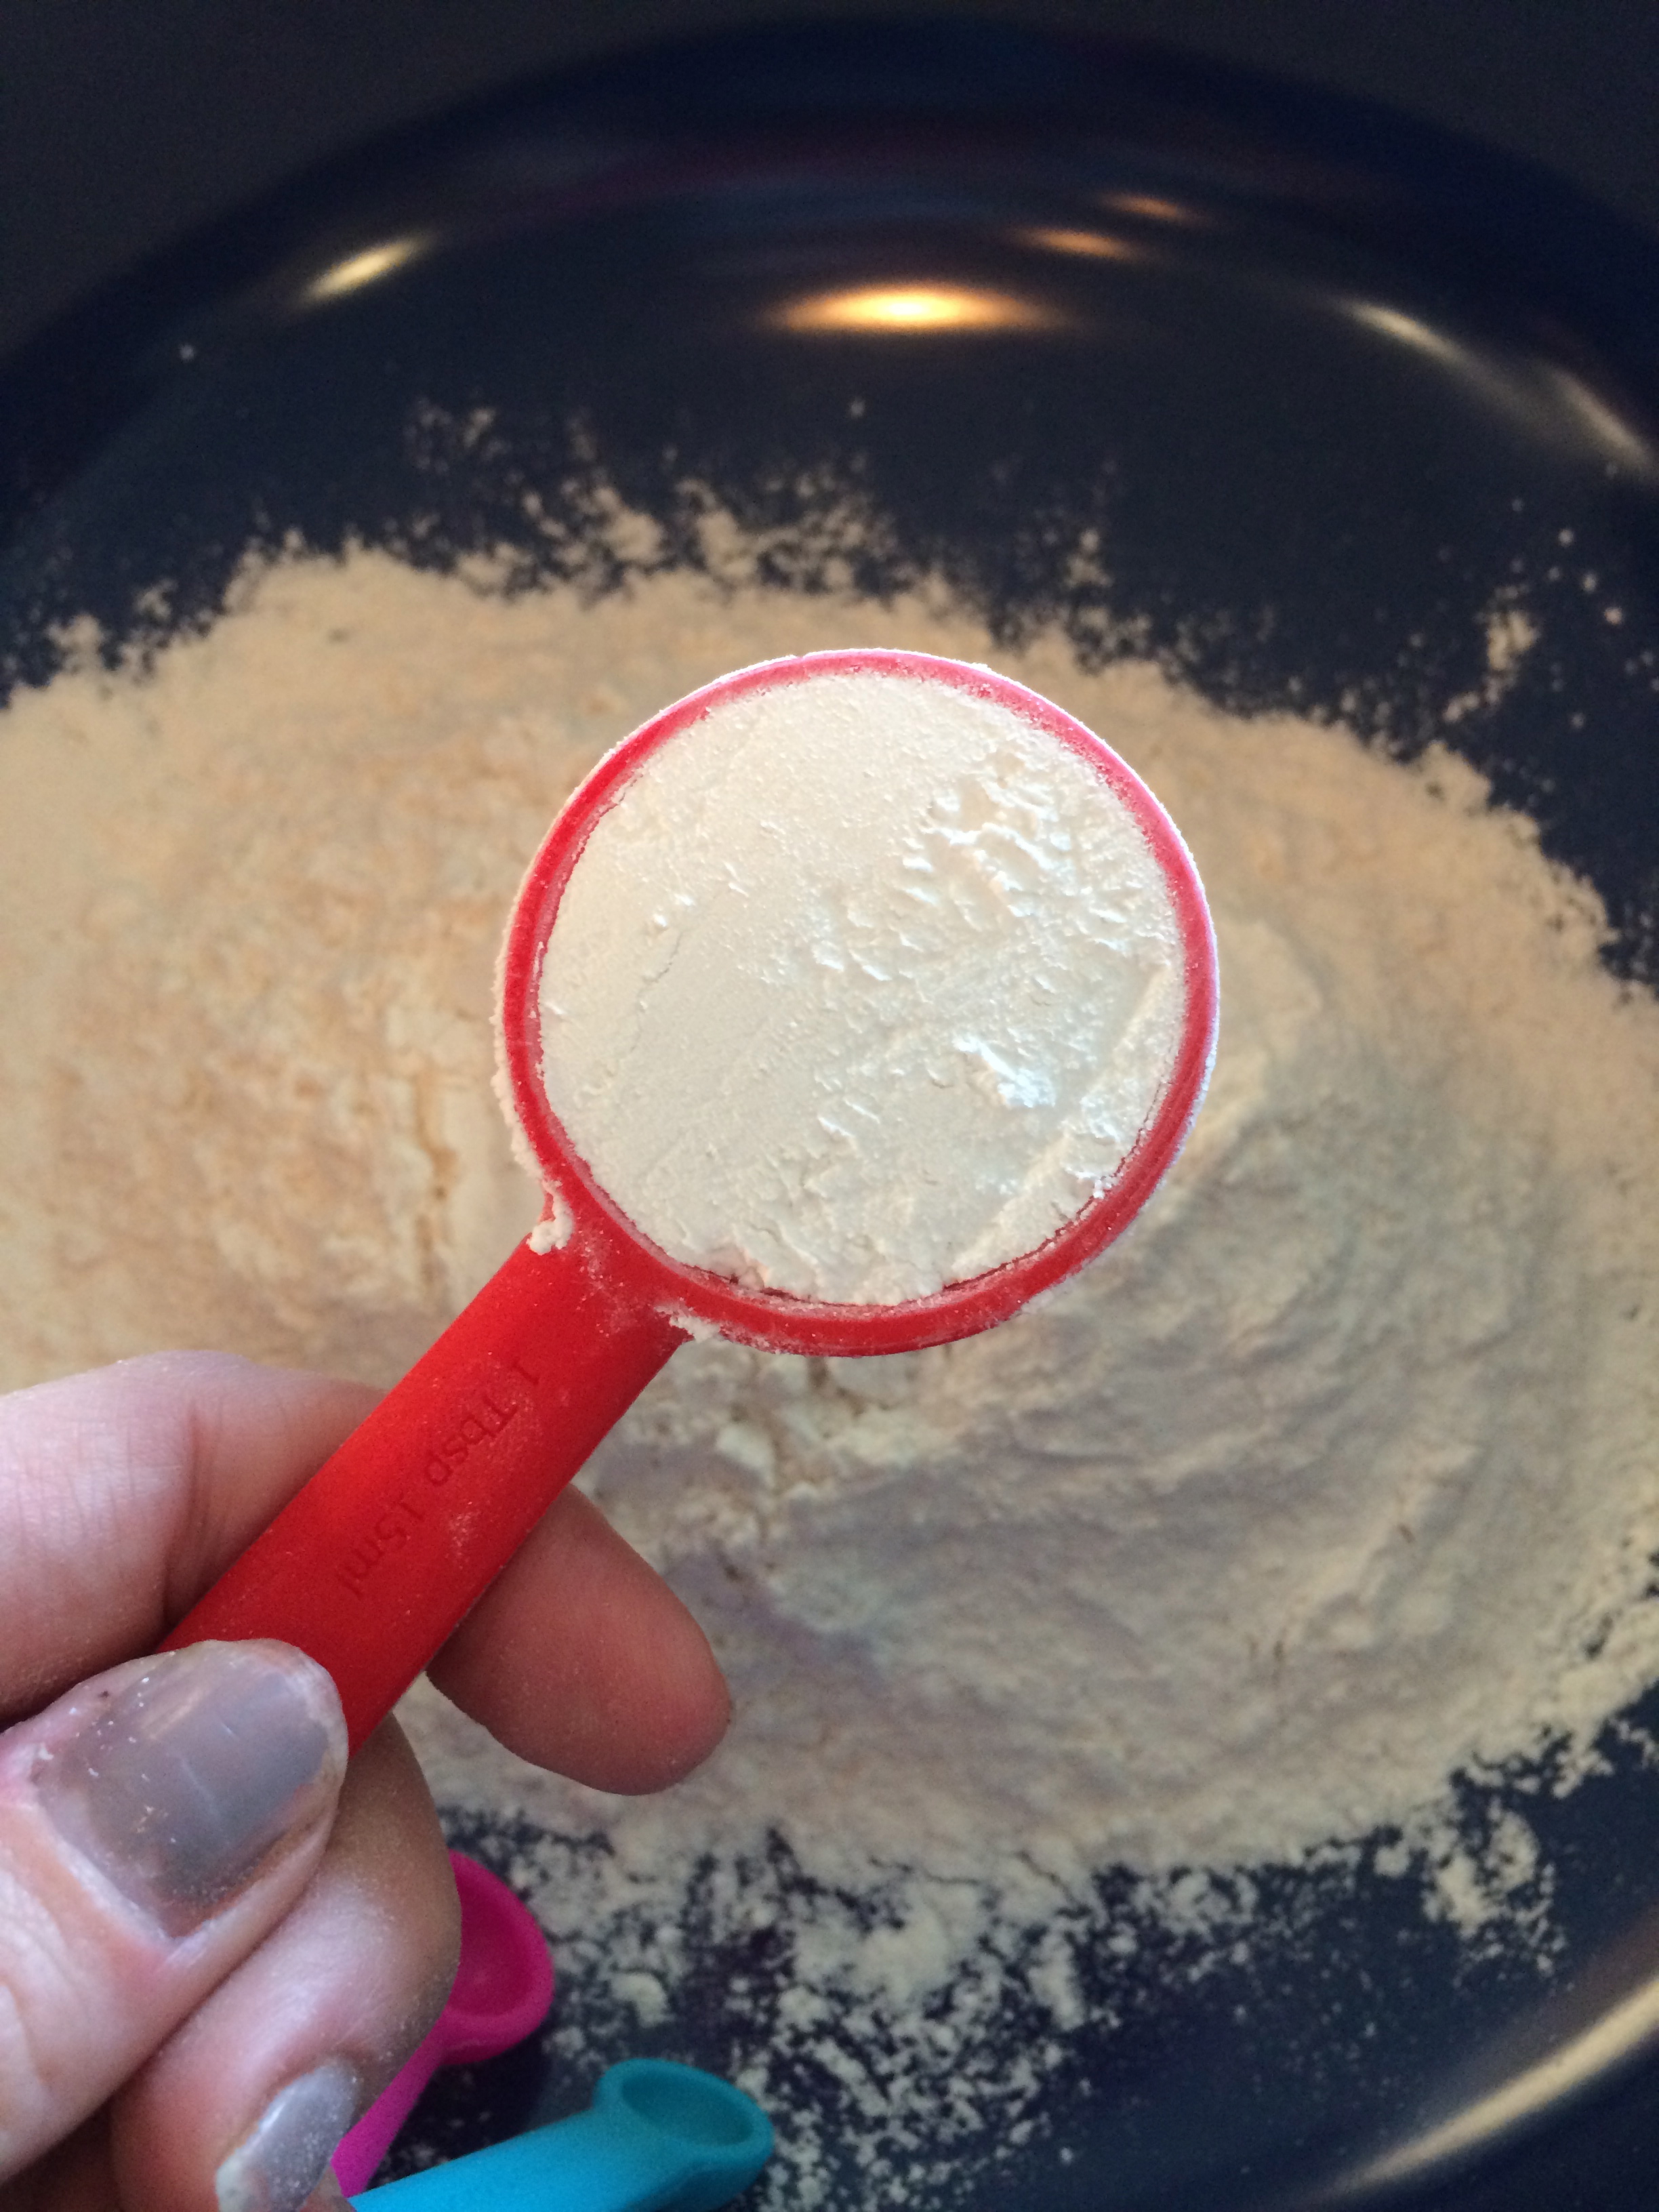
Locate a large bowl and now begins the mixing and assembling of ingredients. First in are the oats, brown sugar, baking powder, cinnamon and salt. Whisk it all together.

IMG_6609

IMG_6610

IMG_6611

IMG_6612

IMG_6613

IMG_6614

Now, in a separate medium-sized bowl, whisk the coconut milk, applesauce, melted butter, egg and vanilla together.

IMG_6616

IMG_6617

IMG_6618

IMG_6619

IMG_6620

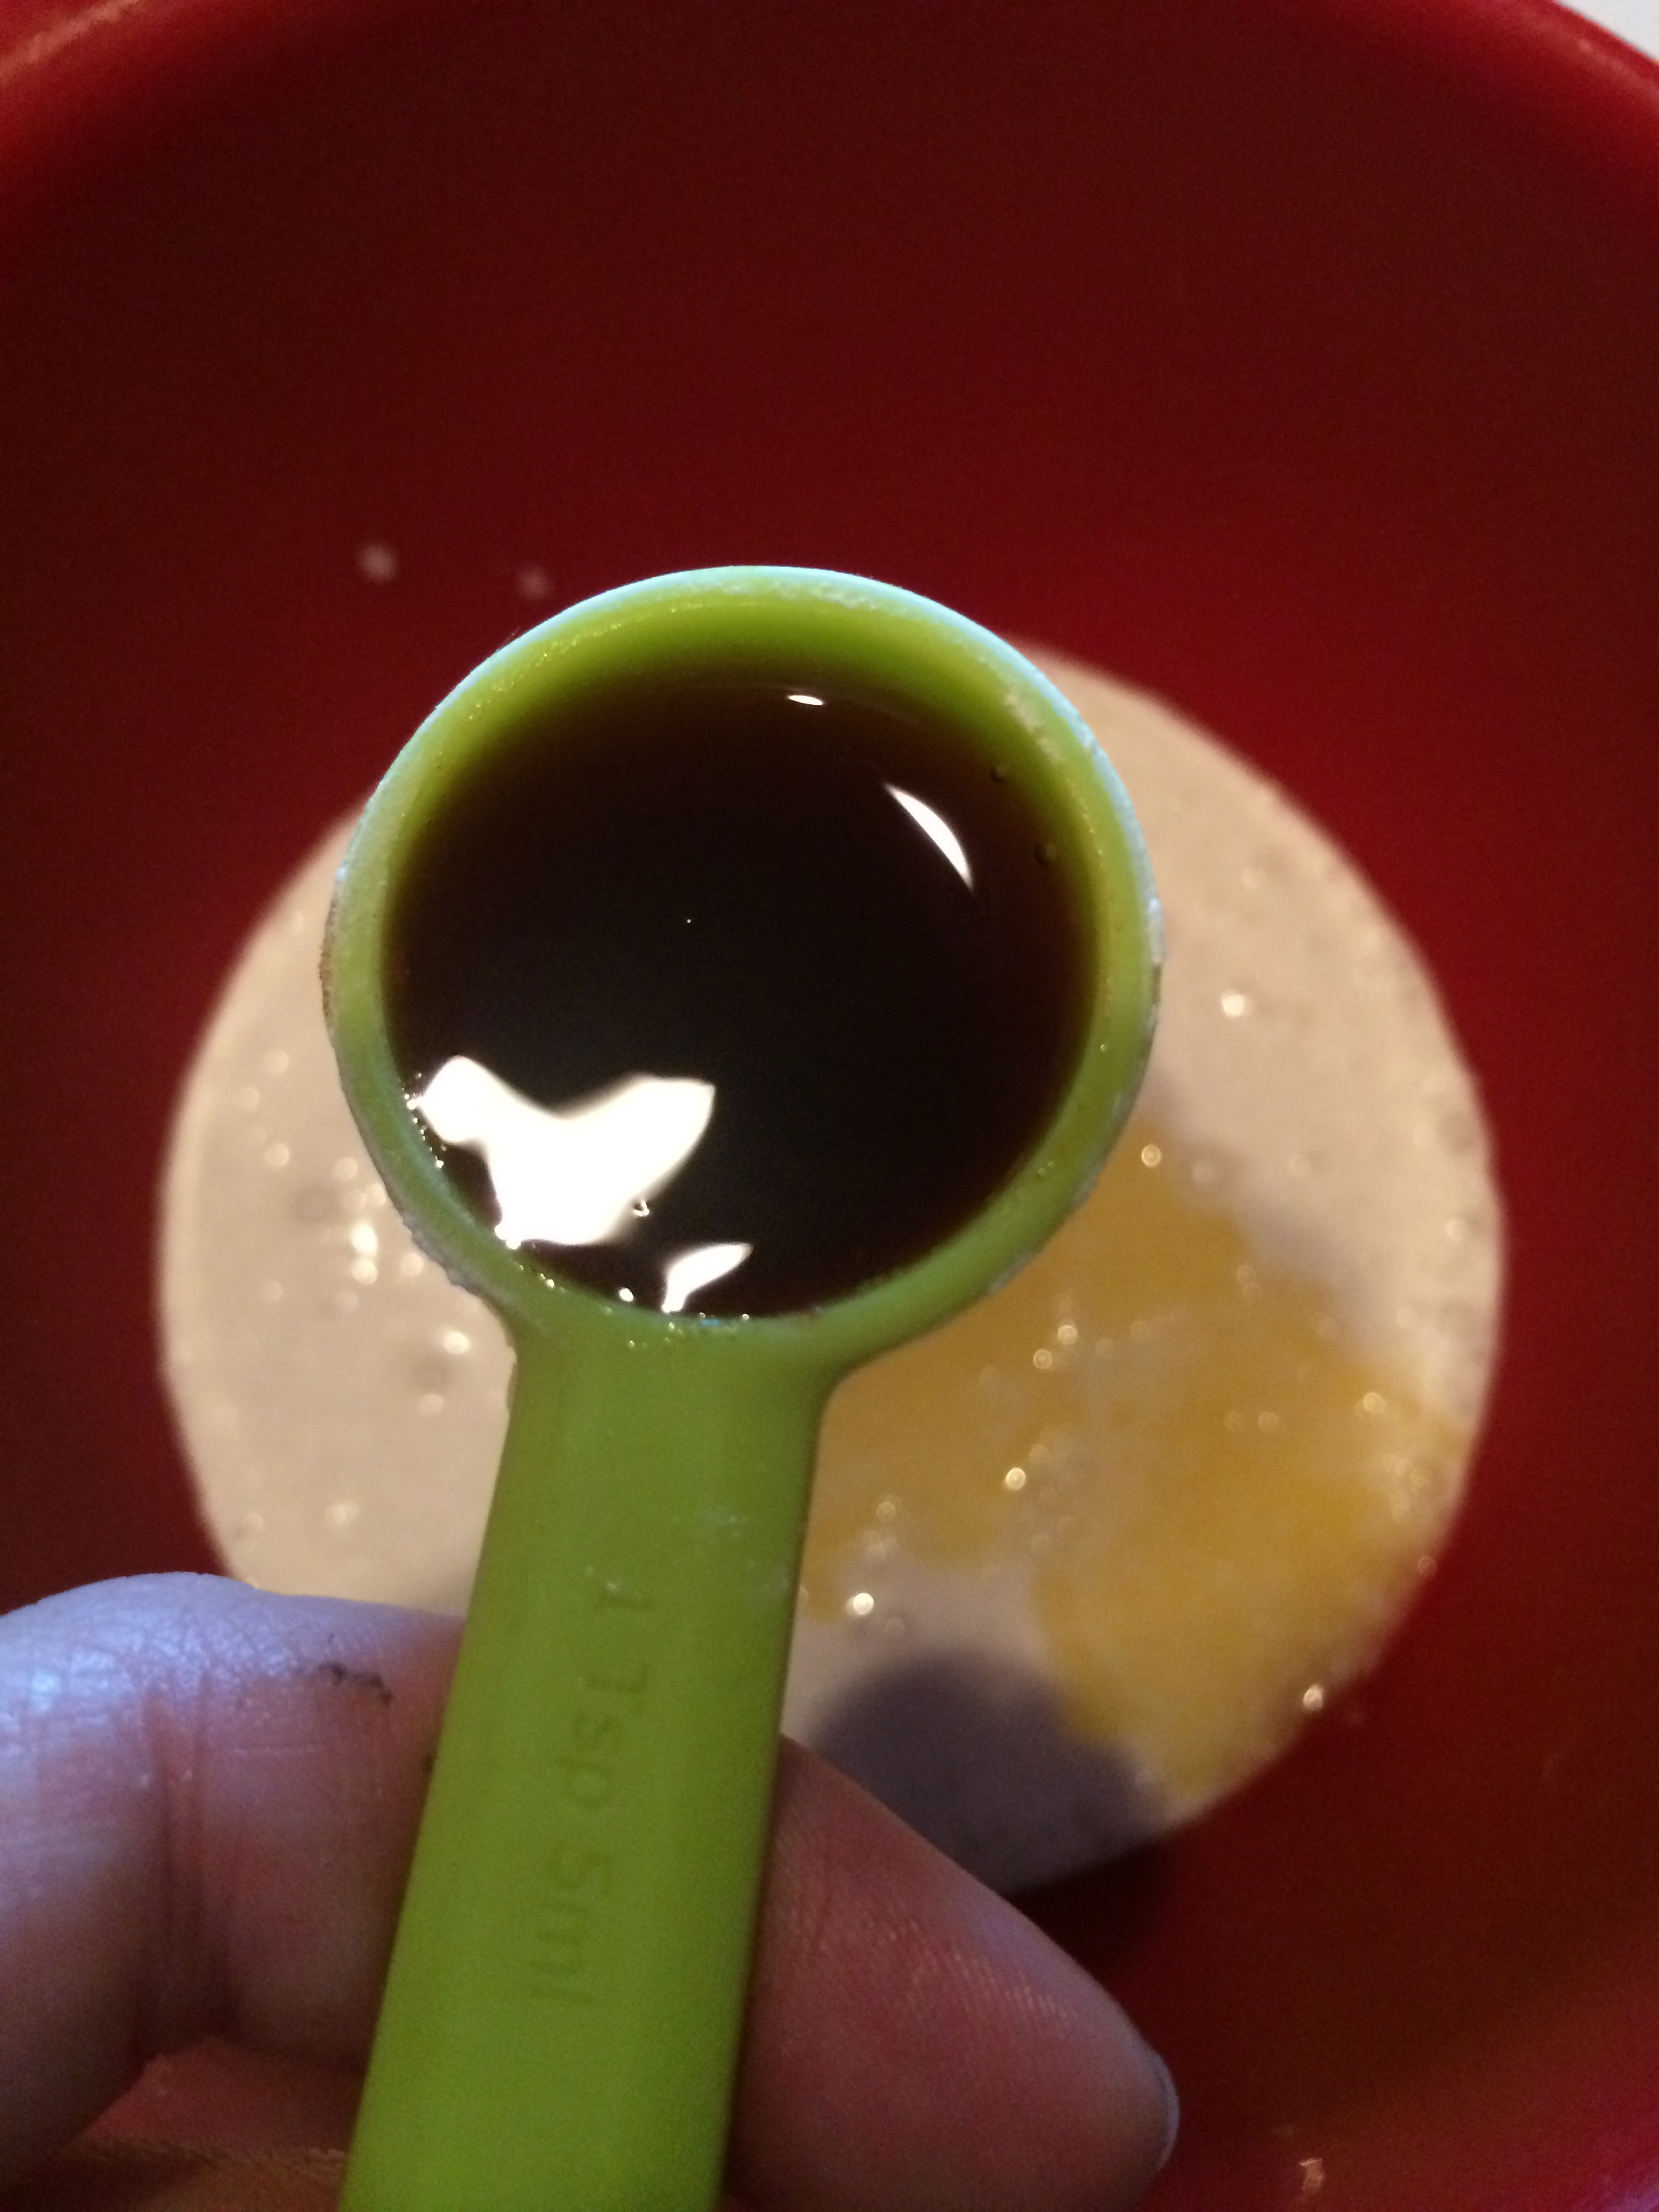
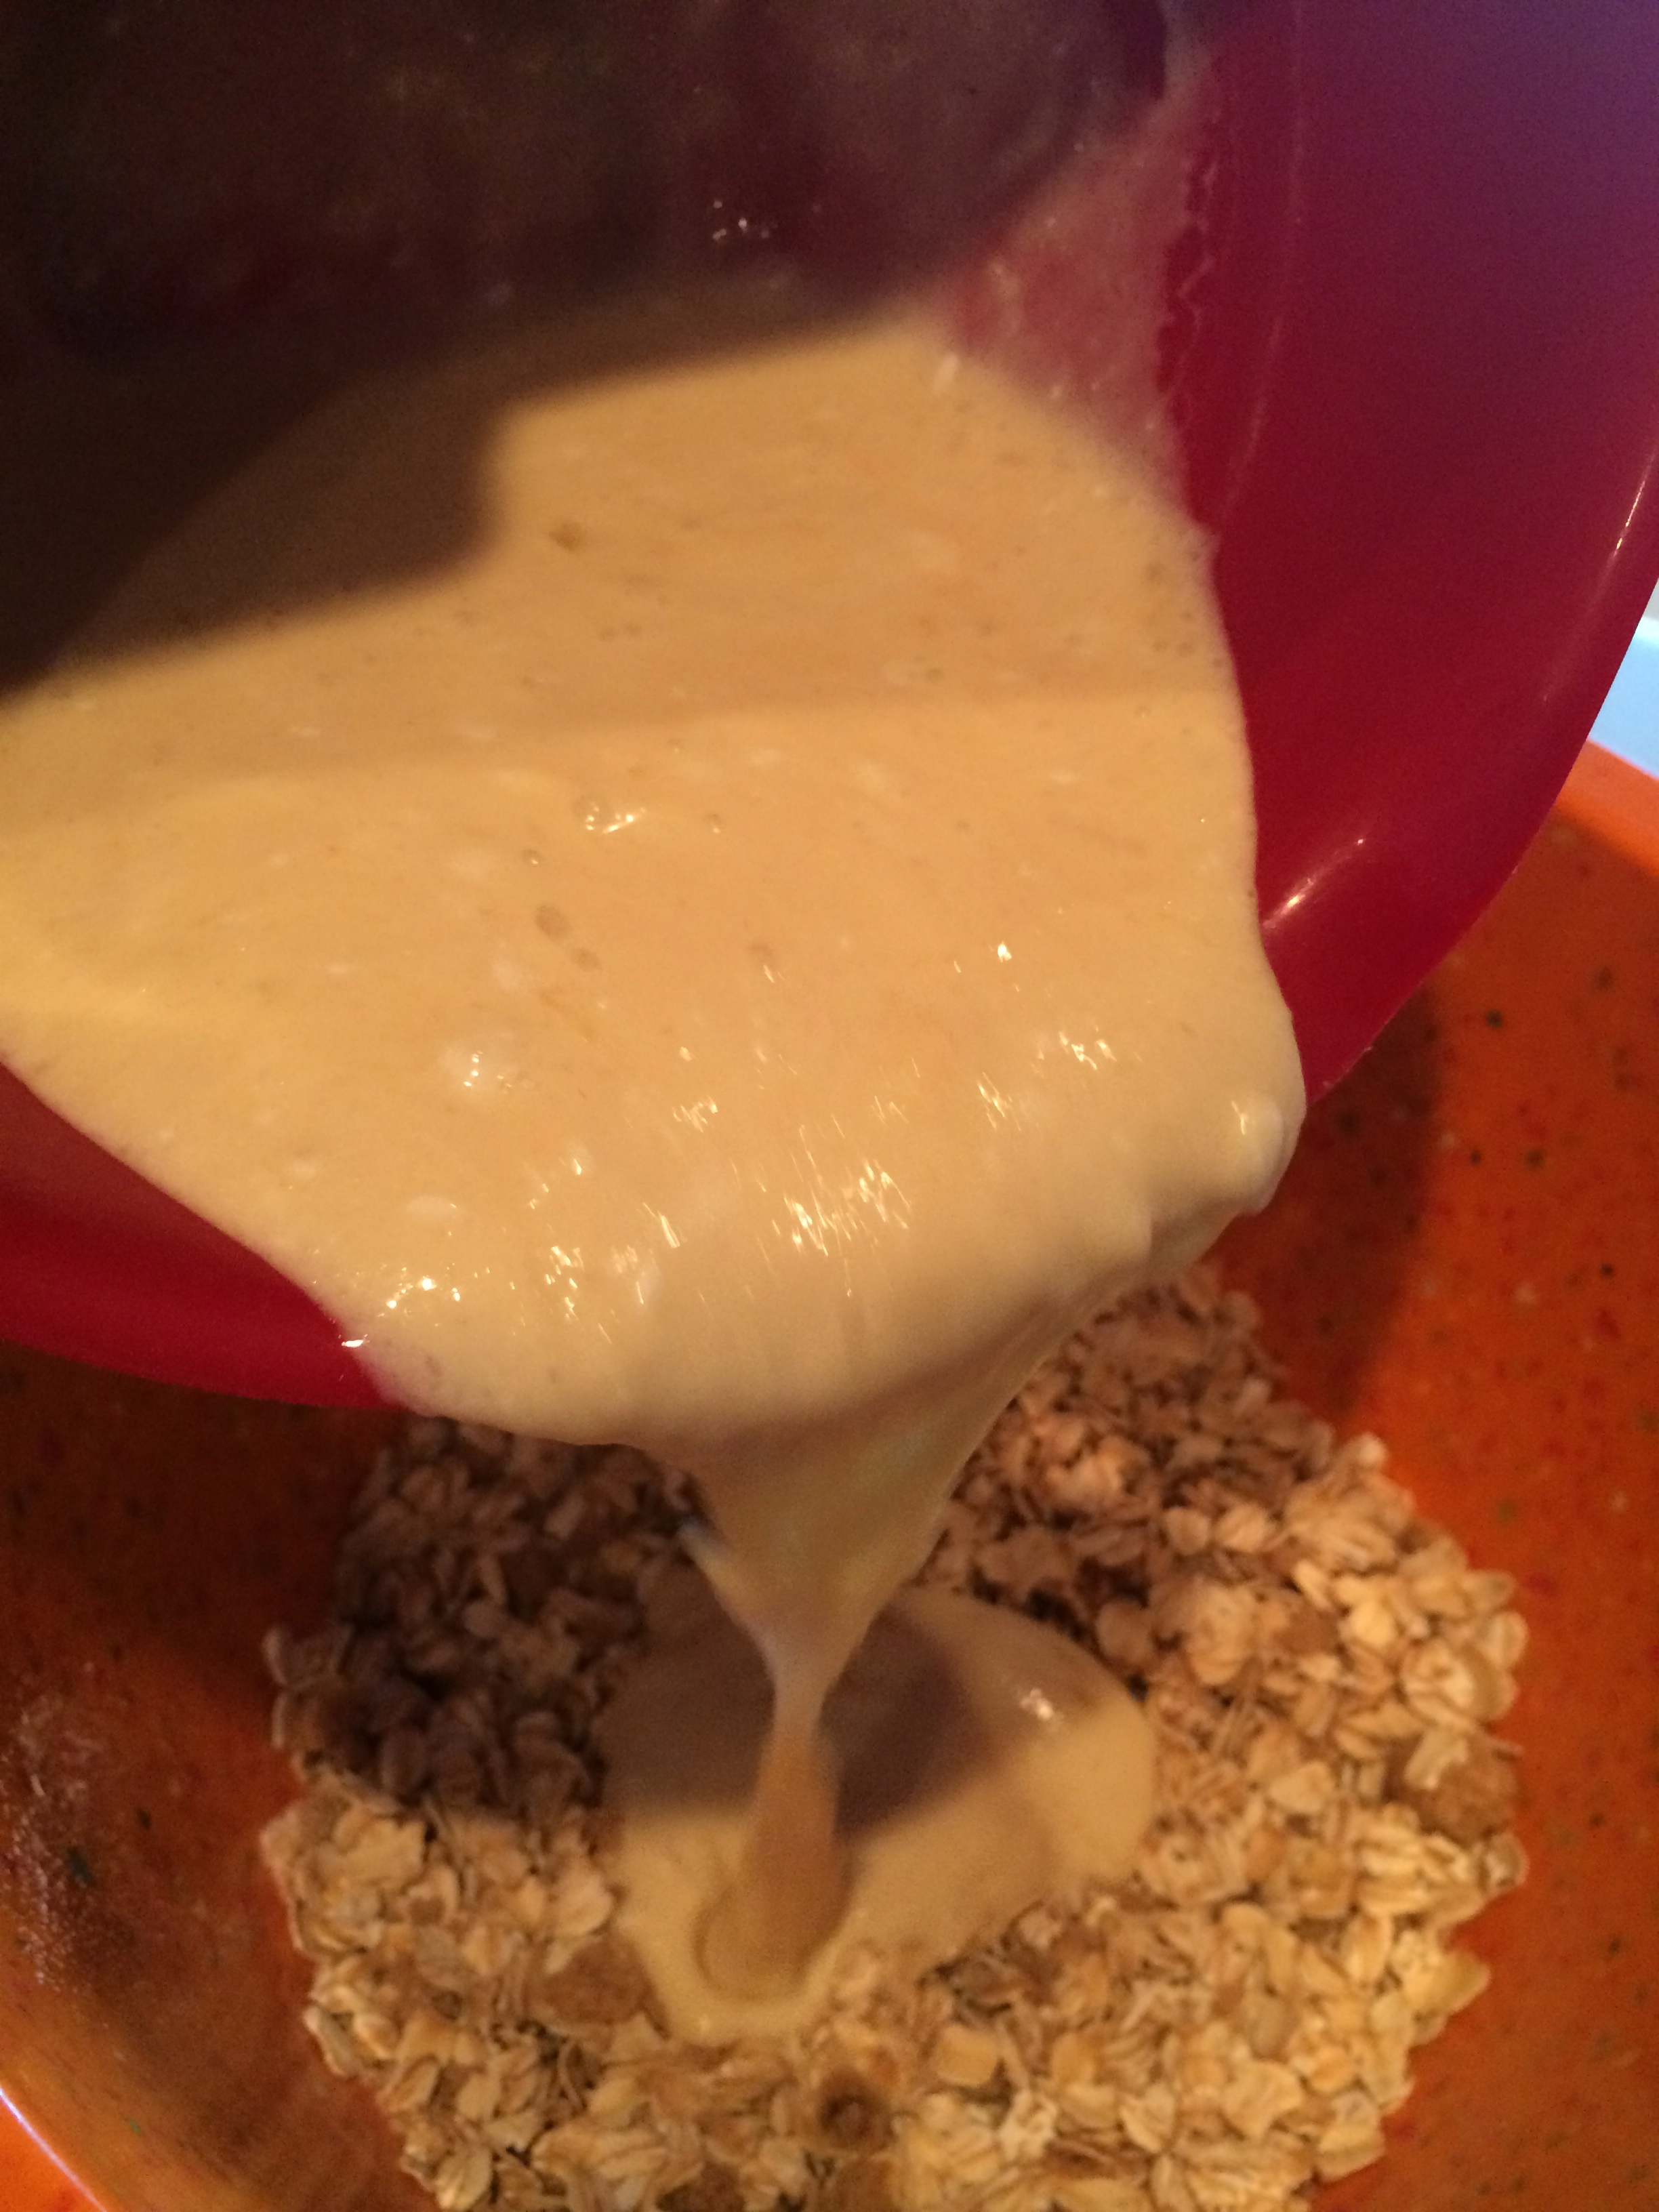
Pour the melted butter into the wet ingredients and then pour the fully mixed wet ingredients into the dry ingredients.

IMG_6621

IMG_6622

IMG_6623

Get all that?

Not too hard, right?

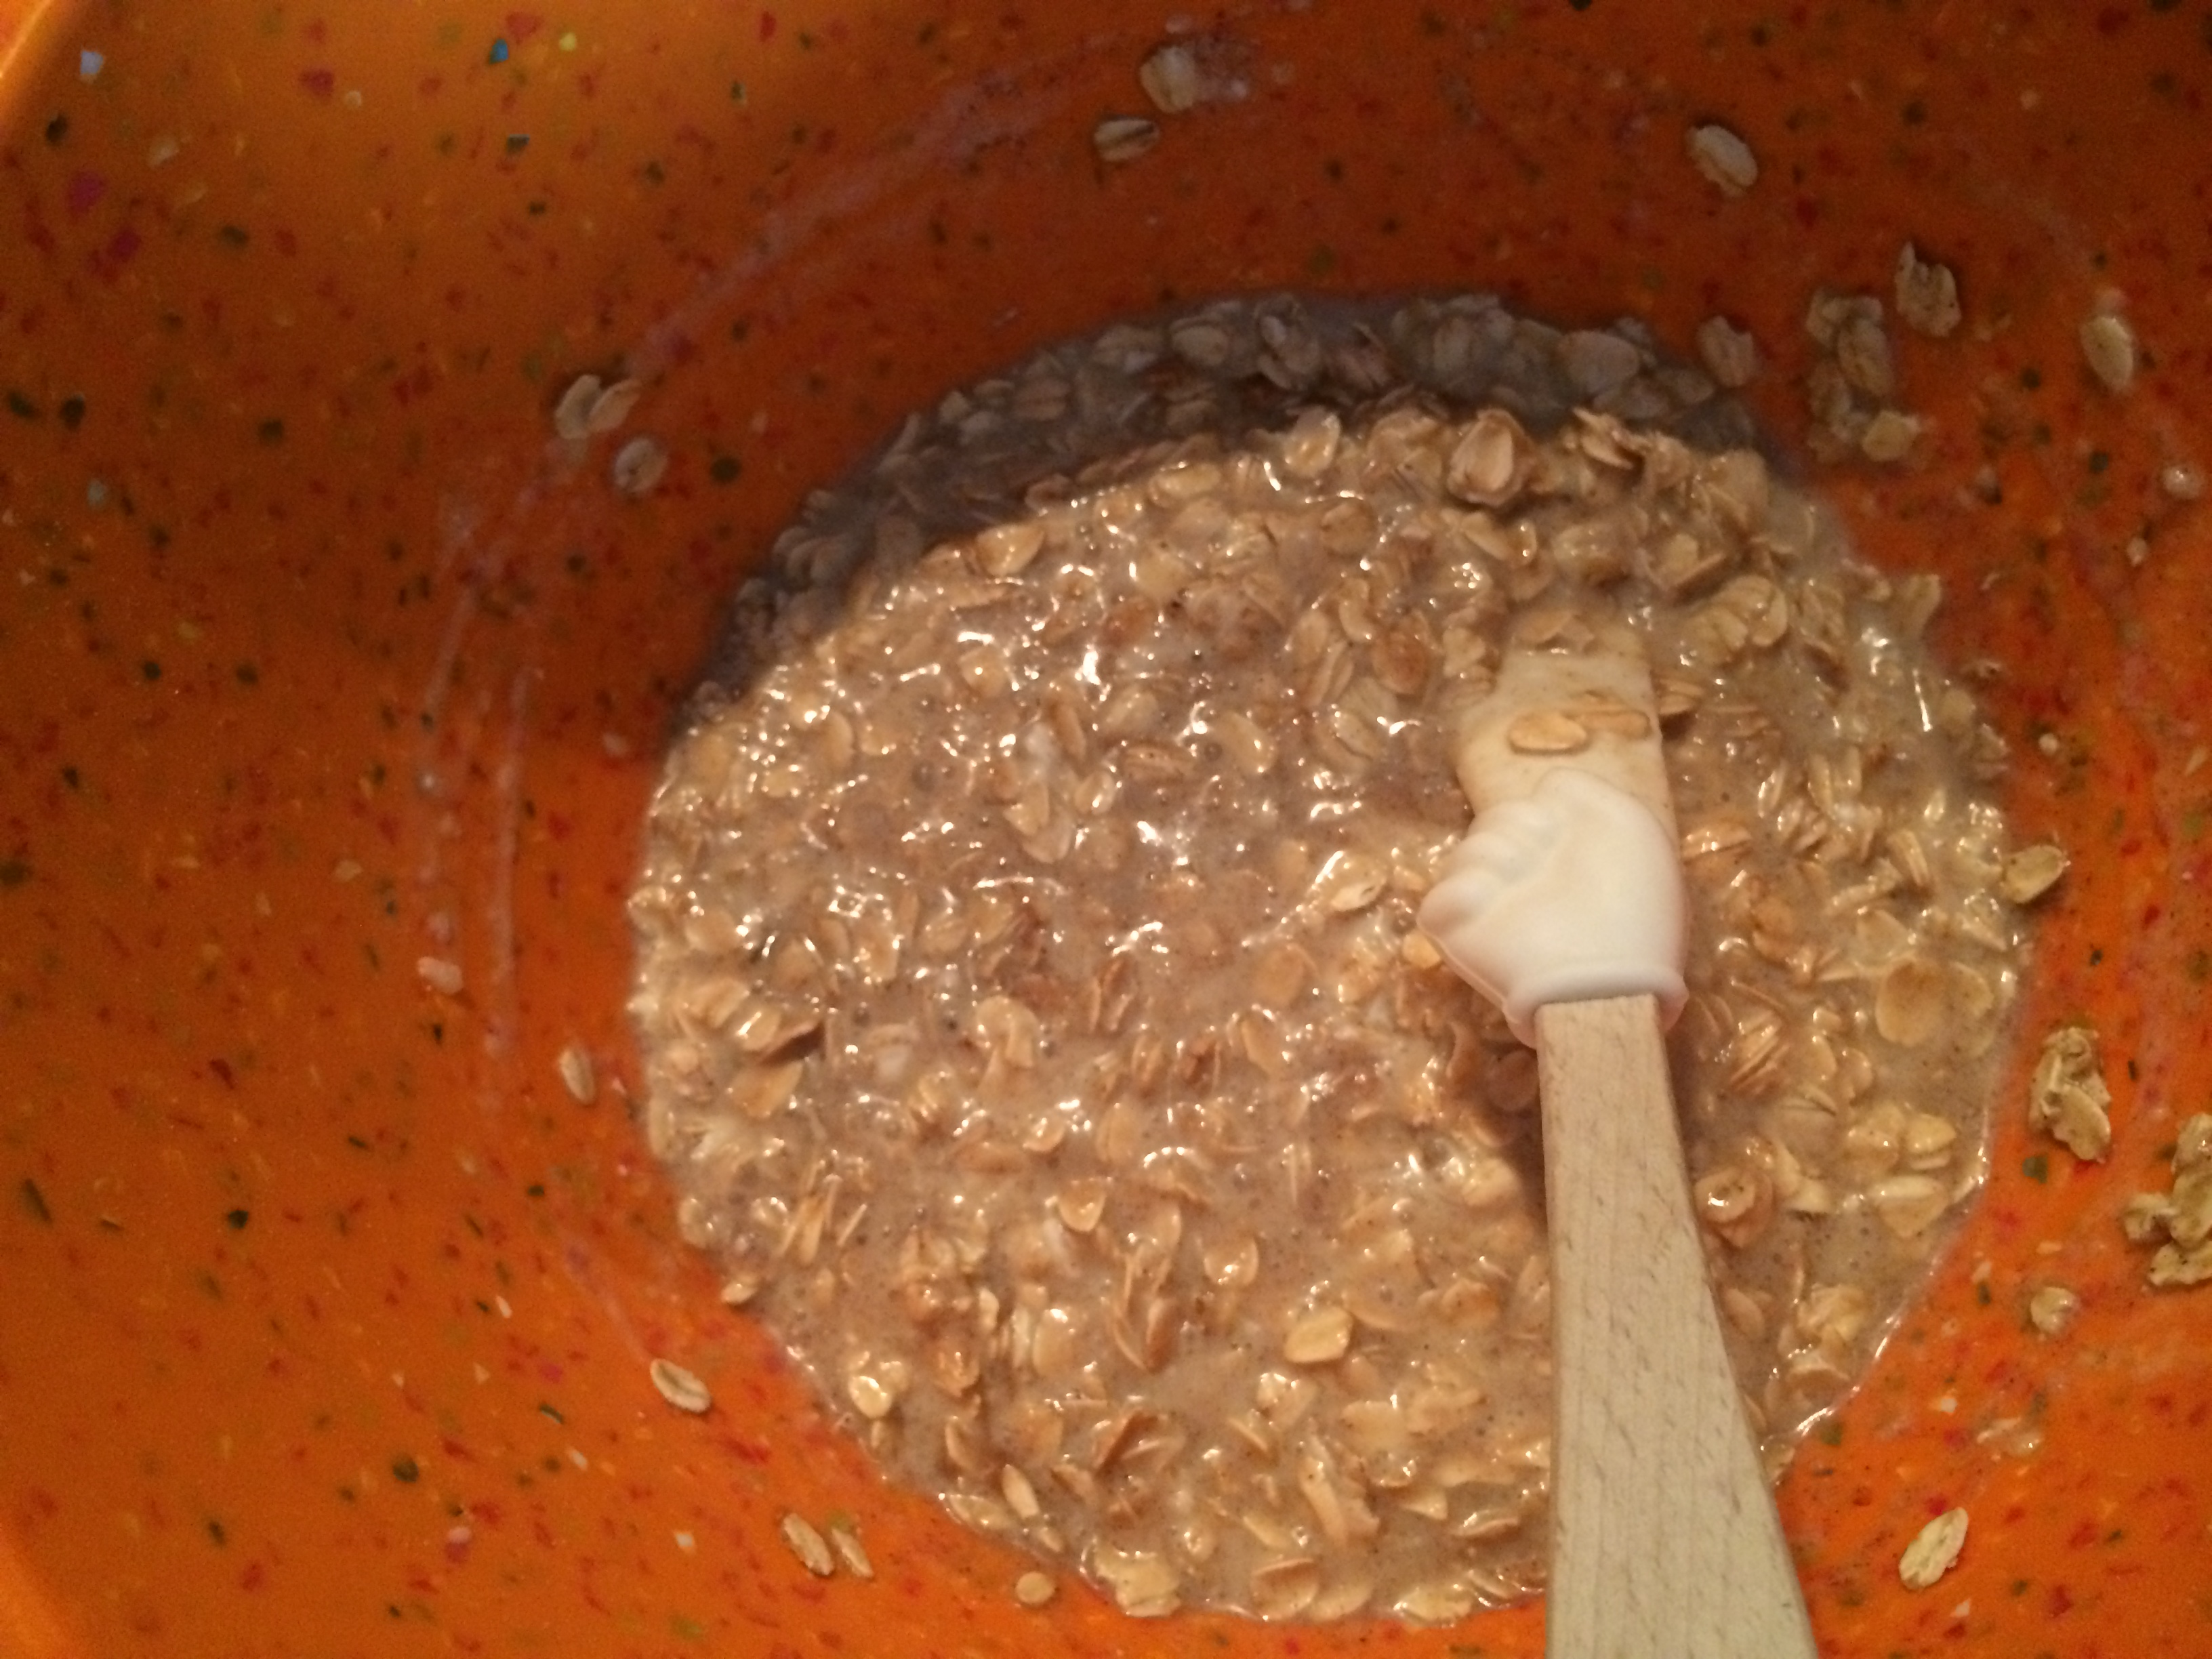
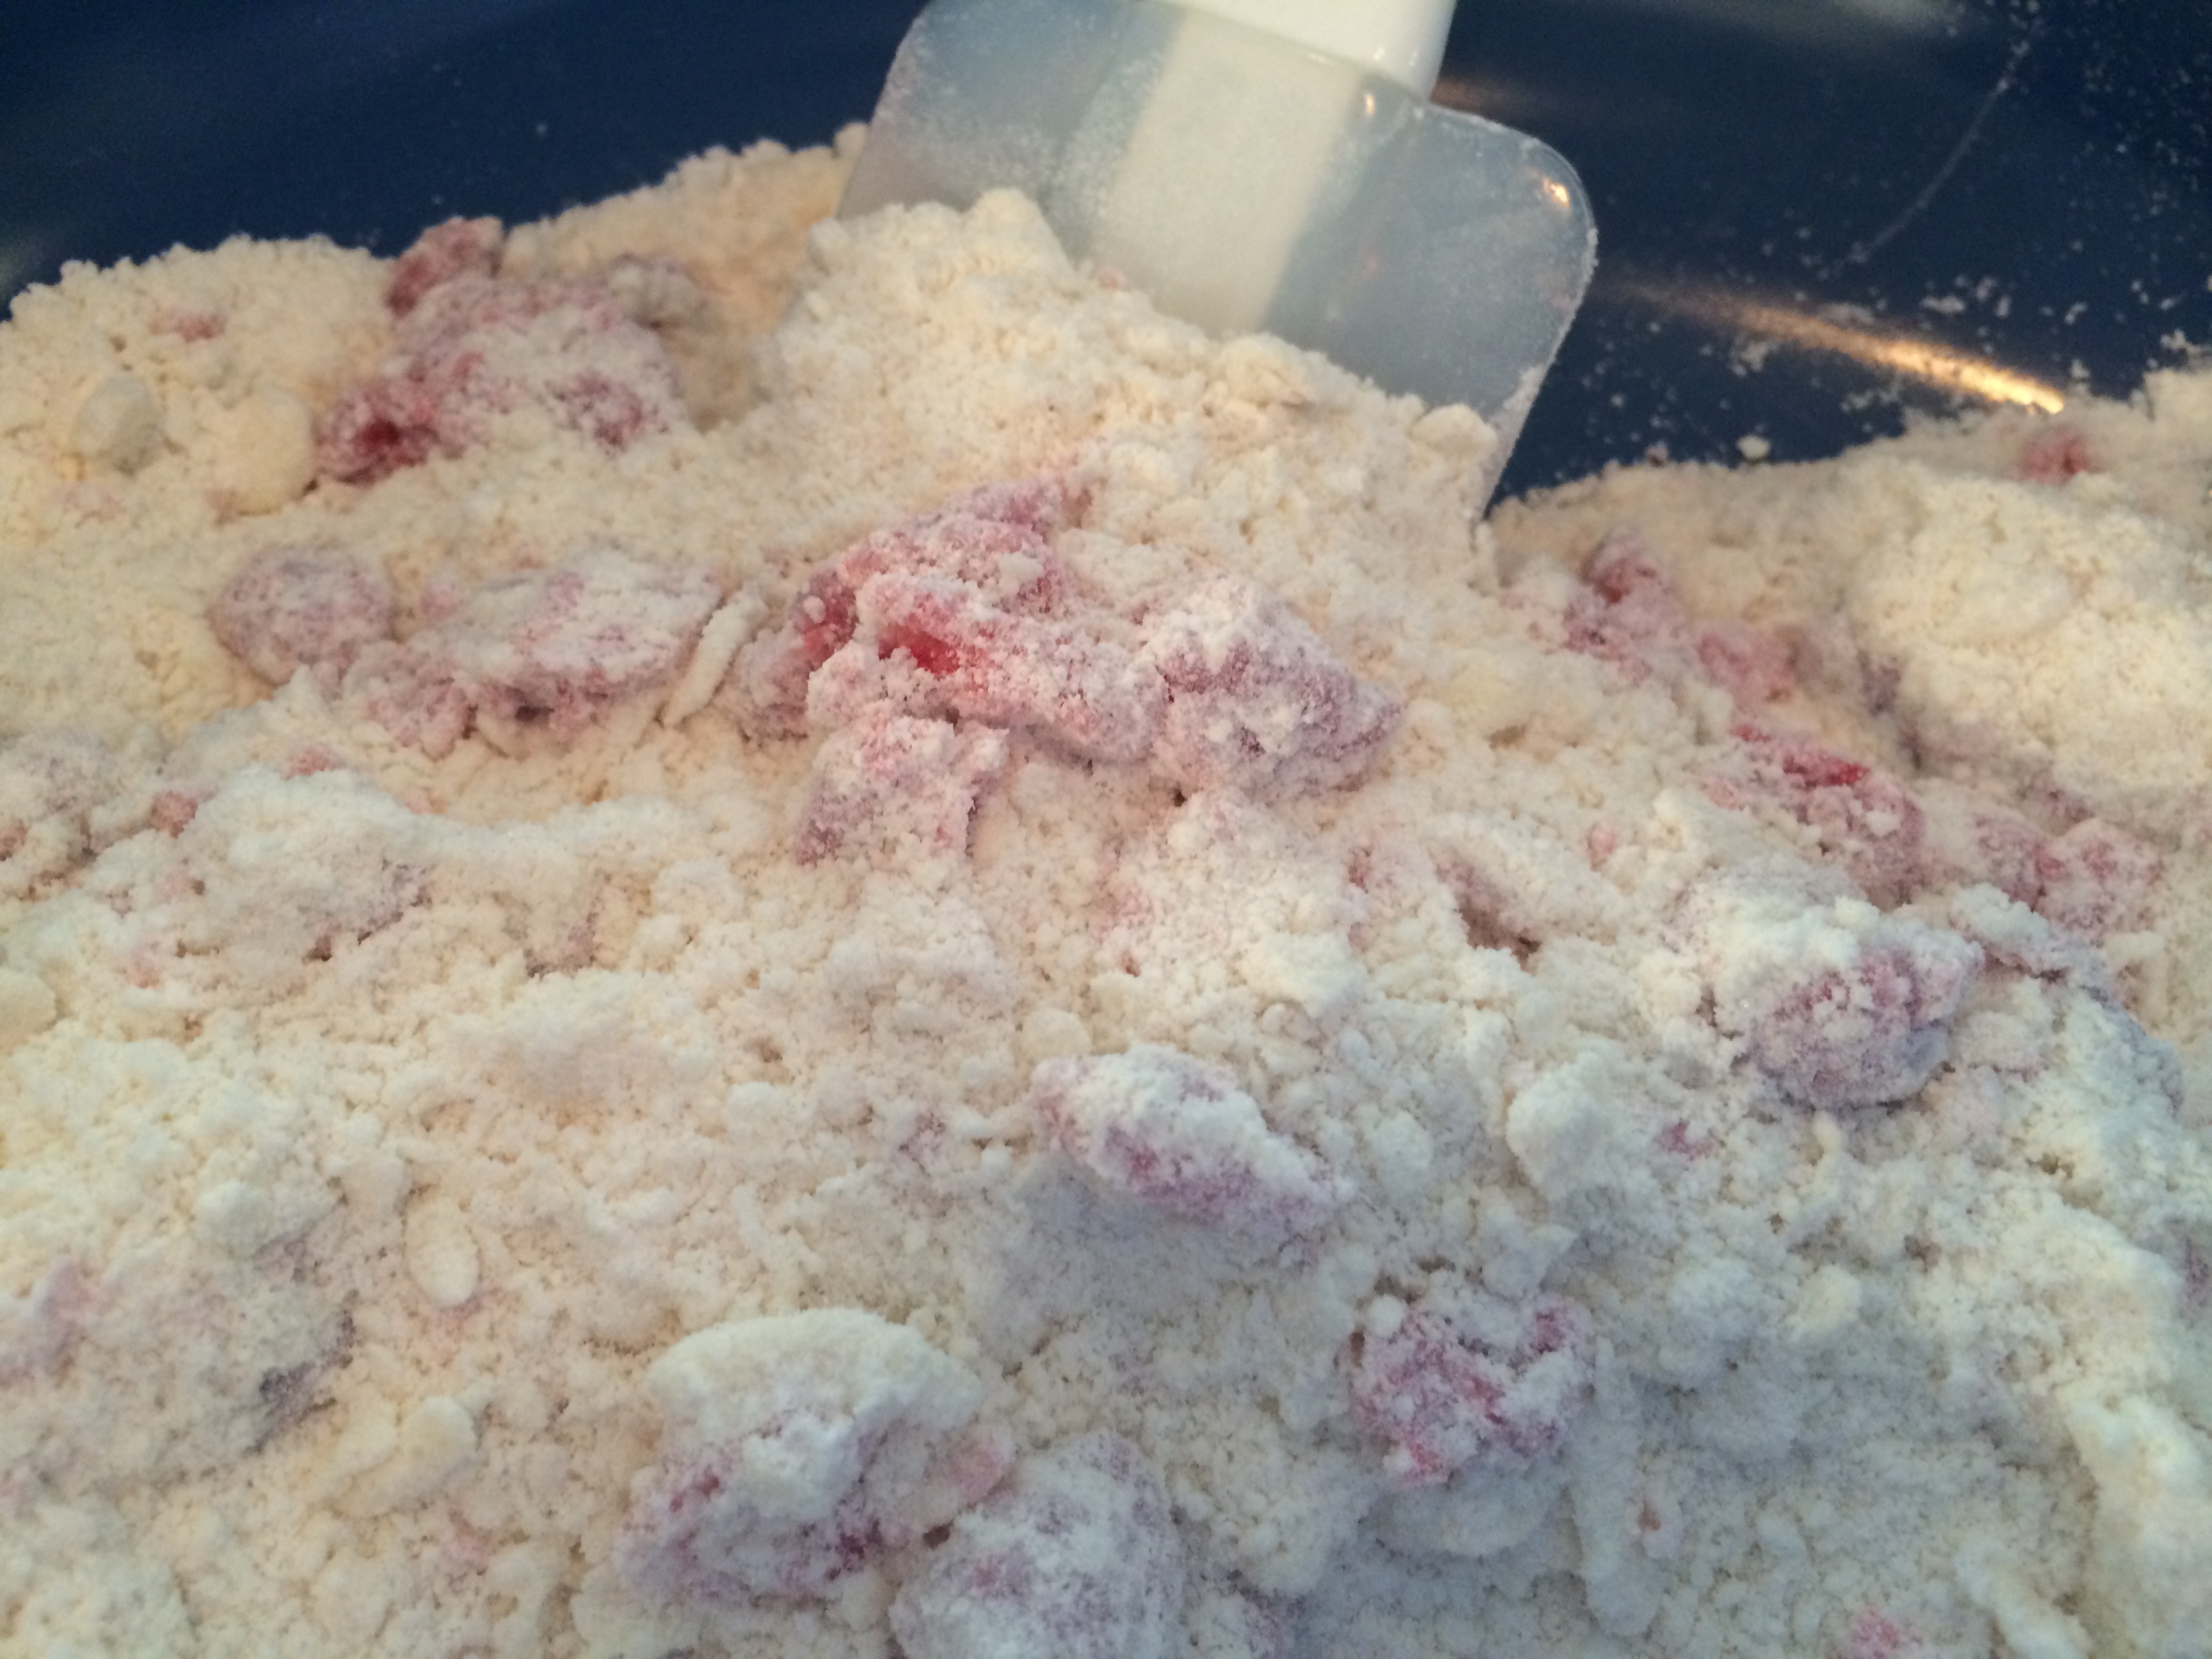
Last thing to do is grab your fruit of choice (we did raspberries, but as noted above, have also done blueberries and had this turn out just as delicious). Give the fruit a good rinse, chop them up if needed (like if using peaches, for instance) and then through ’em in with everything else.

IMG_6626

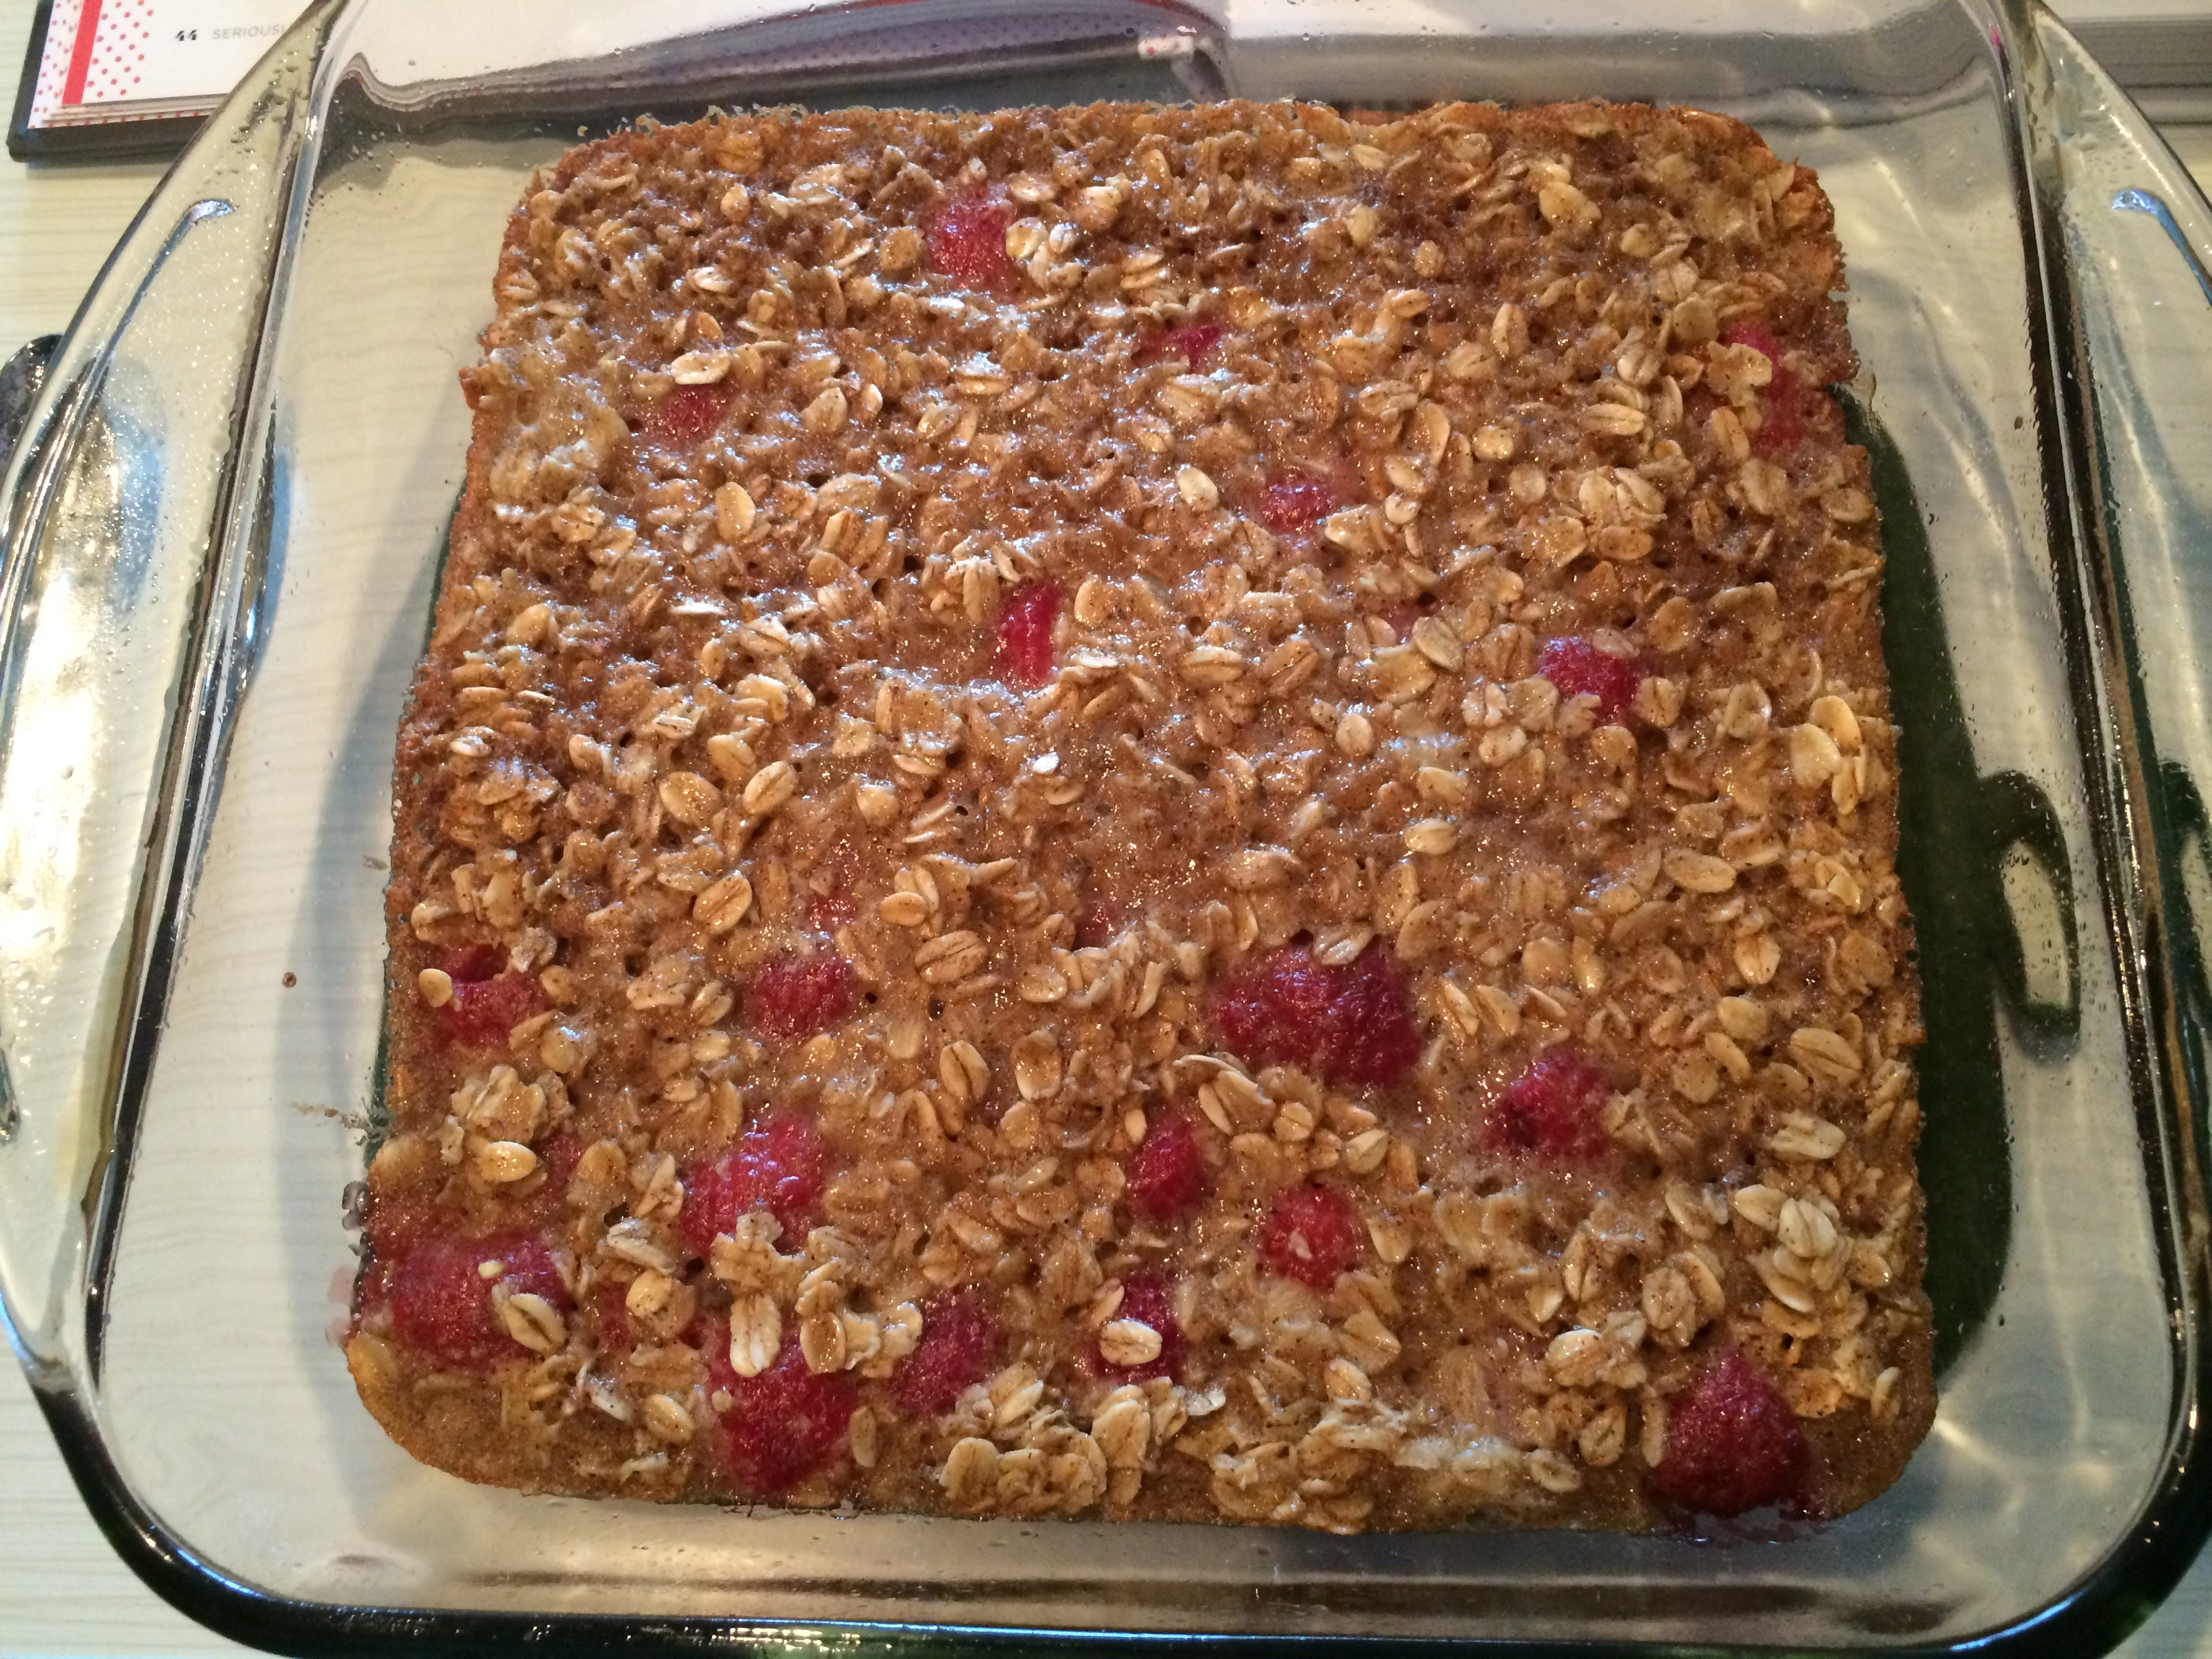
Pour the oatmeal into a baking dish…

IMG_6627

…and bake this for 25 minutes or so, or until the top is turning golden. However, while this is baking, you have a second task!

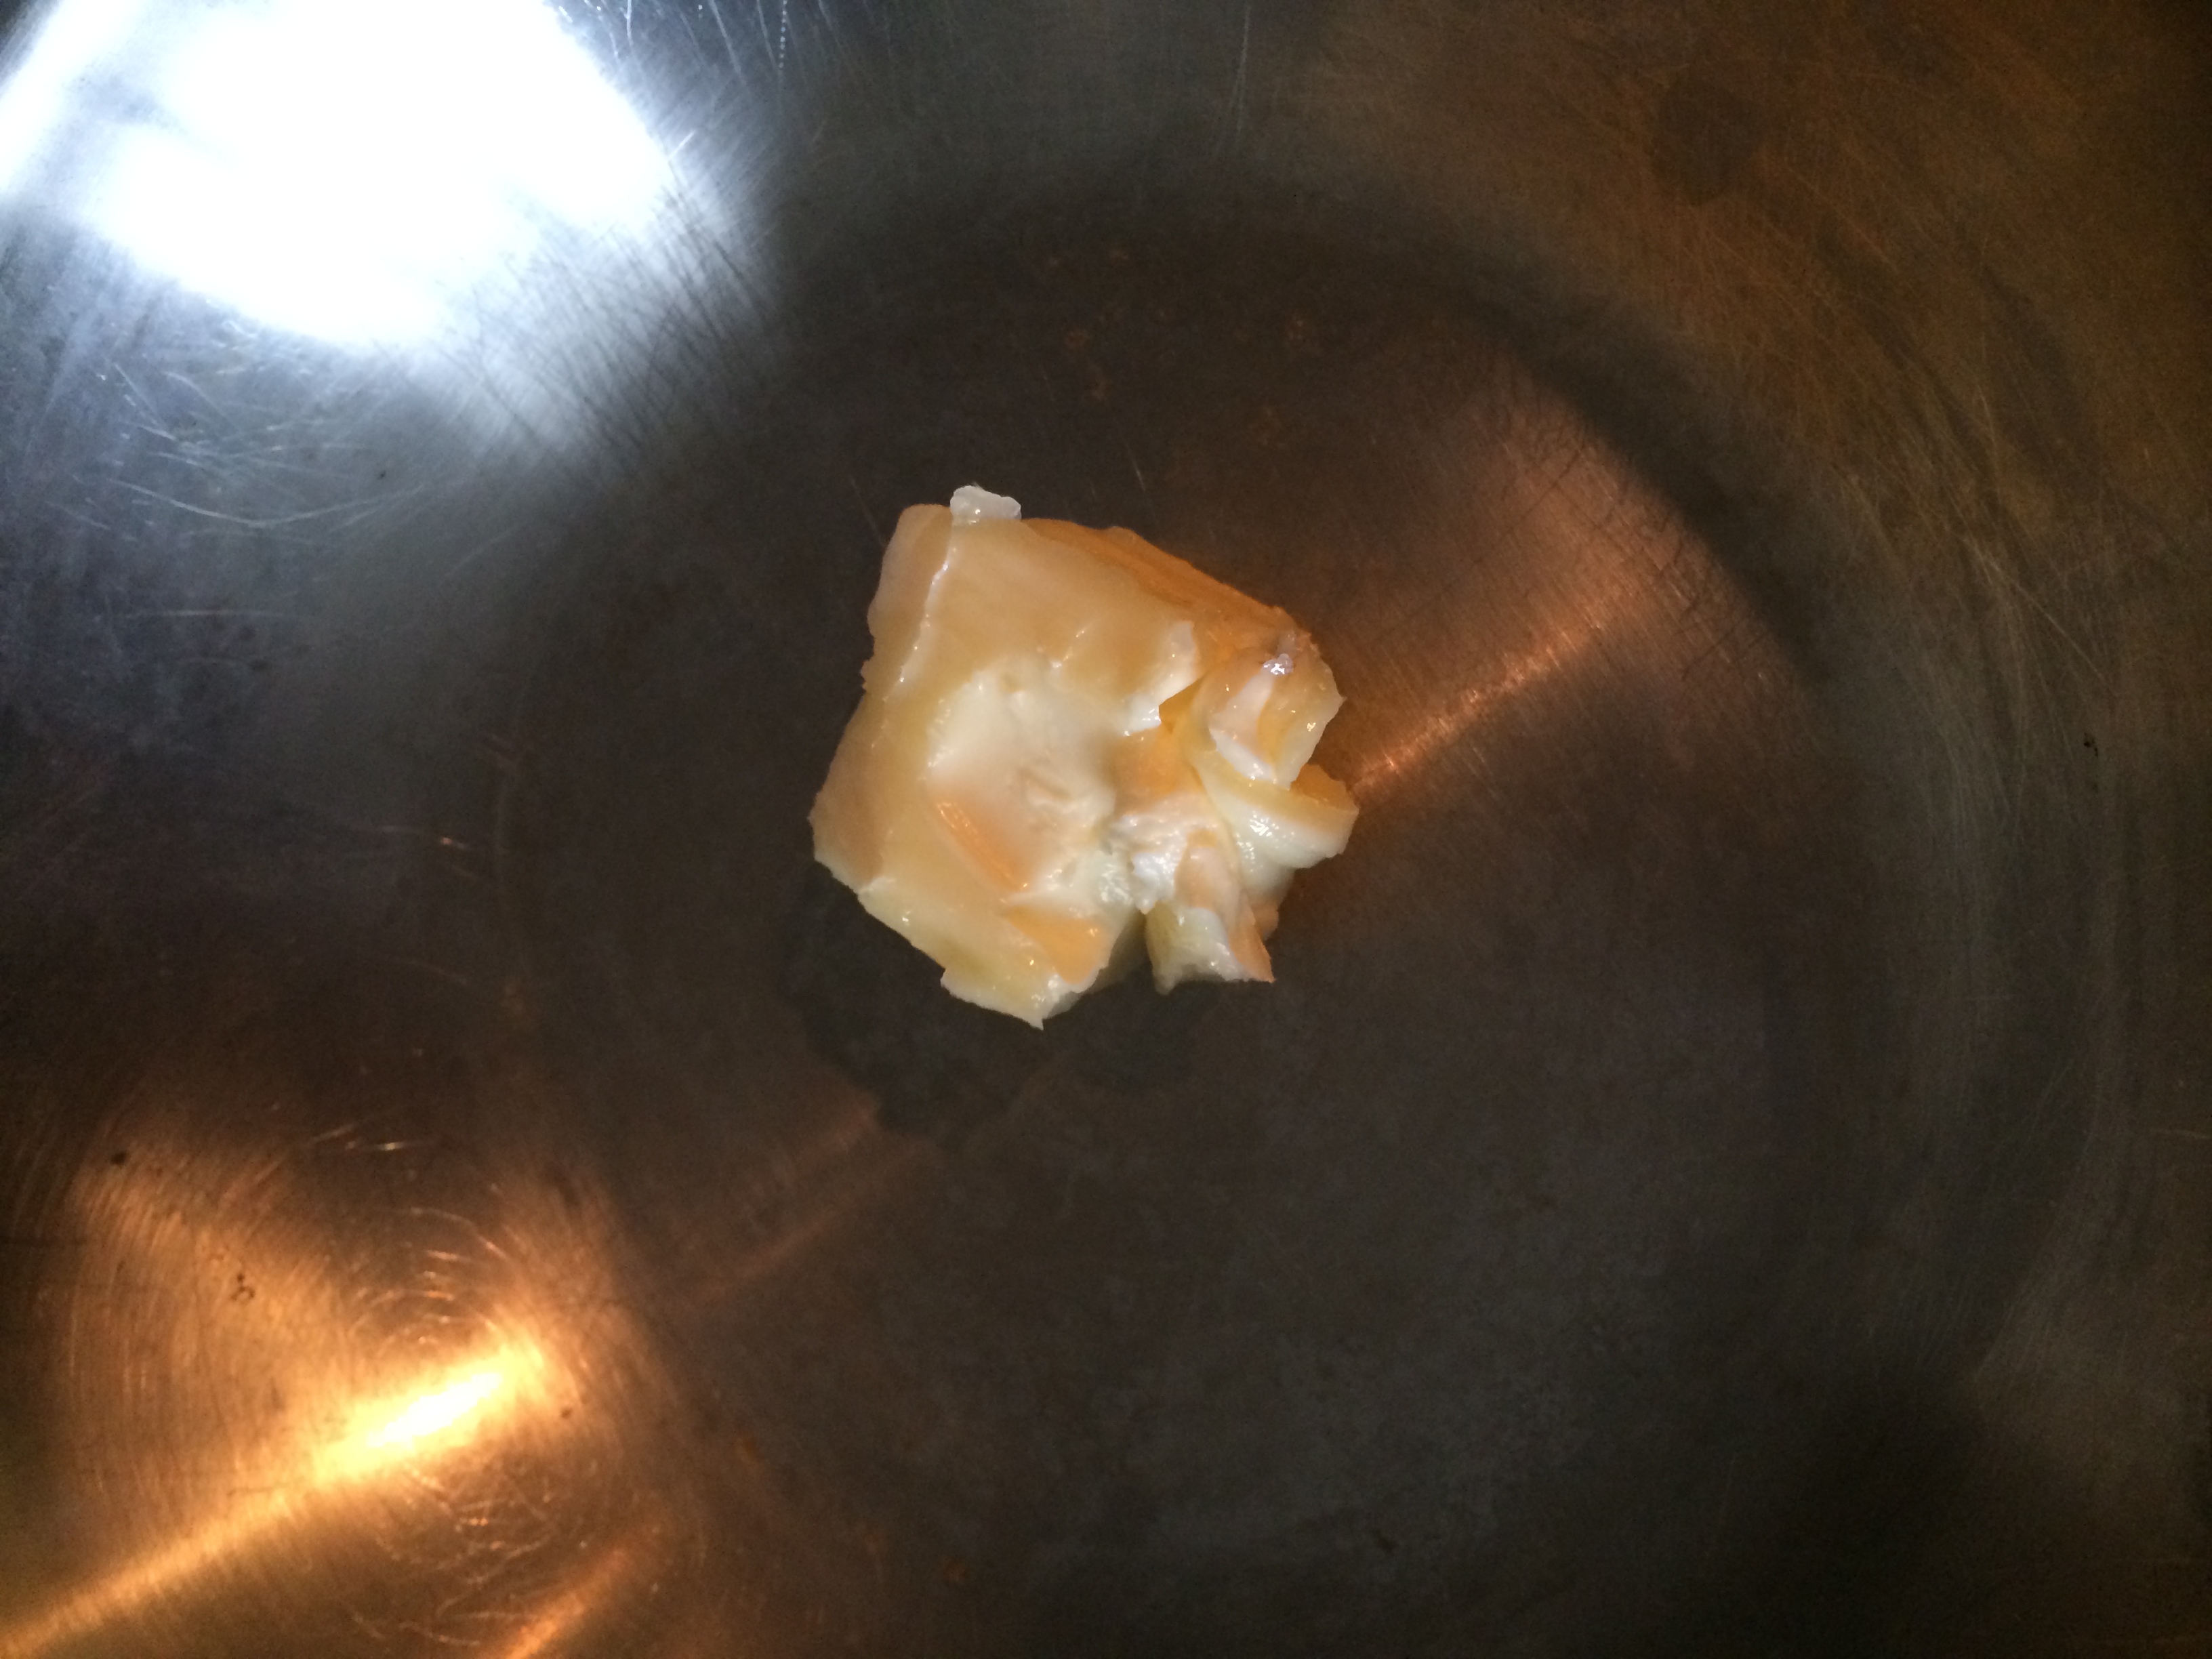
Browned butter. What the heck is that?! It’s glorious. That’s all you need to know. And you’re about to have some on your oatmeal.

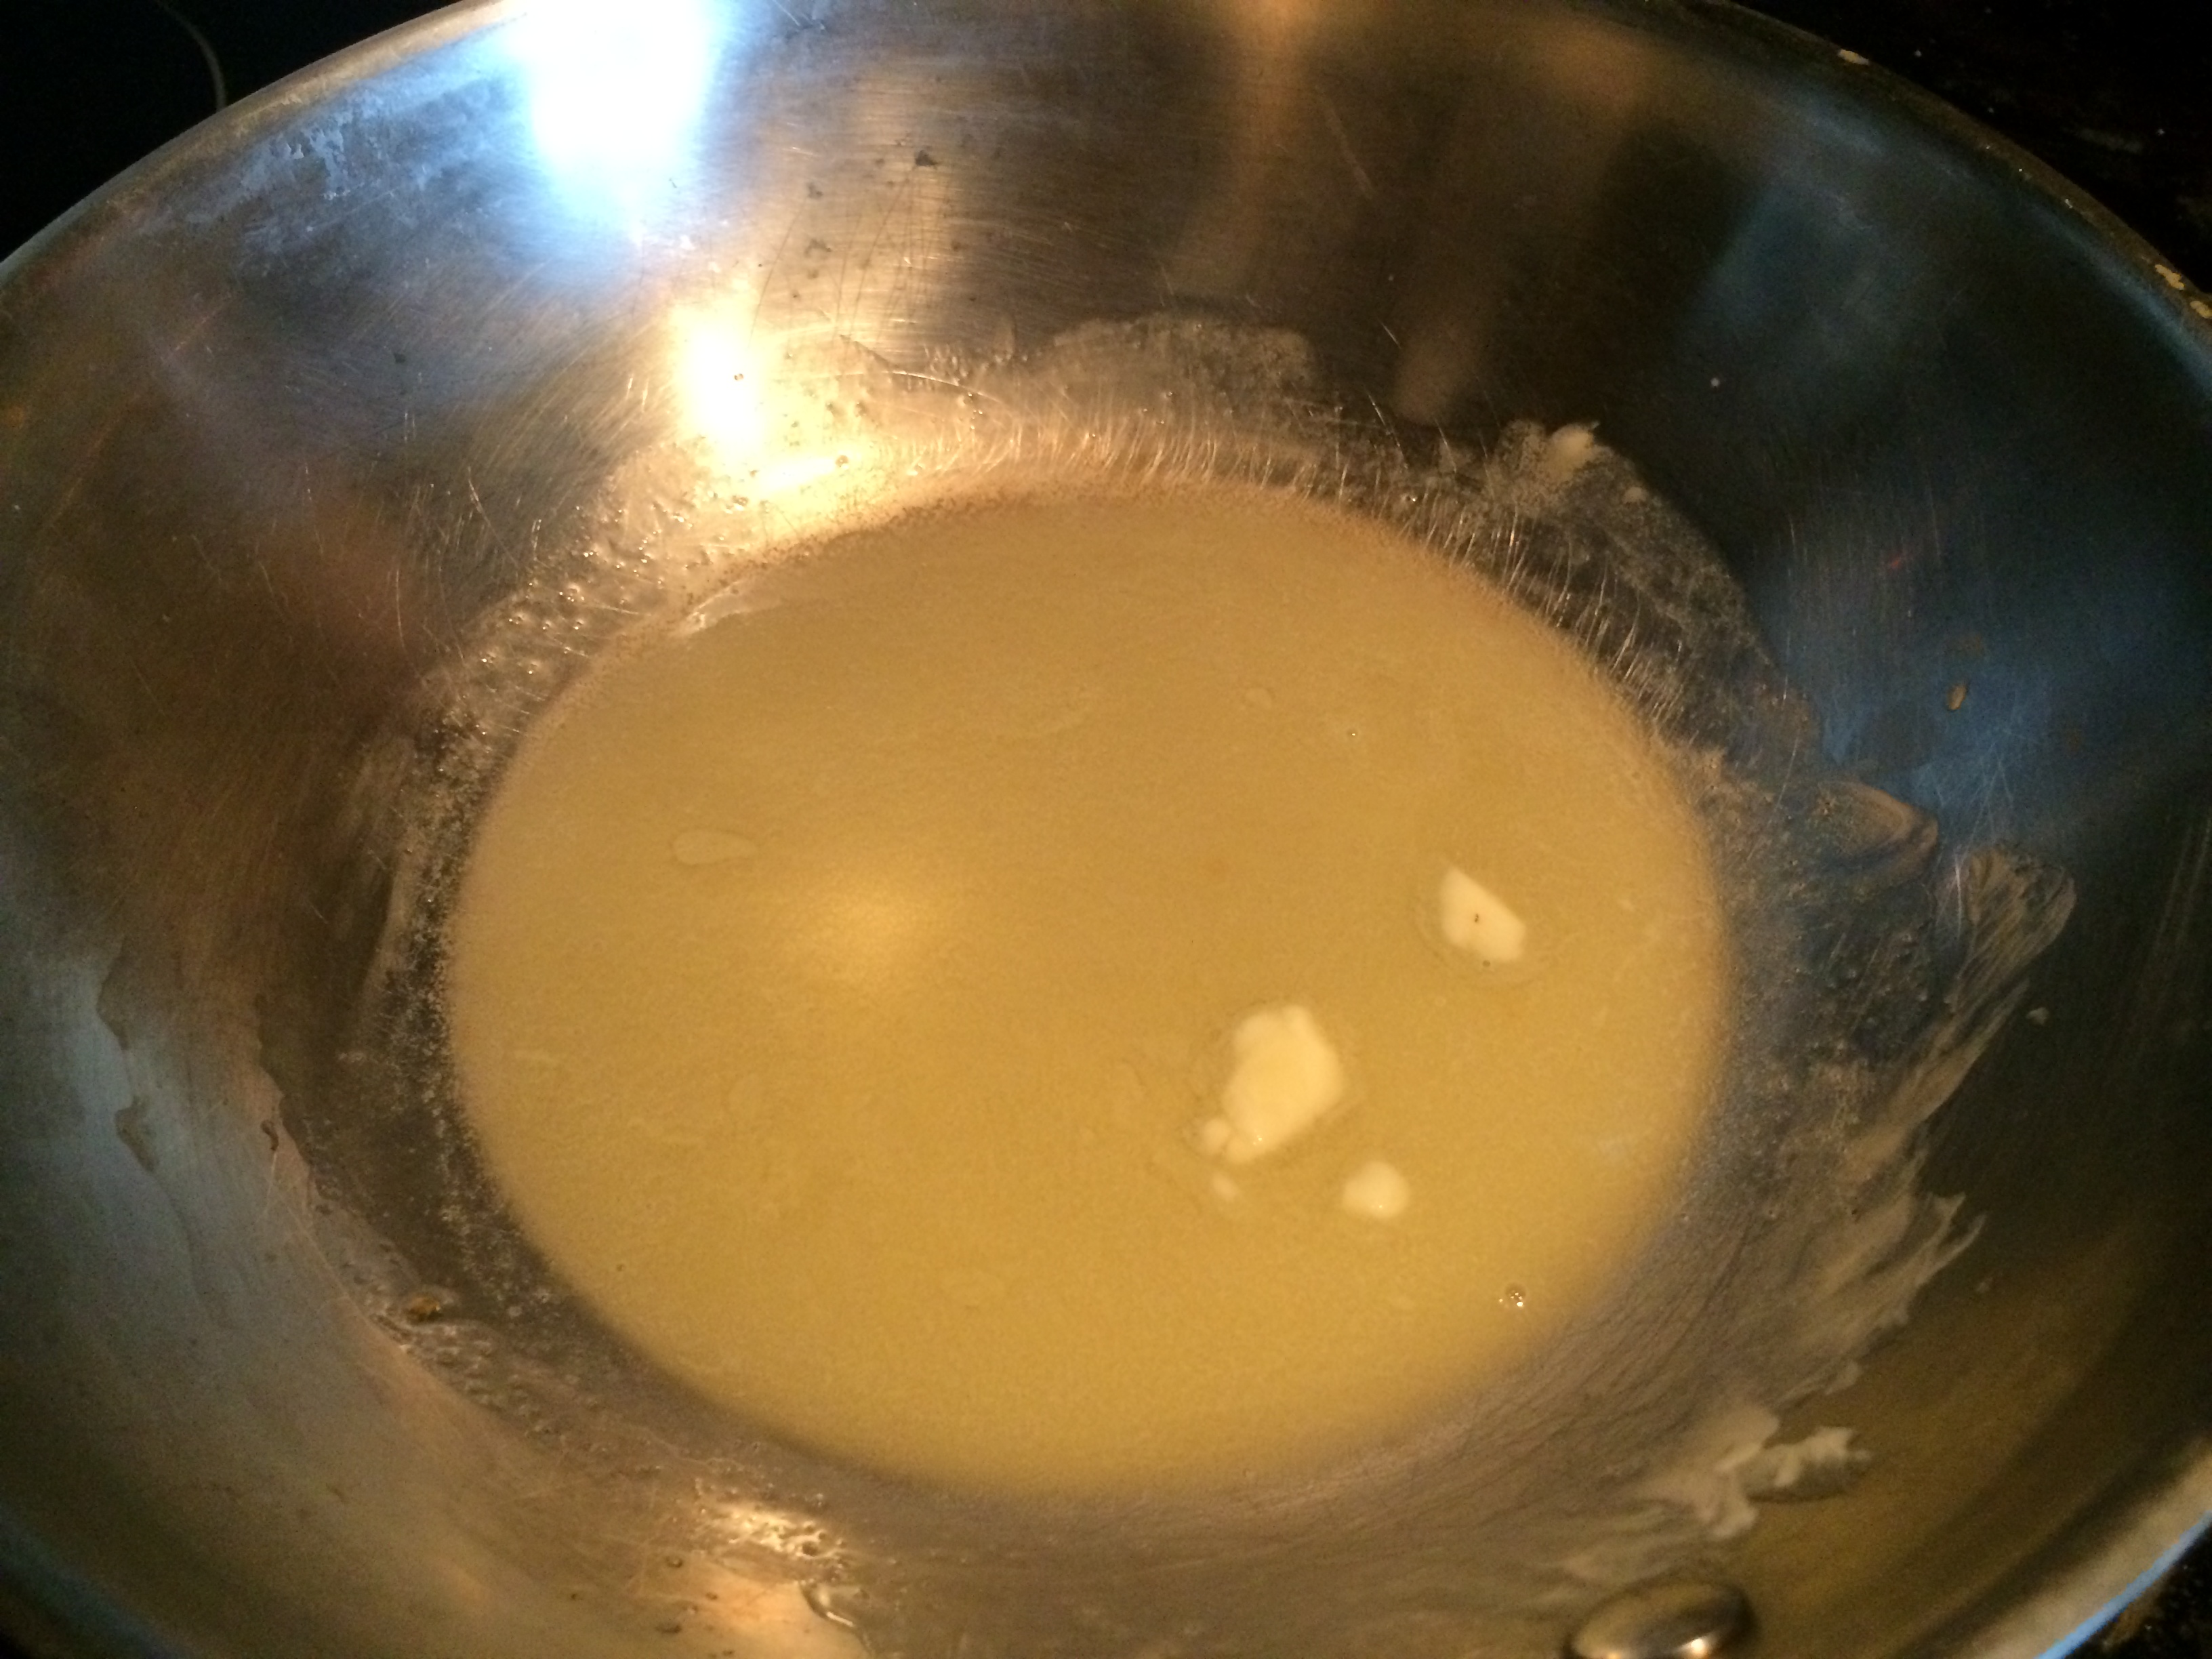
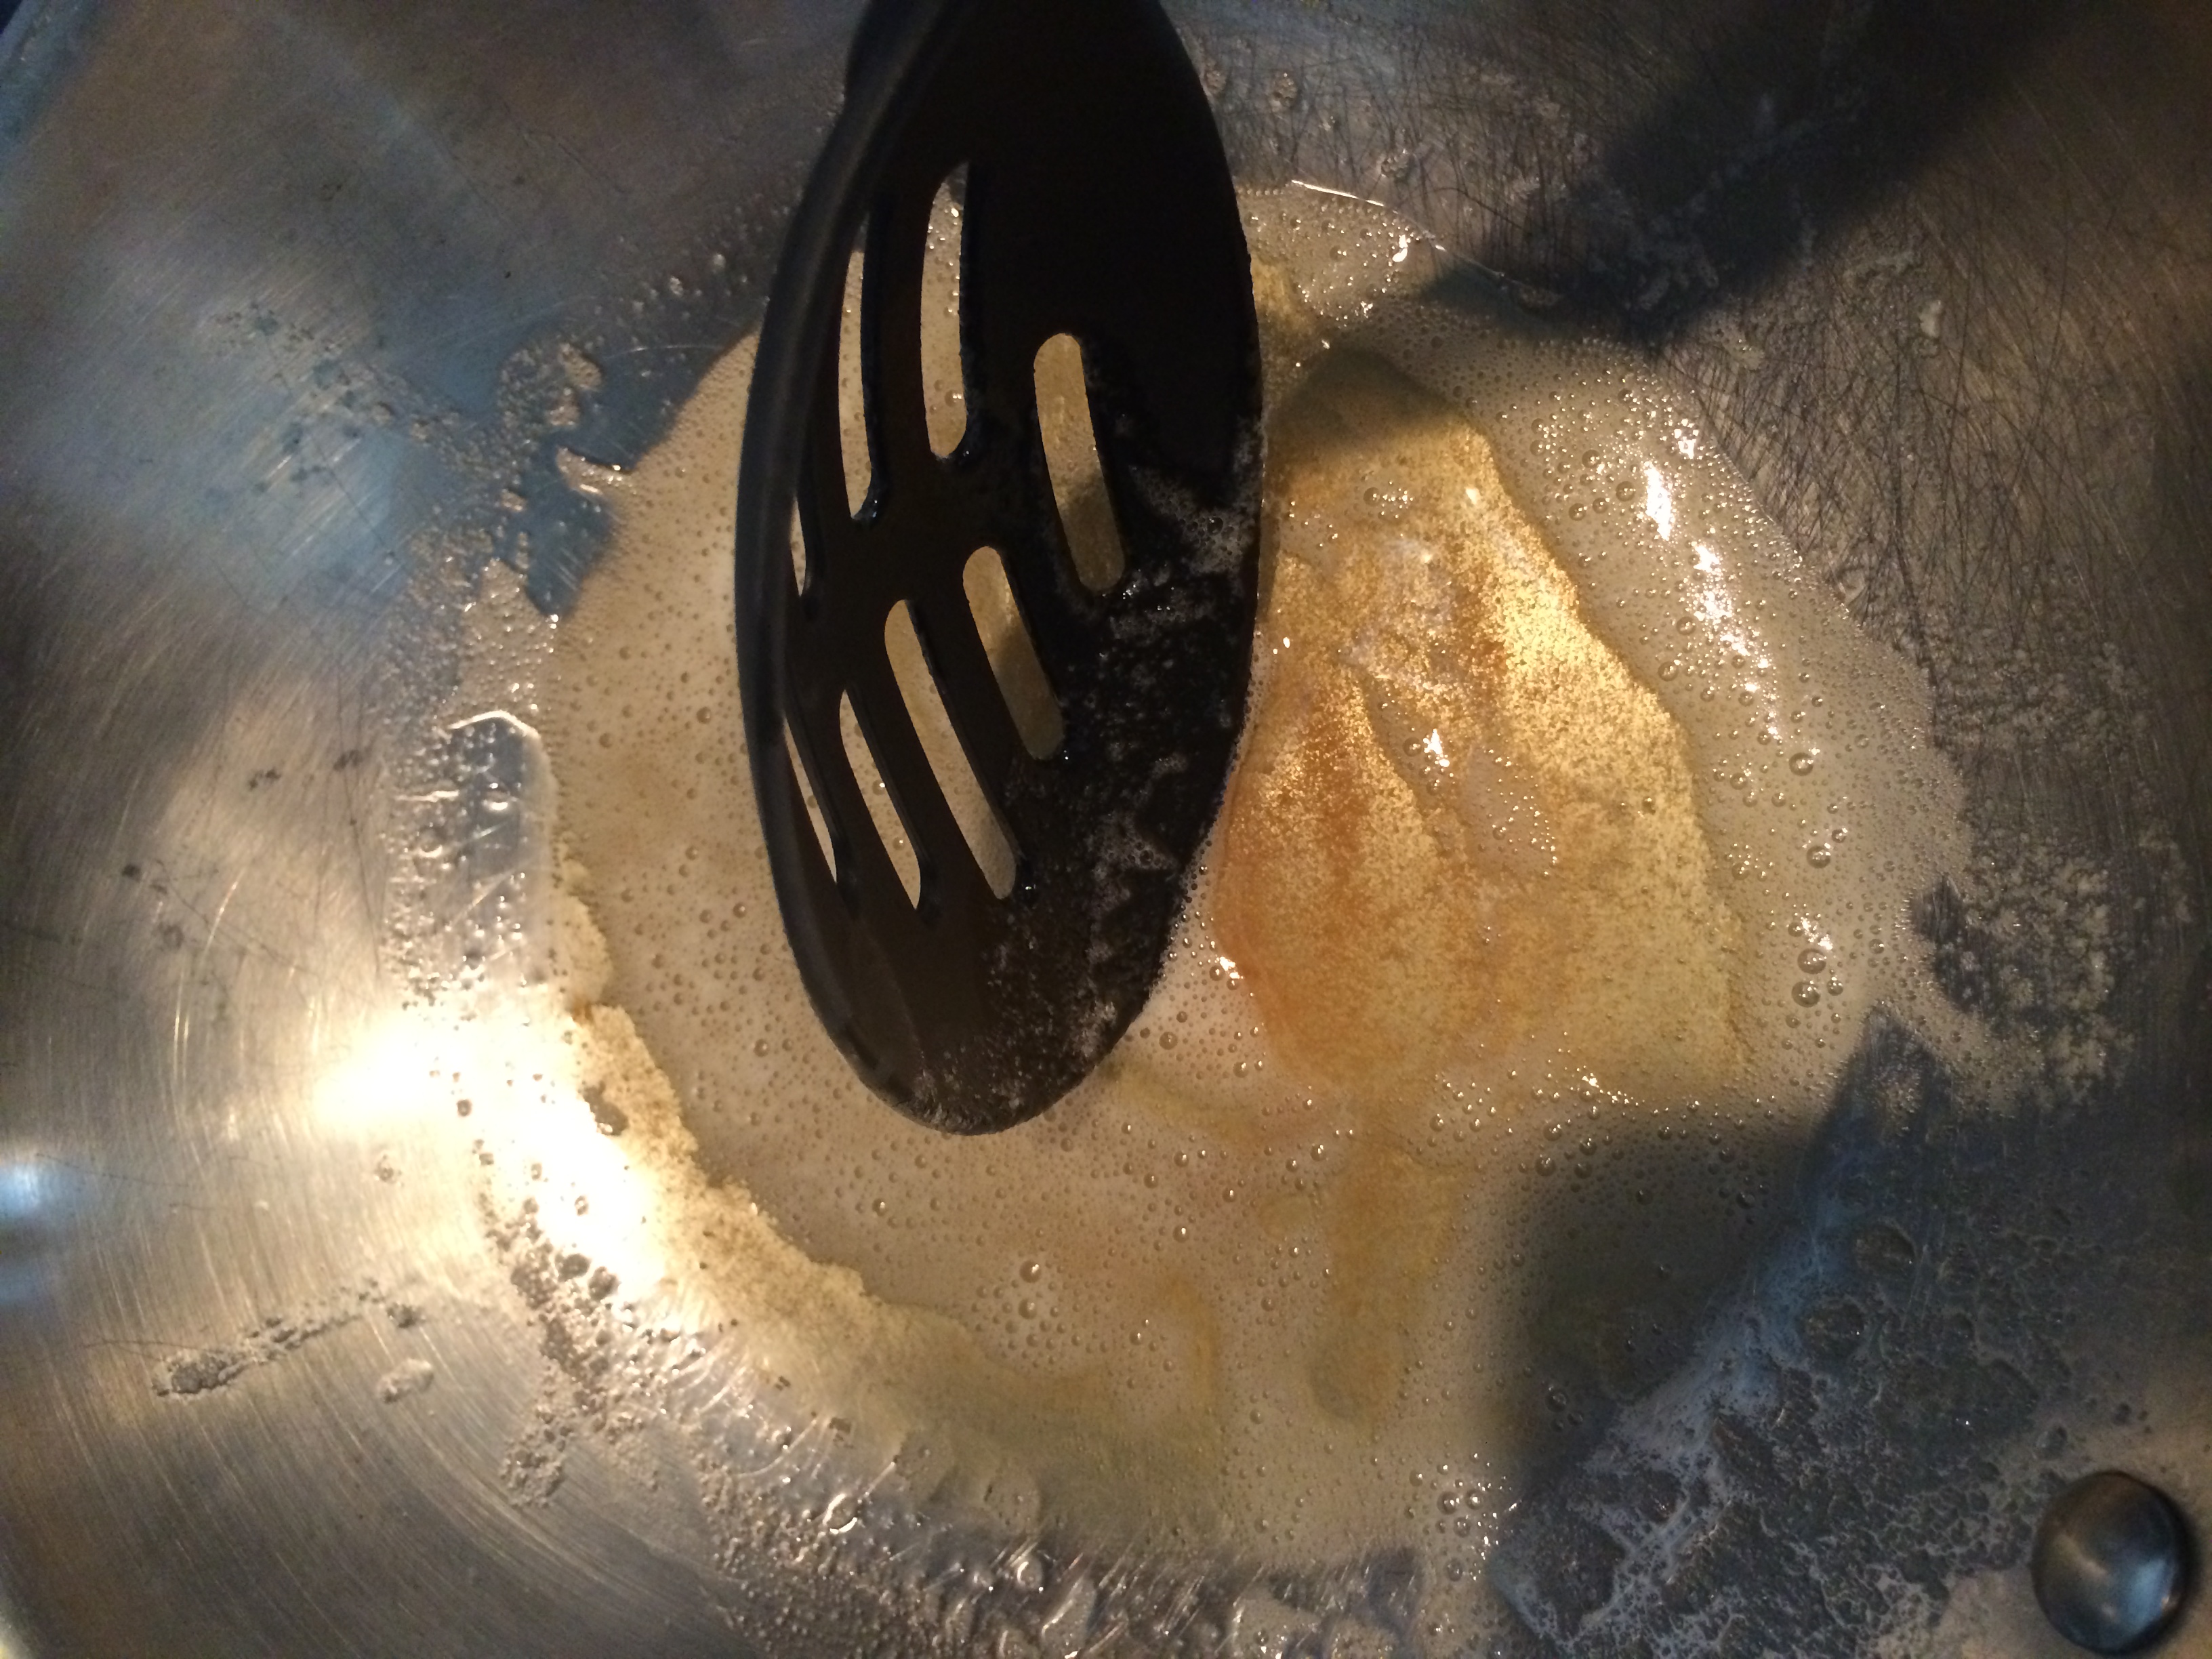
In truth, it’s just normal butter that’s been cooked up to just enough of a temperature that these wonderful brown bits form in the bottom of the pan start to meld with the melted butter and this new toffee scent from the butter is wafting into your nostrils.

I learned how to make browned butter from Jessica’s instructions in Simply Delish and it is pretty damn simple. You heat the butter over medium-low heat (I go lower so I don’t accidentally burn it) and you whisk and whisk and whisk until the previously mentioned little brown bits start to appear in the bottom of the pan. Once you see those, you’re golden! (Haha, pun fully intended). Remove this from the heat and keep giving it a few more stirs and then, it’s ready to use!

IMG_6628

IMG_6629

IMG_6630

IMG_6631

I made only the 2 tbsp that were needed for the oatmeal, but you can always make a bit batch and store it for use down the road!

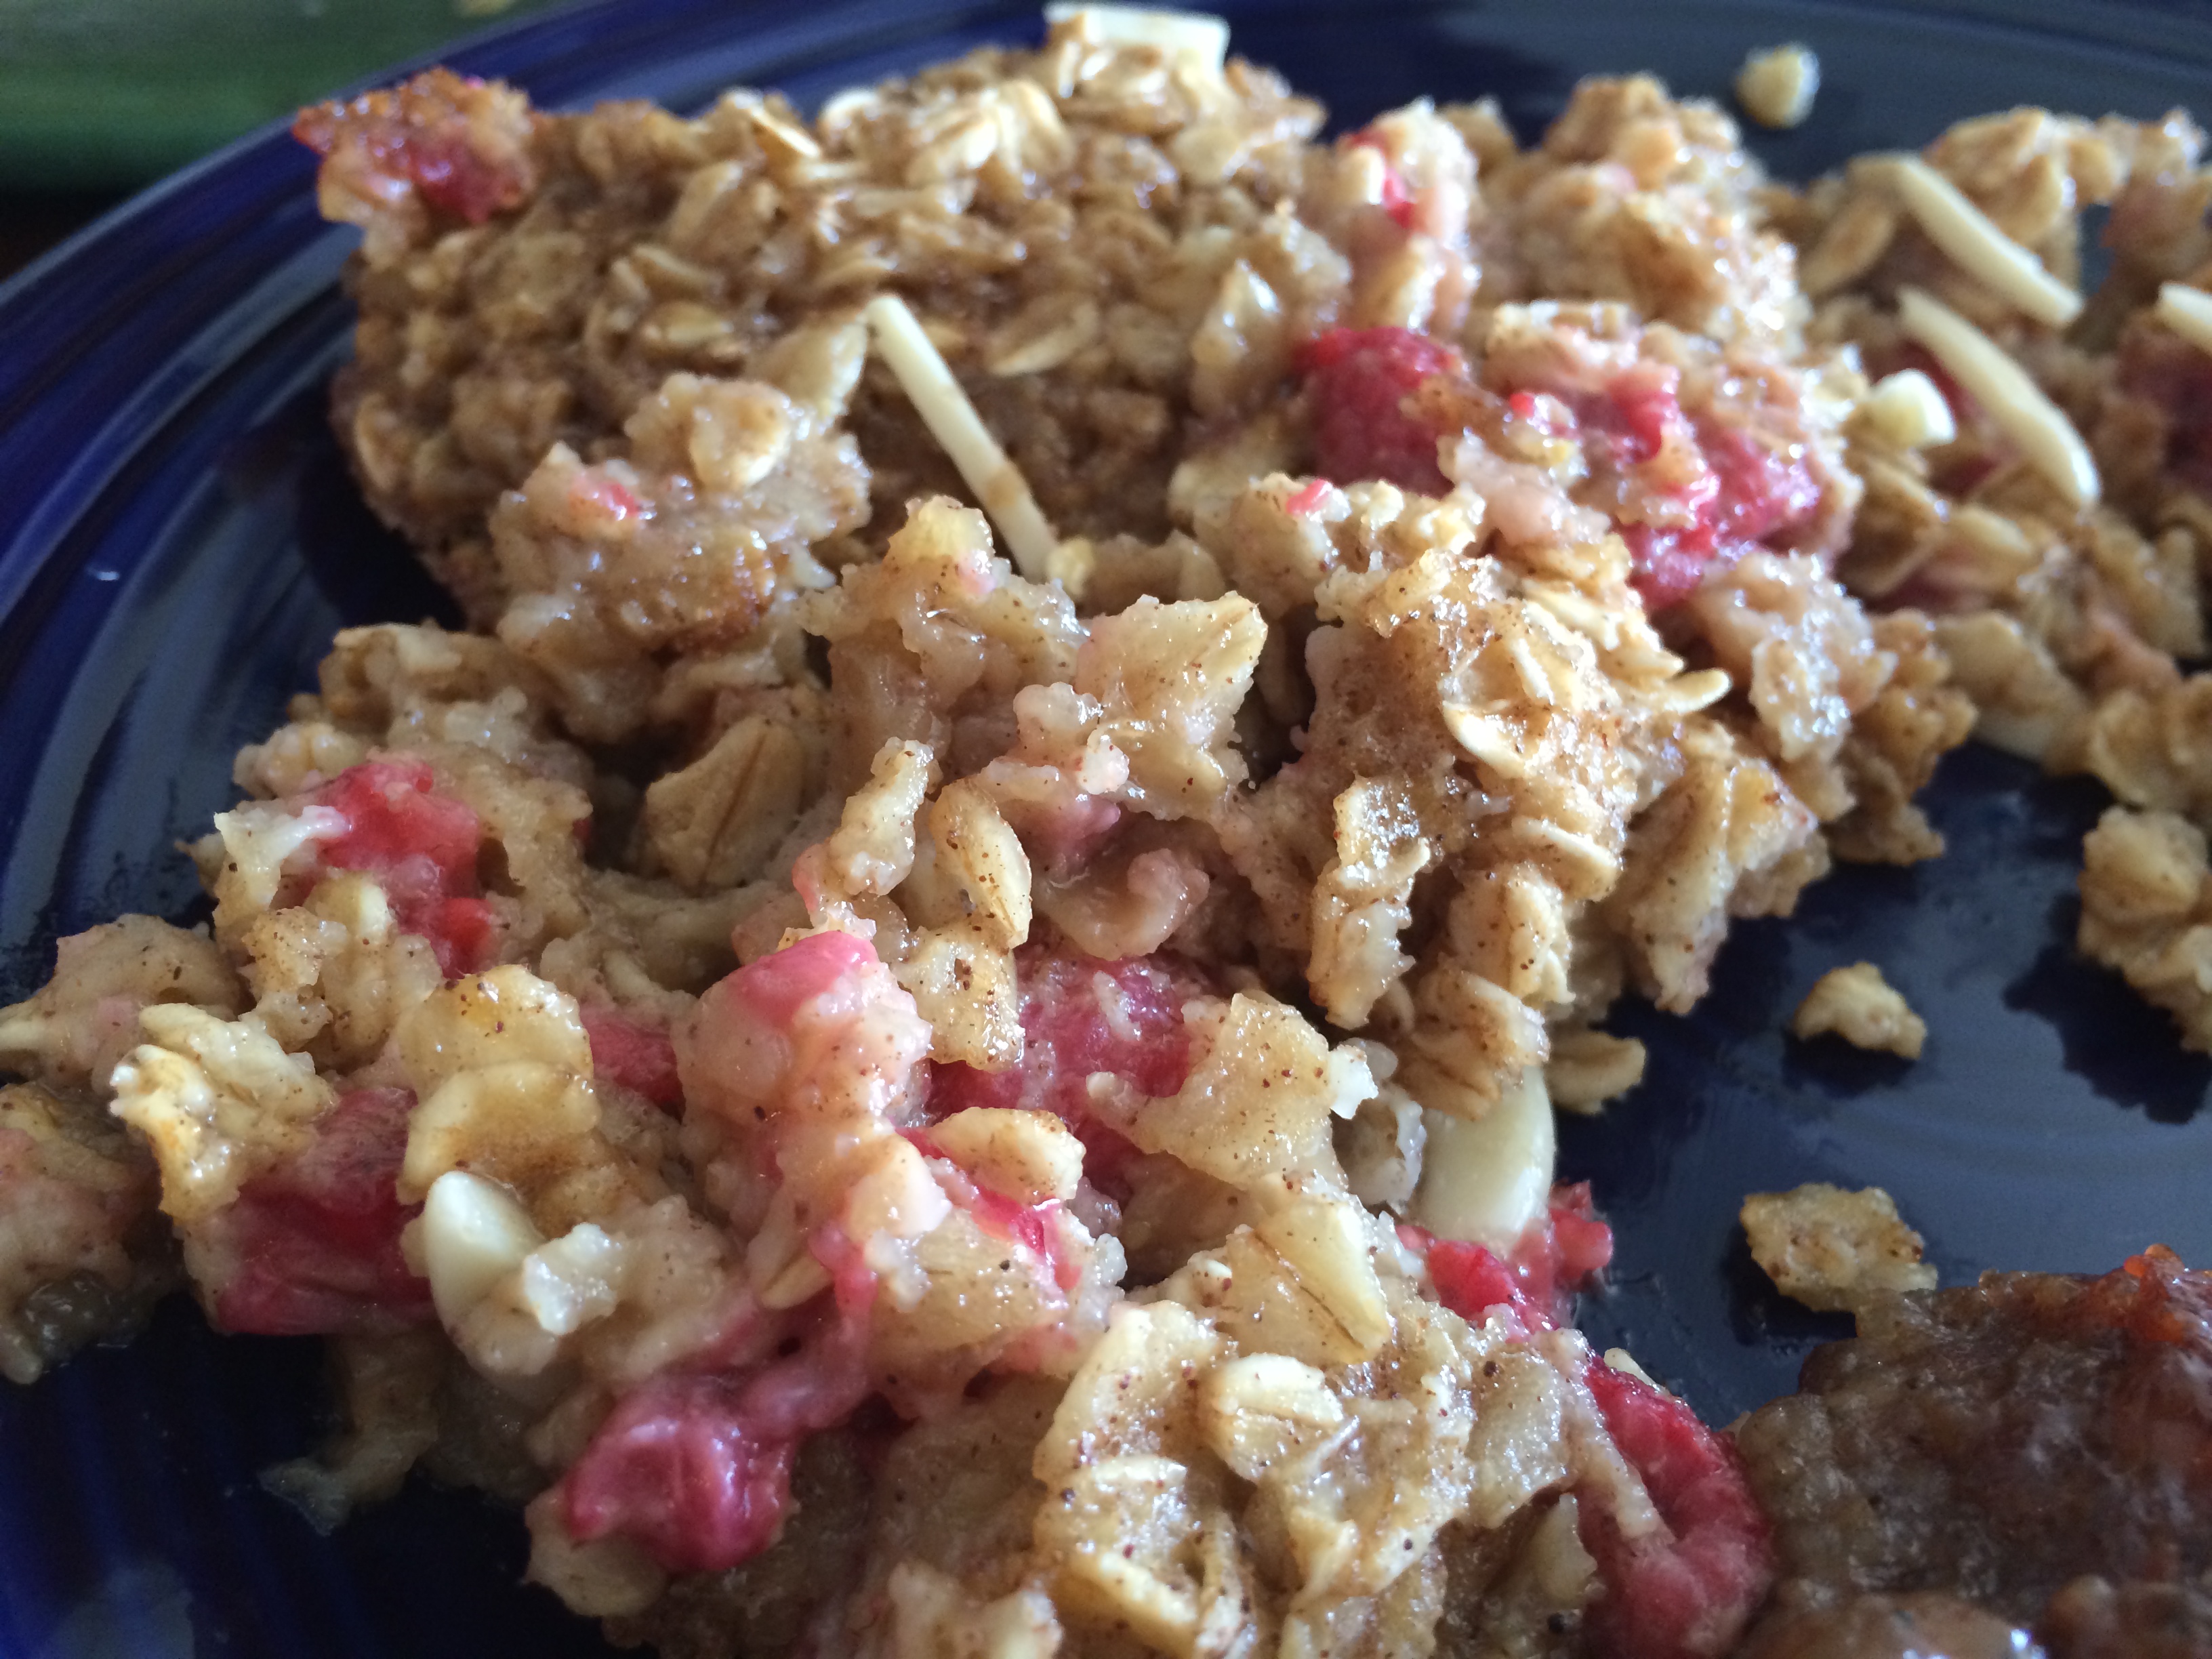
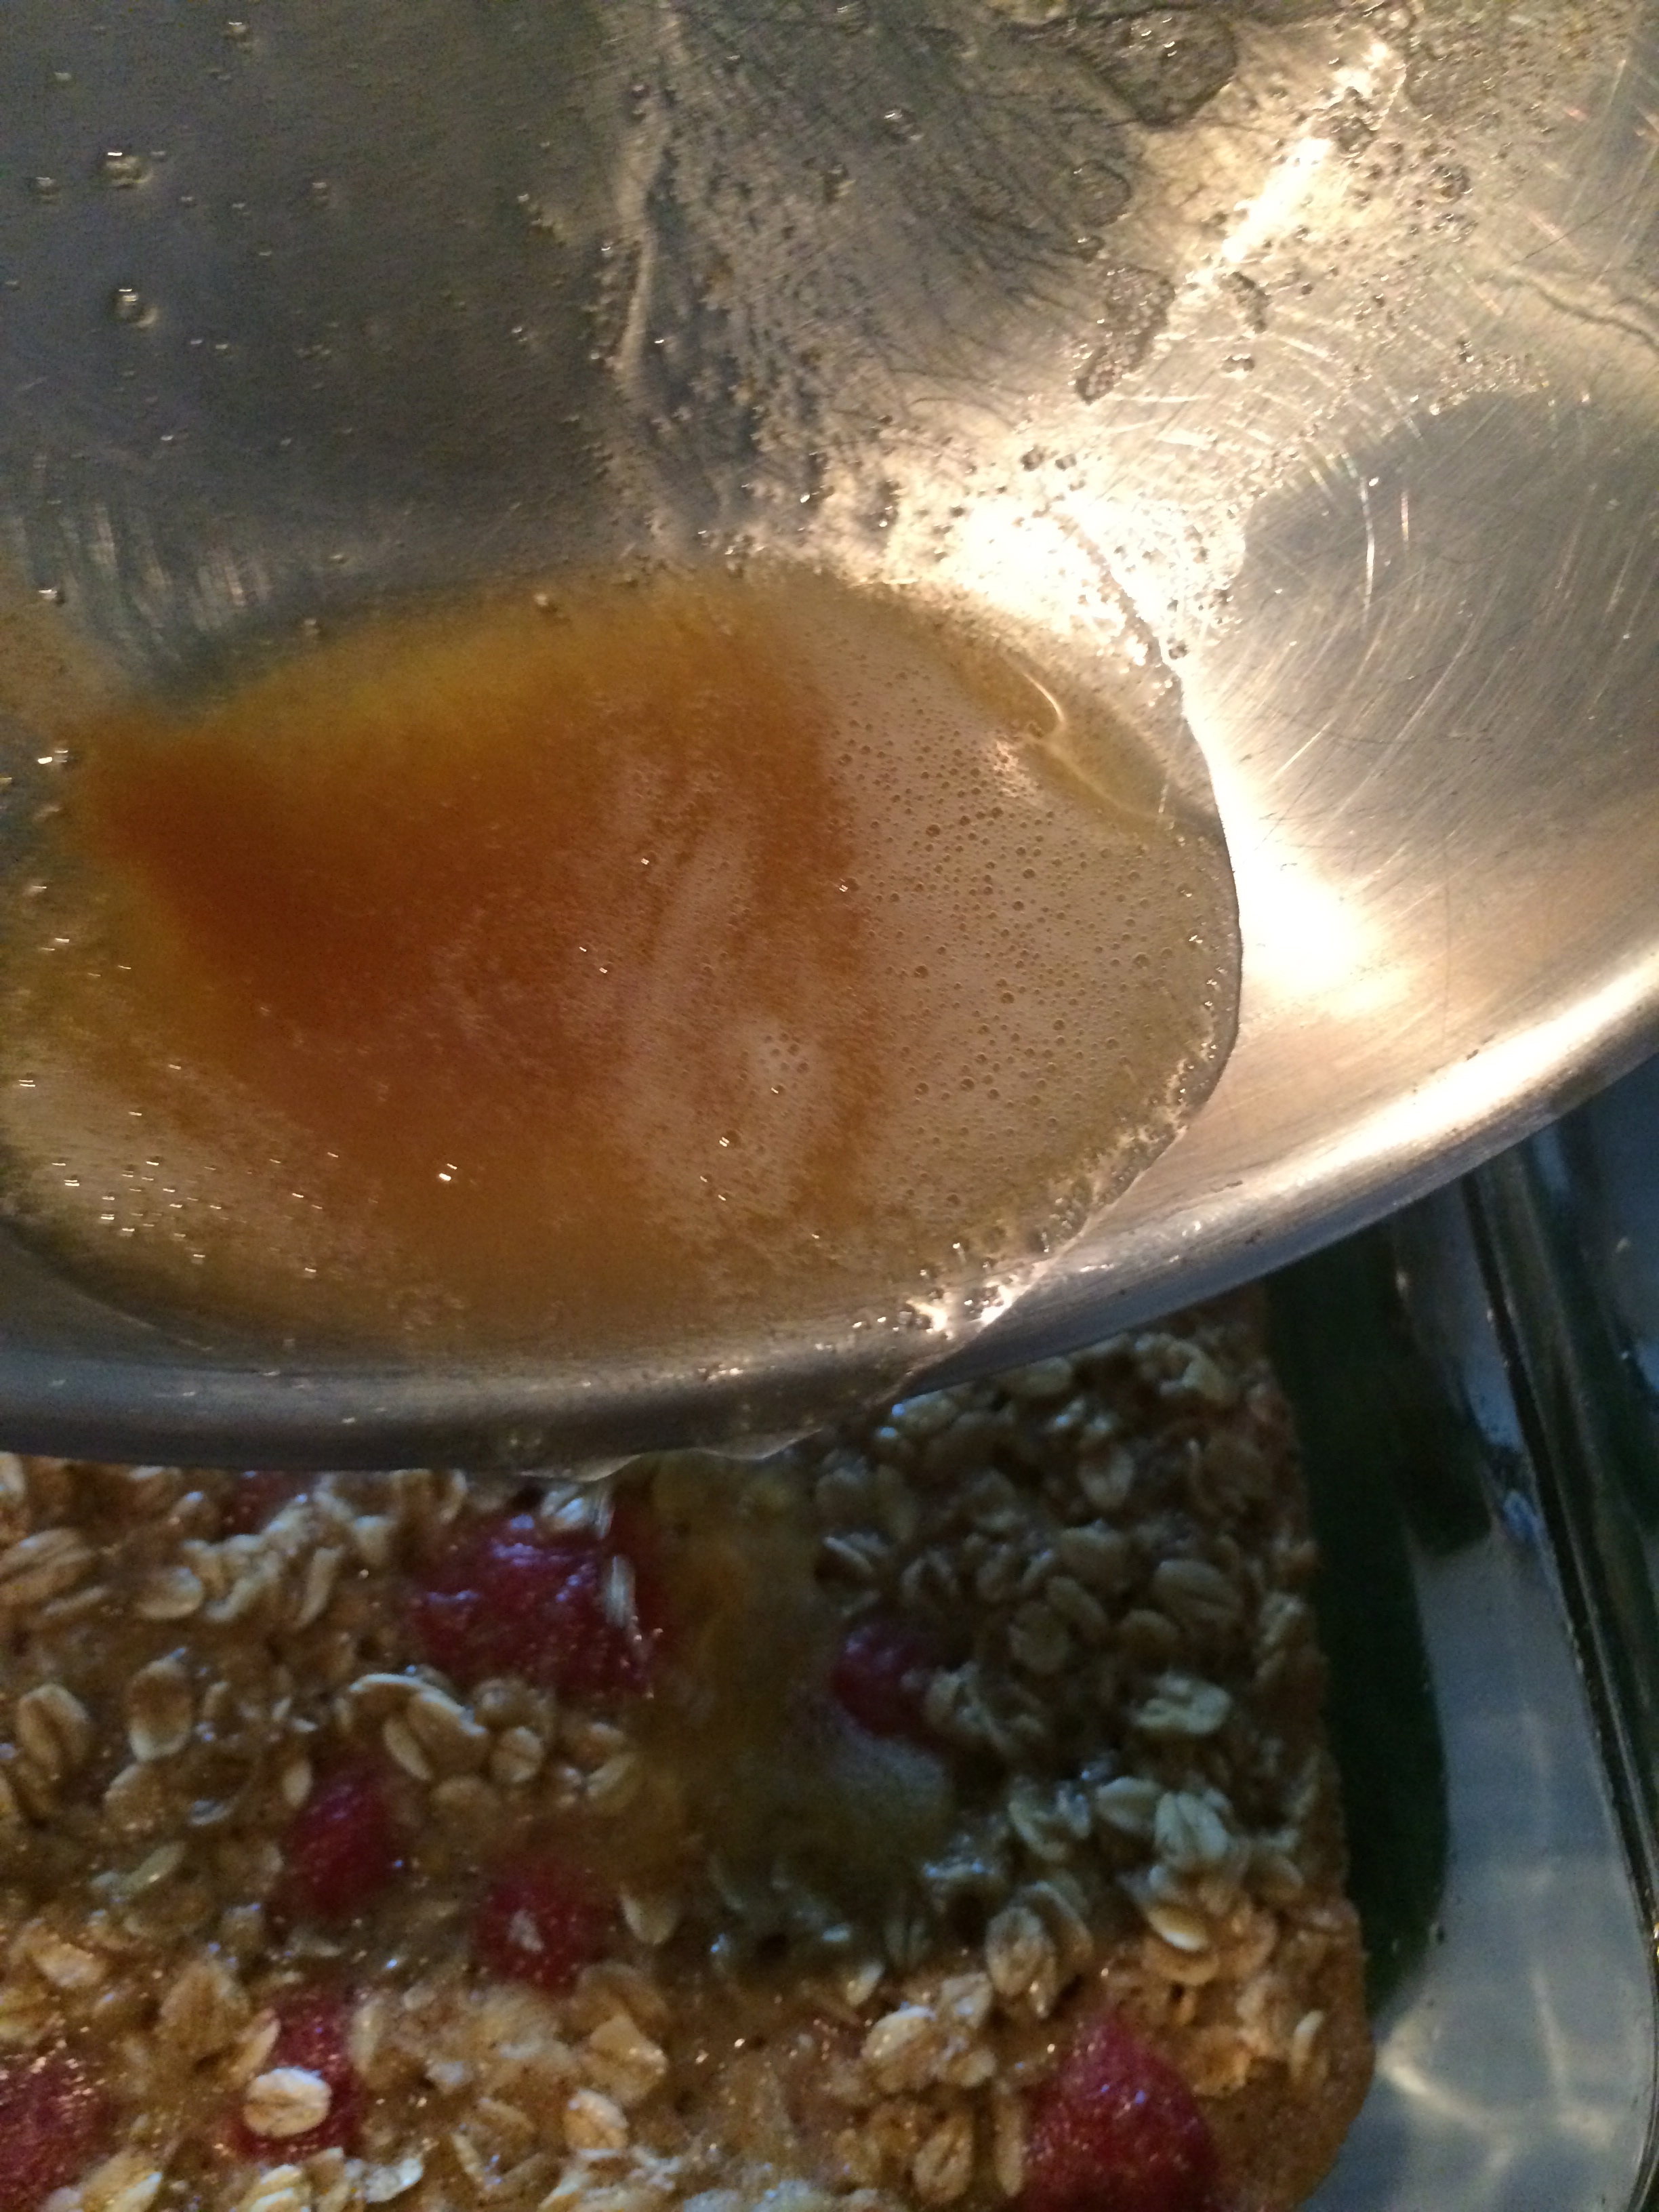
Once the baked oatmeal is done, pull it out and drizzle the browned butter over the top, drizzle the bit of the coconut milk too and then throw on the slivered almonds.

IMG_6633

IMG_6634

IMG_6635

IMG_6640

This is sooooo yummy and it will be a wonderful breakfast. It’s got all these great flavors with the coconut milk mixed with the caramel-y browned butter, crunchy and nutty almonds, tartness from the fruit and that classic oat flavor that is at the base of why we all love oatmeal. Such a simple dish when you think about it, oats and liquid, but this recipe kicks it up a notch and in the best way.

We ate ours with a fantastic Spicy Maple Sausage that my husband whipped up. I can’t wait to share his recipe with you all in a future post!

IMG_6641
Hope you guys enjoy this as much as we did!

IMG_6642

Advertisement

Raspberry Scones

19 Oct

IMG_6474

I was always a bit hesitant about scones. They seemed like muffins’ dry and boring cousin. But that was until I met Luke, a man obsessed with scones. So I actually began ordering scones in restaurants and cafes and found that when done right, they can be AMAZING! My favorites were ones where there was fruit involved, blueberries or strawberries. And I figured, that it couldn’t be too hard to try to make some…

You know how when you get a new cookbook, there are just some recipes that jump out at you and you KNOW you have to try it?! Regardless of the time or the steps, sometimes the picture or the name of a recipe jumps out of the cookbook to me. I know which recipes these were for each of the dozen cookbooks I own (an example, Chipotle and Rosemary Roasted Nuts from Barefoot Contessa’s How Easy is That? cookbook). One of these such experiences was with The Smitten Kitchen Cookbook (another fairly new favorite cookbook of mine, from the blog Smitten Kitchen) and her recipe for Whole-Wheat Raspberry Ricotta Scones.

I now had the perfect reason to make scones: I finally came to the conclusion these could be delicious, I could feed my husband a good portion of them (and earn some brownie points, perhaps) AND I had a great recipe to start from.

I made these the first time last Christmas, following the recipe to a ‘T’ from the cookbook. I loved them and thought they turned out incredibly moist and delicious. However, I wanted to make them again and put my own spin on them. Particularly, I wanted to experiment with using something instead of ricotta, as I don’t normally have that just ‘hanging out’ in my fridge.

So, this is my own spin on the recipe from Deb’s cookbook. I think the original recipe is great and highly encourage you guys to pick up her cookbook, flip to page 15 and give it a go. You can also try my twist on it below and see what you think!

I didn’t have whole-wheat flour on hand and used cottage cheese instead of ricotta, so the texture and taste of mine is slightly different. I personally loved the twist and will continue to make them this way in the future, especially as it means I likely could decide to make these and have everything I need on hand and not require any grocery store trips. However, making them with the original recipe gives more texture and makes them a bit thicker, due to the ricotta mixture. So it’s up to you!

Ready for scone-making? Here we go…

Ingredients:

  • 2 c. all-purpose flour
  • 1 Tbsp baking powder
  • 1/4 c. sugar
  • 1/2 tsp salt
  • 6 Tbsp cold unsalted butter
  • 1 c. fresh raspberries (or insert in another fruit you want to use, blueberries or strawberries could be great!)
  • 3/4 c. skim milk cottage cheese
  • 1/3 c. heavy cream

How to Make:

First things first, preheat your oven (which I always seem to forget to do) to 425. Next, prep your baking sheet by lining it with a big sheet of parchment paper. My parchment paper loves to just roll itself back up in a ball so I set a drinking glass on each end to help keep it in place. Genius move, I know.

Next up: dry ingredients. Measure out the flour, baking powder, sugar and salt and whisk it all up together in a medium-sized bowl.

IMG_6446

IMG_6447

IMG_6448

IMG_6449

IMG_6450

Now, butter time. Grab your butter directly from the fridge when you’re ready for this step. Chop it up into little cubes and then drop those directly into your bowl of dry ingredients. As I lacked a pastry blender, I went with the finger-mixing method. Gently work the butter into the dry ingredients until the large butter pieces start to become little pea-size guys. The butter should be mixed in enough that the dry ingredients just look a bit more like a sandy mixture, kind of with a breadcrumb consistency.

IMG_6451

IMG_6452

IMG_6453

With whichever fruit you decided to use, throw it on a cutting board and chop it up a bit. Strawberries you’d want to definitely chop down into smaller pieces but blueberries and raspberries can just get a quick rough chop and be all set. Once you’re done chopping, throw the fruit into the dry ingredients.

IMG_6455

IMG_6456

IMG_6457

Last, but certainly not least, measure out and throw in the cottage cheese and the heavy cream. Stir everything together gently, ensuring all the dry ingredients are exposed to the wet ingredients, soaking up all the dairy goodness.

IMG_6458

IMG_6459

IMG_6460

Once it all starts to come together and look like dough, pour out the batter on to a floured surface (cutting boards work well for this). Get your hands good and floured up too, as this is a sticky dough and it loves to hang out on your hands. Add some flour to the top of the dough and work it into a square that’s about an inch high. Now, cut the square into 9 smaller squares and transfer each square to your parchment-lined baking sheet.

IMG_6462

IMG_6463


IMG_6464

Bake ’em for 15 minutes or until the tops are just starting to golden up.

Sigh, they look and smell SO tasty, right?! Cool them for a few minutes in the pan, then move them to a wire cooling rack to fully cool.

IMG_6466

These are SUPER good when they’re still warm but they keep well in a Ziploc for a few days too. We loved having them on the counter to allow both of us to grab a quick breakfast on-the-go. They were also great for a snack or a little dessert at the end of the day. To be perfectly honest, they don’t last long on our counter as we both gobble them up pretty quick. I don’t even feel guilty about that, they’re so tasty and wonderful that we just can’t help ourselves.

IMG_6470

These got a big thumbs up from my husband, the scone-lover and I think you guys will REALLY love them too.

Highly encourage you guys to try these out and leave me a comment about how they go!

Fruity Dark Chocolate Bark

19 Jan

IMG_4160

Happy Sunday! Although Sundays may not be my absolute favorite day of the week, there is usually an opportunity to do some baking/cooking to end the weekend. Hard to complain about that!

I was in the mood to try something new and different today, something not too dramatically unhealthy but yet, still sweet enough to satisfy a mini dessert craving.

I opened up my Pinterest board of Treats to see what leaped out at me. The cakes and pies I’ve posted in recent months were drool-worthy but not quite what I was looking for. Cookies weren’t really grabbing me. Then I saw this pin from “Love & Olive Oil” and was SOLD for the following reasons:

1) Dark chocolate gets an A+++ in my world (don’t A triple +’s exist in your world?!?!) and is by FAR my favorite type of chocolate.

2) Freeze dried fruit isn’t something I normally bake with so it would be a fun, new adventure.

3) The result wouldn’t be outrageous in unhealthiness.

4) This is VERY easy to make and doesn’t require a long list of ingredients.

Convinced this is a perfect Sunday night treat?! Good!

Thanks to Love & Olive Oil for the wonderful recipe! Looking forward to trying more on that blog…

Ingredients:

  • 8 – 11 oz of dark chocolate, using a good brand if you can (aim for 70-80%)
  • 1 cup of your choice of freeze-dried fruit (you can also do a mix like I did – raspberries, blueberries and cranberries)

*Note: I was completely unaware of where freeze-dried fruit would be in a grocery store. I asked a few perplexed folks at my local grocery store and was unsuccessful at that spot. However, I Googled and Trader Joe’s has LOTS of freeze-dried fruit! I recommend looking there if your usual grocery store doesn’t carry any freeze-dried fruit.

How to Make:

To get things started, you’ll need to melt down the chocolate. I went with Ghirardelli’s ‘Intense Dark’ chocolate bars for my bark. As they came in bars of 3.5 oz bars, I rounded up to get 3 bars for a total of 10.5 oz. The original recipe only calls for 8 oz, but I figured having more chocolate was the way to go. Obviously.

IMG_4136

You can finely chop this before melting if you so choose. I went with the broken chunks method over a double boiler. But mircowaving works just as well if you’re in a hurry. Regardless of method, be sure to stop regularly and stir.

IMG_4137

IMG_4140

This also gives an excellent excuse to lick your spoon/spatula when it’s all said and done.

IMG_4141

Once all melted, pour the chocolate out on to parchment paper that’s been laid in a 9×13 pan. It will dry quicker if you evenly spread the chocolate out. I didn’t execute this as well as I hoped, but perhaps you’ll do better than I.

IMG_4147

Now, measure out your freeze-dried fruit. I bought 3 varieties so did 1/3 cup of each freeze-dried raspberries, blueberries and cranberries. But any freeze-dried fruit will work!

IMG_4146

Sprinkle your freeze-dried fruit of choice all over the chocolate. If you’re feeling extra bold, you could also try almonds or other nuts and perhaps sea salt? I may give both of those ingredients a go in my next batch of this!

IMG_4148

IMG_4149

IMG_4151

Gorgeous looking, right?!

Now, this needs 1-2 hours to dry at room temperature. However, I recommend popping the pan into the freezer if you’re noticing the bark is taking a bit long to dry. My apartment tends to be a little on the warm side so after 2 hours and still no hardened bark…into the freezer the pan went. 20 minutes later, it was all hardened up!

IMG_4152
Break into pieces and put out for consumption! I bet these will disappear quickly so perhaps make a double or triple batch if feeding a party of people. Or watch them fight it out…could be entertaining…

IMG_4157


I recommend keeping this stored in the fridge just so it doesn’t start to melt down. It’s supposed to last only about a week, but I truly doubt it will even last that long as it’s just so very tasty.

IMG_4159

Enjoy!


%d bloggers like this: