Tag Archives: Bars

Nutella Crispy Treats

14 Sep

IMG_6280

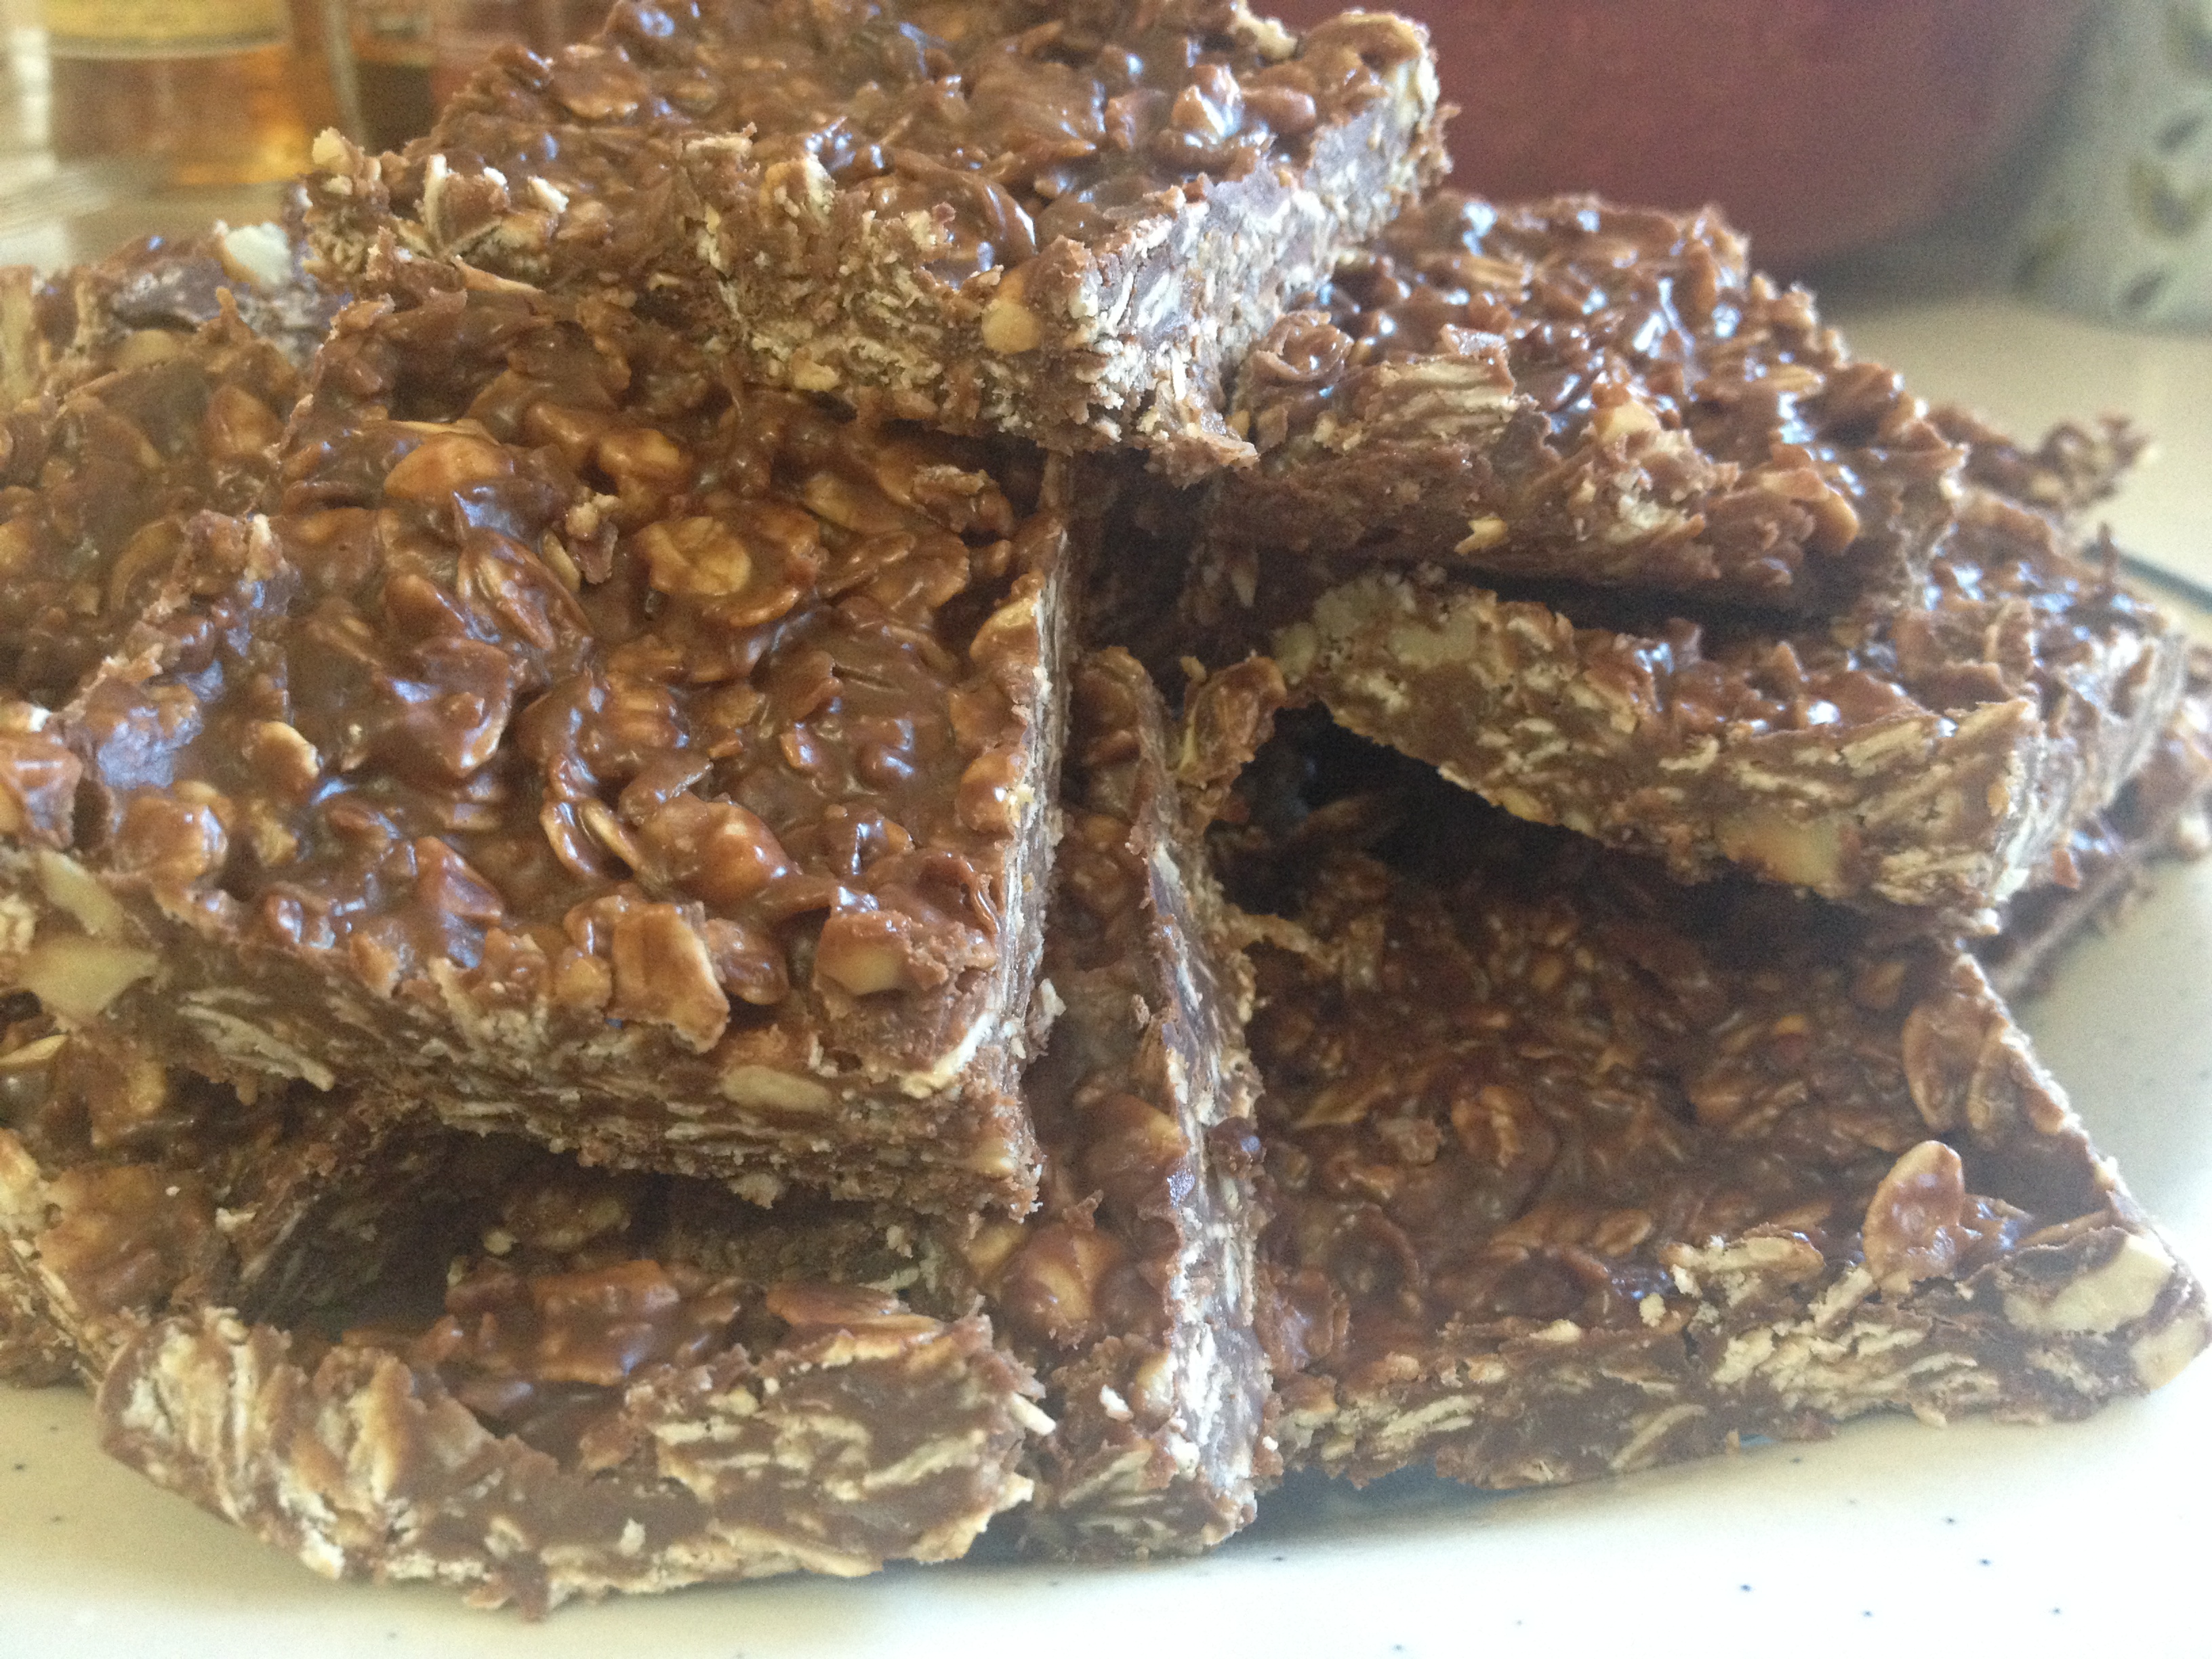
“Rice Krispies Treats” as most of us know the gooey and delicious marshmallowy, rice cereal bars…are in fact, tasty. But maybe a little boring? I’m posting this to bring you to a happy, happy place where the rice cereal and mallow squares you thought you knew, get turned upside down with a major chocolate explosion.

This treat can be made with any brand of chocolate rice cereal, but the key to making these addicting and wonderful is the combination of peanut butter and Nutella. OH MY. These will make you and everyone who has one, swoon.

How am I able to say this to you with confidence?

I’ve made these twice, and they’ve disappeared BOTH times within less than 24 hours. The latest occasion was Friday evening and when I returned home after a get-together with girlfriends with 4 remaining in the pan, my husband took the pan from me and 3 disappeared in the next 23 minutes. We compromised and split the last one. (Marriage is about compromise, right?!)

These take about 15 minutes to make (no joke kids, 15 minutes) and all you need is a stove top OR, a microwave would work in a pinch. I modified the recipe from Handle the Heat and I think you’ll love it!

Ingredients:

  • 4 Tbsp unsalted butter
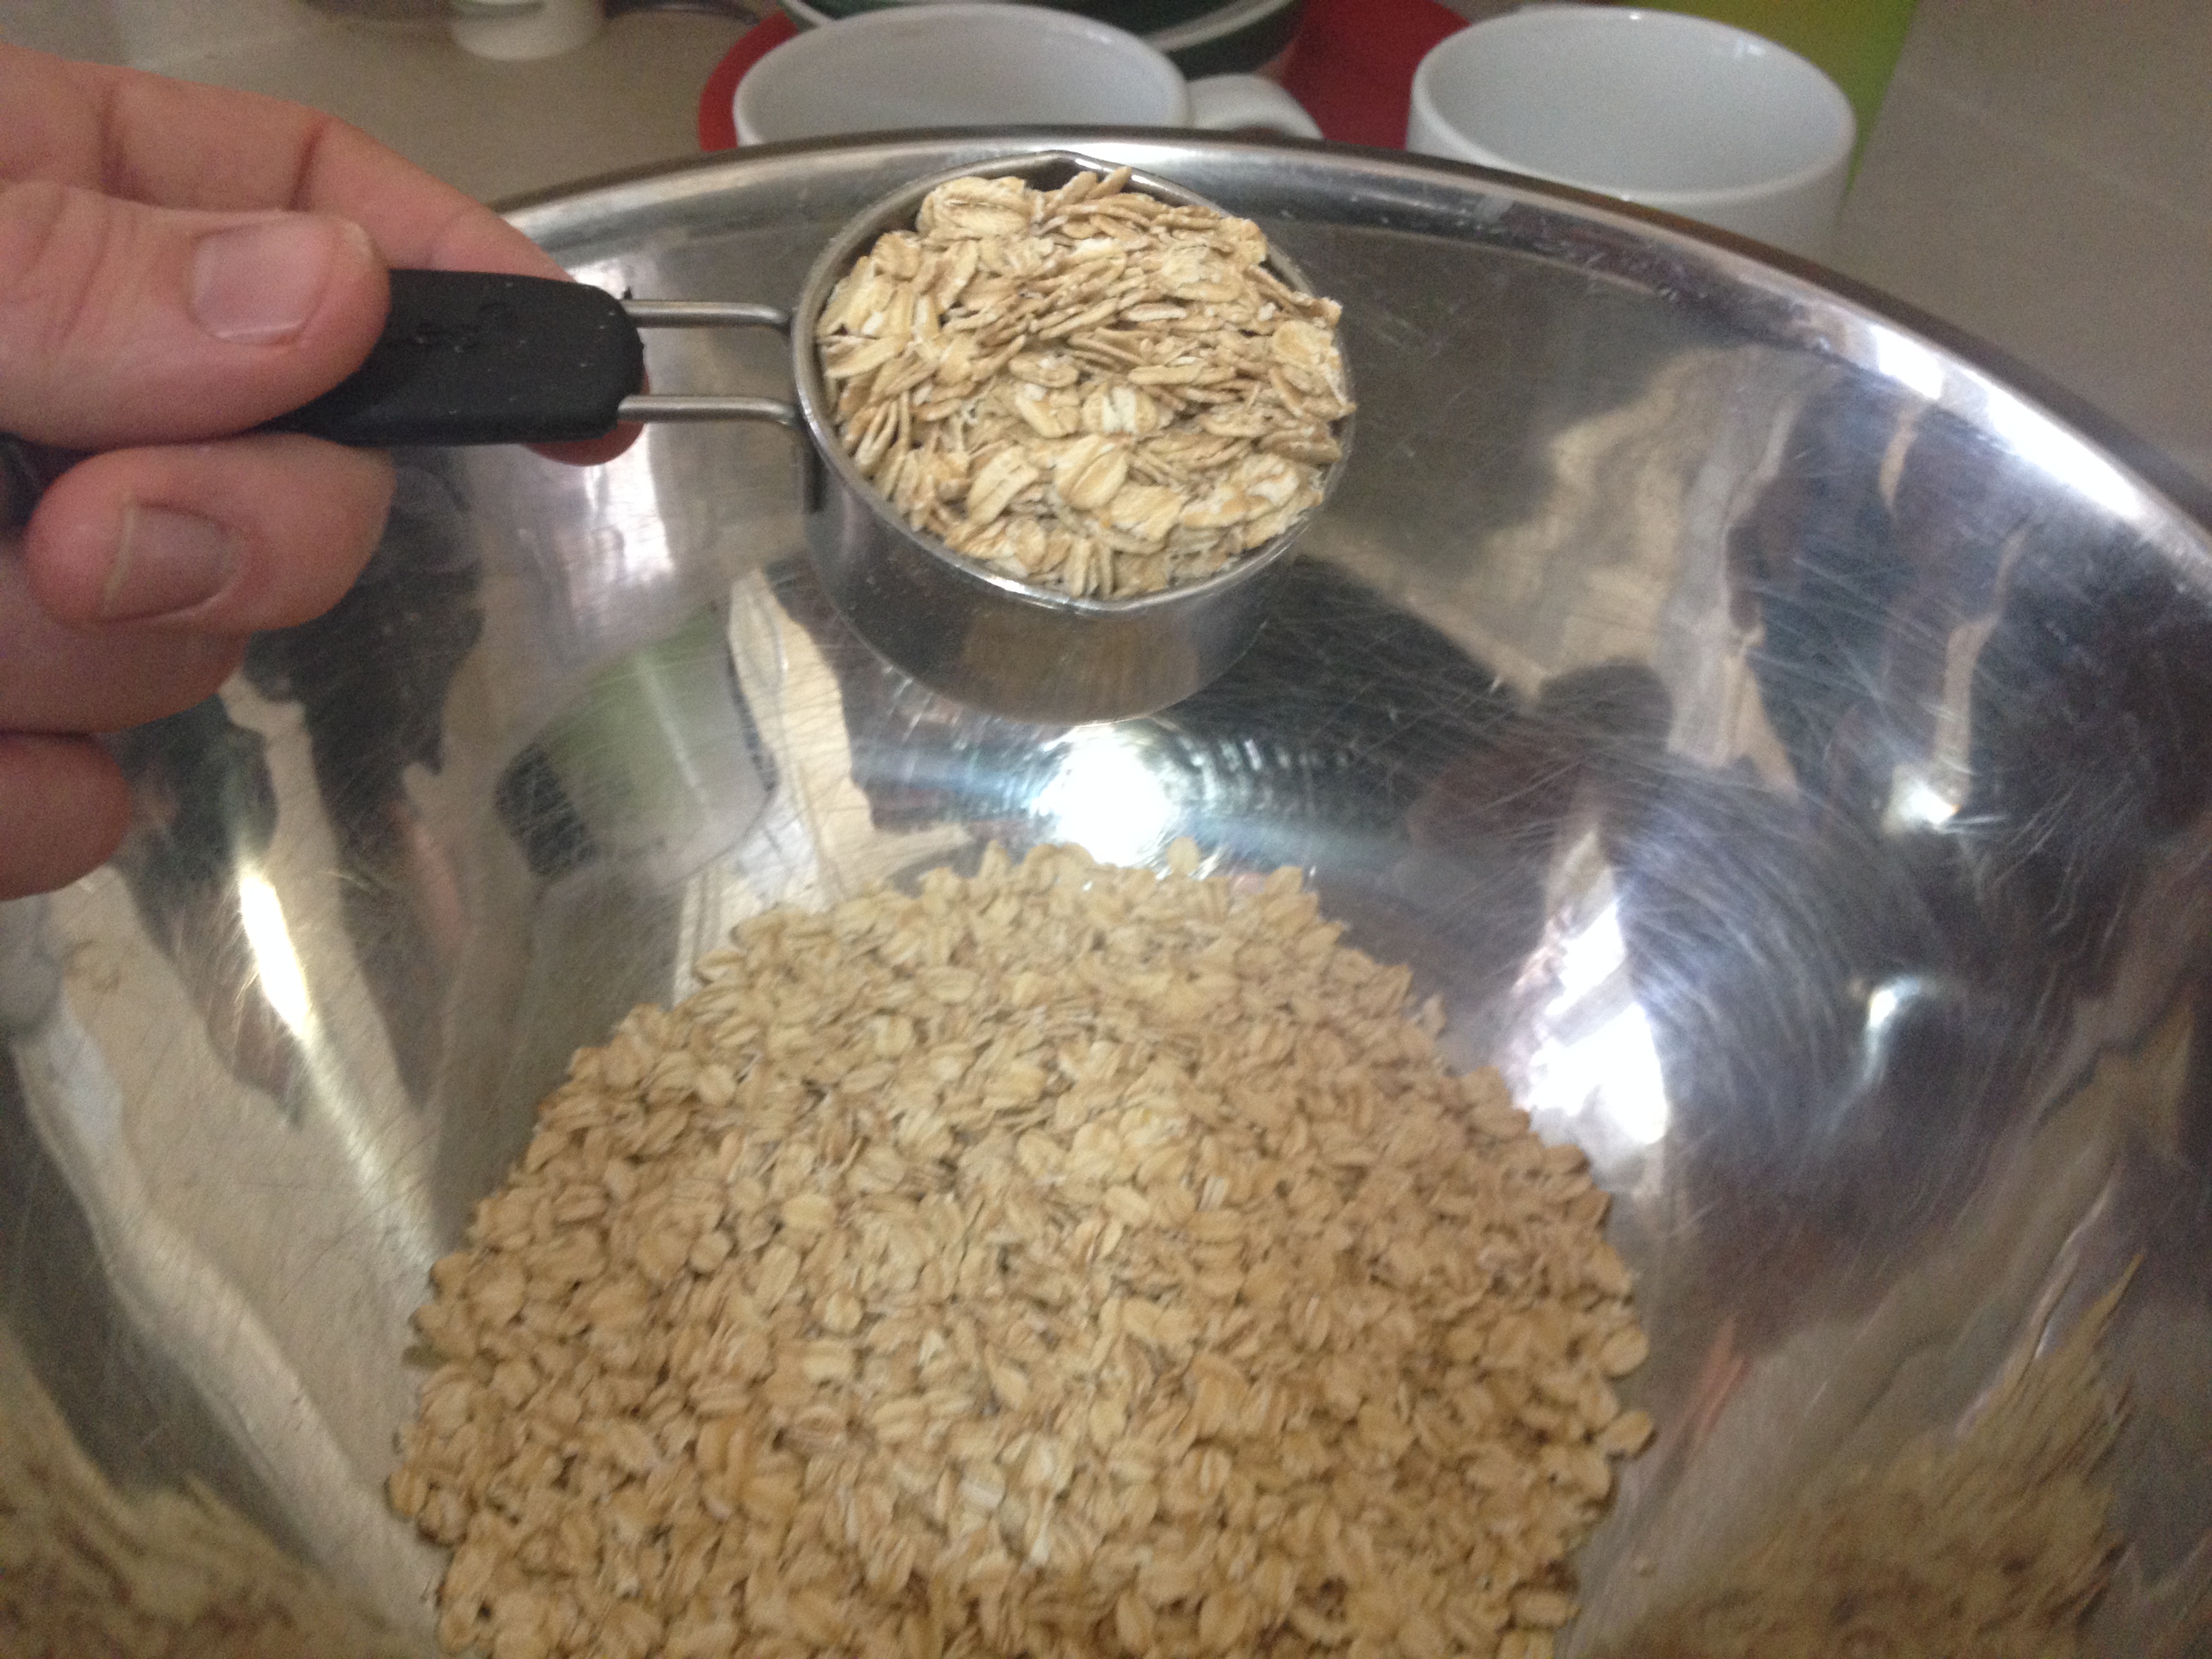
  • 6  (or so) cups of chocolate rice cereal (any brand you want)
  • 1/2 cup Nutella (mounded scoop)*
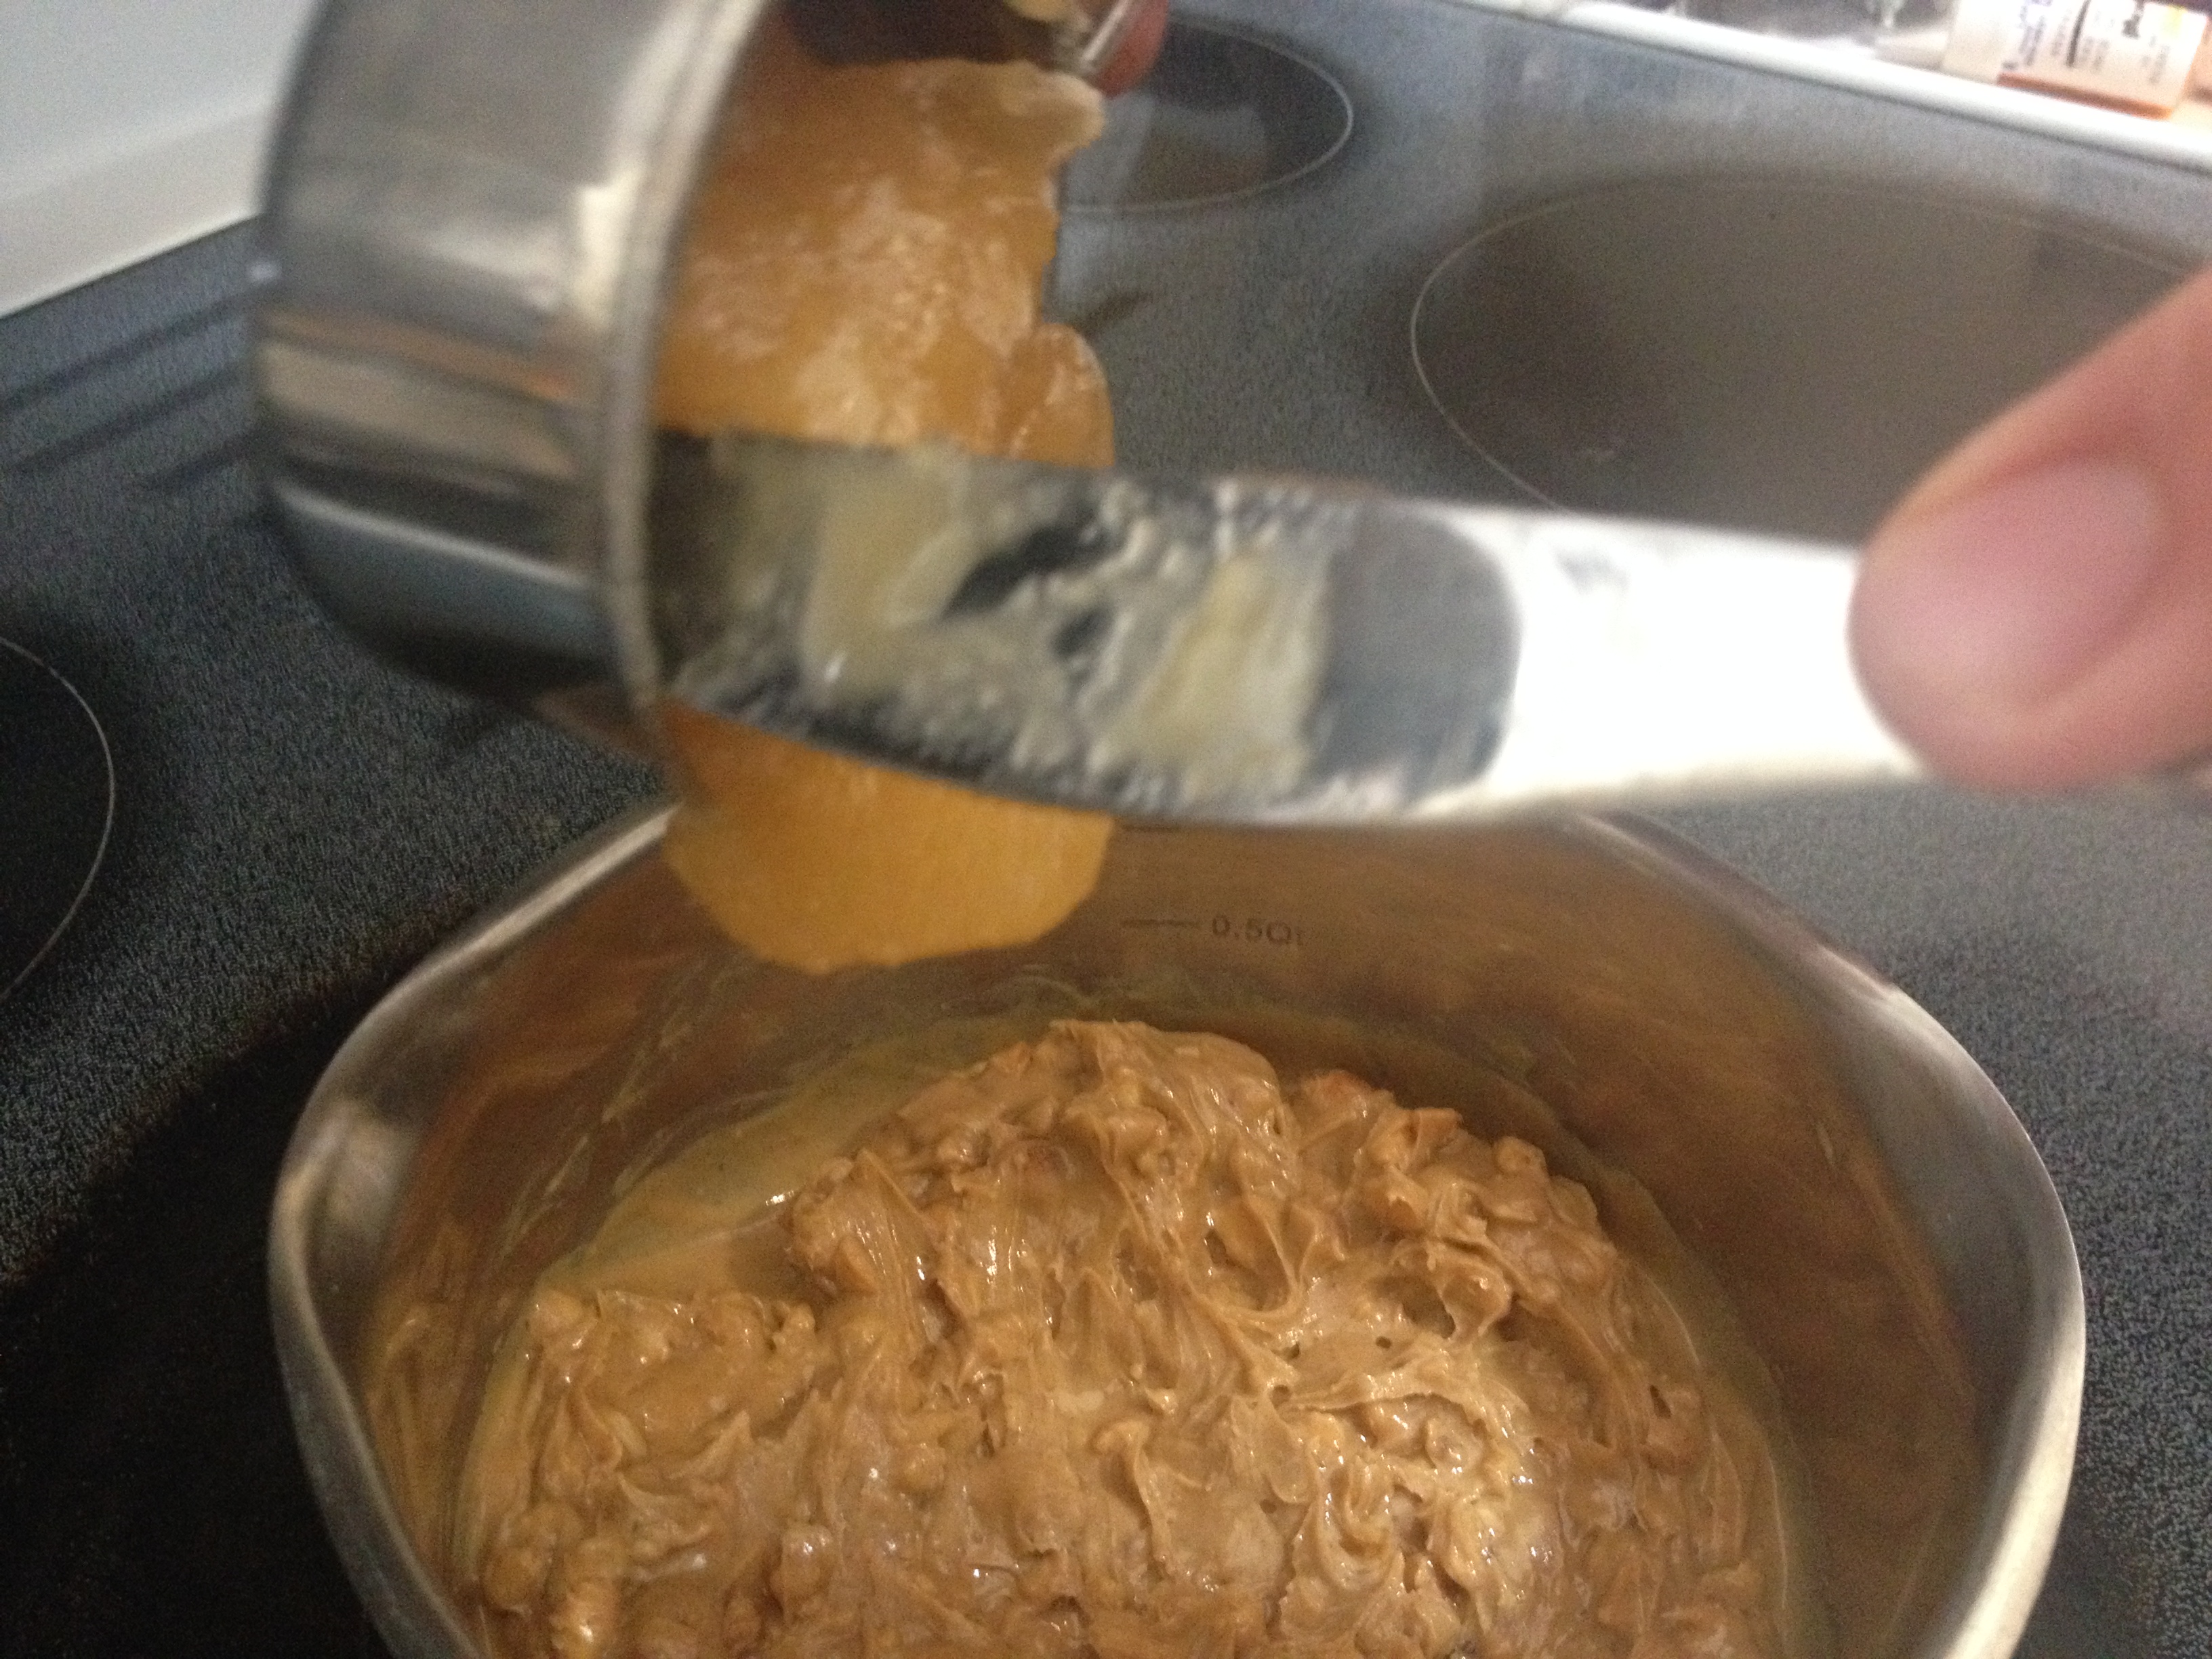
  • 1/2 cup of crunchy peanut butter (mounded scoop)*
  • 1 bag of mini marshmallows (10 oz)
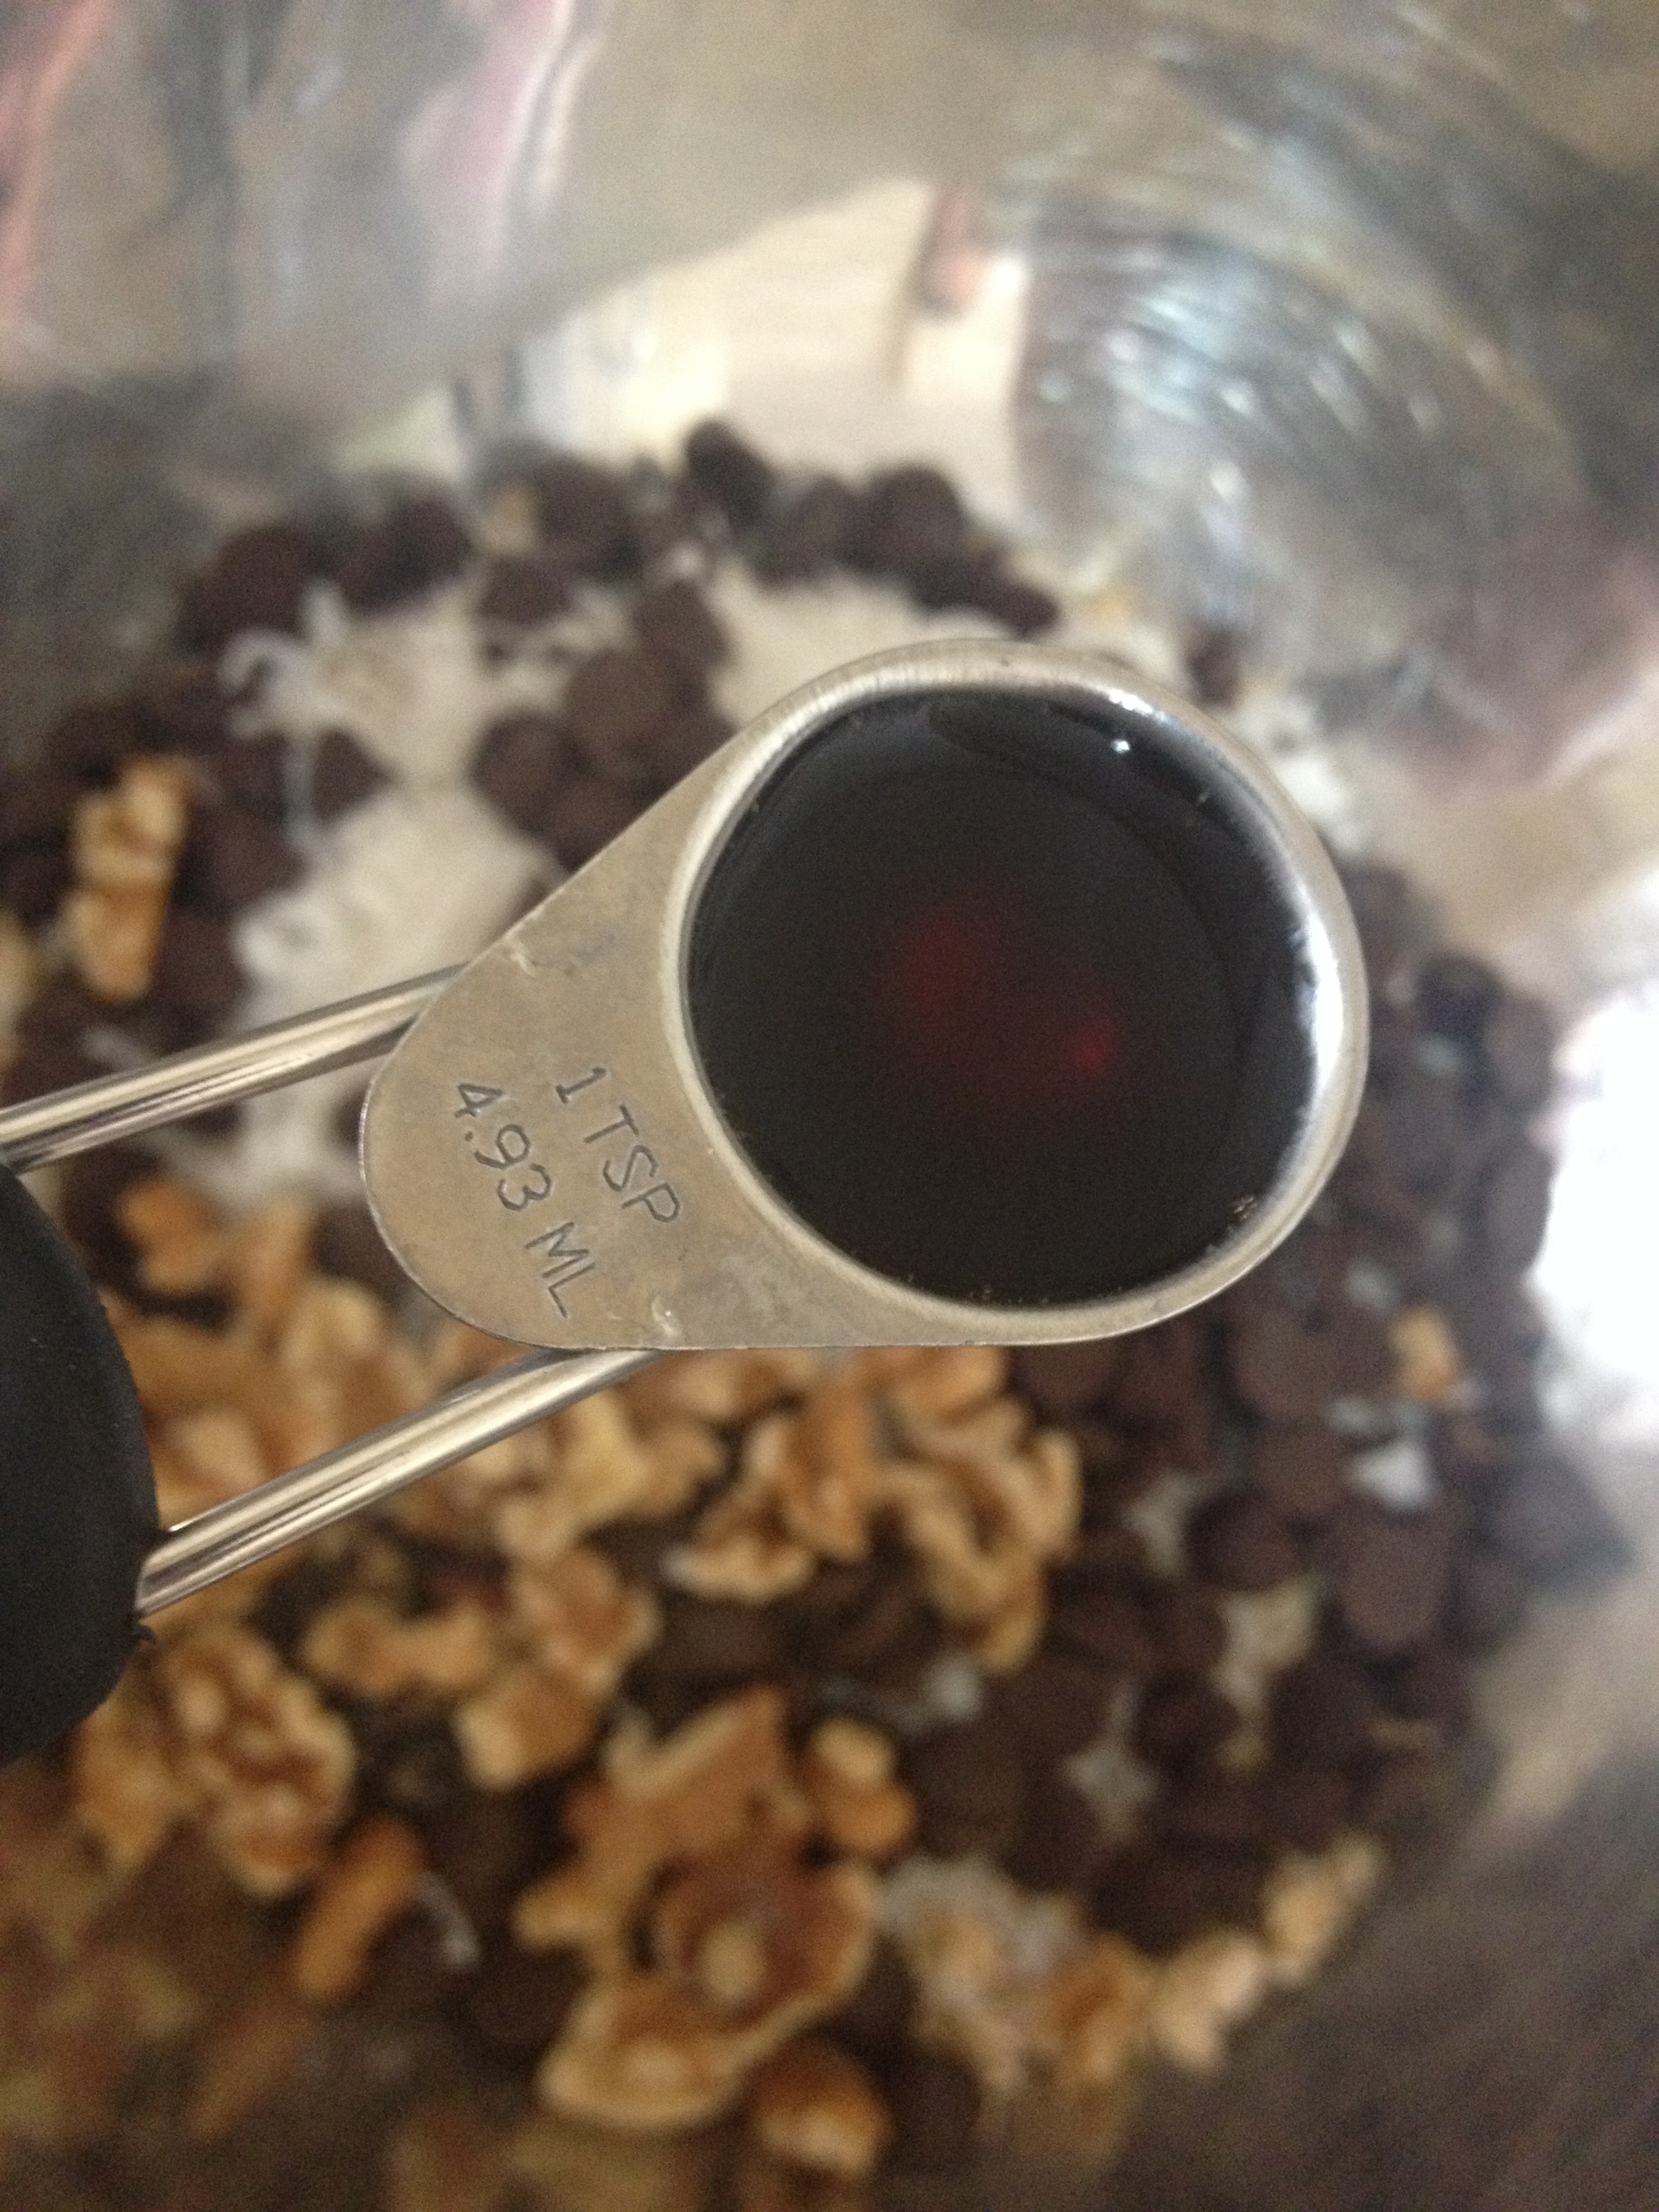
  • 2 Tbsp cocoa powder

* I originally stated I added about 3/4 c. of Nutella and PB, but after remaking this recently, this was too much (I had eye-balled it and apparently guessed a bit high the first time I posted this) and resulted in treats that weren’t quite marshmallow-y enough to stick together. So instead, just mound out your scoop of both Nutella and PB, but not quite enough to do 3/4 c.

How to Make:

Alrighty people, here we go. First things first, you need a saucepan if you are going the stove top route. If you have only a microwave, then grab a medium-sized microwaveable bowl. The butter goes into your warming device of choice and melt that baby down.

IMG_6269

Now time to add in the good stuff. Add in your entire bag of mallows…

IMG_6270

…the Nutella…

IMG_6271

…and the peanut butter.

IMG_6272

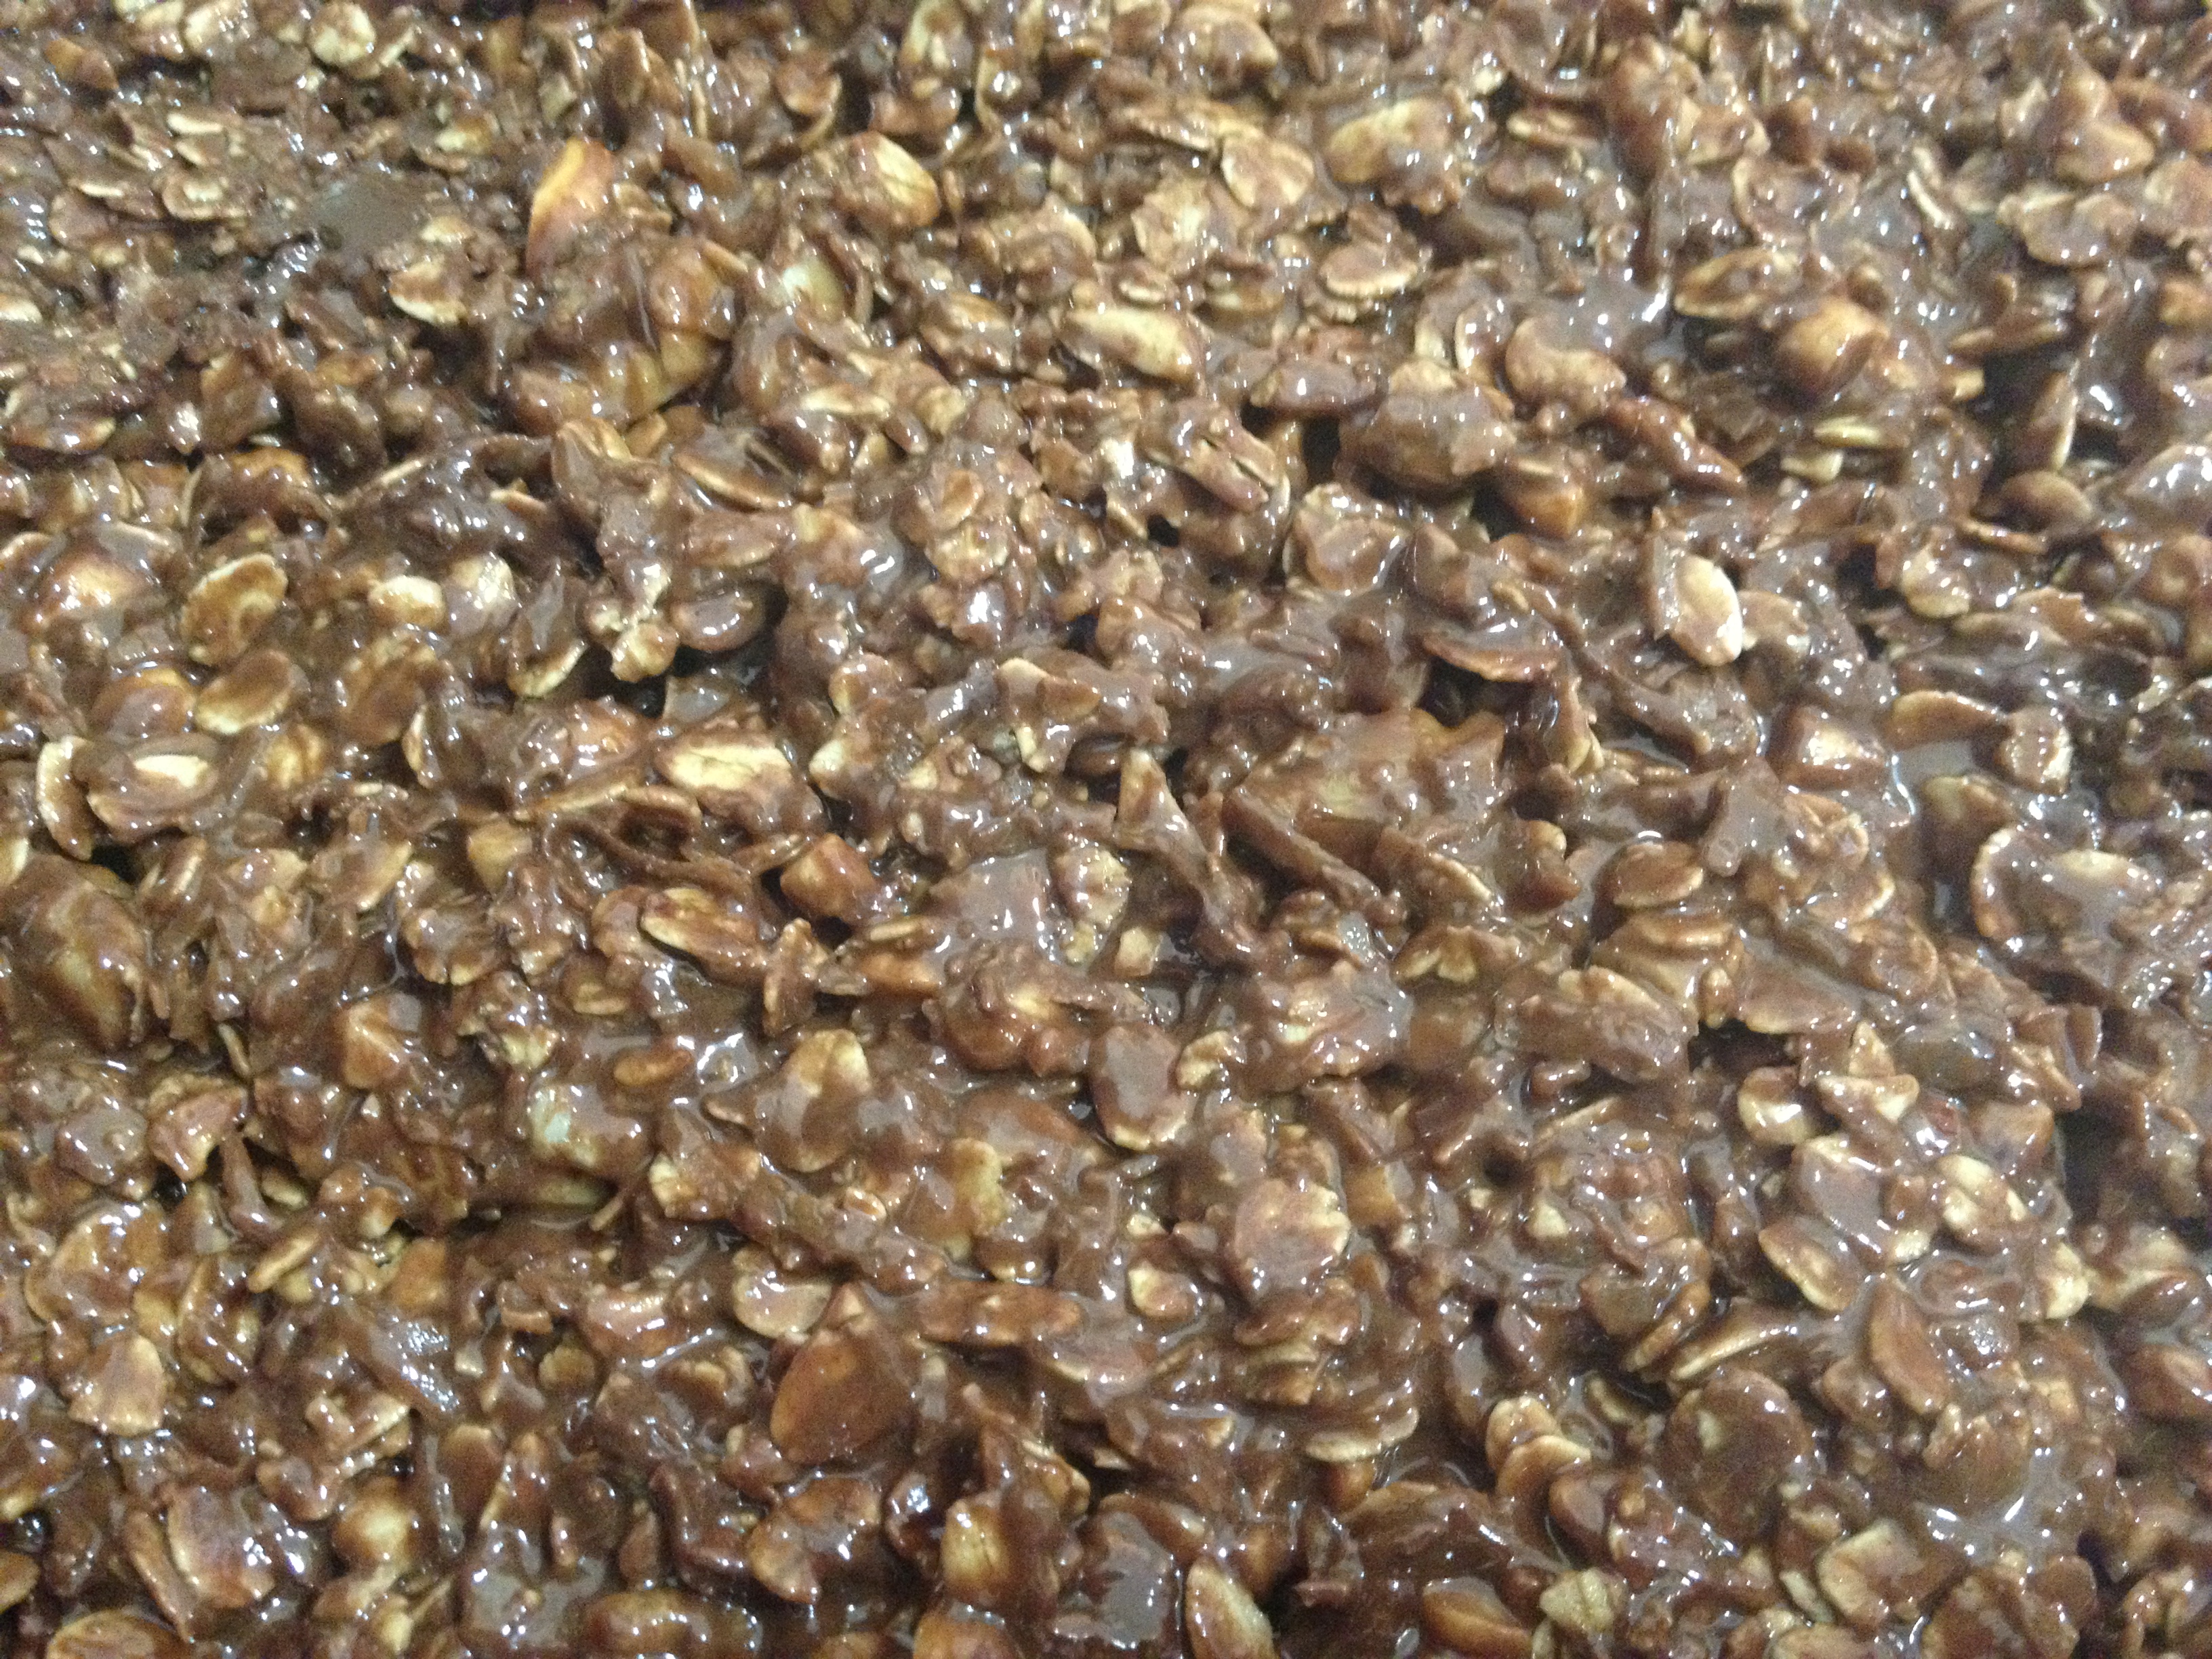
You want everything to melt down smoothly. The only remaining lumps should be from the peanuts in the crunchy peanut butter.

IMG_6273

IMG_6274

IMG_6276

Once it’s all thoroughly melted and mixed, add in the 2 Tbsp of cocoa powder and stir that in.

IMG_6275

This extra bit of chocolate is what is going to make your bars GOOD. Not: good. But: GOOD. You feel me?!

Grab a large bowl (bigger is better as this part is a bit messy) and pour in the chocolate rice cereal of choice and then pour your mallow/chocolate liquid over the top.

IMG_6277

Spatulas work well for the next task which is to mix all of the cereal into the mallow/chocolate. Be patient, it takes a bit to get everything all worked in together. Once you have a big wonderful mass of chocolate goodness, you’re ready for the next step.

IMG_6278

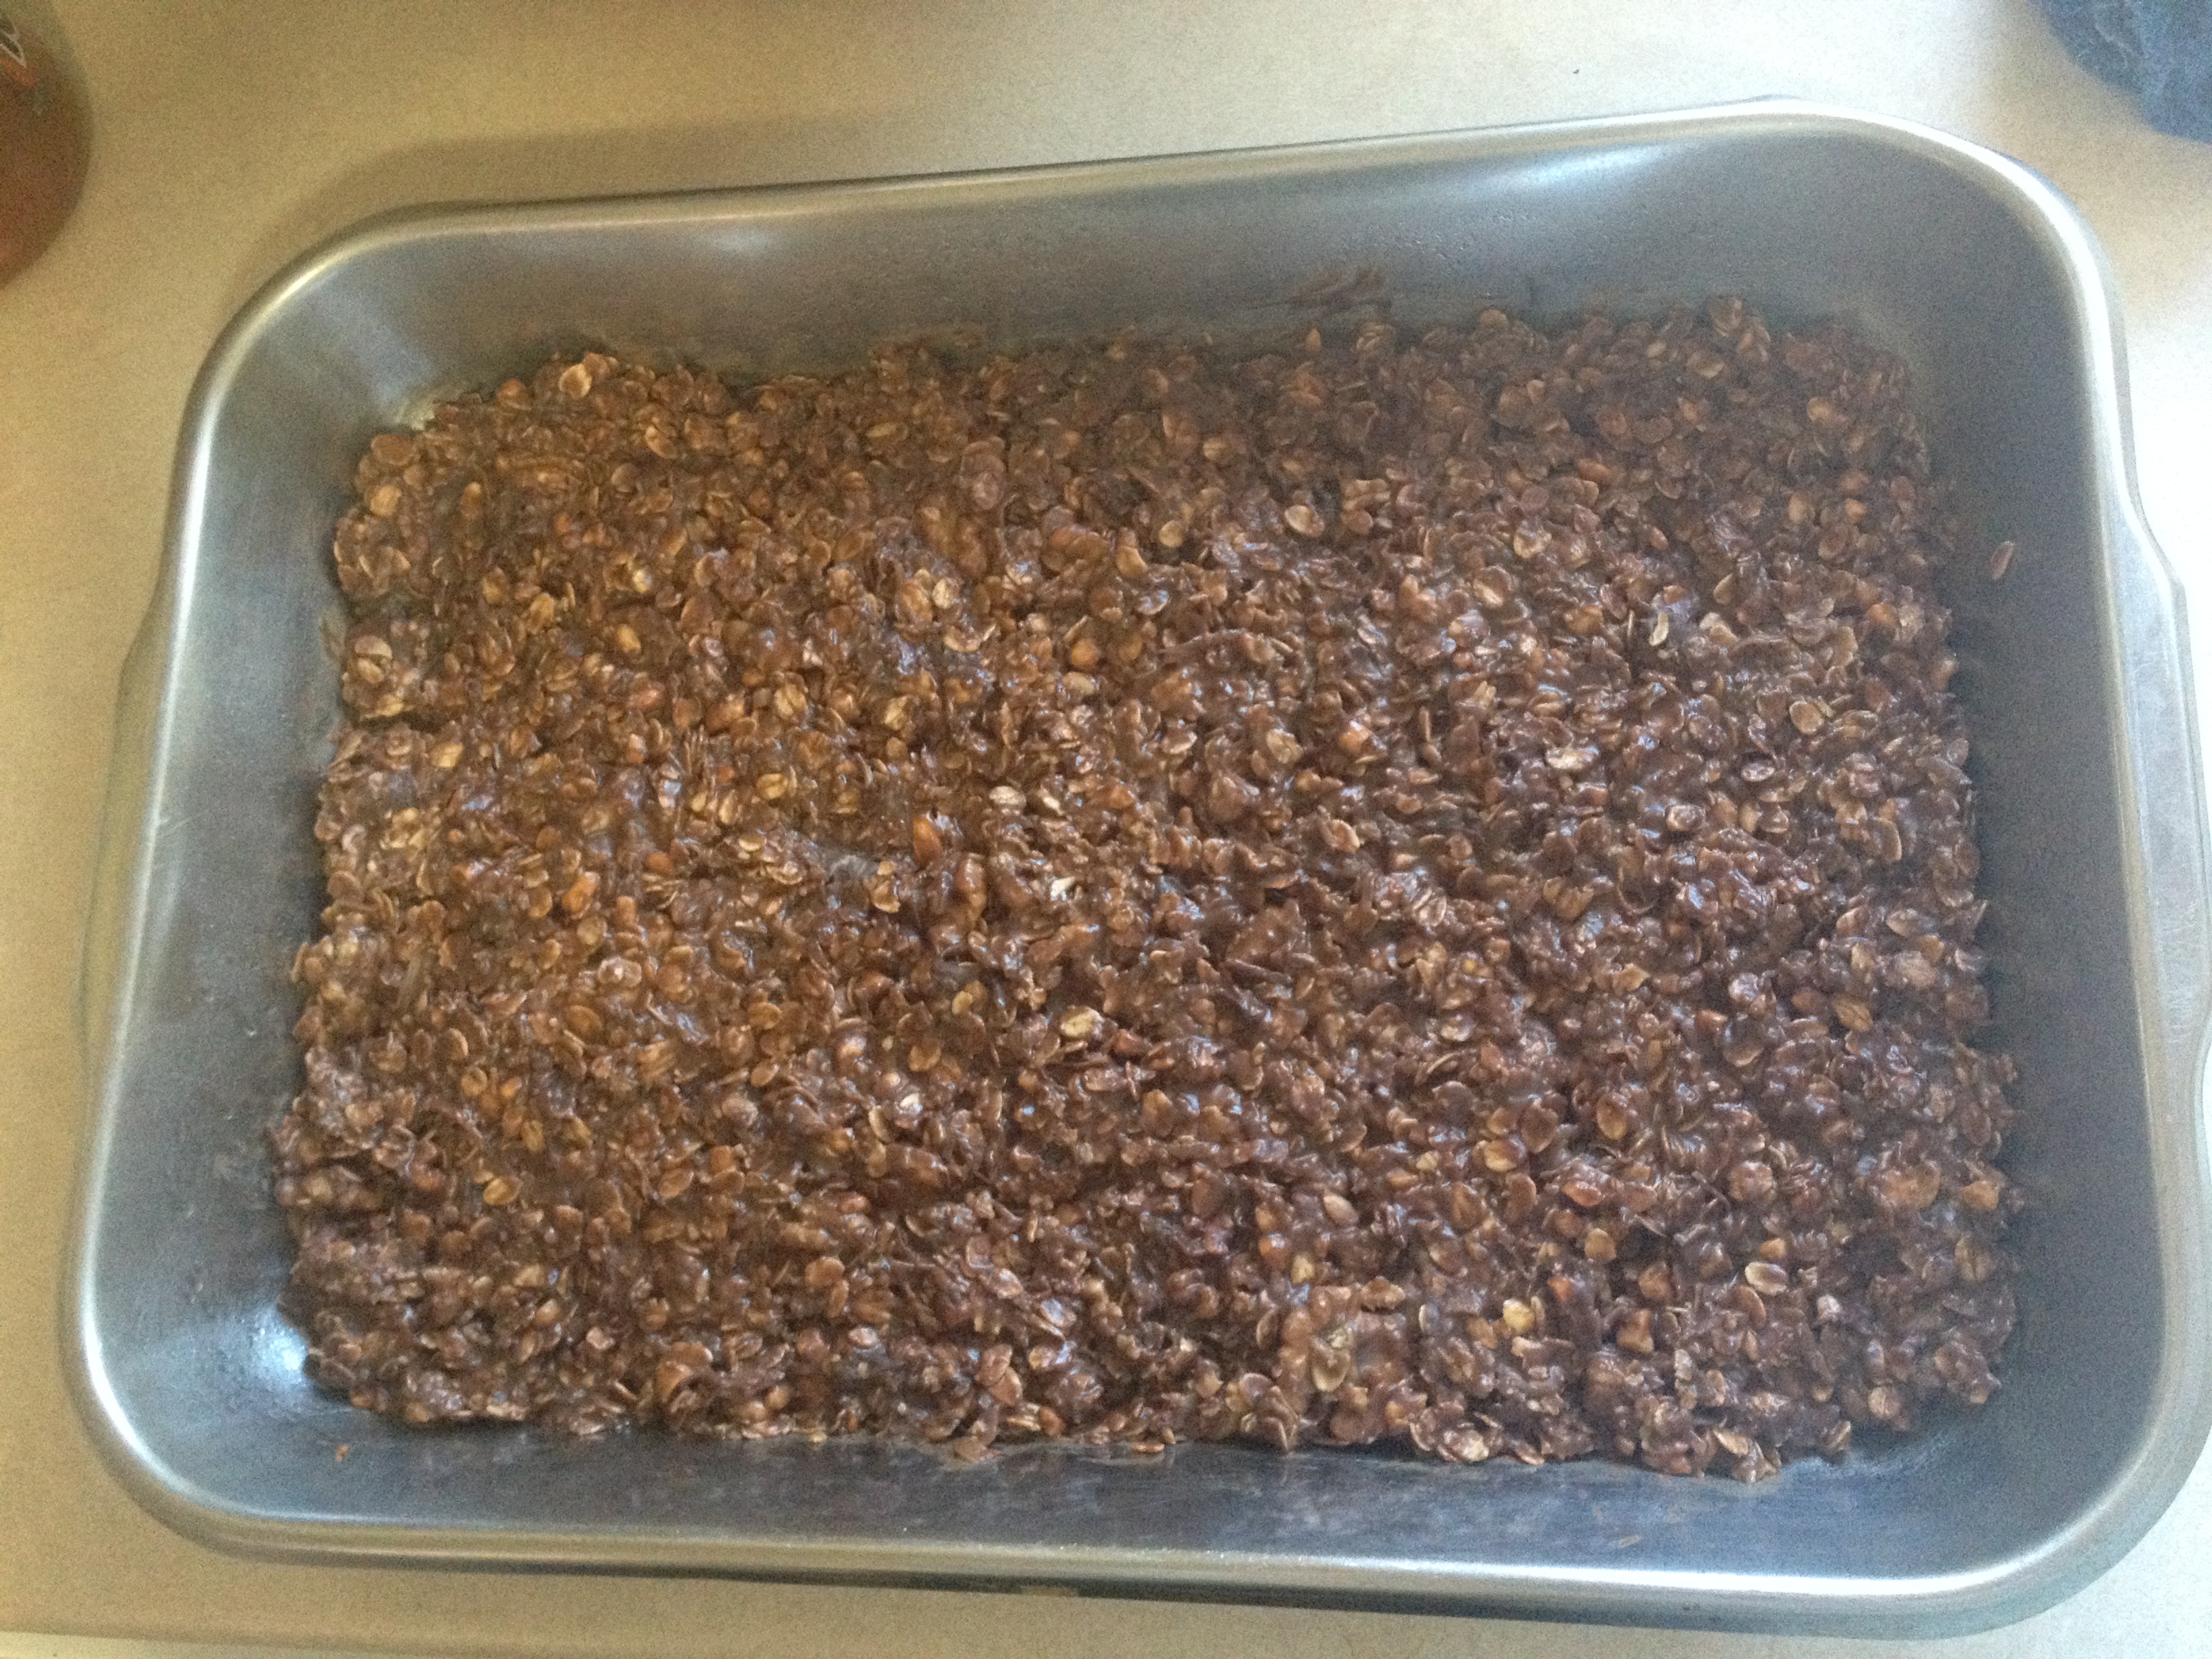
Spray a pan with Pam or another similar butter/oil spray and then plop everything in. Use your fingers or the spatula to press everything into the corners and smooth out the bars. Let ’em cool for about 10-15 minutes, which will harden things up enough to cut them.

IMG_6279

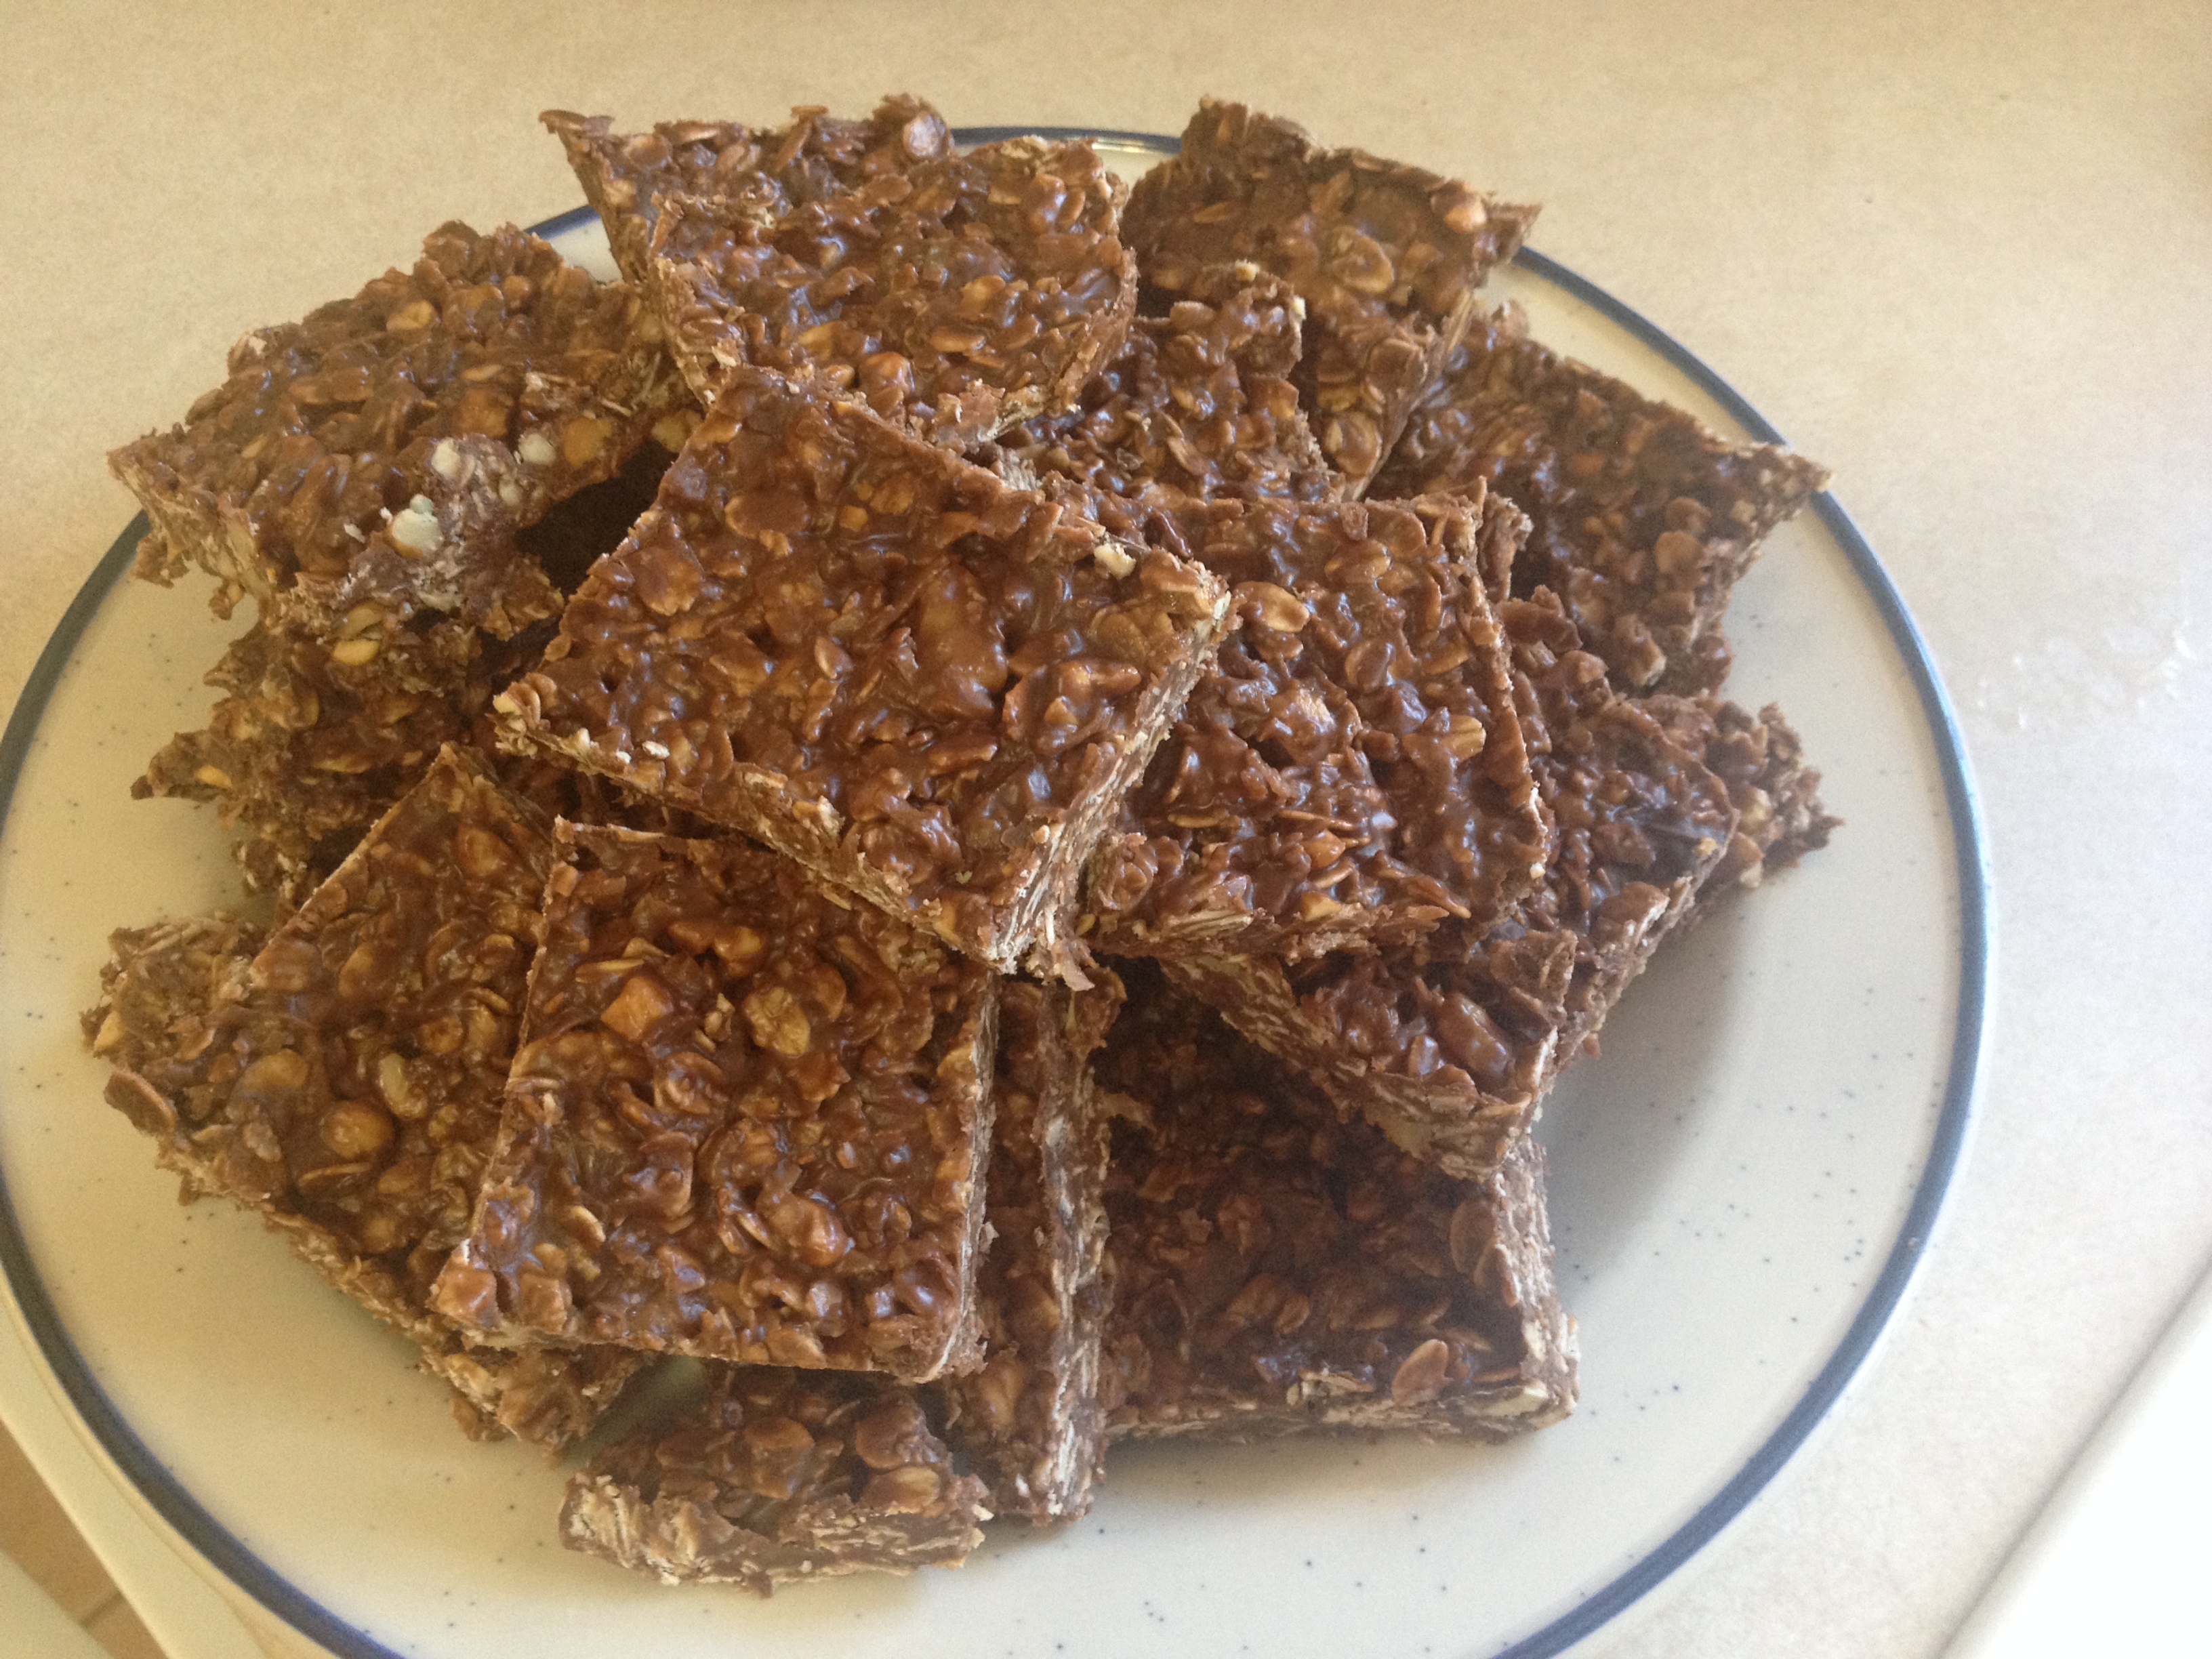
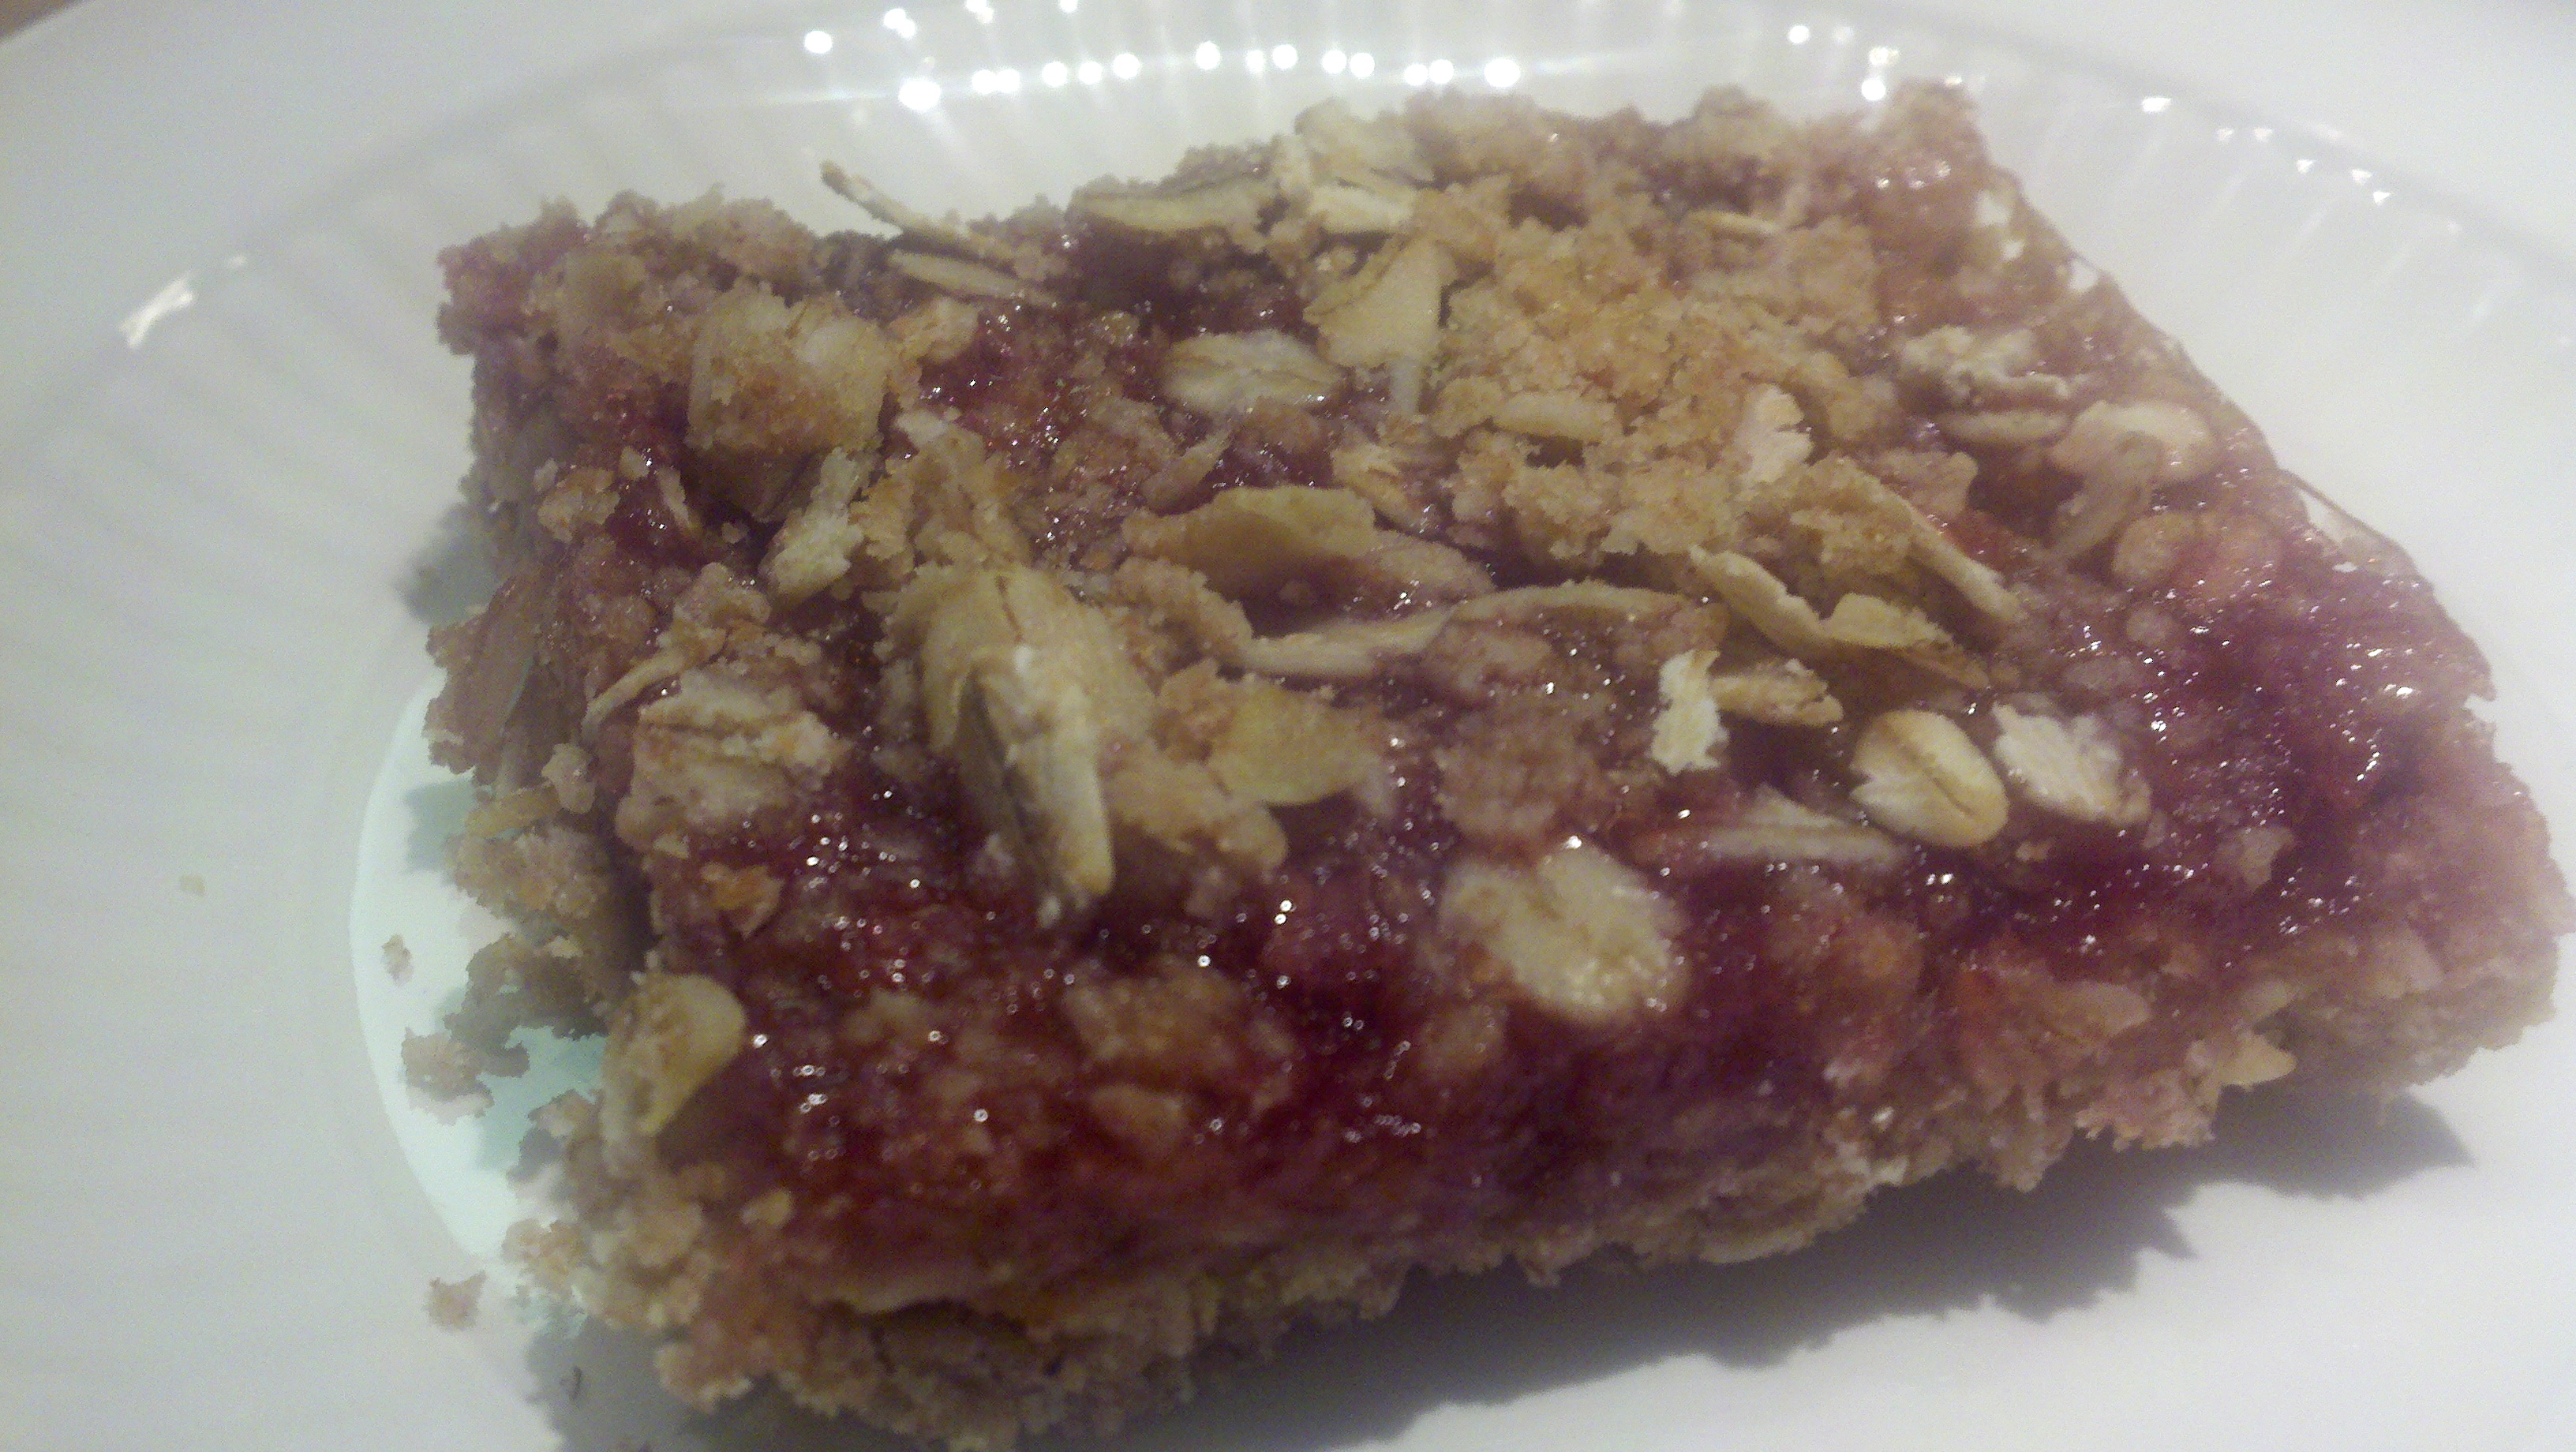
Divide these into big OR small bars, but regardless, know that folks will still come and pick from the pan and nibble continuously until they’re all gone. I think it’s the peanut butter, but these are just plain addicting and having one is near impossible.

Hope you make these for your next ‘quick and easy dessert’ occasion!

Advertisement

Oatmeal Chocolate No-Bake Bars

5 Apr

Okay my friends, are you looking for a sweet treat (for a Final Four party perhaps?) that doesn’t take you long to pull together and doesn’t completely throw you off of your “eating-healthy” plan? Something sweet enough to truly make you want to have two but won’t make you feel guilty about eating “bad”?

IMG_4437


You have found the perfect treat!! Plus, these are truly DELICIOUS! There’s a subtle coconut flavor (which can be replaced if you so choose…so sad for you if so) , peanut-buttery goodness and the typical amazing concoction of oatmeal and chocolate to contend with. You cannot NOT like these. I challenge you!

Found these bad boys on Pinterest and featured on the Money Saving Mom blog and wanted to give them a try. I’ve had something similar (which will be shared in a future blog post) from my future mother-in-law – she makes the BEST no-bake oatmeal chocolate cookies. These are similar but slightly different with a coconut spin and are in bar form. You can also customize these guys to be however you’d like with dried fruit and nuts. And if you’re not into coconut, you can leave that out!

And I don’t know why I keep referring to them as ‘guys’, apparently these bars are male?!? Ha anyways, I digress…

Ingredients:

  • 1 c. peanut butter
  • 1/2 c. honey
  • 1/2 c. coconut oil
  • 2 c. old fashioned oats
  • 1 c. shredded coconut (if you’re anti-coconut, I swear this consistency isn’t too weird…my anti-coconut fiance loved it!)
  • 1/2 c. chopped walnuts (insert in here any nut you choose OR dried fruit)
  • 1 1/4 c. dark chocolate chips
  • 1 tsp vanilla extract

How to Make:

Prepare yourself for the easiest bar making on the planet! No need for an oven, you just need a stove top. That’s it!

First, you’re going to melt together the first three ingredients. The cup of peanut butter…

IMG_4412

…the 1/2 cup of honey…

IMG_4413

…the 1/2 cup of coconut oil (butter works too if you don’t have coconut oil on hand).

IMG_4414

Melt all of the ingredients together but stirring over medium to low heat. Once thoroughly warmed and mixed, turn down to low and grab another bowl for mixing the remaining ingredients.

IMG_4415

Measure out 2 cups of oats…

IMG_4416

…a cup of shredded coconut (or another dried fruit if you’re REALLY anti-coconut)…

IMG_4417

…the 1/2 cup of chopped walnuts (or another chopped nut of choice)…

IMG_4421

…the 1 and 1/4 cup of dark chocolate chips…a few may escape and end up consumed, it happens…

IMG_4420

…and the teaspoon of vanilla extract.

IMG_4422

Mix all of these dry ingredients up and then slowly pour in your melted warm ingredients on top. Stir, stir, stir! You need to thoroughly coat everything!

IMG_4427


IMG_4428

Then, pour into a greased 9×13 baking pan (higher sides would be better) and spread as evenly as you can on the bottom.

IMG_4430

IMG_4431

Then pop this into the fridge until it hardens! Ours was ready to go in about an hour or so, but just keep checking in on it to see if it’s ready to go! Then, slice these up with a sharp knife and serve ’em up to your favorite people…or if you desire after having one, hoard them for yourself 😉

IMG_4433

IMG_4434

IMG_4435

Regardless, these are delicious, addicting and you really can’t feel too terribly bad about having a treat or two of these.

Enjoy!!

Raspberry Oat Crumble Bars

31 Mar

Image

I enjoy creating opportunities to wear my apron. I feel it’s only allowed when baking, not with cooking. Well, perhaps for the especially messy cooking…but with baking it just feels right. Broke out the apron today to bake these wonderful creations – raspberry oat crumble bars.

I found this on fantastic baking blog that I encourage you all to check out: 17 and Baking. I’m excited to try quite a bit of the recipes featured on her blog as I continue expanding my baking repertoire and finding more opportunities to wear my apron.

This recipe is only slightly different than how Elissa wrote in on her blog:

Ingredients:

  • 1 1/4 cups flour
  • 1/3 cup packed light brown sugar
  • 1/2 tsp salt
  • 5 oz (10 Tbsp) cold unsalted butter, cut into pieces
  • 1 Tbsp milk
  • 1 1/2 cups old fashioned oats
  • 3/4 cup seedless raspberry jam (I thoroughly enjoy jam and slathered on slightly more than this. How can there be too much jam?!?)

How to Make:

Preheat your oven to 375 and grab your food processor! Mix up your flour, brown sugar and salt in the food processor first. Then put in the butter pieces and pulse away until the mixture starts to look crumbly. This is a good sign…crumbly = excellent. At this point pour in your Tbsp on milk and make sure it’s mixed in.

Image

For those poor unfortunate souls (name that movie!!) without a food processor…don’t know how you survive. However, you’ll be glad to know this recipe doesn’t discriminate against your lack of materials. Grab a pastry cutter to work everything together or use a fork too. Prior to my wonderful food processor addition, I would use a fork for this sort of task. However – do be careful to not overwork the butter in, you want crumbs. (I speak from experience…a previous fruit crisp was mush because the butter was worked in too much. Not pretty. Don’t be like me.)

At this point, grab your oats and a big bowl. Pour in the mixture from the food processor and work your crumbs and oatmeal into a bigger crumbly mixture. Again – don’t overmix! Just get it all worked in together.

Image

Separate out 3/4 a cup of this mixture (for the delicious topping).

Image

Pour the rest into a buttered or parchment-lined 9×9 pan. Press it down to make the nice, thick crust.

Image

Take your jam and spread it out on top. If you’re as into jam as me, or like raspberry a LOT or you just want to go BIG with your dessert – slather on a bit more than the 3/4 cup. Then, crumble the rest so it’s spread out on top evenly.

Image

Pop it in the oven for 20-25 minutes.

Image

Pull it out to cool when it looks like perfection…I thought that was at 22.3 minutes. But I’ll let you be the judge of that. If you have a cooling rack…or like me, an extra grate from the oven (hey, I’m resourceful!), set it on there to cool. That way to air can move over and under the pan.

Image

When cool, slice it up into squares. I encourage the addition of a little whipped cream…ice cream…frozen yogurt…ANYTHING to jazz it up a bit. If you’re into the ‘simple’ dessert, it’ll still be delicious on its own. But I like to be a proponent of adding ice cream or frozen yogurt.

Image

However it’s served – DIG IN! Happy Saturday!

%d bloggers like this: