Tag Archives: Fall Recipe

Nowinsky Chili

20 Sep

IMG_6244
Chili is a staple of fall. I don’t care who you are or what you think about that, in my world, it just IS. And when my husband and I were musing about fall foods a few weeks ago, both of us had the “lightbulb” moment of…”let’s make CHILI!”.

Now, having a solid chili recipe in your arsenal is essential. It’s something that could vary a little bit every time you make it, but in theory, you still have the same overall chili outline.

I did not have a chili recipe that I could fall on without looking up something to get me started.

My mother in law has one. A GOOD one. One that the entire Nowinsky family knows and loves. One she tweaks every time she makes it, sometimes with steak and sometimes with ground beef. She had never even written it down until we probed her for the basic outline so that we could give it a try.

This is foolproof, guys. It really is. You put in meat, spices, beans, veggies and liquid…you let it slow cook for several hours…and it becomes chili. That’s the basic premise. And you get to use Bloody Mary mix. (A newfound favorite drink. De-lish!)

IMG_6205

It will also fill your entire kitchen with a chili aroma. That’s a bonus because let me tell you, the way it tastes will warm your insides and make you ooze happiness.

Ok, ok, that’s dramatic. But it WILL be good. And you WILL want to make it again.

We are diving in the chili-making process with a cannonball…here…we….

….GO!

Ingredients:

  •  3 lbs ground beef
  • 2 Tbsp dried basil
  • 2 Tbsp Italian seasoning
  • 2 Tbsp oregano
  • 2 Tbsp chili powder
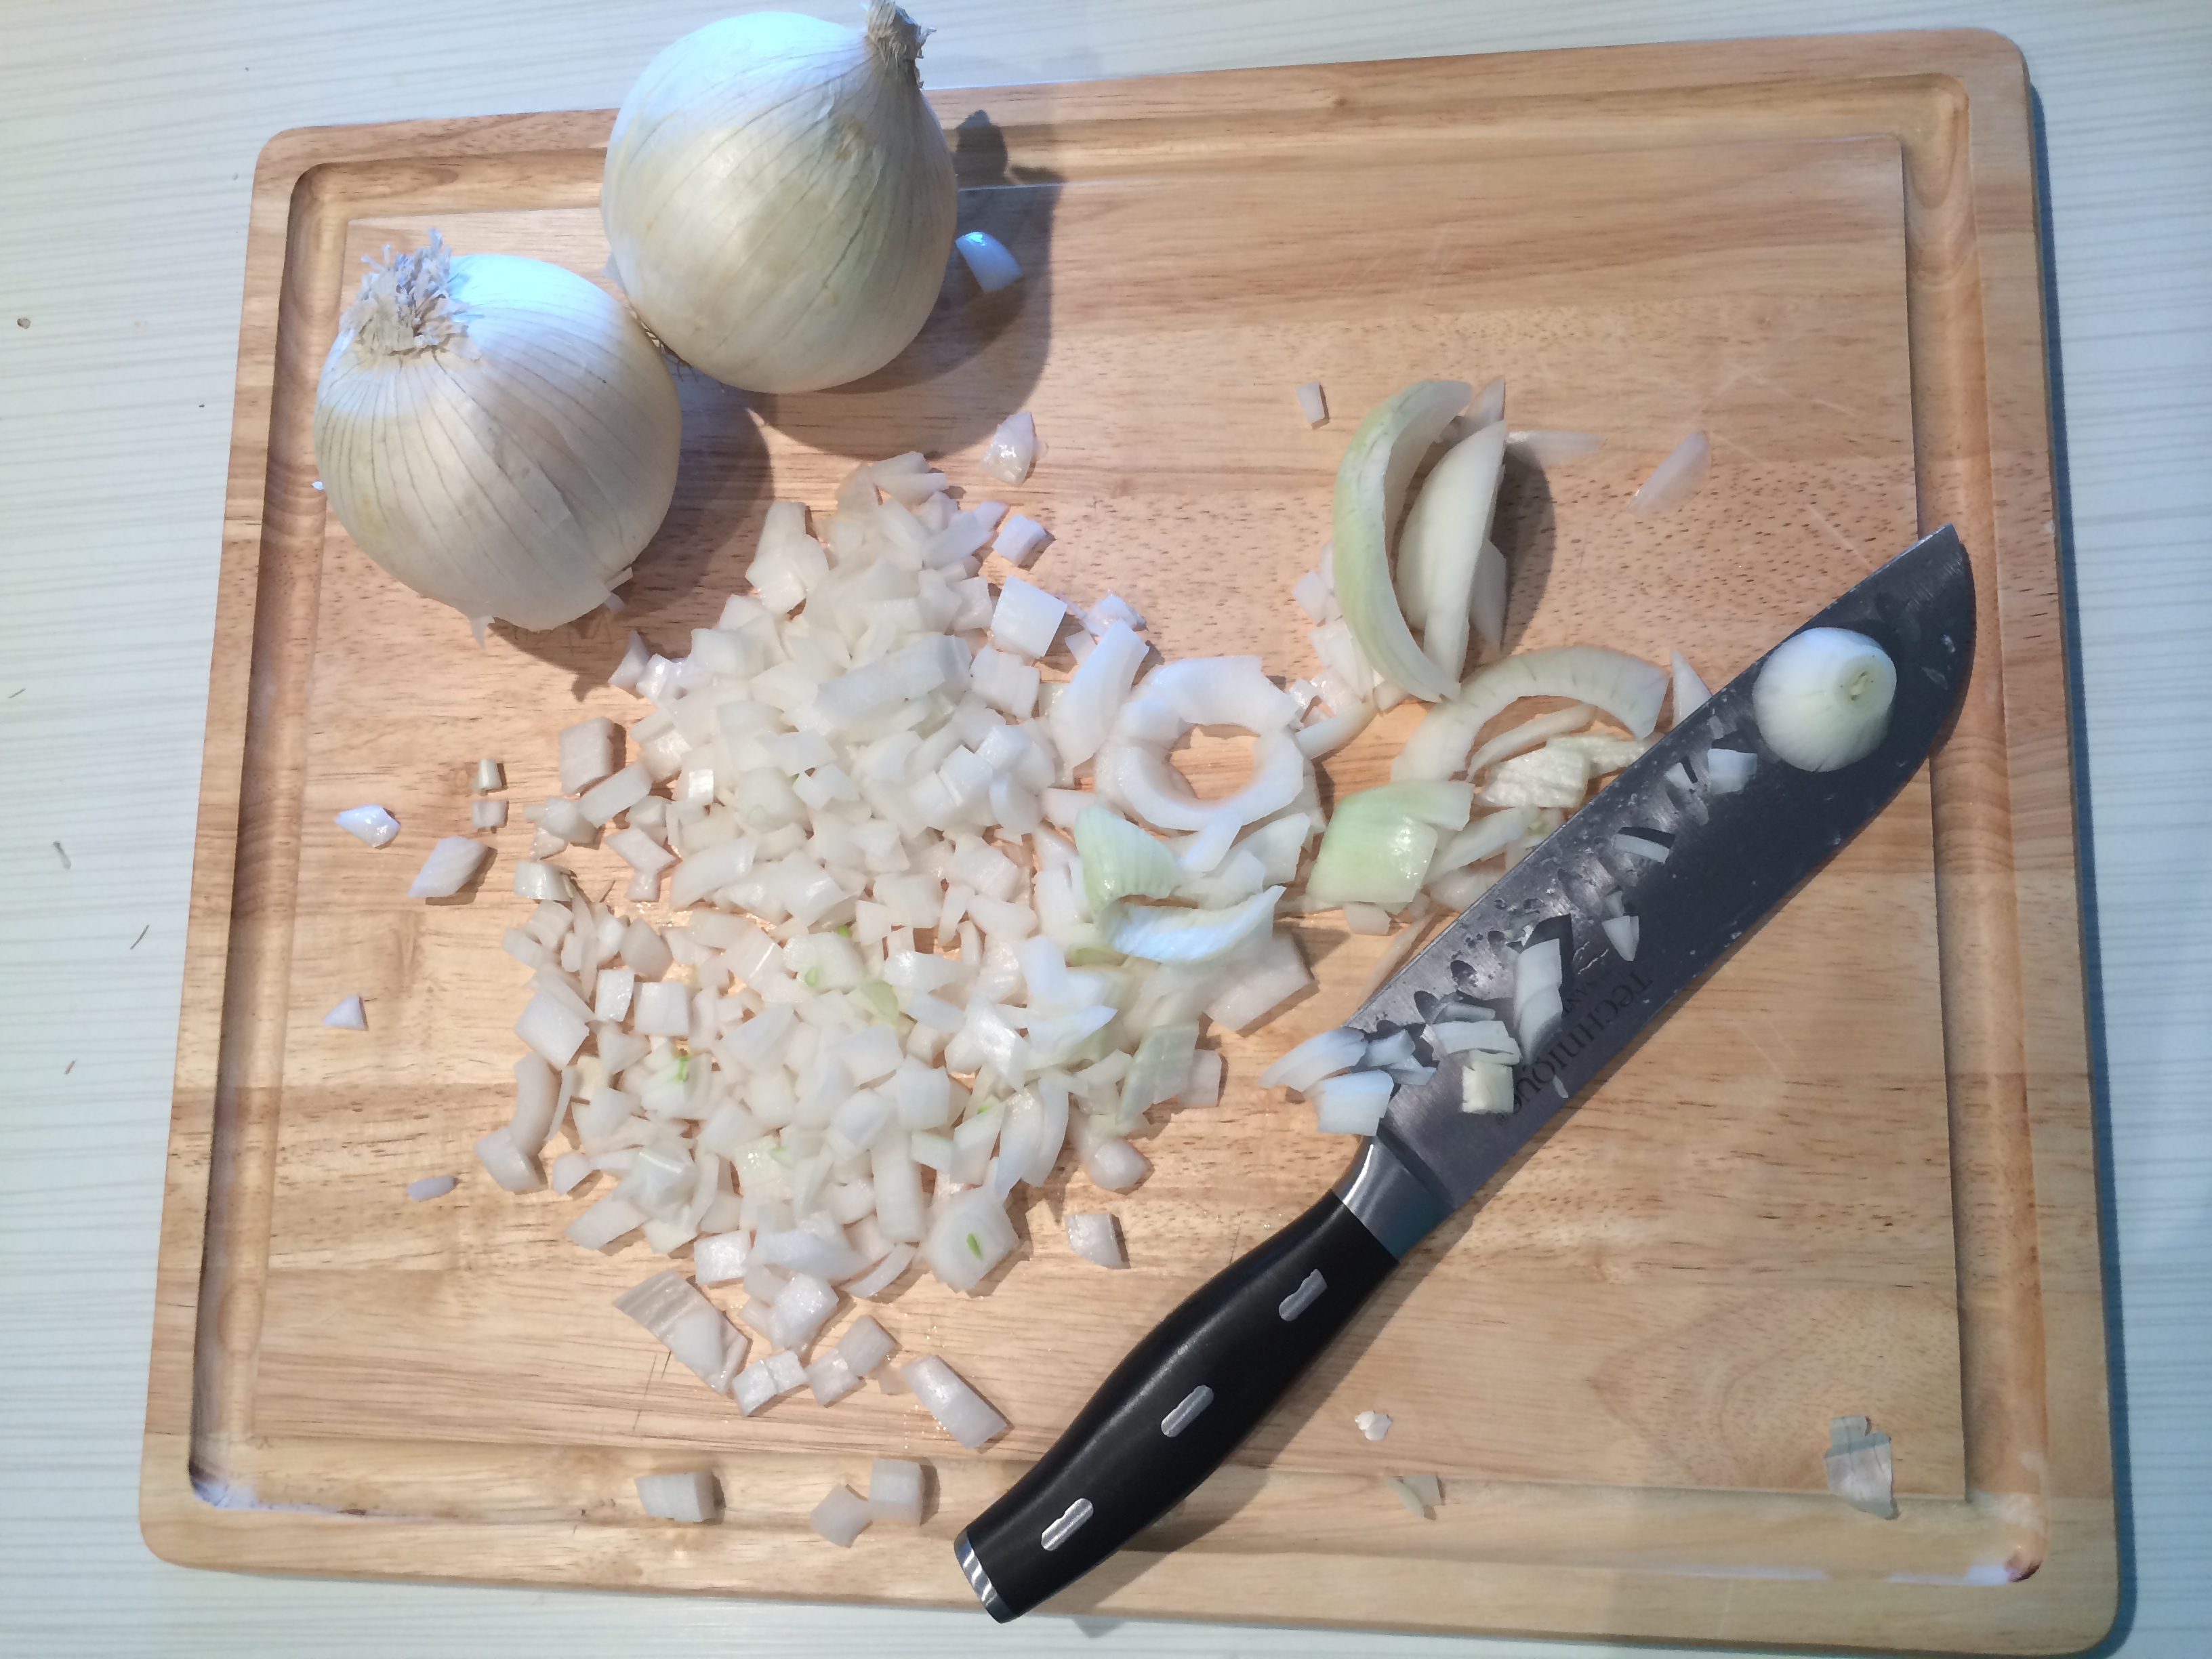
  • 2 white onions, chopped
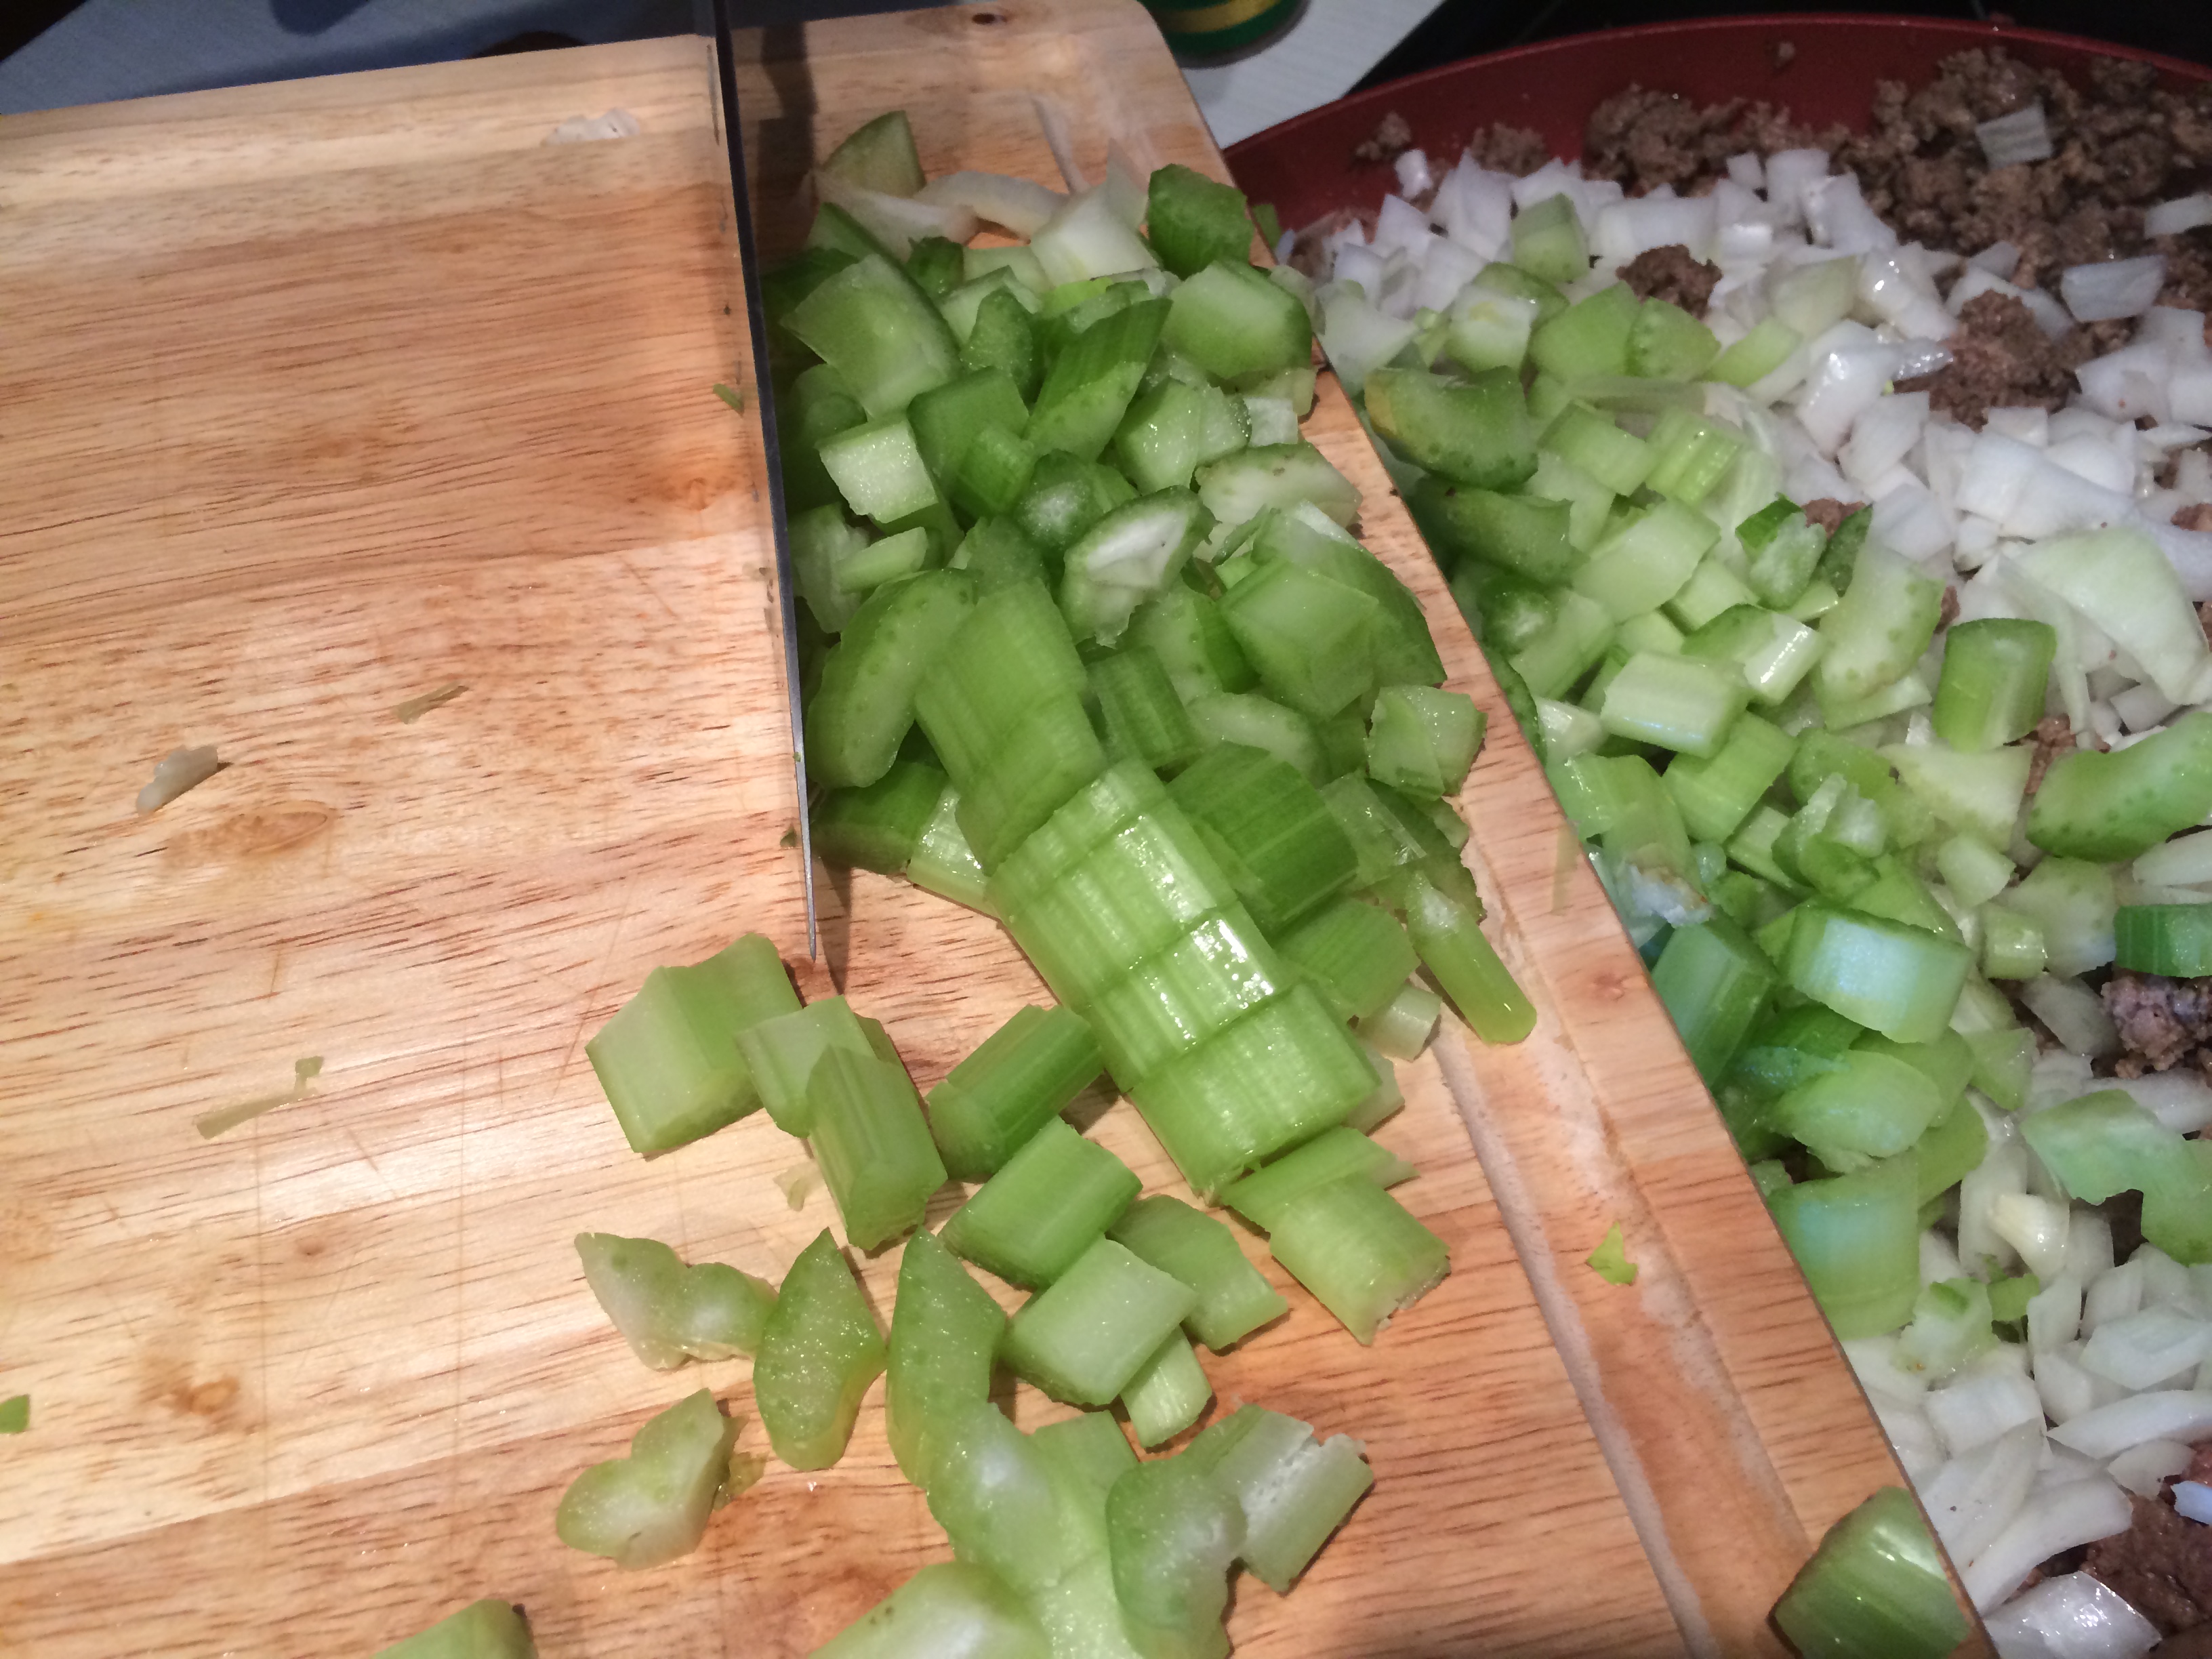
  • 3 celery stalks, chopped
  • 16 oz tomato juice
  • 16 oz Hair of the Dawg (or any other Bloody Mary mix)
  • 3 cans diced tomatoes
  • 1 can whole peeled tomatoes
  • 2 cans chili beans
  • 1 can black beans
  • 1 Tbsp garlic powder
  • 6 (or so) dashes of hot sauce

How to Make:

First, it’s time to brown the meat. And not just the meat, we browned it with 1 Tbsp of each of the dried basil, Italian seasoning, oregano and chili powder.

IMG_6210

IMG_6211

Yum.

While that’s browning, chop up your white onions and celery stalks.

IMG_6206

IMG_6207

When the meat is mostly browned (my own technical term), add in your onions and celery and low that cook on low for about 15 minutes.

IMG_6213

IMG_6216

Now, this makes a large batch of chili. So for us, we divided it amongst our largest stockpot and crockpot. But if you have a BIG stockpot, this will all fit nicely. If not, I do think splitting amongst two big stockpots or between your stockpot and crockpot, will work too. It did for us!

Now, take your meat/onion/celery mixture and pour into your stockpot/crockpot. Now, we get to add everything else!

Add in the tomato juice (not pictured in step format, but I promise it went in) and the Bloody mix, which adds a nice amount of spice (we like Hair of the Dawg…it’s sooooo tasty)…

IMG_6217

…and then the canned diced and peeled tomatoes…

IMG_6218

IMG_6224

…and the chili and black beans…

IMG_6220

IMG_6222

…add in 1 Tbsp of garlic powder….

IMG_6225

…and the remaining 1 Tbsp of basil, Italian seasoning, oregano and chili powder.

IMG_6226

Give everything a BIG stir and then, for a final touch of ‘zing’, add in some dashes of hot sauce (not pictured, but is an essential final step). We did about 6 dashes, but you can do more or less depending on your affinity for the condiment.

IMG_6243

Now, if you’re doing this as an all-day crockpot item, I recommend doing this is on low for 6-8 hours. The longer and lower heat, the better!

If you’re like us, and wanting to eat this for dinner and you’re making it early afternoon, you can easily do this in your crockpot on high for 4 hours.

Now, for the stockpot option, leave that on medium-low for a short cooking time of 4 hours, or on low for a long 6-8 hour batch.

IMG_6252

The good news is that this is flexible and you can tweak it depending on the time you have and the cooking method you plan to use!

When you’re ready, this is great to serve with a little sour cream or plain Greek yogurt, a sprinkling of your favorite shredded cheese and a big slab of cornbread. We really enjoyed dipping and eating our Beer Bacon Cornbread with this chili and it was perfect.

IMG_6245

So if you too are ready for fall foods, you want something to warm your insides and make your kitchen smell like heaven, you need to make yourself a big batch of Nowinsky chili.

You WON’T be disappointed!!

Advertisement

Mama’s Sour Cream Apple Pie

6 Sep

IMG_6122

I preface this post that it may indeed be double-post Saturday. We’re enjoying a relaxing Saturday watching football, reading, cooking/baking (ok, that’s just me and not my husband) and all in all, decompressing from the week. So enjoy this post and be excited as I hope to have another post coming along to follow it!

I am in that mindset of late summer, where I’m starting to really crave fall. Not to be confused with wishing for snow, I’m simply ready for crisp weather, apple picking, cozy comfort foods and watching the leaves change. Sigh. Fall is the BEST.

However, I know fall weather will quickly become snow and then I’ll be wondering why on earth I didn’t cherish the last few weeks of summer. So, I’m going to do my best to enjoy what’s left of the hot and humid sunshine. In the meantime, I’m going to start in on some of my fall favorite foods. Luke and I are sipping Pumpkin Spice Dunkin Donut coffee (which he had the fantastic idea to sprinkle with pumpkin pie spice and nutmeg. Gosh, I love that guy) and are planning on making a big batch of his mama’s chili with some Bacon Beer Cornbread (um, right?!) tomorrow to celebrate fall in food form. Yes, we’re early but heck, fall foods are so tasty.

(How many more times can I use fall in this post?!)

Now, the classic that I must share with you today to kickstart fall foods is from MY mama – it’s her recipe for Sour Cream Apple Pie!

This is a pie that I remember eating as a little kid, loving the crumbly sweet bits on top and the creamy, tangy apple filling. It’s a slight twist on a classic apple pie, but in the very best way. This pie doesn’t take a lot of time and you can easily whip one up for any occasion! Luke and I made it when we had my parents up for dinner a few weeks back, and it was a hit! We even got to enjoy a few slices as leftovers and I can tell you, this pie is just as good a few days after the fact.

Note – This pie is always best served warm and with some melty, sweet vanilla ice cream. Just trust me.

Ingredients:

Pie:

  • 1 refrigerated pie crust (because I just didn’t have time or energy to make from scratch, and the store ones taste just as delicious to me. Your choice!)
  • 3/4 cup of sugar
  • 2 Tbsp flour
  • 1 cup sour cream
  • 1 egg, beaten
  • 1/2 tsp vanilla
  • 1/4 tsp salt
  • 2-3 cups (or more!) of chopped apples (any kind of sweeter apple will do)

Crumble Topping:

  • 1/2 cup of brown sugar
  • 6 Tbsp flour
  • 1 tsp cinnamon (I like cinnamon so tend to be very liberal with my 1 tsp)
  • 1/4 cup of cold butter, chopped

How to Make:

First things first, prep your pie crust. Bake as directed for one pie crust filled pie and let it cool. Optional: stare at it and dream about the finished pie (is it just me that does this?!)

IMG_6095

Next, combine all of your pie filling ingredients. Yup. Just combine it all. Told you it was simple!

IMG_6100

IMG_6101

IMG_6102

IMG_6107

Pour the whole shebang into the cooled pie crust…

IMG_6108

…and bake at 350 degrees for 30 min, or slightly less if needed. Key thing here is to make sure the pie filling is almost set.

IMG_6111

While your pie is baking you can make the BEST PART – the crumbly delicious topping. (I remember picking this part off of my pie as a kid, and being devastated when it was all gone.)

To make the crumble topping, combine the brown sugar, flour and cinnamon in a bowl and then add in the chopped up butter. Using your fingers, work the butter into the dry ingredients until it’s crumbly. You don’t want the butter so warm that it becomes mashed in with the dry ingredients so really try to maintain crumbles and not mush. (Apologies for no pictures, fail. Fail. Fail. But trust me, it’s really easy to do and it looks like delicious sugary crumbles if you’re doing it right.)

Spread the topping evenly across the top of the pie (snagging some bits to taste, you know, to make sure it tastes as good as it looks) and bake the pie for 10-20 more minutes, watching for the top to JUST get browned.

Take it out, let it cool a bit and then serve warm with heaping scoops of your favorite vanilla ice cream. (Any ice cream will do, Edy’s was the choice of the ice cream selector in our family – Luke.)

IMG_6117


NOM nom nom nom….

IMG_6119

IMG_6120

Close your eyes, take a big bite and savor that tangy mix of sour cream and apples, sweet brown sugar and melty ice cream.

Sigh. SO GOOD.

%d bloggers like this: