Tag Archives: Pie

Tomato Pesto Pie

7 Sep

IMG_6200

Now although it may seem like we only eat sweet things in this apartment, there are MANY savory dishes that we’ve been making recently that I had noted for future posts to share with you. However, this particular post features something made yesterday that was just SO darn good, that I had to share it with you all today.

This particular recipe was one I pinned on Pinterest, close to 2 years ago. I thought that it looked gorgeous (which is what caught my eye), but it was also a creative spin on your typical ‘pie’ as well as different type of side dish.

Side dishes are always a spot that I want to experiment with. Of course, we have some fallback staples that are our favorites (my husband LOVES TBM Salad, and we make it at minimum, twice a month), but I am usually looking to try something new and different, even if we’re using the same flavors. As you’ll see, the TBM Salad ingredients are all still present in this dish, just prepared in pie format and with a twist.

We were tasked with bringing a side for a dinner with some friends last night, and knowing we had plethora of tomatoes around the apartment and a pie crust (left from the recently made Sour Cream Apple Pie) – my mind went to this Pinterest pin, from so long ago.

Now, if I made this again I would love to use a few different ingredients – perhaps make some fresh, homemade pesto first, fresh basil and use some light mayo with olive oil (or even greek yogurt).

But that’s for a different time.

And I can tell you, the full-fat and easy version was DELICIOUS. Four of us (and later a fifth who stopped by) devoured the entire pie last night. So whether you choose to lighten this up or not, I think this is a pretty foolproof recipe.

The recipe I used is a tweaked version of what Your Homebased Mom posted for her version, called Tomato Basil Tart.

Ingredients:

  • 1 refrigerated pie crust
  • 1 1/2 cups of shredded Mozzarella
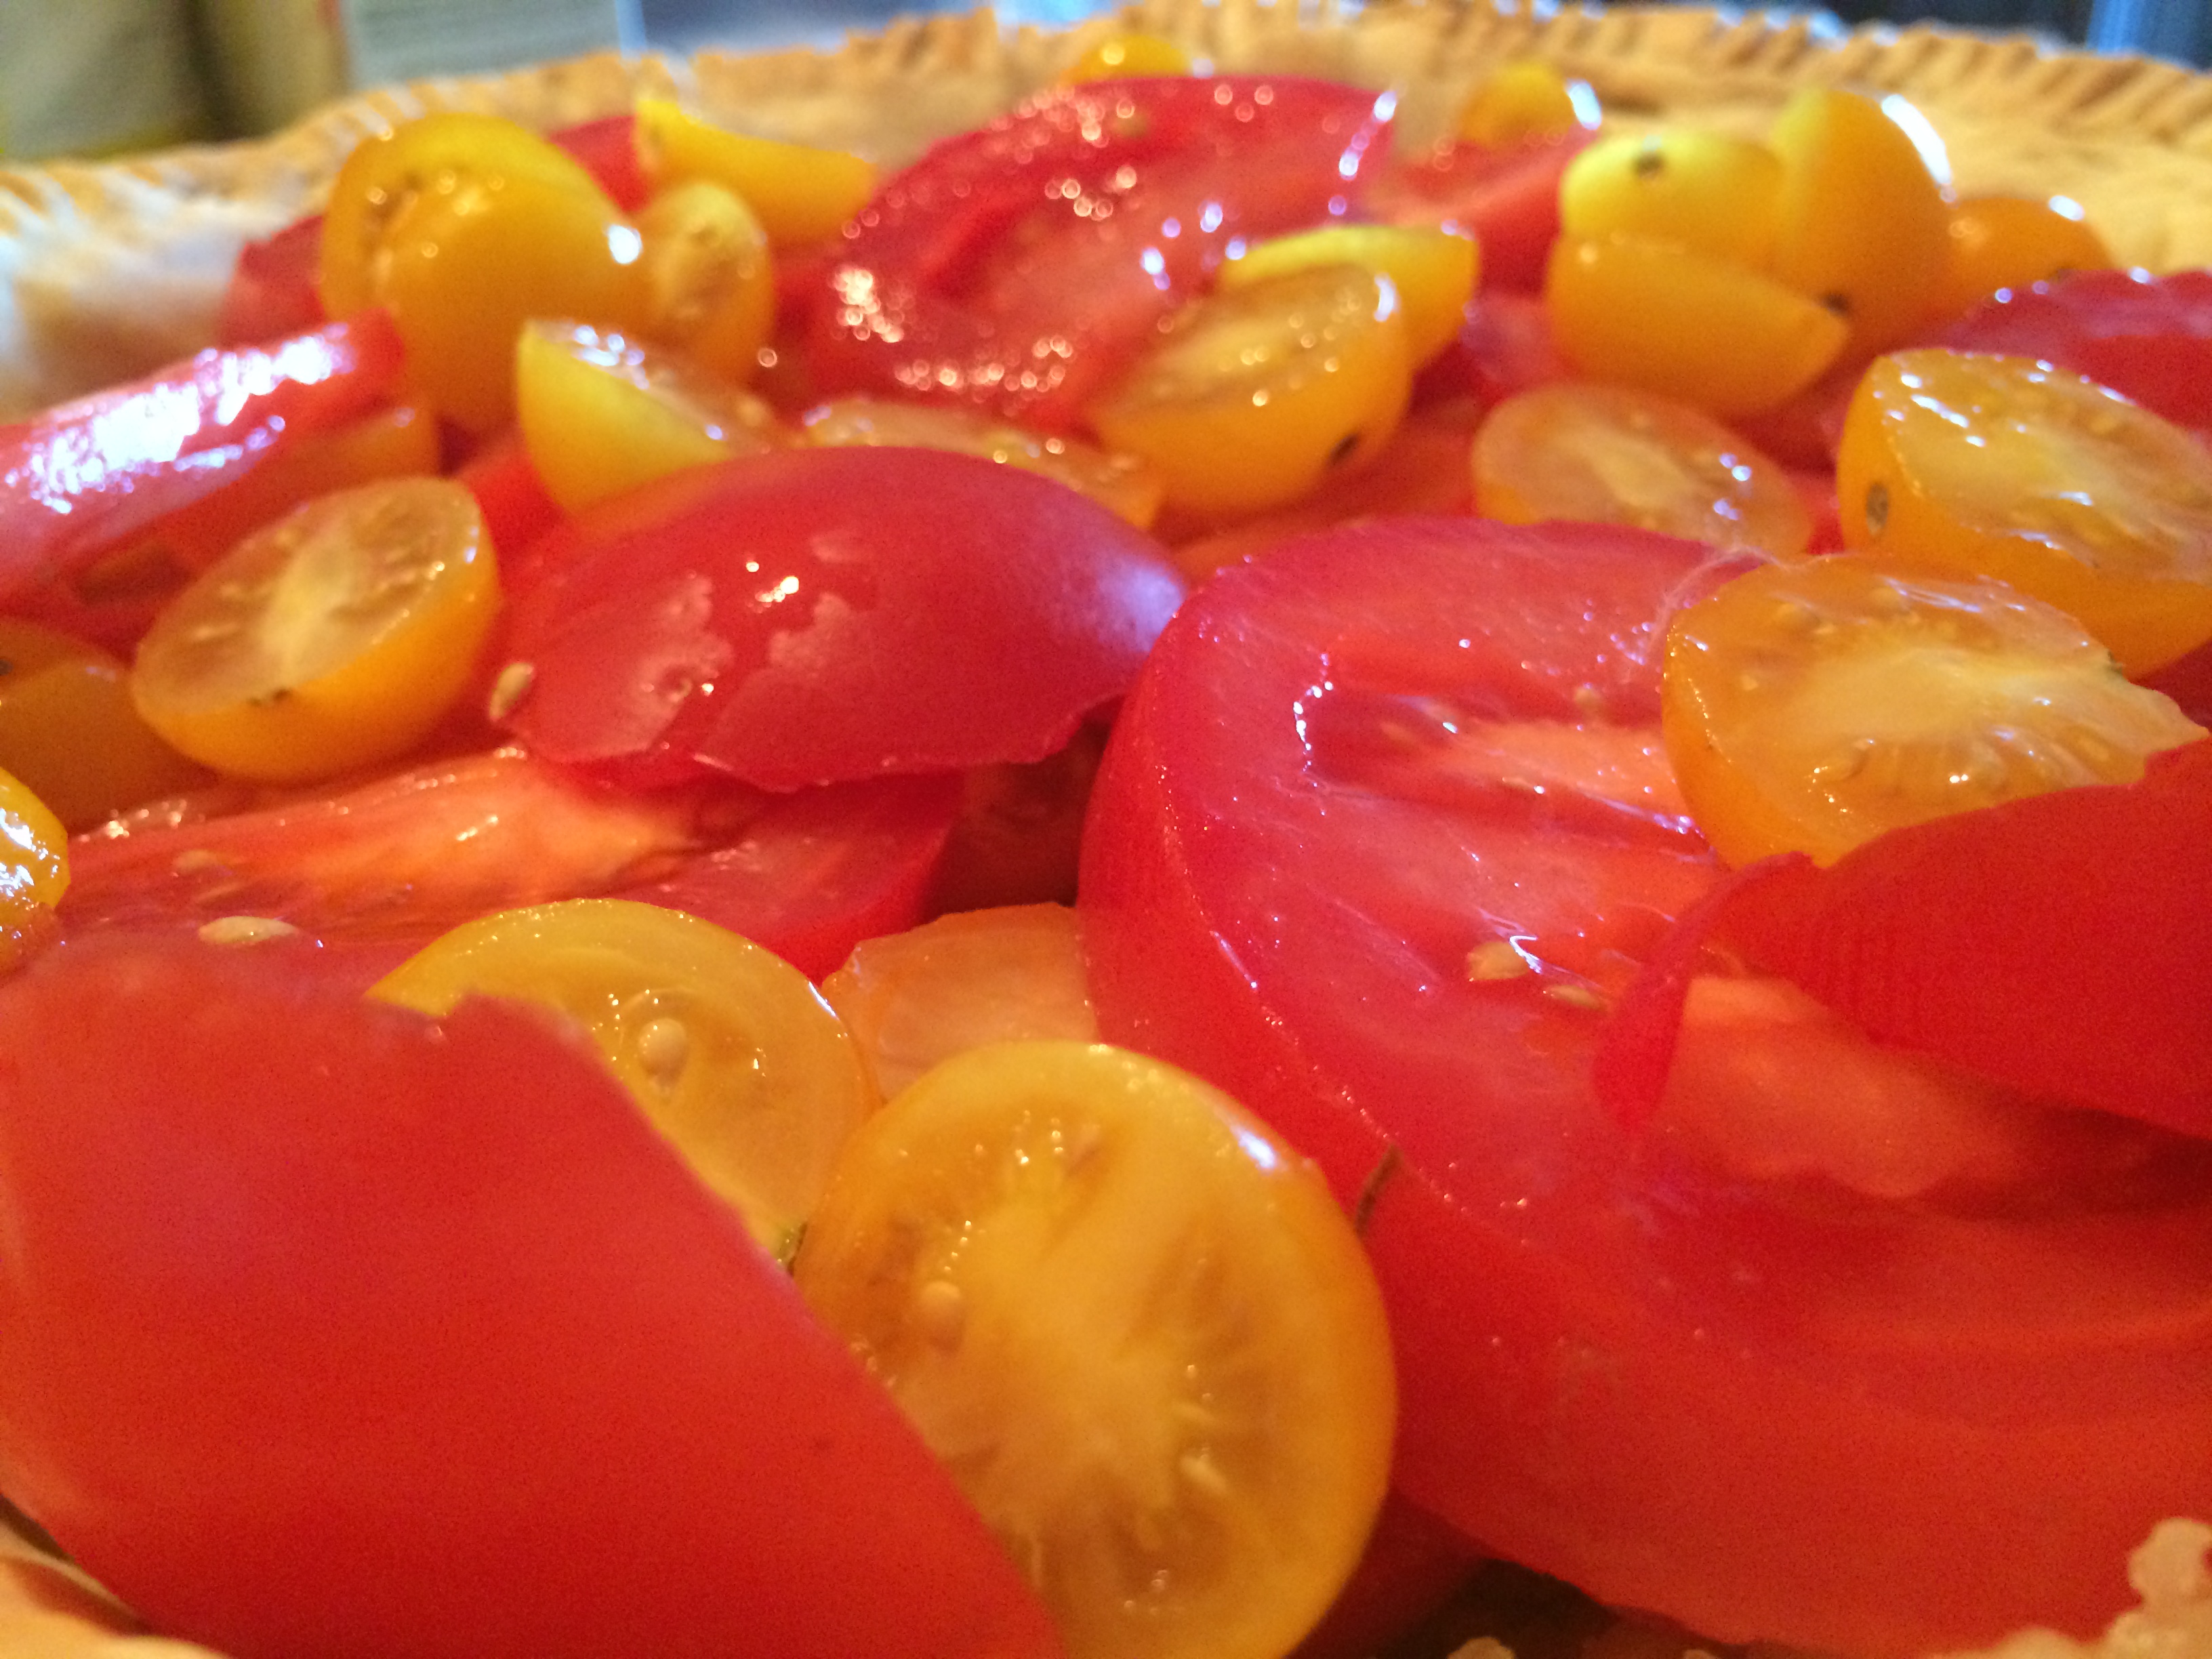
  • 2-3 medium tomatoes, sliced
  • 1 cup of yellow cherry tomatoes (this adds both a pop of color and great flavor to mix in with the larger tomatoes)
  • 1/2 cup of pesto (store-bought OR homemade if you’re fancy and have the time!)
  • 1/2 cup of mayo (I used the full-fat version but you can lighten it up with a lighter mayo version or even mayo with olive oil)
  • 1/2 cup of shredded Parmesan cheese (with extra saved for sprinkling on top)
  • 1/8 tsp white pepper
  • 1 Tbsp of dried basil (or chopped fresh basil, if you have some on hand!)

How to Make:

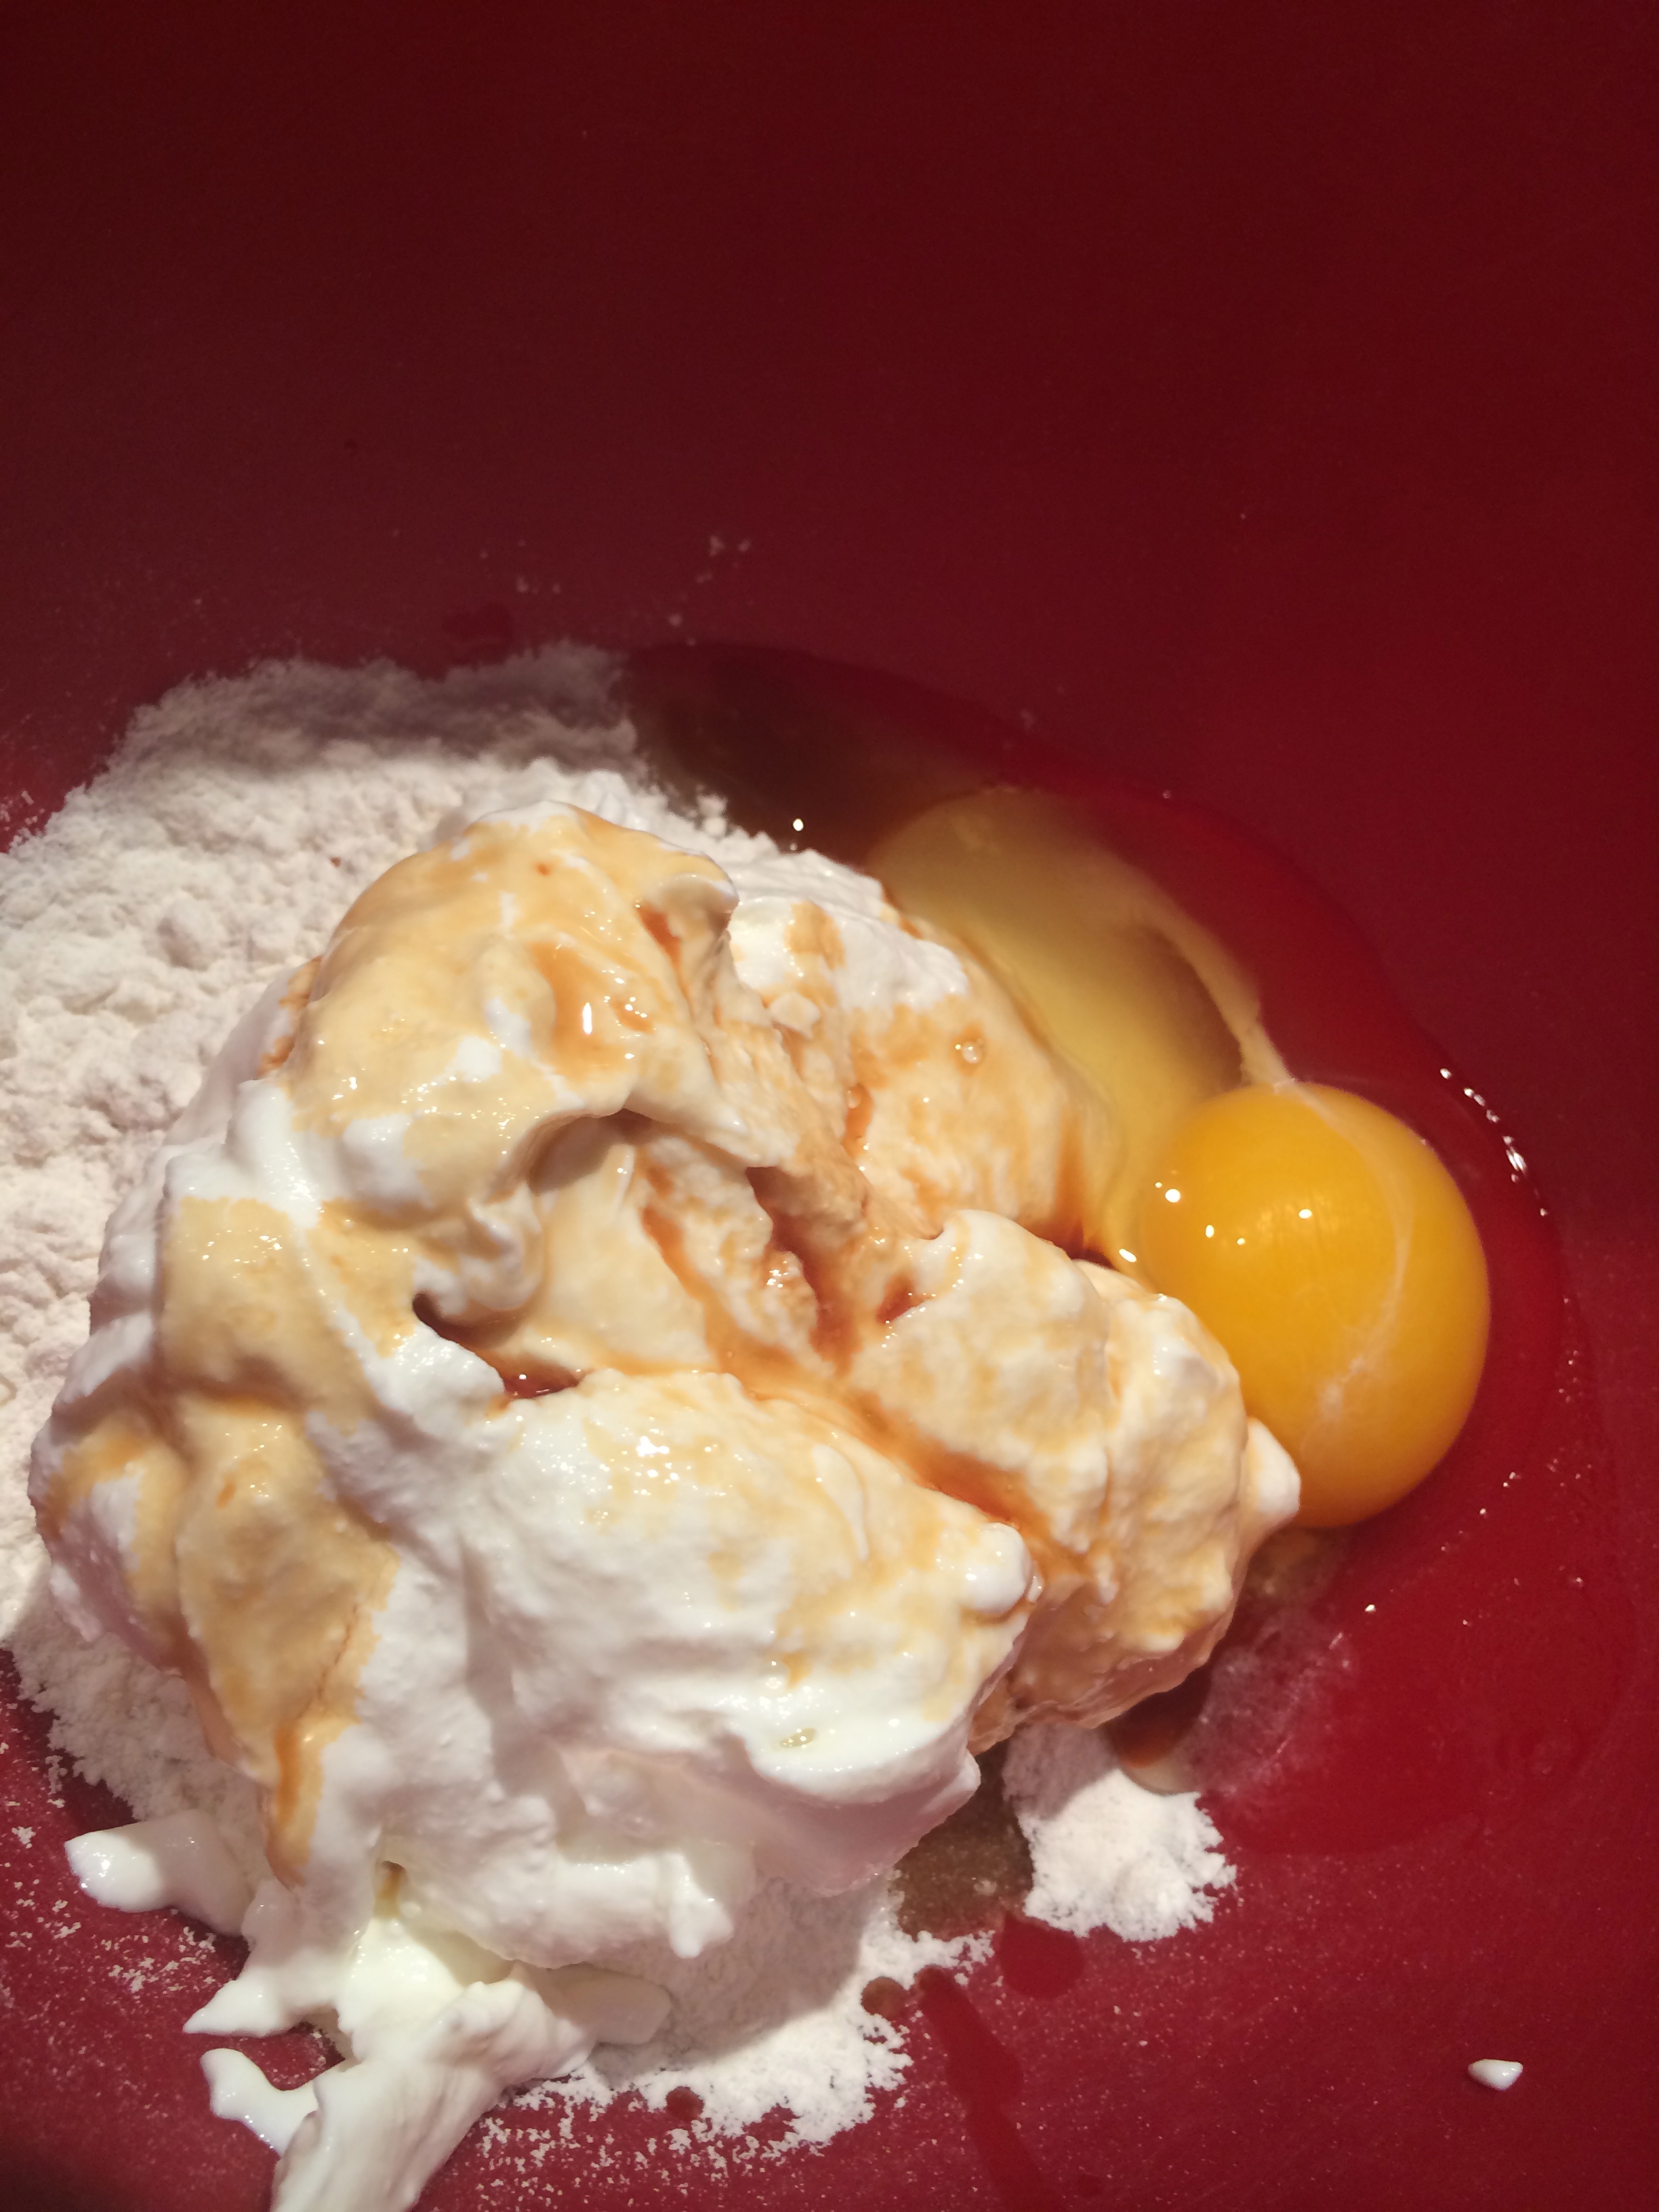
Similar to the apple pie I posted about yesterday, you start this guy off by baking the refrigerated pie using the instructions on its box – make sure to use the 1 pie crust, filled pie version.

IMG_6181
While it’s baking, shred your mozzarella cheese (and sneak some…because you can). You want this to be all ready when the pie crust comes out!

IMG_6182

Now, instead of letting the pie crust cool before we use it, you’re going to pile the mozzarella inside. I used all 1 1/2 cups and then spread it out so the bottom was all covered. The pie crust’s temperature will start to get the cheese all melty and wonderful.

IMG_6183

IMG_6185

While that’s melting and looking tasty, slice and chop up your tomatoes. We were excited to use a mix of medium tomatoes and some yellow cherry tomatoes (Luke and I really have a thing for cherry tomatoes), not only to use up all the tomatoes we had, but it adds two great colors to the dish AND slightly different flavors. I sliced up about 2.5 medium red tomatoes and then chopped about a cup of yellow cherry tomatoes, halving them.

IMG_6186

Now, before the tomatoes go in, spoon out your pesto on top of the mozzarella. Spread it evenly across, and then it’s time to layer on the ‘maters! Layer as evenly as you can, so no matter what slice anyone gets, there’s a great mix of red and yellow tomatoes.

IMG_6187
IMG_6190

IMG_6188

It sure does look great, doesn’t it?!

IMG_6189

But we’re not done!

Now, mix up your mayo, parmesan cheese (which I bought already shredded) and the white pepper. The white pepper gives just a hint of zip, which mixes so well with the rest of the flavors of the pie.

IMG_6191

Once the creamy mixture is ready, spread this as evenly as you can on top of the tomato layer.

IMG_6193

Then, pop the pie into a 375 degree oven for 35 minutes! When there’s about 10 minutes to go, I pulled the pie out and sprinkled the whole thing with a little extra parmesan cheese. Just because.

IMG_6194

Once it’s all done, pull it out and let it cool, sprinkling the top with dried basil.

IMG_6196

Looks SO good!

Slice this up warm for family and friends, cutting it just like a normal pie. The slices may not all look perfect on a plate, but let me tell you the tomato juices, the creamy tang of the mayo and white pepper, the savory pesto and the flaky pie crust make this a side dish that you’ll want to DEFINITELY make a fallback favorite.

IMG_6199

IMG_6200


Mama’s Sour Cream Apple Pie

6 Sep

IMG_6122

I preface this post that it may indeed be double-post Saturday. We’re enjoying a relaxing Saturday watching football, reading, cooking/baking (ok, that’s just me and not my husband) and all in all, decompressing from the week. So enjoy this post and be excited as I hope to have another post coming along to follow it!

I am in that mindset of late summer, where I’m starting to really crave fall. Not to be confused with wishing for snow, I’m simply ready for crisp weather, apple picking, cozy comfort foods and watching the leaves change. Sigh. Fall is the BEST.

However, I know fall weather will quickly become snow and then I’ll be wondering why on earth I didn’t cherish the last few weeks of summer. So, I’m going to do my best to enjoy what’s left of the hot and humid sunshine. In the meantime, I’m going to start in on some of my fall favorite foods. Luke and I are sipping Pumpkin Spice Dunkin Donut coffee (which he had the fantastic idea to sprinkle with pumpkin pie spice and nutmeg. Gosh, I love that guy) and are planning on making a big batch of his mama’s chili with some Bacon Beer Cornbread (um, right?!) tomorrow to celebrate fall in food form. Yes, we’re early but heck, fall foods are so tasty.

(How many more times can I use fall in this post?!)

Now, the classic that I must share with you today to kickstart fall foods is from MY mama – it’s her recipe for Sour Cream Apple Pie!

This is a pie that I remember eating as a little kid, loving the crumbly sweet bits on top and the creamy, tangy apple filling. It’s a slight twist on a classic apple pie, but in the very best way. This pie doesn’t take a lot of time and you can easily whip one up for any occasion! Luke and I made it when we had my parents up for dinner a few weeks back, and it was a hit! We even got to enjoy a few slices as leftovers and I can tell you, this pie is just as good a few days after the fact.

Note – This pie is always best served warm and with some melty, sweet vanilla ice cream. Just trust me.

Ingredients:

Pie:

  • 1 refrigerated pie crust (because I just didn’t have time or energy to make from scratch, and the store ones taste just as delicious to me. Your choice!)
  • 3/4 cup of sugar
  • 2 Tbsp flour
  • 1 cup sour cream
  • 1 egg, beaten
  • 1/2 tsp vanilla
  • 1/4 tsp salt
  • 2-3 cups (or more!) of chopped apples (any kind of sweeter apple will do)

Crumble Topping:

  • 1/2 cup of brown sugar
  • 6 Tbsp flour
  • 1 tsp cinnamon (I like cinnamon so tend to be very liberal with my 1 tsp)
  • 1/4 cup of cold butter, chopped

How to Make:

First things first, prep your pie crust. Bake as directed for one pie crust filled pie and let it cool. Optional: stare at it and dream about the finished pie (is it just me that does this?!)

IMG_6095

Next, combine all of your pie filling ingredients. Yup. Just combine it all. Told you it was simple!

IMG_6100

IMG_6101

IMG_6102

IMG_6107

Pour the whole shebang into the cooled pie crust…

IMG_6108

…and bake at 350 degrees for 30 min, or slightly less if needed. Key thing here is to make sure the pie filling is almost set.

IMG_6111

While your pie is baking you can make the BEST PART – the crumbly delicious topping. (I remember picking this part off of my pie as a kid, and being devastated when it was all gone.)

To make the crumble topping, combine the brown sugar, flour and cinnamon in a bowl and then add in the chopped up butter. Using your fingers, work the butter into the dry ingredients until it’s crumbly. You don’t want the butter so warm that it becomes mashed in with the dry ingredients so really try to maintain crumbles and not mush. (Apologies for no pictures, fail. Fail. Fail. But trust me, it’s really easy to do and it looks like delicious sugary crumbles if you’re doing it right.)

Spread the topping evenly across the top of the pie (snagging some bits to taste, you know, to make sure it tastes as good as it looks) and bake the pie for 10-20 more minutes, watching for the top to JUST get browned.

Take it out, let it cool a bit and then serve warm with heaping scoops of your favorite vanilla ice cream. (Any ice cream will do, Edy’s was the choice of the ice cream selector in our family – Luke.)

IMG_6117


NOM nom nom nom….

IMG_6119

IMG_6120

Close your eyes, take a big bite and savor that tangy mix of sour cream and apples, sweet brown sugar and melty ice cream.

Sigh. SO GOOD.

Strawberry Pie

27 May

Before I dive into strawberry pie (take that literally or figuratively, either would be accurate) I want to let you know some crafting posts are coming up!

Yes, I know. “What? Crafting? You haven’t posted much of anything in that department, I thought you forgot.”

No, I didn’t forget.

I’ve just been very bad at posting about it. So, for those of you reading this blog for more than just the food, crafts are coming! For those not interested in the crafts…crafts are coming anyway. 🙂

Now…back to food. Pie.

Easy as pie has new meaning. This pie recipe is truly simple but doesn’t appear that it would be. Excellent. My kind of recipe!

Found this guy on pinterest, just like the other 83% of the recipes I post on here. I’m sorry, I may be obsessed with that website a wee bit. It’s a great place to stumble on blogs, recipes etc. Really, just about anything that has an image attached to it can be found on that site. Which is why I love it so very much.

The pin took me to a fantastic, new blog I haven’t read before: Mother Thyme. I’m looking forward to trying out some of the other recipes on her site, especially the Avocado Deviled Eggs. YUM.

But we’re focused on strawberry pie here.

Ingredients:

1 frozen pie crust (or you can be a big shot and make your own. I have yet to attempt homemade pie crust…someday.)

Filling:

1 1/2 quarts strawberries, sliced
1 cup sugar
3 tablespoons corn starch
2 tablespoons water

Garnish:

I gave Doug the choice between ice cream or whipped cream. Whipped cream it was for us! But the strawberry pie could go with anything, or, even nothing at all. (I’m sad for you if you chose nothing. Just sayin.)

That is all the ingredients you need to amaze people with your pie skills. I know. It seems TOO simple.

Trust me.

You must make this.

How to Make:

First, bake your pie crust according to the directions on the package. Mine had me prick it all over with a fork before popping it in the oven to pre-bake before filling it with strawberry goodness. Since we’re not baking the entire pie once assembled, your frozen pie crust instructions will most likely also be telling you to bake your pie crust first.

I have a solid hunch on that one.

Set your crust aside to cool while you work on the strawberry filling.

First, slice up your strawberries. All of them.

Then, take 2 cups from the sliced pile and pop them into a blender. Pulse/blend for a enough time to get a mashed pile of strawberries.

Next, grab a small bowl and combine the water and cornstarch. Stir until the cornstarch is dissolved. It’ll look a little like glue at this point. Do not worry – it will not make the pie taste like glue.

Now, grab a small saucepan and combine your cornstarch/water concoction, the strawberry pulp and your cup of sugar. Stir it up over medium-high heat until it “becomes thick and transparent” according to the original recipe on Mother Thyme. You can see if it’s transparent by picking up a spoonful and watching it dribble back into the pan. Sounds weird, but it works.

Once you get to that point of “thick and transparent”, remove it from the heat and let it cool a little bit.

Once it’s cooled down for a few minutes, add in the remaining sliced strawberries. Stir it all up so everything is thoroughly coated. Then, pour into your awaiting pie crust.

You can see from the above picture that we had a rather fragile pie crust and a non-careful cook (guess who). Ah well, we were able to enjoy the pie crust crumbles before we were able to enjoy the real-deal.

Now that your pie is all put together, it needs to chill out for a bit. Since we made this before starting in on the main parts of dinner – parmesan knots and steakhouse pizza – we had our pie chilling for about 2 hours or so. I’m sure you could eat it after 30 minutes or so, but it’ll be best if the whole pie is cool.

Throw on the garnish that makes you smile most. For us, it was whipped cream.

Doug was excited about the upcoming consumption of pie. As were Laura and I. As you will be once you have a pie slice sitting in front of your face.


Now, if this doesn’t make your day/night/life a little bit better, I don’t know what will.


Enjoy!!