Tag Archives: Jam

PB&J Potato Chip Thumbprint Cookies

14 Apr

Were you the cool kid who put potato chips on your peanut butter and jelly sandwich? I bet you were! There’s just something great about the mix of the sweet jam and the salty chips…not to mention a nice, satisfying crunch every bite would create.

However, if you’re thinking – what the heck!? Chips and PB&J? Who ARE you?! I hope you take second to gather yourself, and then read on. These are cookies that bring the best of the sweet and salty worlds together and I sincerely believe you’ll like them. I made them over Easter and my sample group of friends and family (who are extremely blunt) told me they were very tasty. I even doubled checked with a few to be sure they weren’t ‘just being nice’. I wouldn’t dare blog about a recipe unless it would be delicious for YOU to try!

When the results were in – these were a winner. They’re not hard to make, but are more fun when you have sous chefs or visitors to chat with while making. You’ll see what I mean.

This is a recipe from a blog I LOVE to read – Spoon Fork Bacon. They have it all with great pictures, tasty recipes and my kind of humor.

Ok – lets get to the cookies:

Ingredients:

  • 1/2 cup butter
  • 1/2 cup sugar
  • 1/3 cup light brown sugar
  • 1 egg
  • 1 teaspoon vanilla
  • 1 1/2 cups flour
  • 3/4 teaspoons baking soda
  • 1/8 teaspoon salt
  • 2/3 cup creamy peanut butter (I don’t think crunchy would work as well for baking, but if you’re a rebel, give it a go!)
  • 1 egg white, lightly beaten
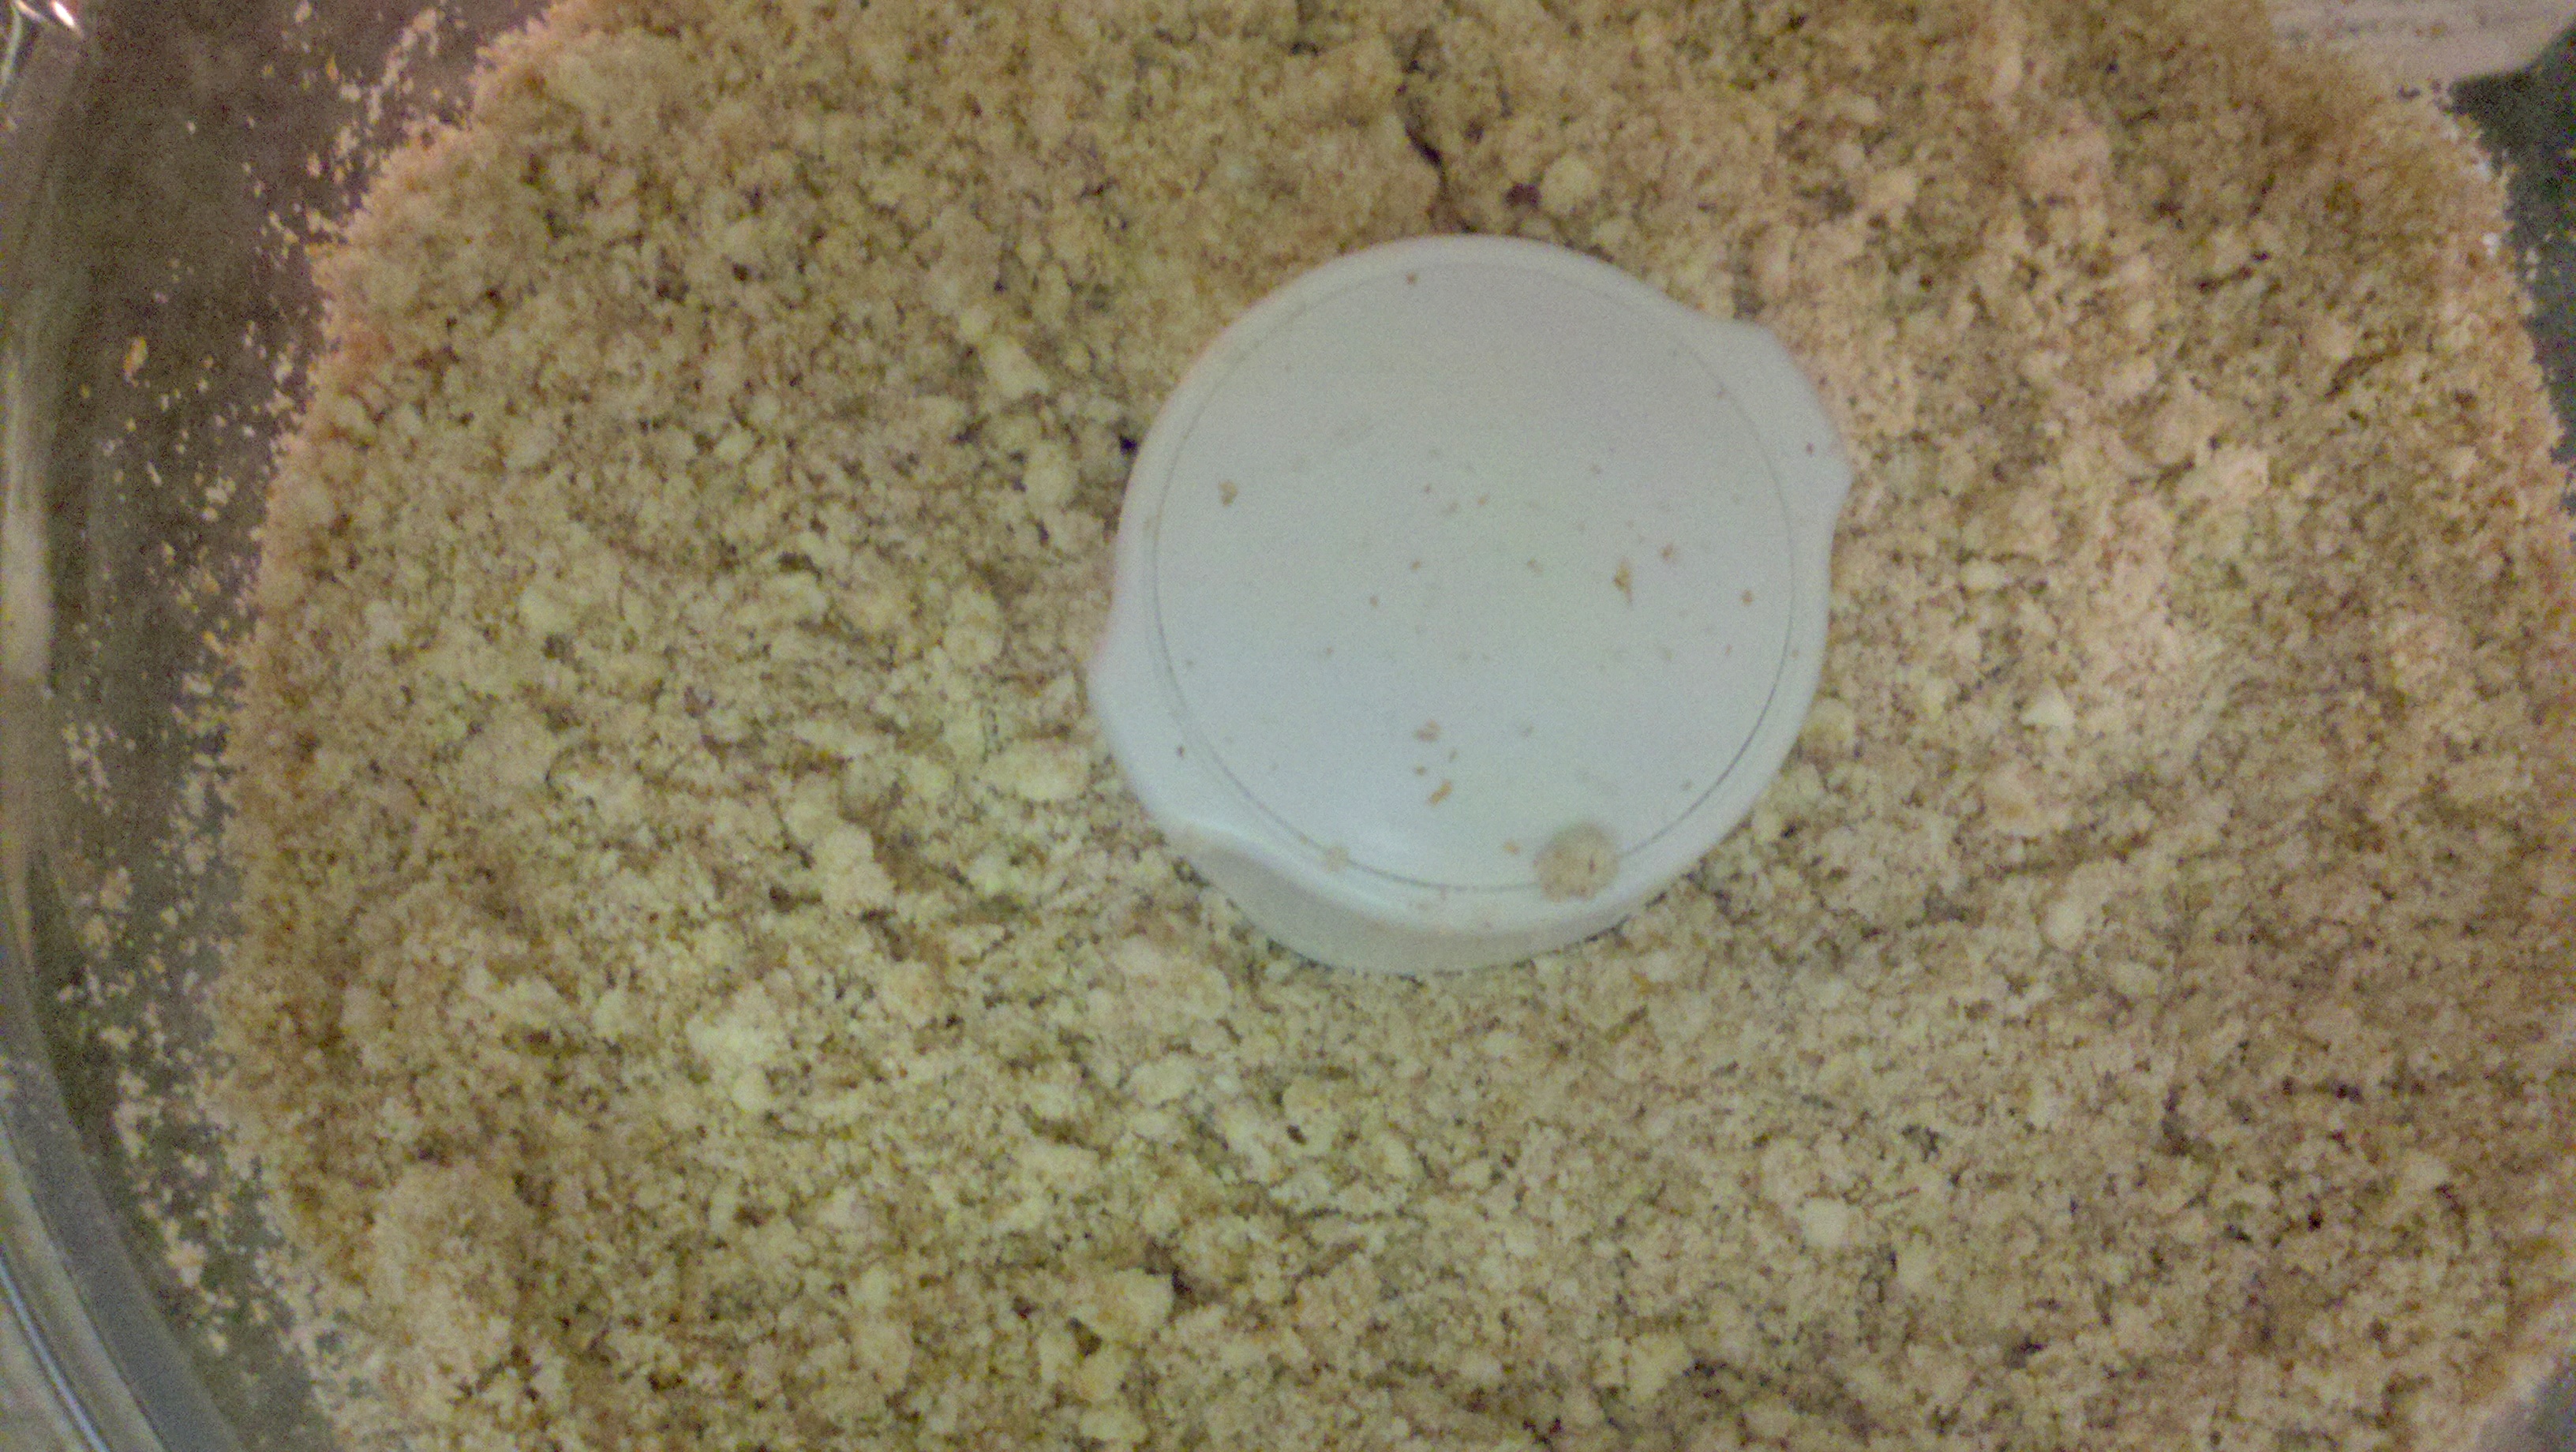
  • 2 cups potato chips, crushed (pop the chips into a Ziplic and pound them onto the counter top or roll on top of them with a rolling pin. Or find other demolition possibilities.)
  • ½ cup jam of your choice (I used a classic [in my opinion] – strawberry. Go with your favorite PB&J jam flavor and I’m sure it’ll be an excellent choice.)

How to Make:

Preheat your oven to 375. Don’t forget this step! (We all know I tend to do that. Oopie.)

Grab your hand mixer (if you’re a sad person like me) or a stand mixer (if you’re one of THOSE people…yes, yes we know I want to BE one of THOSE people…) and cream your butter. I highly recommend you don’t attempt to cream together very cold butter. That would be a rookie mistake right?!? Who does that?! I’m sure you see where this is going…don’t be like me. Work with warm, room temp butter or if needed, pop it into the microwave for a few seconds to soften it up. Butter creams so much better when it’s not cold. (Your butter should not be clumpy like my cold butter in the pic below. I did microwave it a bit after this pic and it actually ‘creamed’ instead of ‘clumped’ after that.)

Add in both of your sugars and cream those in with the butter (I was a space cadet and just added the white sugar…as you’ll see in the pictures. Don’t worry, I did eventually come to my senses and add in the brown sugar. But avoid this moment by just adding in both at the right moment.)  This will take you approximately 3 minutes to cream everything together.

Add in the 1 whole egg (save the 1 egg white for later) and vanilla. Keep up the mixing so these two new ingredients are thoroughly mixed in there.

Grab yourself another bowl and “sift together” (Those are the words of gals on Spoon Fork Bacon. I don’t sift due to lack of sifter and just mixed in all ingredients like normal. If you want authentic cookies as SFB describes…sift your little heart out.) your flour, baking soda and salt.

Once it’s all mixed together well – add it  into your other ingredients and stir it all up to combine, just right. At this point add the PB and make sure it’s thoroughly mixed in. You don’t want any cookies to not have the proper PB taste…so mix well people!

Now, the fun part! Find a little bowl for your egg white – this will be station #2. Put your crushed chips out on a cutting board or a big plate – this will be station #3. Spray your cookie sheet with some Pam and lay it nearby – this will be station #4. Ready?

Roll your dough into a ball (station #1)…

…drop into the egg white (station #2)… [ignore the terrible pic…I’m posting just to show what station #2 looks like]

…then pull it out and roll it in potato chips (station #3) … (the below pic is like ‘Where’s Waldo’ except it’s ‘Where’s the Cookie’?)

then place it on your baking sheet (station #4). Rinse, repeat. Oh wait, that’s something else. You know what I mean…repeat until you have 12-15 balls on your baking sheet. Make sure they’re all evenly spaced (laying them in a 3×4 or 3×5 pattern works best I think).

Now for the finishing touch – find your pinkie finger…the left one…or the right one…or your Mom’s…doesn’t matter. Gently press the pinkie into the center of each cookie ball. Now, they’re oven ready!

Put them in the oven for 12-15 minutes. With the egg white coating, you’ll know they’re done when they start to get that golden hue on top. When I pulled out my first batch, the little pinkie prints hadn’t remained as imprinted as I would have liked, so I just went through and gently pressed each one back down again. No fear if this happens to you too!

Place the cookies on a cooling rack or cutting board until they’re cooled completely.

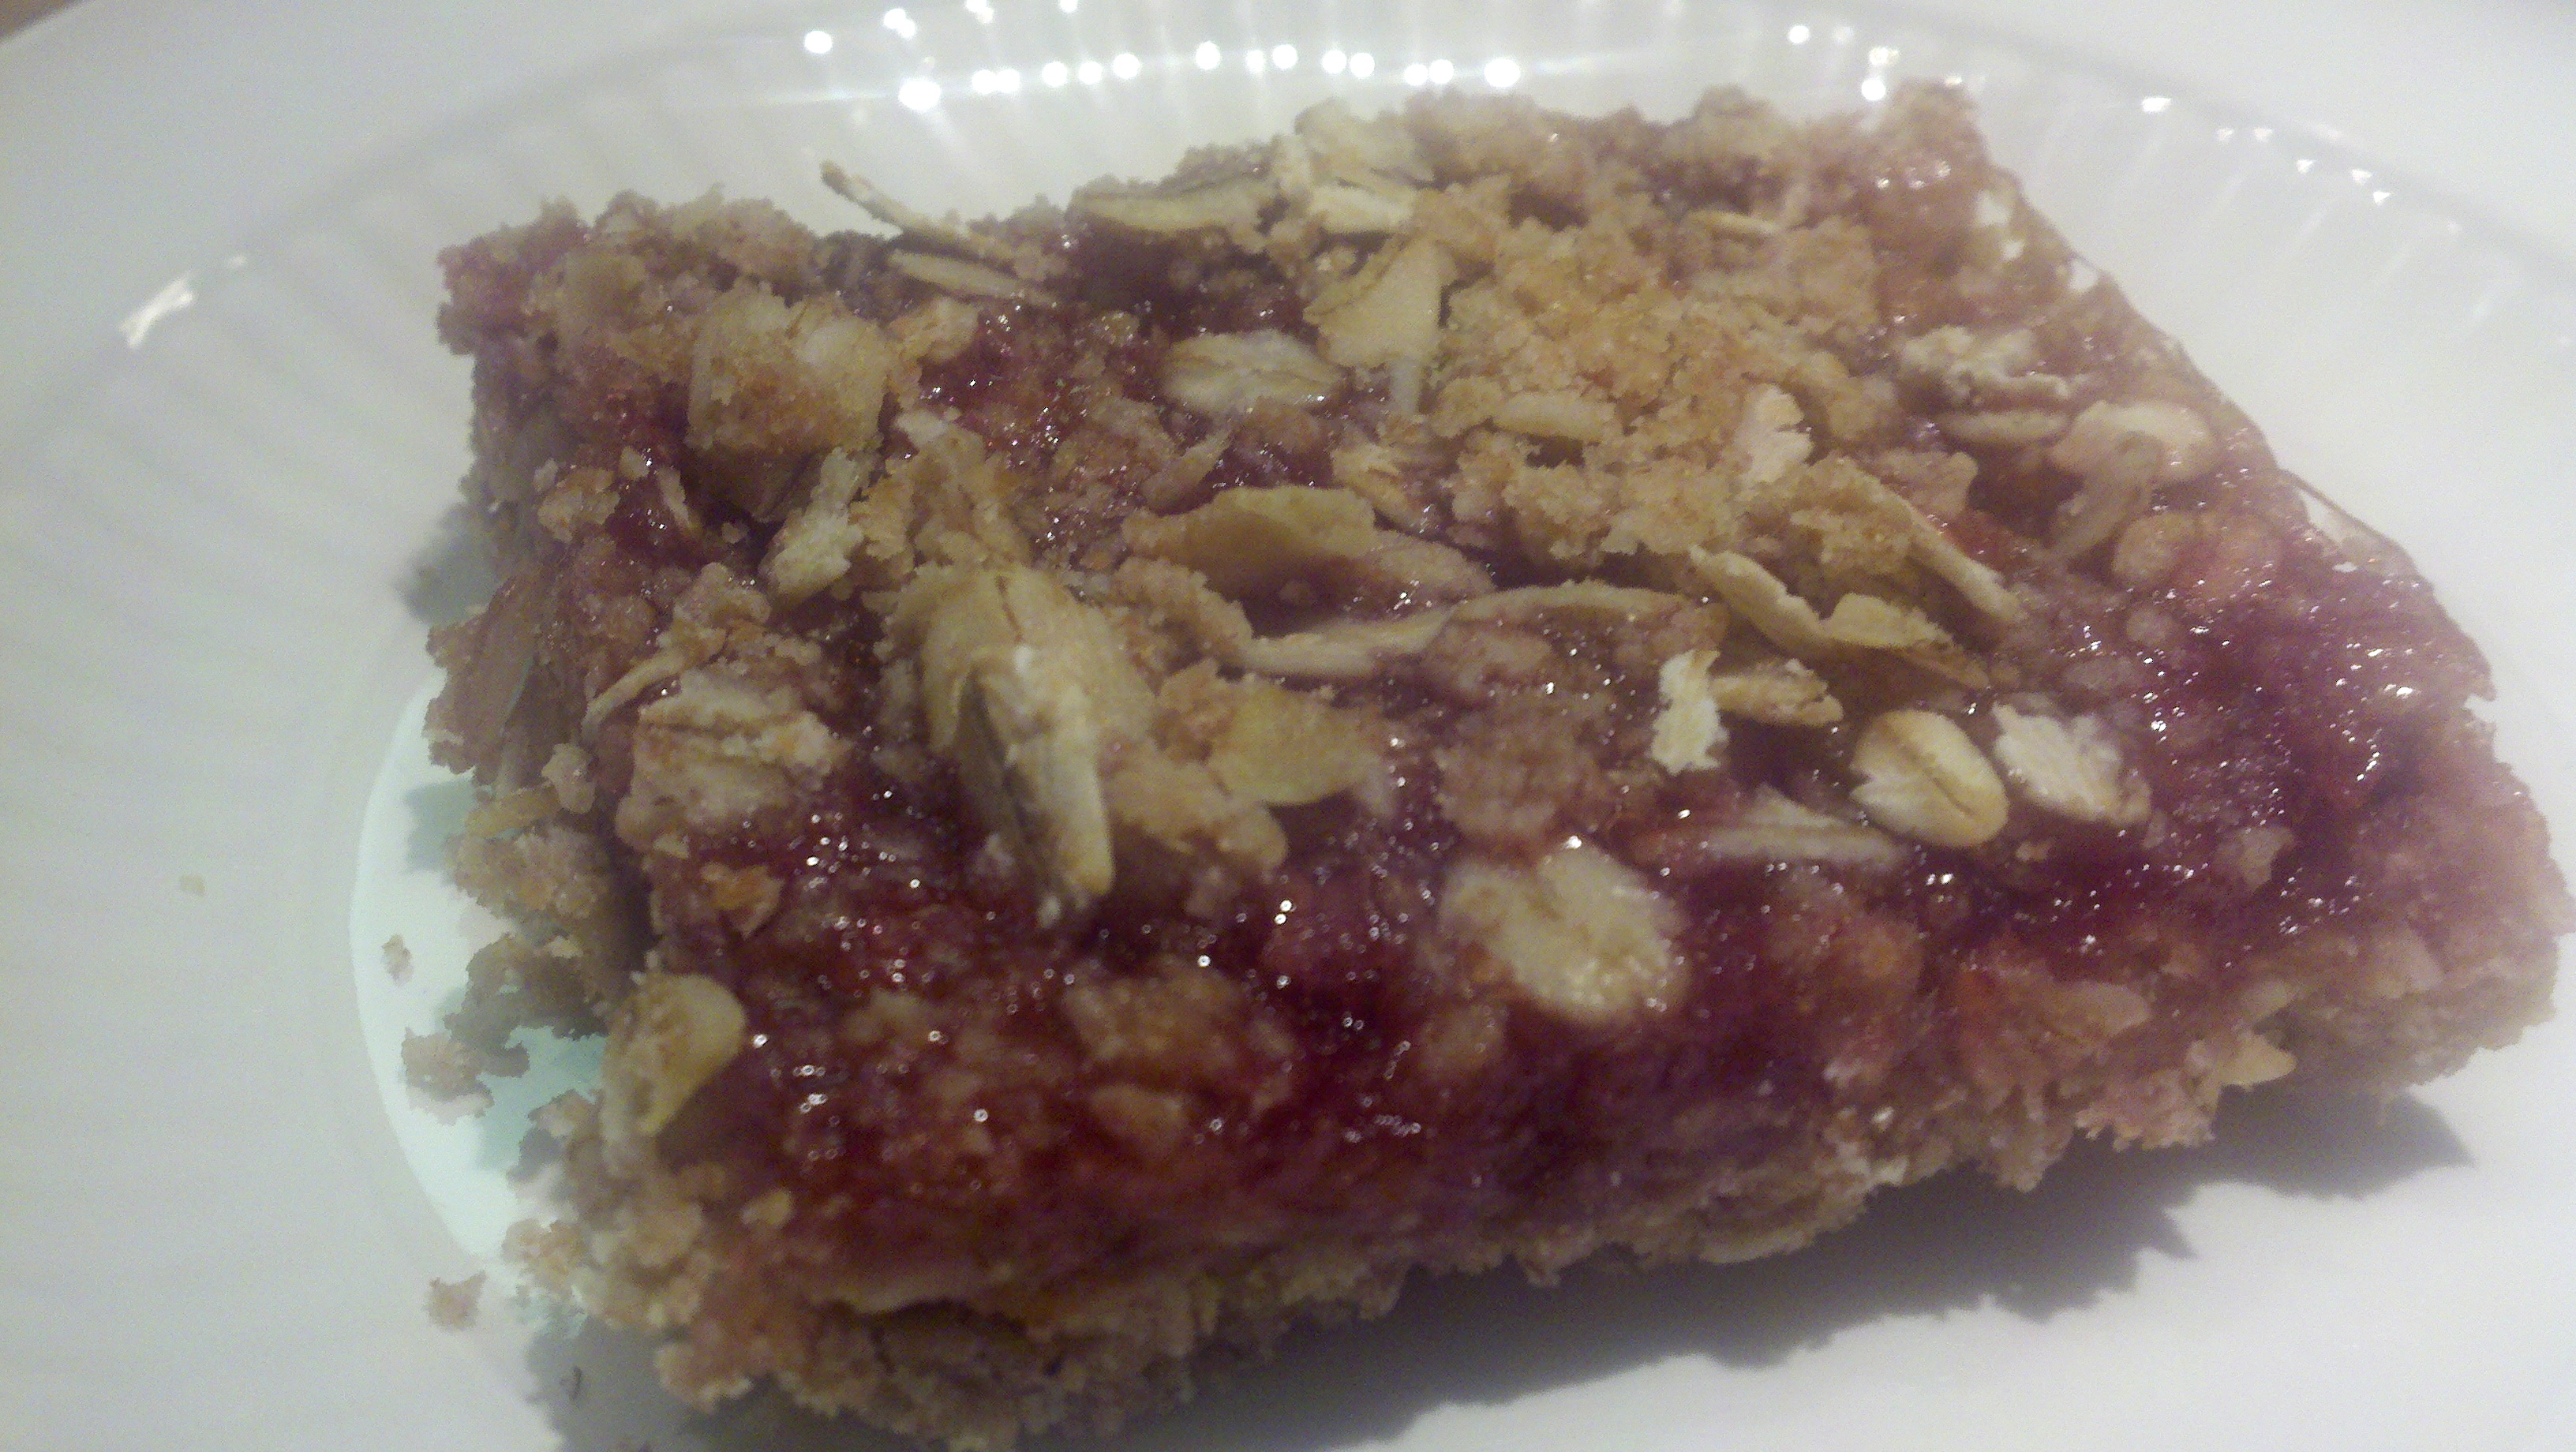
Once they have, NOW is the time for the jam! Fill each cookie with a small amount of jam, just enough to fill up the pinkie indent. Let them sit with their jam filled tops for about an hour, so they can ‘set’ as best as they can. We covered them in Saran wrap (as these were made the night before Easter) and the jam sticks just a bit to the top of the  plastic. But make sure to leave them out for about an hour before wrapping – that should help.

Fill up a glass of milk…grab a cookie (or two!) and enjoy the goodness of sweet/salty heaven. 🙂

Advertisement

Raspberry Oat Crumble Bars

31 Mar

Image

I enjoy creating opportunities to wear my apron. I feel it’s only allowed when baking, not with cooking. Well, perhaps for the especially messy cooking…but with baking it just feels right. Broke out the apron today to bake these wonderful creations – raspberry oat crumble bars.

I found this on fantastic baking blog that I encourage you all to check out: 17 and Baking. I’m excited to try quite a bit of the recipes featured on her blog as I continue expanding my baking repertoire and finding more opportunities to wear my apron.

This recipe is only slightly different than how Elissa wrote in on her blog:

Ingredients:

  • 1 1/4 cups flour
  • 1/3 cup packed light brown sugar
  • 1/2 tsp salt
  • 5 oz (10 Tbsp) cold unsalted butter, cut into pieces
  • 1 Tbsp milk
  • 1 1/2 cups old fashioned oats
  • 3/4 cup seedless raspberry jam (I thoroughly enjoy jam and slathered on slightly more than this. How can there be too much jam?!?)

How to Make:

Preheat your oven to 375 and grab your food processor! Mix up your flour, brown sugar and salt in the food processor first. Then put in the butter pieces and pulse away until the mixture starts to look crumbly. This is a good sign…crumbly = excellent. At this point pour in your Tbsp on milk and make sure it’s mixed in.

Image

For those poor unfortunate souls (name that movie!!) without a food processor…don’t know how you survive. However, you’ll be glad to know this recipe doesn’t discriminate against your lack of materials. Grab a pastry cutter to work everything together or use a fork too. Prior to my wonderful food processor addition, I would use a fork for this sort of task. However – do be careful to not overwork the butter in, you want crumbs. (I speak from experience…a previous fruit crisp was mush because the butter was worked in too much. Not pretty. Don’t be like me.)

At this point, grab your oats and a big bowl. Pour in the mixture from the food processor and work your crumbs and oatmeal into a bigger crumbly mixture. Again – don’t overmix! Just get it all worked in together.

Image

Separate out 3/4 a cup of this mixture (for the delicious topping).

Image

Pour the rest into a buttered or parchment-lined 9×9 pan. Press it down to make the nice, thick crust.

Image

Take your jam and spread it out on top. If you’re as into jam as me, or like raspberry a LOT or you just want to go BIG with your dessert – slather on a bit more than the 3/4 cup. Then, crumble the rest so it’s spread out on top evenly.

Image

Pop it in the oven for 20-25 minutes.

Image

Pull it out to cool when it looks like perfection…I thought that was at 22.3 minutes. But I’ll let you be the judge of that. If you have a cooling rack…or like me, an extra grate from the oven (hey, I’m resourceful!), set it on there to cool. That way to air can move over and under the pan.

Image

When cool, slice it up into squares. I encourage the addition of a little whipped cream…ice cream…frozen yogurt…ANYTHING to jazz it up a bit. If you’re into the ‘simple’ dessert, it’ll still be delicious on its own. But I like to be a proponent of adding ice cream or frozen yogurt.

Image

However it’s served – DIG IN! Happy Saturday!

Baked Brie

17 Mar

Are you in need of something simple, tasty and quick to make? It doesn’t matter if you’re hosting a party, eating with your family or like me – enjoying a Saturday afternoon by yourself. I made this last weekend before I started packing for my Mexico trip. It was the perfect treat and one I had been waiting to make ever since I bought the makings at the grocery store. It’s – Baked Brie!

The back-story to this – I visited a good friend of mine, Marissa, in Memphis, TN a few weekends ago. She and her significant other were hosting a party at their house one evening and she whipped up this recipe as one of the snacks. It was delicious! I couldn’t believe I’d never made it before. When I returned home, I knew it was on the list of things to make. SOON.

Baked brie has many variations. I knew I wanted to use puff pastry, a mouth-watering rhubarb-berry jam and brie cheese. I wasn’t sure what other ingredients were needed/wanted in the recipe. I googled baked brie to see what came up and ended up with this recipe from Simply Recipes. I made some variations with ingredients which can be seen below:

Baked Brie:

Ingredients:

  • 1 large sheet of puff pastry dough (Remove it from the freezer 40 minutes before you plan to use it and it’ll be perfectly thawed.)
  • 1 wedge of Brie cheese – do not remove rind (I used a strong French brie, which turns out I didn’t enjoy as much as mild brie. Find the type of Brie you’d like best and use that.)
  • Any sweet jam you can find and think sounds tasty (I used rhubarb-berry jam but any kind will work. Experiment!)
  • Brown sugar to sprinkle
  • Maple syrup to drizzle (The recipe calls for 1/4 cup, but I preferred to drizzle it on top which probably totaled only 2 Tbsp. You can do as much as or little as your sweet tooth desires.)

How to Make:

Preheat your oven to 350. If you haven’t already started thawing your puff pastry – get on that! It takes about 40 minutes, depending on the brand you use.

Once the puff pastry is ready to go, lay it out on a flat surface. Place the wedge of Brie (with the rind on!) smack dab in the middle. Spread on your jam as thick or thin as you’d like. I layered on a lot of jam. I like jam. You may not. You could even try a few flavors, perhaps mixing different types. Experiment. Come up with whatever makes your mouth water!

After you have the amount of jam on top you’re happy with, wrap up the jam-soaked Brie with the puff pastry. I didn’t make mine very pretty, but perhaps you’re more skilled. As long as it’s all folded in and the edges are pinched together, you should be good to go. But if you’re hosting a big group of people at party and you want it to be prettier – please feel free to do so.

Now you’re ready to drizzle and sprinkle! Drizzle the maple syrup on top – as much or little as you’d like. Follow that with sprinkling brown sugar. I had quite a few clumps of brown sugar and I thought it’d be fun to sprinkle a few of those on the top as well. Sprinkle away until you’re satisfied.

Pop the whole concoction onto a sprayed cookie sheet and bake it for 25-30 minutes. You know you’re done when the top of the pastry starts to turn a little brown. Let it cool at least 10 minutes or so before you dig in.

I ate mine with honey crisp apple slices, but crackers, stiff bread or other firm fruit would also work.

Enjoy!!!


%d bloggers like this: