Tag Archives: Bacon

Beer Bacon Cornbread

16 Sep

Aug-Sept 2014 148

There is a large place in my heart for cornbread. In fact, it graces my Top 10 favorite foods (which I like to think is a hard category to crack) and I have a hard time finding a cornbread that I don’t want to eat. Do you feel me, people!?

What is it about cornbread that is SO good?! I personally believe it’s the savory and dense flavor, the cake-like texture and the fact that it’s an excellent dipping mechanism for soups (chili in particular).

As I’ve alluded to in some recent posts, Luke and I were craving a homemade chili and cornbread weekend to kick-start the fall season. I have had this cornbread recipe from How Sweet Eats as a Pinterest pin for a LONG time and was simply waiting for the right moment to try it out. This seemed like the ideal time to give it a go, especially as I’ve been really pumped about Jessica’s new cookbook and am anxiously waiting to dive into it’s colorful and drool-inducing pages.

(I have a slight cookbook obsession…umm…can’t help it.)

Before I dive into the details, can I just say two OTHER items that I really love – bacon and beer. And these are to be IN the cornbread?!

Heck yes, people! They are!

Jessica over at How Sweet Eats knows how to really spice up cornbread with all the perfect ingredients. My husband thought I was kidding as I asked if he wanted to try out Beer Bacon Cornbread. HA. Not kidding, just about to create the most epic cornbread ever.

No. Big. Deal.

Enough already, let’s do this!

Ingredients:

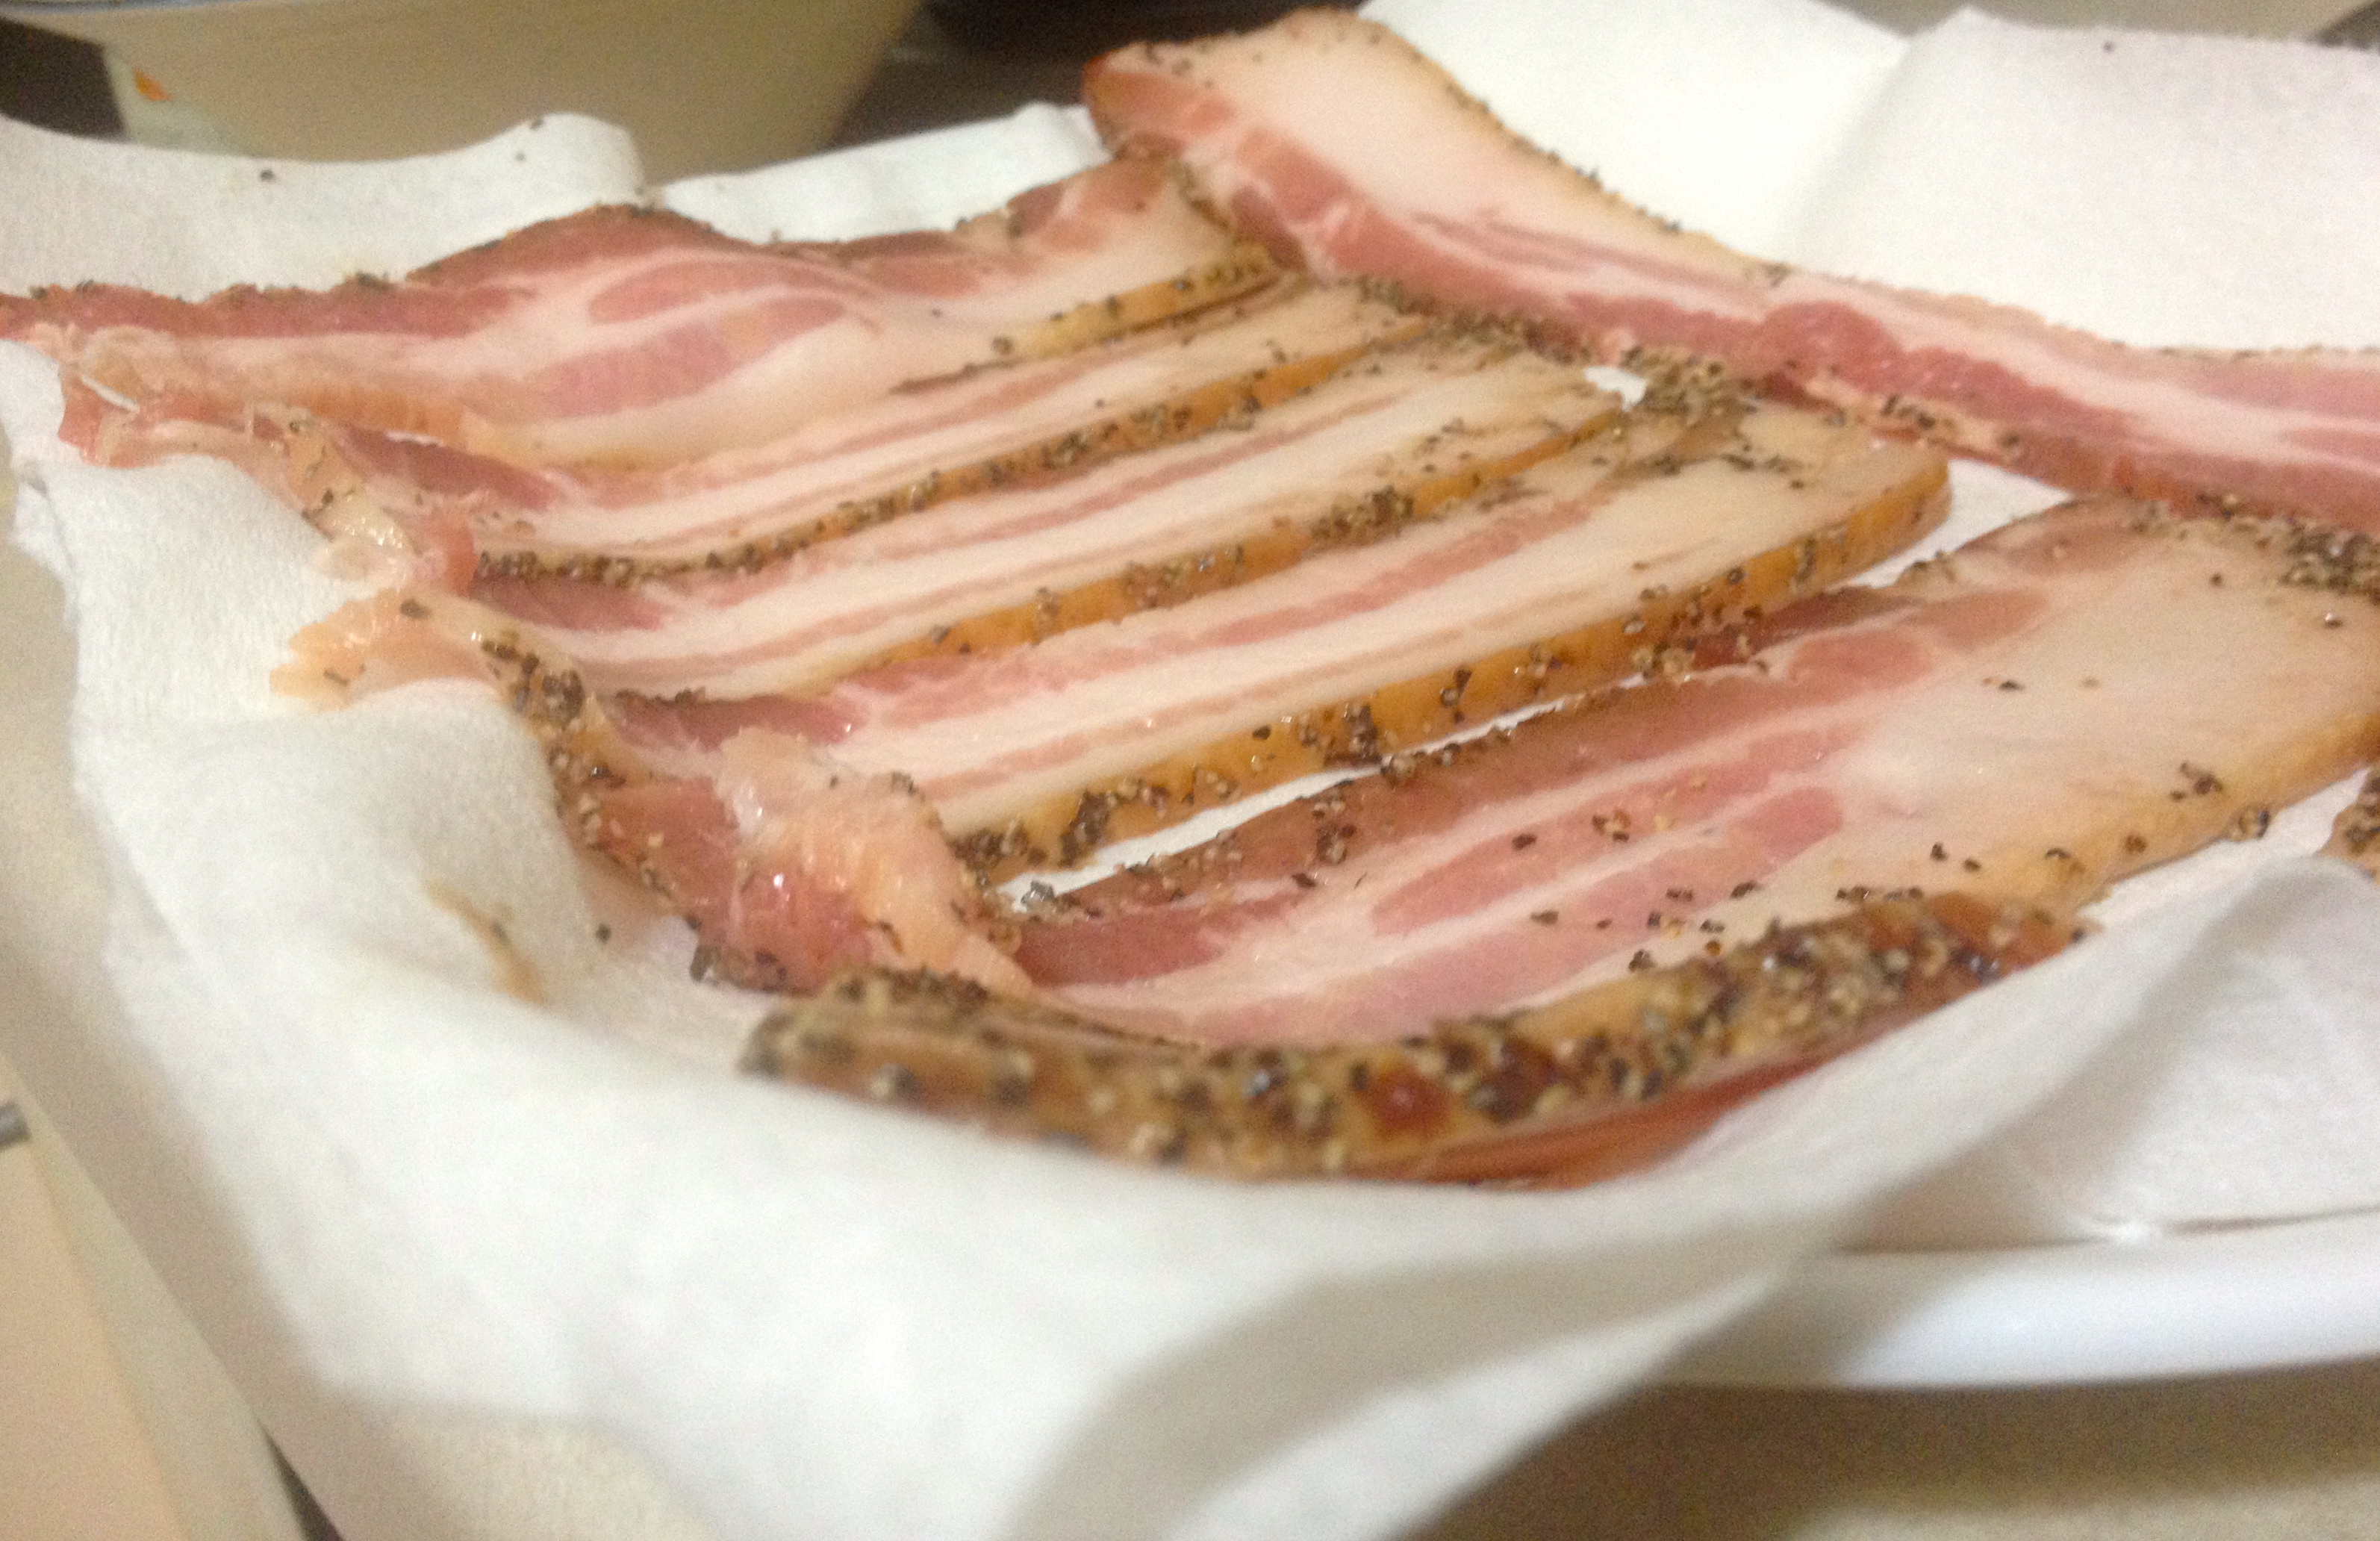
  • 6 slices thick-cut peppered bacon (just adds some extra zip to use peppered), chopped
  • 1 Tbsp bacon fat (leftover from your bacon fryin’)
  • 1 1/2 cups finely ground cornmeal
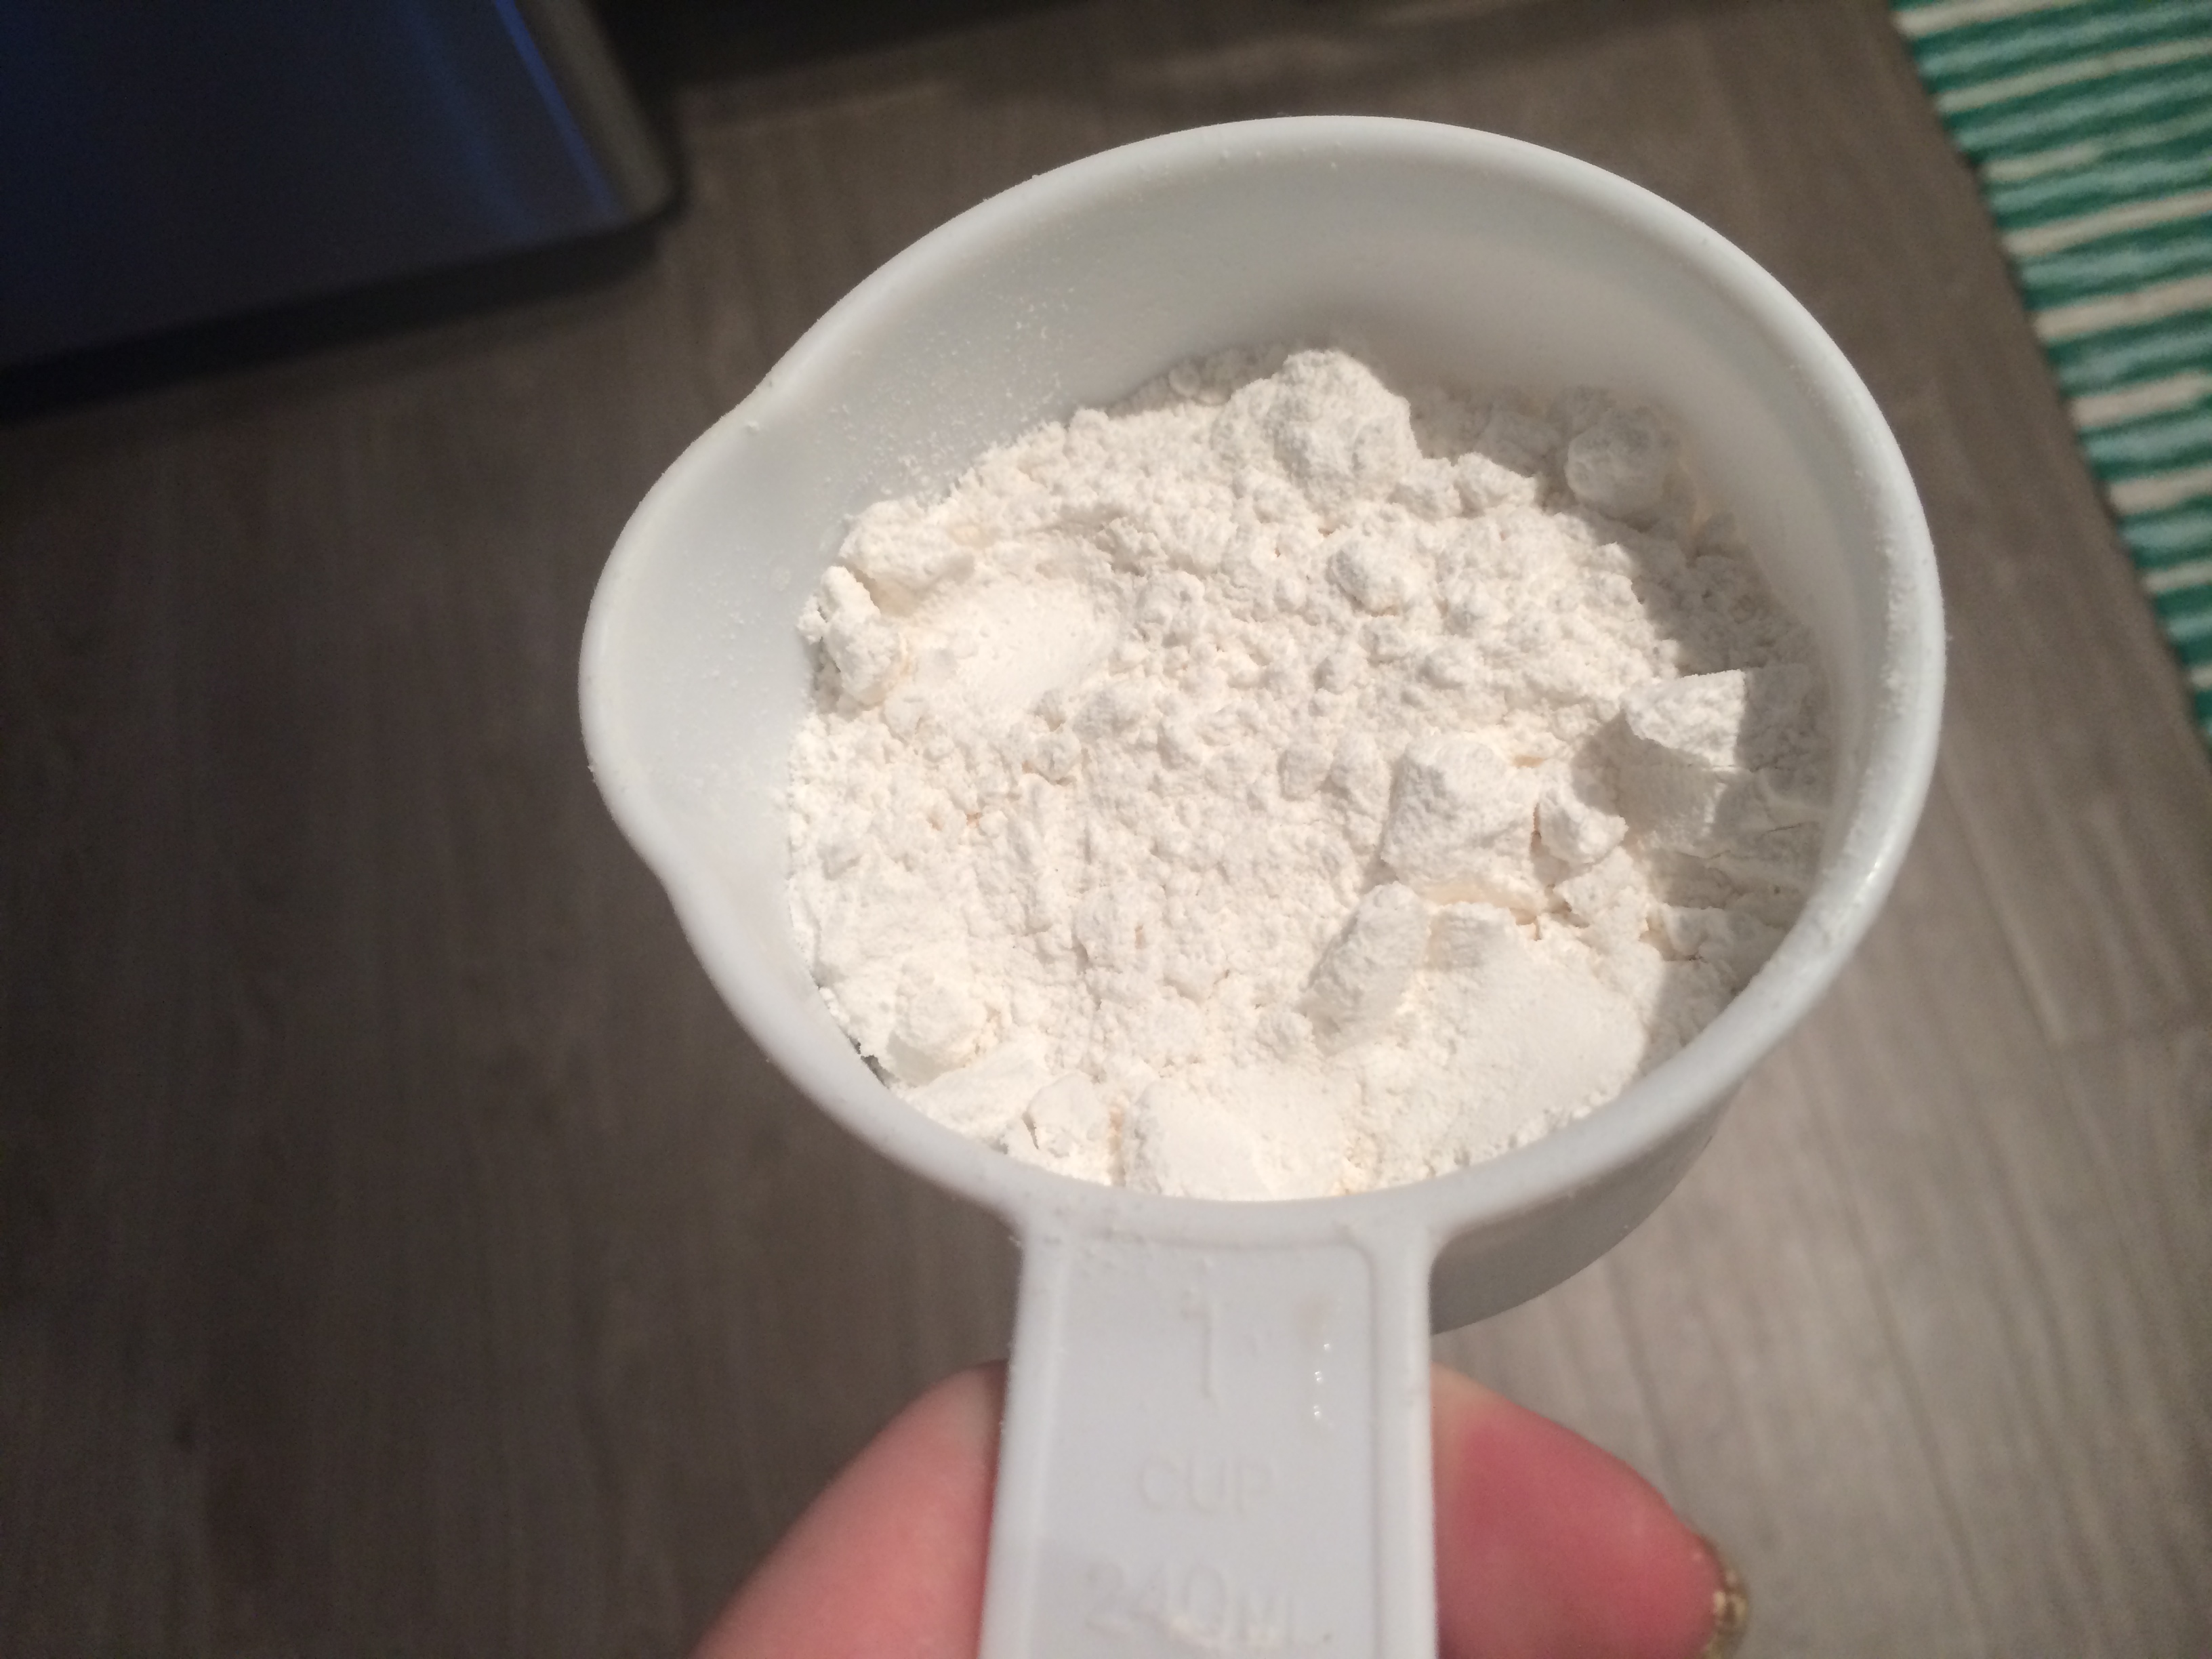
  • 3/4 cup cake flour + 3/4 cup all-purpose flour (or you can use 1 1/2 cups of whole wheat pastry flour, which I did not have on hand)
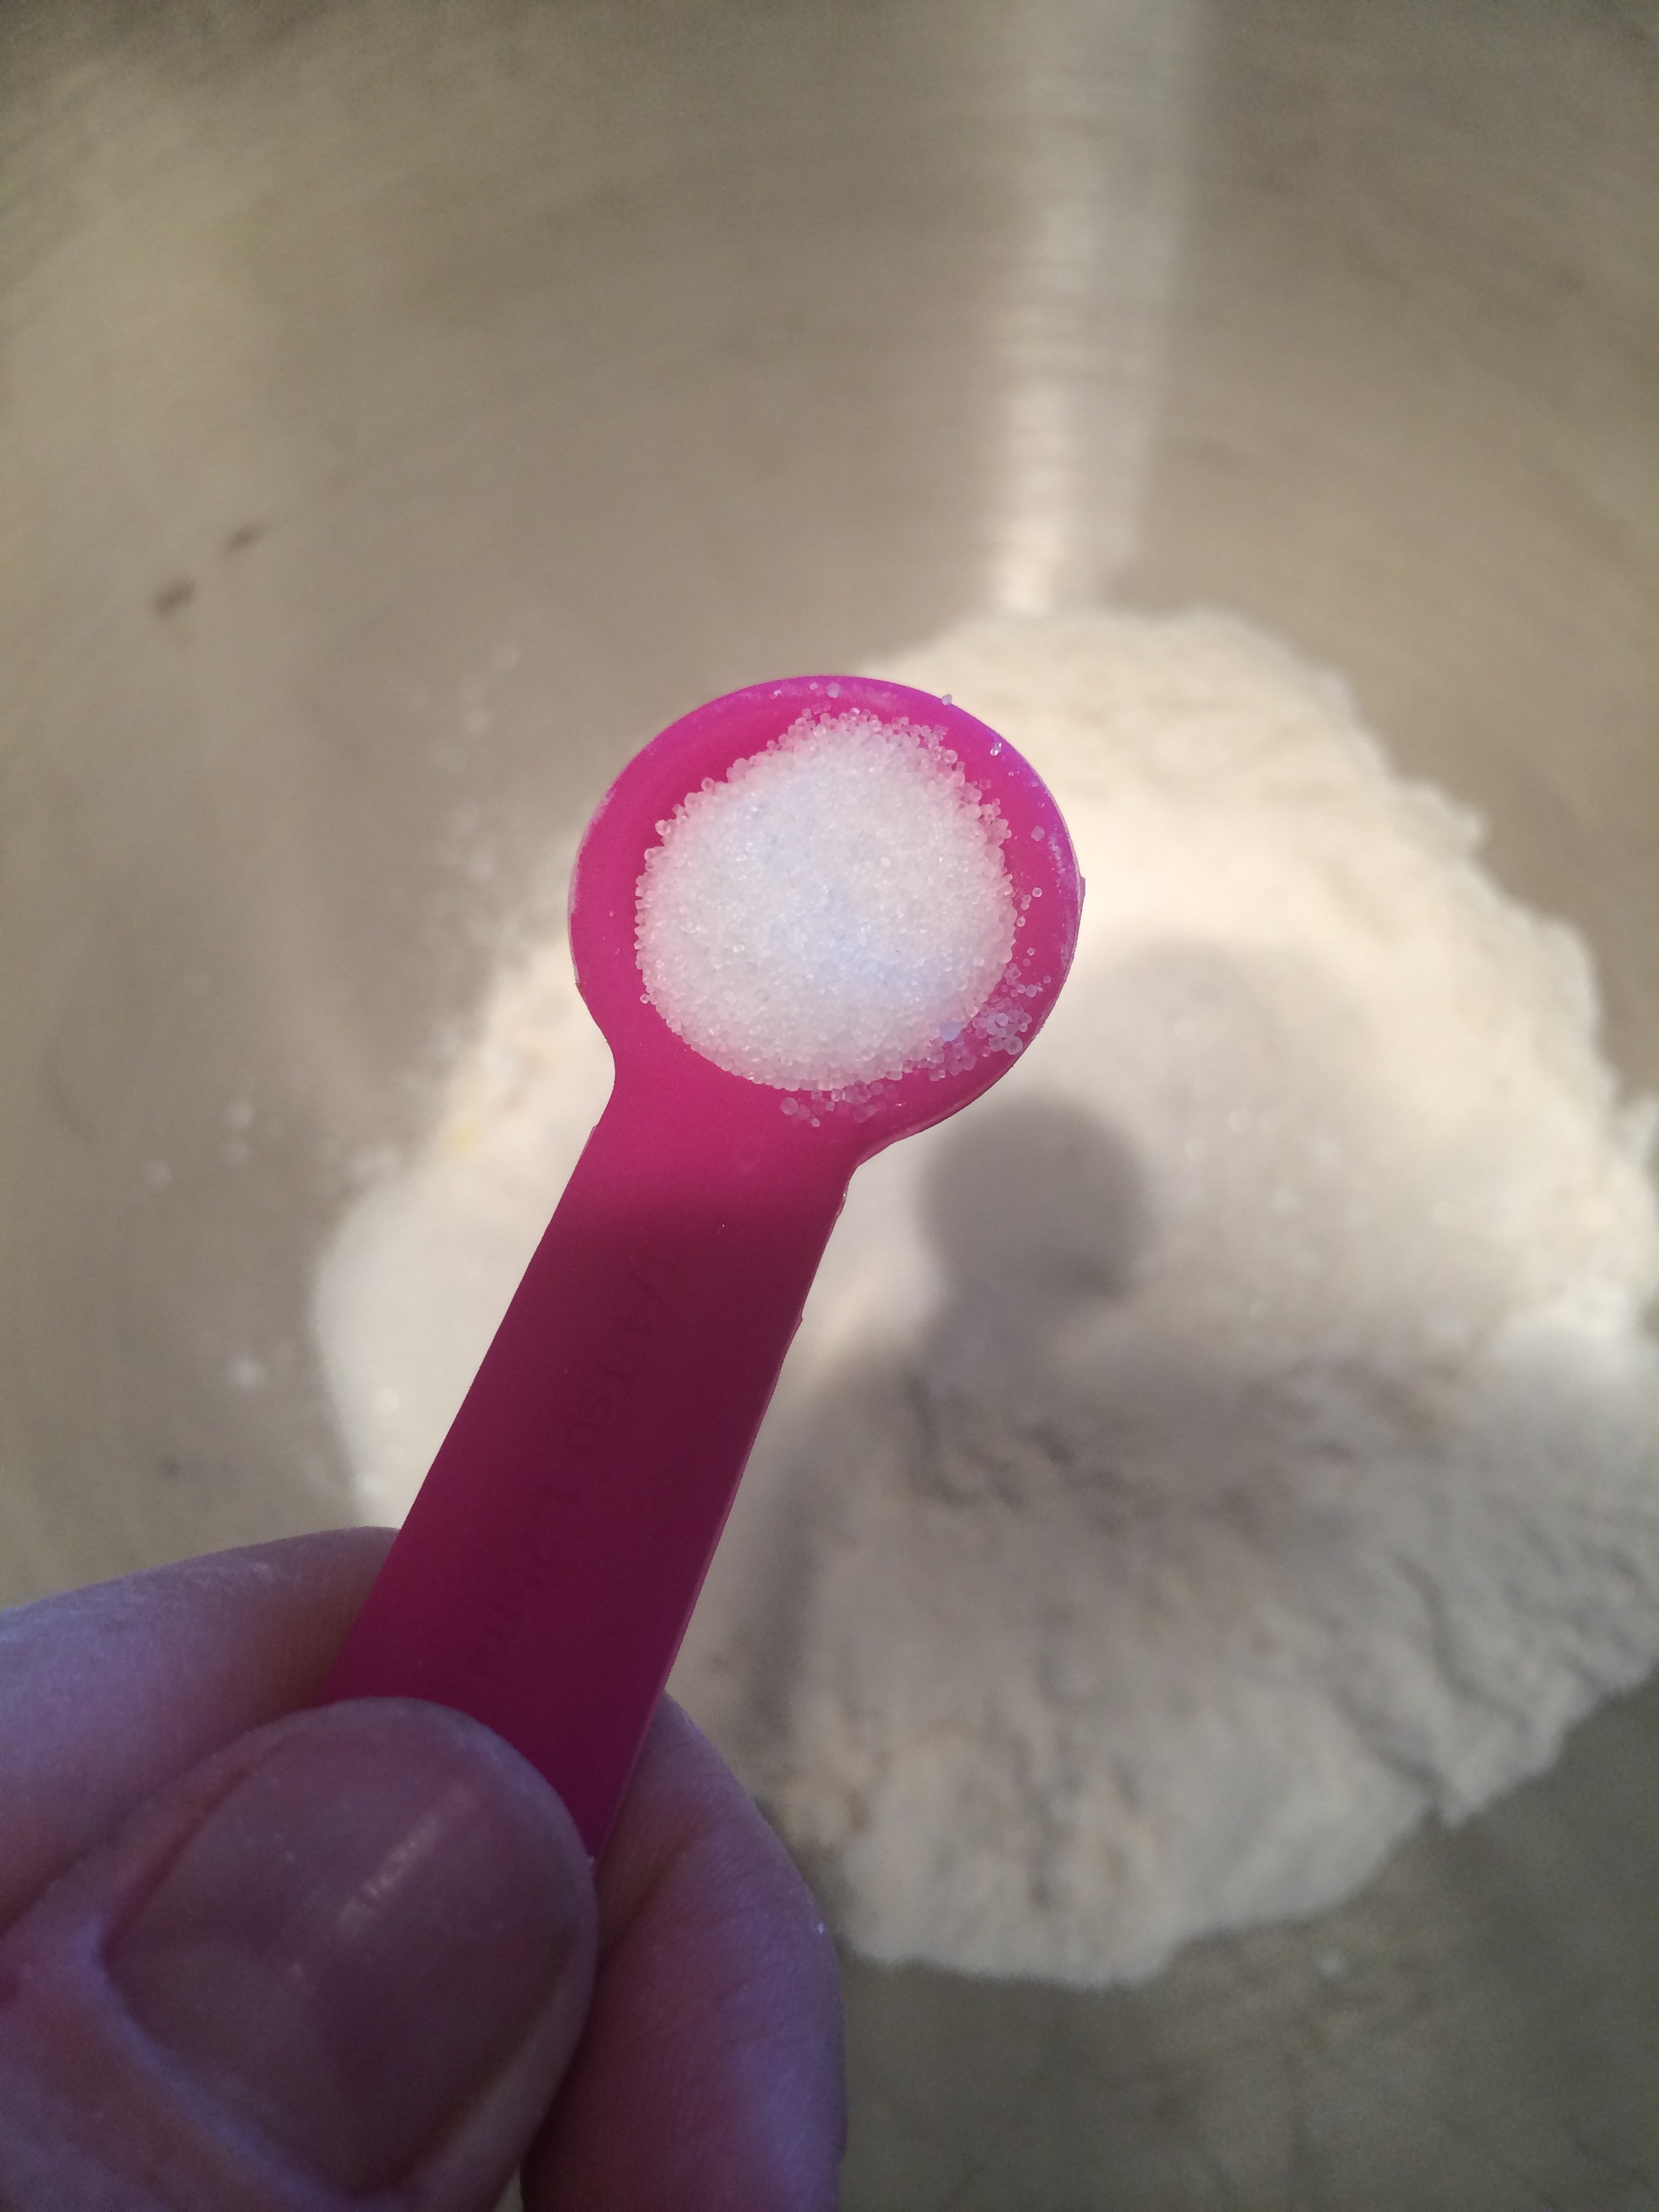
  • 2 Tbsp sugar
  • 1 1/2 Tbsp baking powder
  • 3/4 tsp salt
  • 3 eggs
  • 1 cup of beer (we used a light beer but you could experiment!)
  • 1/2 cup skim milk
  • 1/3 sour cream
  • 1/2 unsalted butter, melted down

How to Make:

Prepare for a delicious loaf of cornbread to come out of your oven, people. To make that a reality, preheat to 375 degrees and find your favorite loaf pan.

Now, my parents are firm believers in flouring pans for all breads and cakes and I must say, I swear by it too. To do this, spray the pan with Pam or another cooking spray and then drop a handful of flour into the pan. Working over your sink or garbage can, carefully turn the pan and pat the sides to spread the flour across all sides and the bottom of the pan. (The sound of my mom tapping the side of the pan as she floured it is a distinct sound that brings back memories. My mom made banana bread all the time. Seriously – ALL the time.)

Aug-Sept 2014 135

Before we dive into making the batter, gotta fry up that bacon! Use a skillet on the stove top and make sure to fry it up so it’s got a little crunch (at minimum). When the bacon is done, remove and set on a paper towel to absorb the grease and then leave the pan to cool as you’ll need a bit of the bacon fat later. Yes, we’re using bacon fat. You will love it. No complaints!

Once the bacon is cooled, chop it up into bite-size pieces.

Aug-Sept 2014 131

Now time to get the batter going. In your medium bowl or stand mixer, mix together the dry ingredients of cornmeal, flours, sugar, baking powder and salt.

Aug-Sept 2014 124

Aug-Sept 2014 125

Aug-Sept 2014 126

Aug-Sept 2014 127

Aug-Sept 2014 128

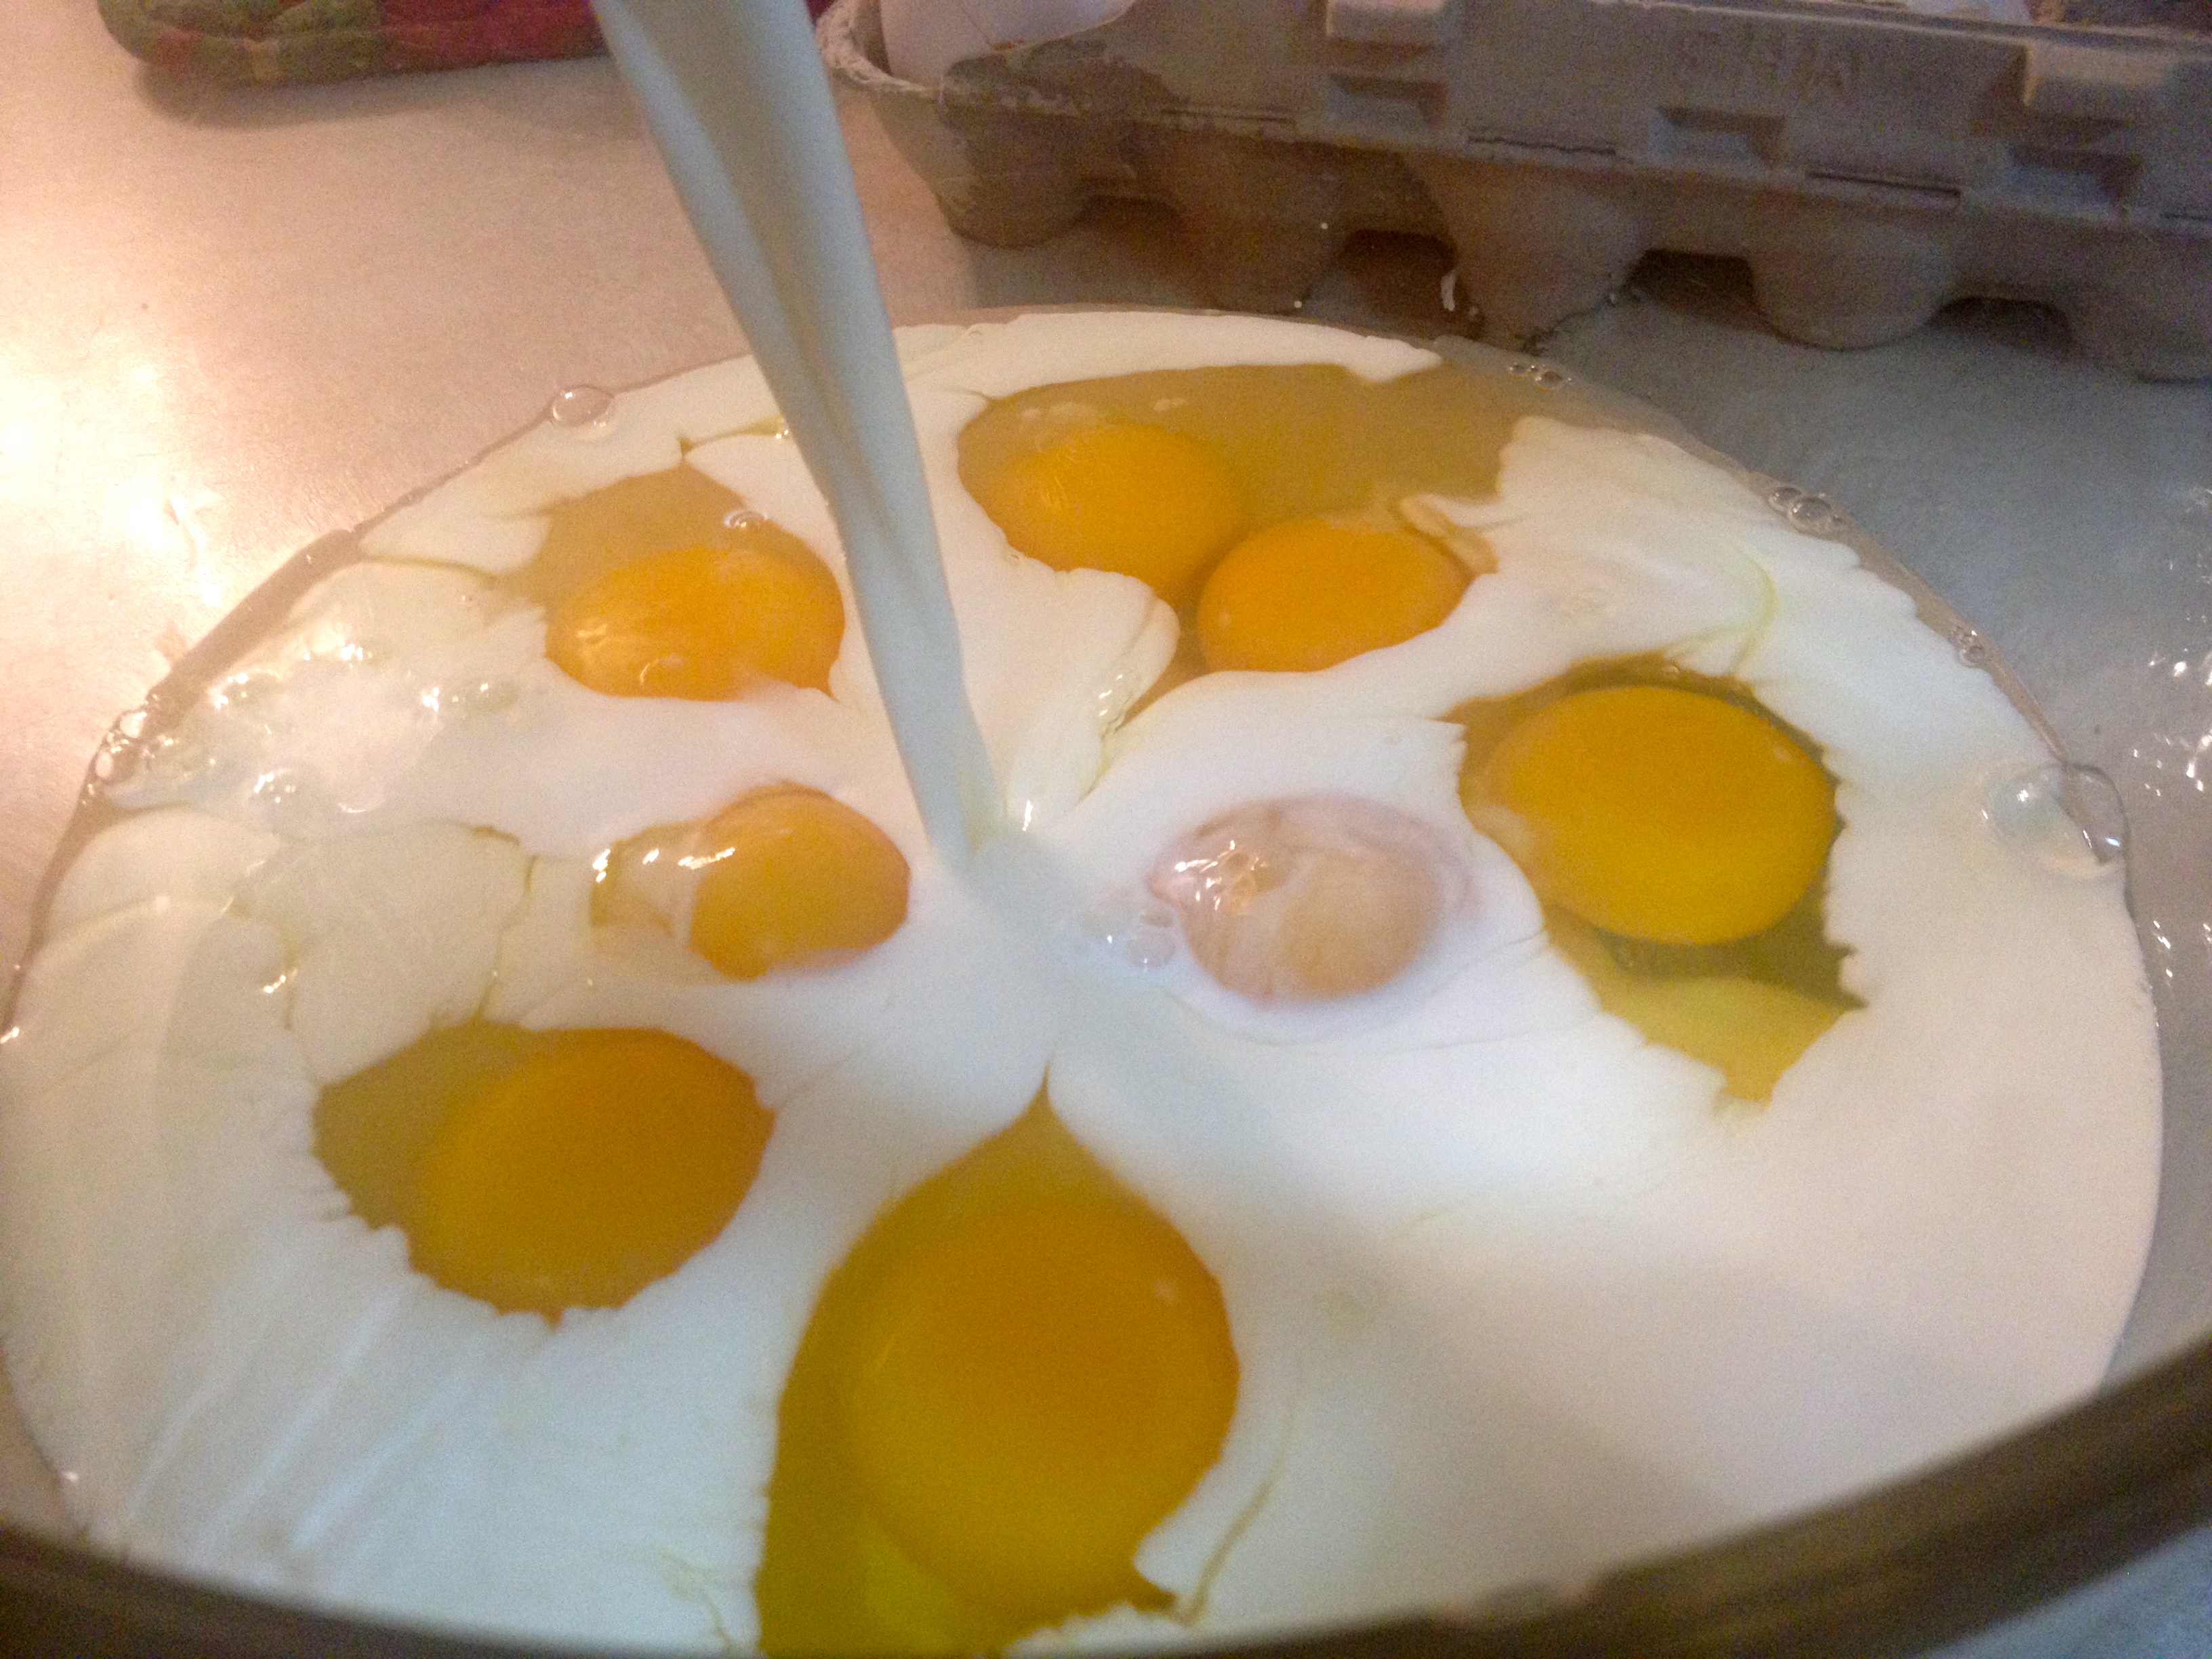
Once that’s all mixed together, you’ll grab a smaller second bowl to mix the milk (pictured below) and eggs (not pictured because I’m a moron) together, and then add into your dry ingredients. Add in the sour cream and the beer of choice (not pictured, but it did happen. Solemnly swear.).

Aug-Sept 2014 129

Last liquid to add is the melted butter and that bacon fat.

Aug-Sept 2014 130

Mix the batter until it’s all smooth and just before you finish, add in your chopped up bacon pieces. BEST PART. (Yes, you can sneak a piece or two. Who will know?!)

Aug-Sept 2014 132

Aug-Sept 2014 134

Pour your batter into your floured pan…

Aug-Sept 2014 137

…and then pop the pan into the oven and bake for 20-30 minutes. Use a toothpick or another wooden skewer to test the doneness (it should come out clean when inserted into the cornbread if it’s done).

Aug-Sept 2014 138

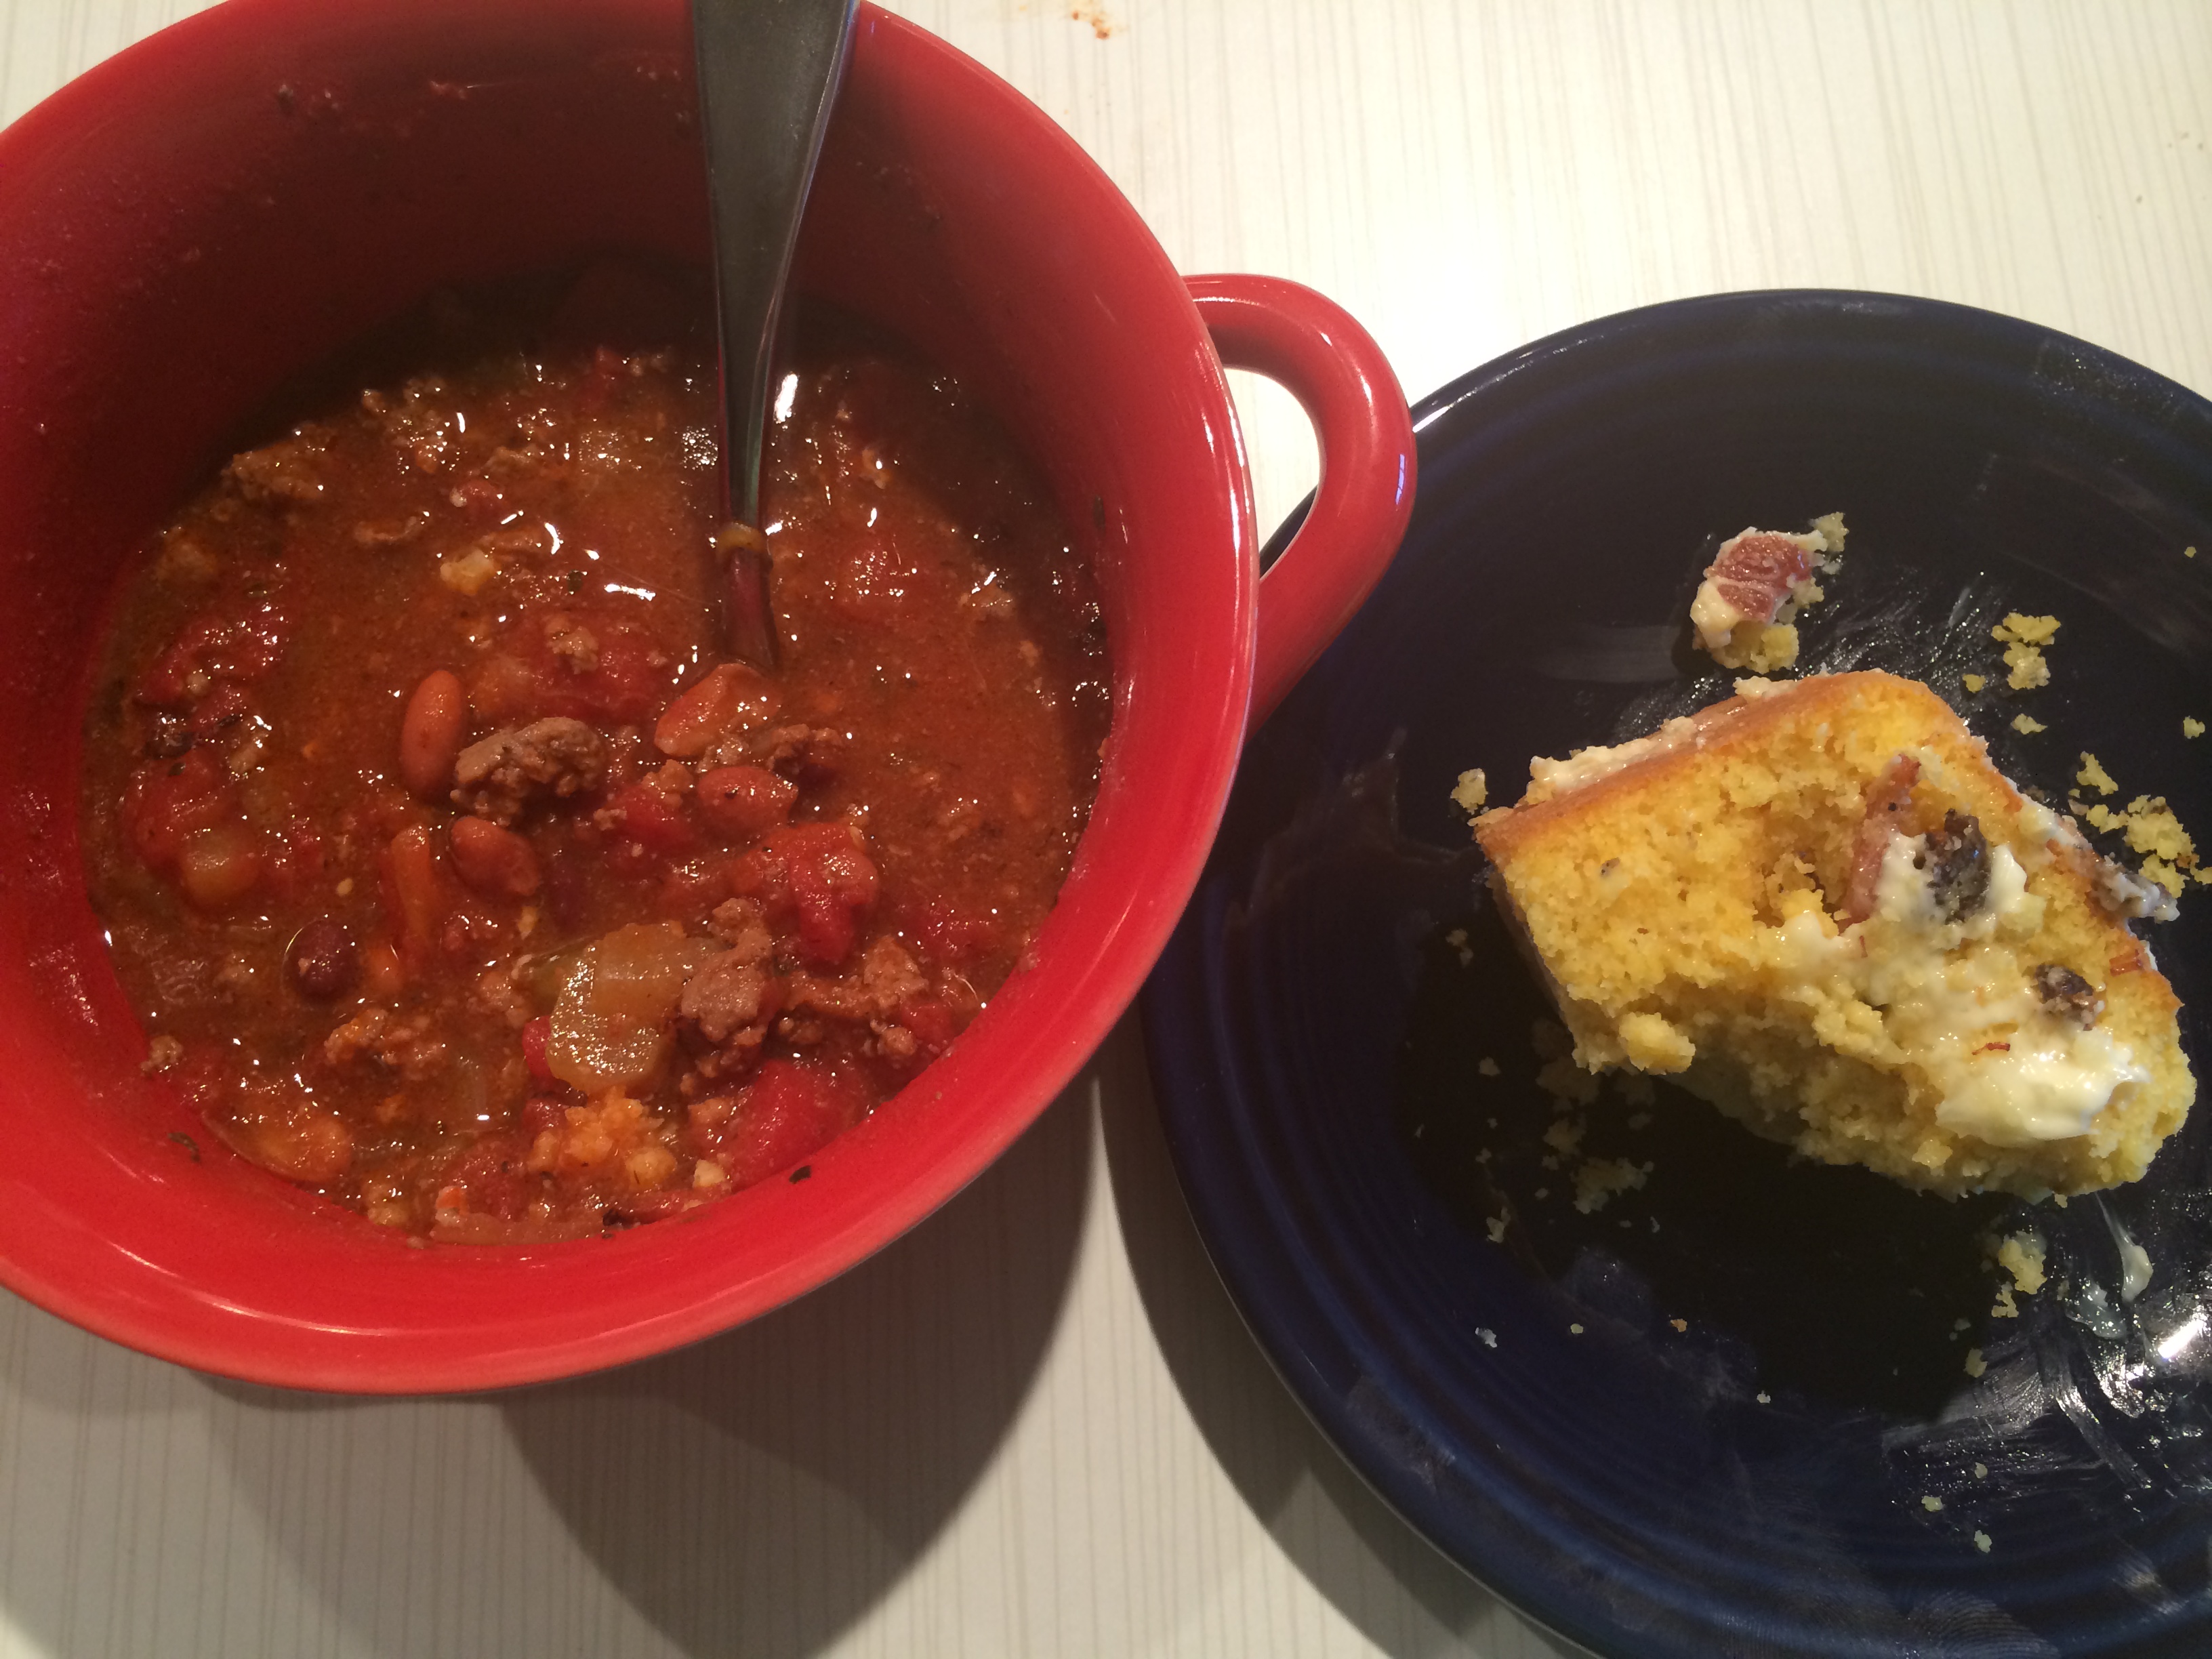
This had a BEAUTIFUL crust on it when it came out. Both Luke and I were ooohing and aaahing over how fantastic it looked and let me tell you, tastes even better!

Aug-Sept 2014 139

We ate ours with a big batch of our Nowinsky chili (coming to a future blog post near you) and it was perfect with something to dunk it with. It’s also really good with a little sweet butter spread on it. It has a tangy flavor and the sweetness of butter really compliments the tang of the bacon and beer mixed into the cornbread.

Aug-Sept 2014 144

Aug-Sept 2014 146

Gosh, I don’t know how many other words to use to get you to want to try this, guys. It’s SO tasty!

It stays really great for a few days, but definitely do recommend you devour it quickly. We found that after 4-5 days, the bitterness of the beer came out. But hey, it makes the fresh baked bread REALLY good, so it’s totally worth it. Just make sure to feed it to lots of hungry folks and I have no concern that you will gobble this up right away.

Aug-Sept 2014 151

Happy cornbread making, friends!

Advertisement

New York Breakfast Casserole

12 Jan

Happy 2014! With the New Year starting, felt it would be a great time to get back into the blog. There hasn’t been a shortage of cooking/baking/crafting…there has only been a shortage of gumption to write another post. Shameful, I realize. But here I am, giving this a go with the full intention of keeping post-writing gumption intact. If I don’t post again until 2015, please don’t be furious. But feel free to give me the crap I deserve (a LOT).

So, the blog resurrection of 2014 is starting off with one of my new favorite breakfast recipes. The need for discovering a new breakfast recipe came about as Luke and I were hosting some good friends overnight at the end of December. Ideally we wanted to make a breakfast that we could prep the day before (so we could be sleepy and lazy in the morning with our friends and not have to be up at the crack of dawn) AND that would be fairly easy. We were making quite a bit of food for the weekend (including this Steakhouse Pizza and TBM Salad) and easy to make / prep in advance were our two key factors.

Luke and I are both big bagel fans, Everything bagels to be exact. How can you not love the flavorful goodness of an Everything bagel?! And Luke is a BIG breakfast person to begin with…so we were trying to think of something epic to make for breakfast and when we found this recipe in my Smitten Kitchen Cookbook, well, we were smitten. Breakfast casserole with Everything bagels?!? Done!

We prepped it the night before, baked it in the morning,and four of us just about devoured the whole pan in one sitting. Luke and I were so excited about this recipe that we made it AGAIN only a few days later, for Luke’s family. It’s been getting rave reviews from all who’ve eaten it so I thought it was the perfect thing to blog about for you all.

IMG_4112

We added some of our own twists to the recipe to make this our own, but I can’t take credit for the original wonderful creation that Deb over on the Smitten Kitchen blog and author of the Smitten Kitchen Cookbook crafted up. I highly encourage you to give this a whirl!

Ingredients (Serves 8-10…OR…4-5 very hungry people):

  • 8 cups (or so) of Everything or Sesame bagels, chopped into bite-size chunks (you can do a bit more than 8 cups if you’re using dense bagels…you just want enough to fill a 9×13 pan)
  • 8 oz. of cream cheese (you could go with a light cream cheese here if you want to make this a bit healthier)
  • 1/4 medium red onion, sliced in a half-moon shape
  •  1 pint of cherry tomatoes, cut in half
  • 8 large eggs
  • 2 1/3 cups of milk (healthier version) or half and half (the not so healthy but delectable version)
  • 1 tsp salt
  • 1 tsp chopped garlic (we used a jar of pre-chopped garlic but about 2-3 cloves would work too)
  • 4-6 slices of bacon, torn into bite-size chunks
  • Ground pepper to taste

How to Make:

This recipe is really very easy to make and definitely goes fast with a co-chef in the kitchen or even a little helper if you have any of those at home who’d like to help!

IMG_4106

First, you’ll need to prep all of the ingredients: chop/tear your bagels…

IMG_4086

…halve your tomatoes…

IMG_4084

…slice your red onion…

IMG_4085

…measure out your garlic (which you can see we did after our other prep…but you should just do it now to save time)…

IMG_4099

…and fry up/microwave your bacon. We went the microwave route to save some time and grease splatter and DEFINITELY went with the 6 pieces of bacon. We are bacon-loving people. However…if you’re not into bacon you could always leave this out. This was one of our additions to the recipe that wasn’t in the original.

IMG_4087

Also, bring your cream cheese out of the fridge for it to soften as working with it later will be a bit easier. Preheat your oven to 350 degrees if you plan to make this right away.

Now it’s time to start to layer your casserole.

IMG_4098

You’re going to be creating three layers, so will need to divide your ingredients into approximate thirds. Lay about 1/3 of your bagel chunks in a large 9×13 pan. Scatter 1/3 of the halved tomatoes and sliced red onions on top. Sprinkle about 1/3 of your chopped garlic all over. Then, tear 1/3 of the cream cheese off and break it into small dollops. Place said dollops throughout the pan, doting the bagels evenly. Finally, throw 1-2 slices of bacon (which is torn into bite size pieces) on top, scattered evenly throughout the pan. When you’ve finished this part, you’re going to start back at the beginning with the bagel pieces and complete the layering two more times. Not too tough, right?

IMG_4100 IMG_4101 IMG_4102

Once your 3 layers are complete, whisk together in a medium-sized bowl the 8 eggs…

IMG_4088

IMG_4089

…the milk or half and half…

IMG_4091

…and the salt and pepper. You’ll want to add as much pepper as you think needed to give your full casserole enough taste. As the Everything bagels are already seasoned, we didn’t go too crazy. But if you’re into lots of pepper, then pepper away. It is YOUR casserole after all!

IMG_4093

IMG_4092

IMG_4097

Once your egg mixture is all whisked, pour it over the entire casserole ensuring you get the egg in all of the crevices.

Done pouring? Excellent. Getting excited to bite into this later?! We sure were.

IMG_4103

Pop this guy in the fridge overnight if you’re prepping in advance (we covered it with aluminum foil overnight). If not, then pop this guy into your 350 degree oven for an hour to hour and 15 minutes. Ours was always done at the hour mark but your oven may take a bit longer. No need to cover this while baking.

You’ll know it’s ready when the top of the bagels starts to turn a little brown. And be prepared for a VERY pretty casserole. It’s definitely one of those times you’ll take a picture and want to share because it just looks so darn amazing. Those tomatoes and onions just add the right pop of color, I think. To double-check it’s ready to come out, insert a knife it the middle and check to see that if the knife is rotated a bit, no liquid comes out…meaning eggs are set).

IMG_4069

Now, this will smell so good that a bit of drool may start to go down you chin. But WAIT! Let the casserole set for about 10 minutes after you take it out of the oven. That will ensure ALL of the egg is fully set.

IMG_4111

Use a big spatula to slice this up – big squares work well. You will be amazed at how delicious this is, I promise.

IMG_4109

IMG_4113

Dang, I sure wish I had some of this right now. My stomach has started to growl remembering how GOOD this was. The cream cheese and the egg, mixed with the warm pop of tomatoes and the chewy, flavorful bagels…wow. Um, I’m hungry.

I hope you and whomever you serve this to find it as delectable as we did and mark it as a favorite to make for many breakfasts to come!

Enjoy!

Bacon-Gruyère Meatloaf

18 Jun

Oh baby. Meatloaf. One of God’s gift to man, if you ask me. I mean, a loaf…of meat. If meatloaf is wrong…I don’t want to be right.

You catch my drift. I LOVE meatloaf.

Now, my mama makes killer meatloaf, and I don’t know if this recipe is quite up to the standards that is her magnificent recipe. However, it comes pretty darn close.

What makes this so good?

Bacon.

Delicious, fantastic, bacon goodness.

Yes.

So, I found this recipe in a new cookbook – it’s a compilation of the many recipes my favorite magazine puts out each month: Real Simple. This cookbook features appetizers, main dishes, sides and desserts for every season.

Never mind that this recipe is technically “Fall”.

I wanted meatloaf. AND I had all the ingredients. That happens 2% of the time I decide to make something, so I took that as a sign that I must…make…meatloaf.

Also, this is an incredibly easy recipe, hence the magazine’s title “Real Simple”. Their recipes are always delicious and require very little skill in the kitchen. And no fear if you don’t have access to this fabulous cookbook (though I do highly recommend) you can see the recipe on their website here.

Geniuses they are.

Ok, enough with the rambling, let’s make some meatloaf!

The original recipe has a suggested side of roasted carrots and onions, which I passed on. I had plenty of veggies to make a side salad with, so I went that route. But if you’d prefer the carrot/onion side concoction, check out the original recipe. Looks quite tasty!

Ingredients (I made a 2/3 variation of this as I only had access to 1 lb of meat. But here is the full-fledged version, which serves 4)

  • 1 1/2  pounds ground beef chuck (I used ground turkey instead, but I would imagine ground beef chuck would make this even more delicious)
  • 1/4  cup  bread crumbs
  • 1/4  cup  ketchup (You may also want some extra to have around to dip your meatloaf in, if you’re into that sort of thing.)
  • 1 small red onion, coarsely chopped (Or if you’re extra skilled, the recipe calls for ‘coarsely grated’. I preferred the chopping method)
  • 2  slices bacon, chopped (<— Best part!)
  • 2  cloves garlic, chopped
  • 1  large egg
  • 3/4  cup  grated Gruyère or Cheddar (I had cheddar on hand, so that’s what I used. My imagination tells me Gruyère would be just as, if not more, tasty)
  • Kosher salt and black pepper

How to Make:

This recipe is so easy, you may not even believe it.

First things first…preheat that oven to 400 degrees. Also, heat up a skillet to cook your bacon.

Fry up your bacon first. While it’s sizzling you can start mixing your other ingredients.

In a medium-ish sized bowl, mix up all of your ingredients EXCEPT 1/4 cup of your shredded cheese. Also toss in 1/2 teaspoon of salt and 1/4 teaspoon of pepper.

Once your bacon is all finished up and you’ve let it cool so you don’t burn your fingertips off, crumble it up and add it to your meatloaf mixture. Don’t try to crumble it before it’s cooled down. Who does that? (Oops.)

While cooking your bacon, you may or may not decide to fry up 3 slices…and consume 1 of those while you’re waiting for your bacon (and fingertips) to cool. I mean, bacon is good. Why not enjoy an extra slice?

Once your bacon is thoroughly mixed in with the rest of your ingredients…

…spoon your meatloaf into a sprayed pan. The recipe recommends a 8″ x 4″ pan. Then, sprinkle that remaining 1/4 cup of cheese on top. Admire how pretty it looks. Sigh.

You must now patiently wait for your loaf of meat to cook. 40-45 minutes to be exact.

You could also use this time to consume that lovely 3rd piece of bacon.

Just trying to help.

As your kitchen starts to smell like glorious bacony-cheesy-meat, perhaps whip up whatever side you are planning on enjoying. For me it was a lighter side salad to balance the rich meatloaf, but roasted veggies (such as the carrots/onions in the original recipe) would be great if this is being made in the Fall or Winter. That’d make for one cozy meal. As it was 90 plus degrees when I made this…didn’t want the ‘cozy, cold weather’ feel for dinner. But that’s just me.

My younger brother likes soup when it’s 90 degrees. Some people just like warm, cozy food at all times of the year. Weird, but that’s life I guess.

Ok, back to meatloaf. Pull that baby out once it’s done. Let it stand for about 10 minutes and try to not cut into it and take a bite. I solemnly swear I did NOT cheat and take a bite. I was very tempted though.

Before you slice this up, pat the top with a paper towel to get the grease off. I had a few little pools on top (as seen in the glow of the picture above), nothing ridiculous. You can also ‘pour’ it off, but I just envisioned my meatloaf landing upside down in the sink. That would happen to me.

Slice this up, serve with your choice of side and enjoy!

Ahhhh….meatloaf.

Da Mama’s Potato Salad

6 Apr

Be prepared for several blog posts in the next few days – I have been a cooking machine! With assistance, of course. The majority of recipes coming up will be some “Vose Favorites” which are either homemade recipes or passed down through my parents.

First up is one of my personal favorites, great for Spring or Summer in particular. It’s my mama’s potato salad – Da Mama as she is often referred to. She made up this particular concoction, as many probably do with their potato salad recipes. I love this one because it’s both simple and full of bacon. I have no shame in admitting the latter.

You don’t need a terrible amount of ingredients:

Ingredients:

  • 5 big Idaho potatoes – peeled and diced in quarters (or smaller pieces if they’re extra massive)
  • 1 celery stalk – diced
  • 2 hard boiled eggs – diced
  • 4 slices of bacon – diced
  • 1 tsp of relish
  • 1/2 cup mayonnaise (you can always add more as you go, but start with between 1/4 and 1/2 cup)
  • Salt and pepper to taste

How to Make:

First up – locate two eggs.

Plop them into a saucepan with water and a dash of salt – boil them up. As soon as the water begins boil, put the lid on the saucepan and turn off the heat. Let it sit for 30 minutes. This is Da Mama’s process.

Meanwhile….grab your potatoes and your potato peeler. At one point, when I made Mom’s potato salad I had no utensils as I happened to be living in Europe and was dirt poor…I used a knife. If you choose the latter method – just be careful and don’t peel anything other than the potato. I speak from experience. Ouch doesn’t quite cover it.

If you have a sous chef – as I happened to last evening – have them dice up the celery while you’re peeling potatoes. Please harass them throughout the dicing/peeling process. It’s a necessary step.

Once you’ve peeled your potatoes, slice them in 4 or 6 pieces each, depending on the size. Note the nicely stacked diced celery. Nicely done sous chef.

Then pop the potatoes into a pot with water high enough to cover the potatoes. Boil them until when you stick them with a fork, the fork can easily splice the potato. Avoid overcooking – consistency of cooked carrots (aka gross mush). Avoid undercooking – consistency of apples (aka crunchy).

After your eggs sat for their 30 minutes with the lid on, pour out the water and pour in cold water instead. Again, let your eggs hang out for 30 minutes in their new cold water bath. This is the continuation of the Da Mama’s process.

Now it’s bacon time! Grab four slices and lay them on top of a paper towel upon a large dinner plate. Pop into the microwaved and heat in 1 minute increments, flipping them each time. Or, if you’re into the stovetop cooking – fry up your bacon that way. Depends on how much time you’d like to devote to both cooking the bacon and cleaning the splatter after. I usually cook via stovetop – but Mom insisted with the microwave to both save time and her stovetop from grease dots.

Once your bacon is thoroughly cooked, dice it up into small pieces. When the potatoes are cooked – dice them up into bite size pieces and throw them into a bowl. Dice up the hard boiled eggs too once they’ve finished their cooling process. Throw in the celery too.

Throw in the mayonnaise. Start with only a bit…about 1/4 cup. Stir it in and assess how much you need to add in. I added just about 1/2 cup total. Mix in all in. Everything should be lightly coated but not glooping (is that a word?) with mayonnaise. That would be gross. Don’t do it.

Now, add in your bacon. Doesn’t it look excellent? It MAKES the potato salad. I’m not joking. One bit.

At this point you can also add in your tsp of relish. Mix it all in – salt and pepper it up as well. More pepper than salt. Lotsa (yes, that’s a word) of pepper according to Da Mama.

You have now made the best potato salad on the planet. Be very pleased with yourself. Then, dish yourself a nice full dish and devour it. Maybe you even want a nice full larger dish. No judgment from this person. Mmm…Da Mama’s Potato Salad.

Creamy Bacon Cheese Grits

25 Mar

Something I recently tried and loved – grits. This was on that same trip to Memphis that I mentioned a few posts back. I had shrimp and grits while out to dinner with my friend Marissa one night. They were so much better than I ever imagined them to be. All those times I imagined grits. Which happens a lot. Not really. But I didn’t expect them to be as delicious, lets just say that.

When I got back from my trip and made my next grocery store excursion – I went and found some grits. I knew I’d have to give them a whirl in the kitchen…but wasn’t yet sure what type of recipe I’d use them in.

My bff the Pioneer Woman (we may just be bffs in my dreams, but that’s ok) has a few delicious recipes for grits on her website. I decided this weekend I was going to make them and looked through some of the varieties she had posted. One stood out – Creamy Bacon Cheese Grits. Doesn’t that sound fantastic?!

I had a relaxing Saturday night in and cooked away while watching the Notebook. Pretty ideal in my world, but I realize that may seem rather dull to my peers. That’s alright – judge away!

Back to the grits which are fairly easy to make:

Creamy Bacon Cheese Grits:

Ingredients (to make 6 servings, which is cutting the recipe Ree posted in half):

  • 4 slices Regular Bacon, Cut Into 1/2-inch pieces (I like bacon, so I left mine in larger chunks. Up to you and how much you love bacon.)
  • Half of a whole Yellow Onion, Chopped
  • 1 cup Stone Ground Grits (I used stone ground white grits, but I believe any type should work!)
  • 2 cups Low Sodium Chicken Broth (I’m a moron and grabbed chicken stock at the store instead…but I looked up if this was a decent substitute and it is. But for the legit recipe, broth is recommended.)
  • 1 cup Water
  • 1 cup Heavy Cream
  • 3/4 cup Grated Cheese (I used a Colby & Monterey Jack version)
  • 1 dash Cayenne, For Heat
  • Salt As Needed
  • Black Pepper To Taste

How to Make:

Here we go! Grab a cutting board and the bacon and start slicing it into 1/2 inch (ish) pieces. As I stated above, mine were a bit larger because I love bacon. But up to you. Throw the diced bacon in a big pot over medium heat for a few minutes (I went for about 4 min).


Then add in the onions to cook with the bacon for a few more minutes (I gave this about 5 ish min). The bacon should be “chewy and onions are golden brown” when this step is complete, according to my bff, the Pioneer Woman.

Next is adding the grits, chicken broth (or chicken stock in my case) and the water. Stir it all up together and wait until it comes to a boil. At that point, reduce the heat so it can simmer  for about 30-40 minutes. You’ll want the lid on the pot for this simmering process.

Throw your spoon in there every now and then to give a quick stir. Don’t reach it and taste test the onions, bacon and grits combo. That’s bad…but it tastes SO good. (I did this on average 3.8 times. No judgment from me if you taste test.) If your grits start to look dry, splash in a bit more of the broth.

After the 30-40 minutes of simmering has passed, it’s time for the beloved cream. Pour it in! Put the lid back on and simmer again on low heat for another 30 ish minutes. This is hard because your kitchen and remainder of your abode (condo, apartment, house, grass hut) all start to smell fantastic. If you must, perhaps one more taste test will help get you through the next 30 minutes.

Once the looonnnggg 30 minutes has passed, remove from heat and add the seasonings – cayenne, salt and pepper. Also, add in your 3/4 cup of cheese, which will melt into the glorious concoction after a few stirs. Then pour into bowls, on to plates and serve with whatever you’d like. I had mine all by itself with a very tasty beverage. But most want something more for dinner, so if you have a great pork chop or chicken breast – throw these on the plate as a side to the meat. Enjoy the wonderful goodness of grits!

%d bloggers like this: