

I was always a bit hesitant about scones. They seemed like muffins’ dry and boring cousin. But that was until I met Luke, a man obsessed with scones. So I actually began ordering scones in restaurants and cafes and found that when done right, they can be AMAZING! My favorites were ones where there was fruit involved, blueberries or strawberries. And I figured, that it couldn’t be too hard to try to make some…
You know how when you get a new cookbook, there are just some recipes that jump out at you and you KNOW you have to try it?! Regardless of the time or the steps, sometimes the picture or the name of a recipe jumps out of the cookbook to me. I know which recipes these were for each of the dozen cookbooks I own (an example, Chipotle and Rosemary Roasted Nuts from Barefoot Contessa’s How Easy is That? cookbook). One of these such experiences was with The Smitten Kitchen Cookbook (another fairly new favorite cookbook of mine, from the blog Smitten Kitchen) and her recipe for Whole-Wheat Raspberry Ricotta Scones.
I now had the perfect reason to make scones: I finally came to the conclusion these could be delicious, I could feed my husband a good portion of them (and earn some brownie points, perhaps) AND I had a great recipe to start from.
I made these the first time last Christmas, following the recipe to a ‘T’ from the cookbook. I loved them and thought they turned out incredibly moist and delicious. However, I wanted to make them again and put my own spin on them. Particularly, I wanted to experiment with using something instead of ricotta, as I don’t normally have that just ‘hanging out’ in my fridge.
So, this is my own spin on the recipe from Deb’s cookbook. I think the original recipe is great and highly encourage you guys to pick up her cookbook, flip to page 15 and give it a go. You can also try my twist on it below and see what you think!
I didn’t have whole-wheat flour on hand and used cottage cheese instead of ricotta, so the texture and taste of mine is slightly different. I personally loved the twist and will continue to make them this way in the future, especially as it means I likely could decide to make these and have everything I need on hand and not require any grocery store trips. However, making them with the original recipe gives more texture and makes them a bit thicker, due to the ricotta mixture. So it’s up to you!
Ready for scone-making? Here we go…
Ingredients:
- 2 c. all-purpose flour
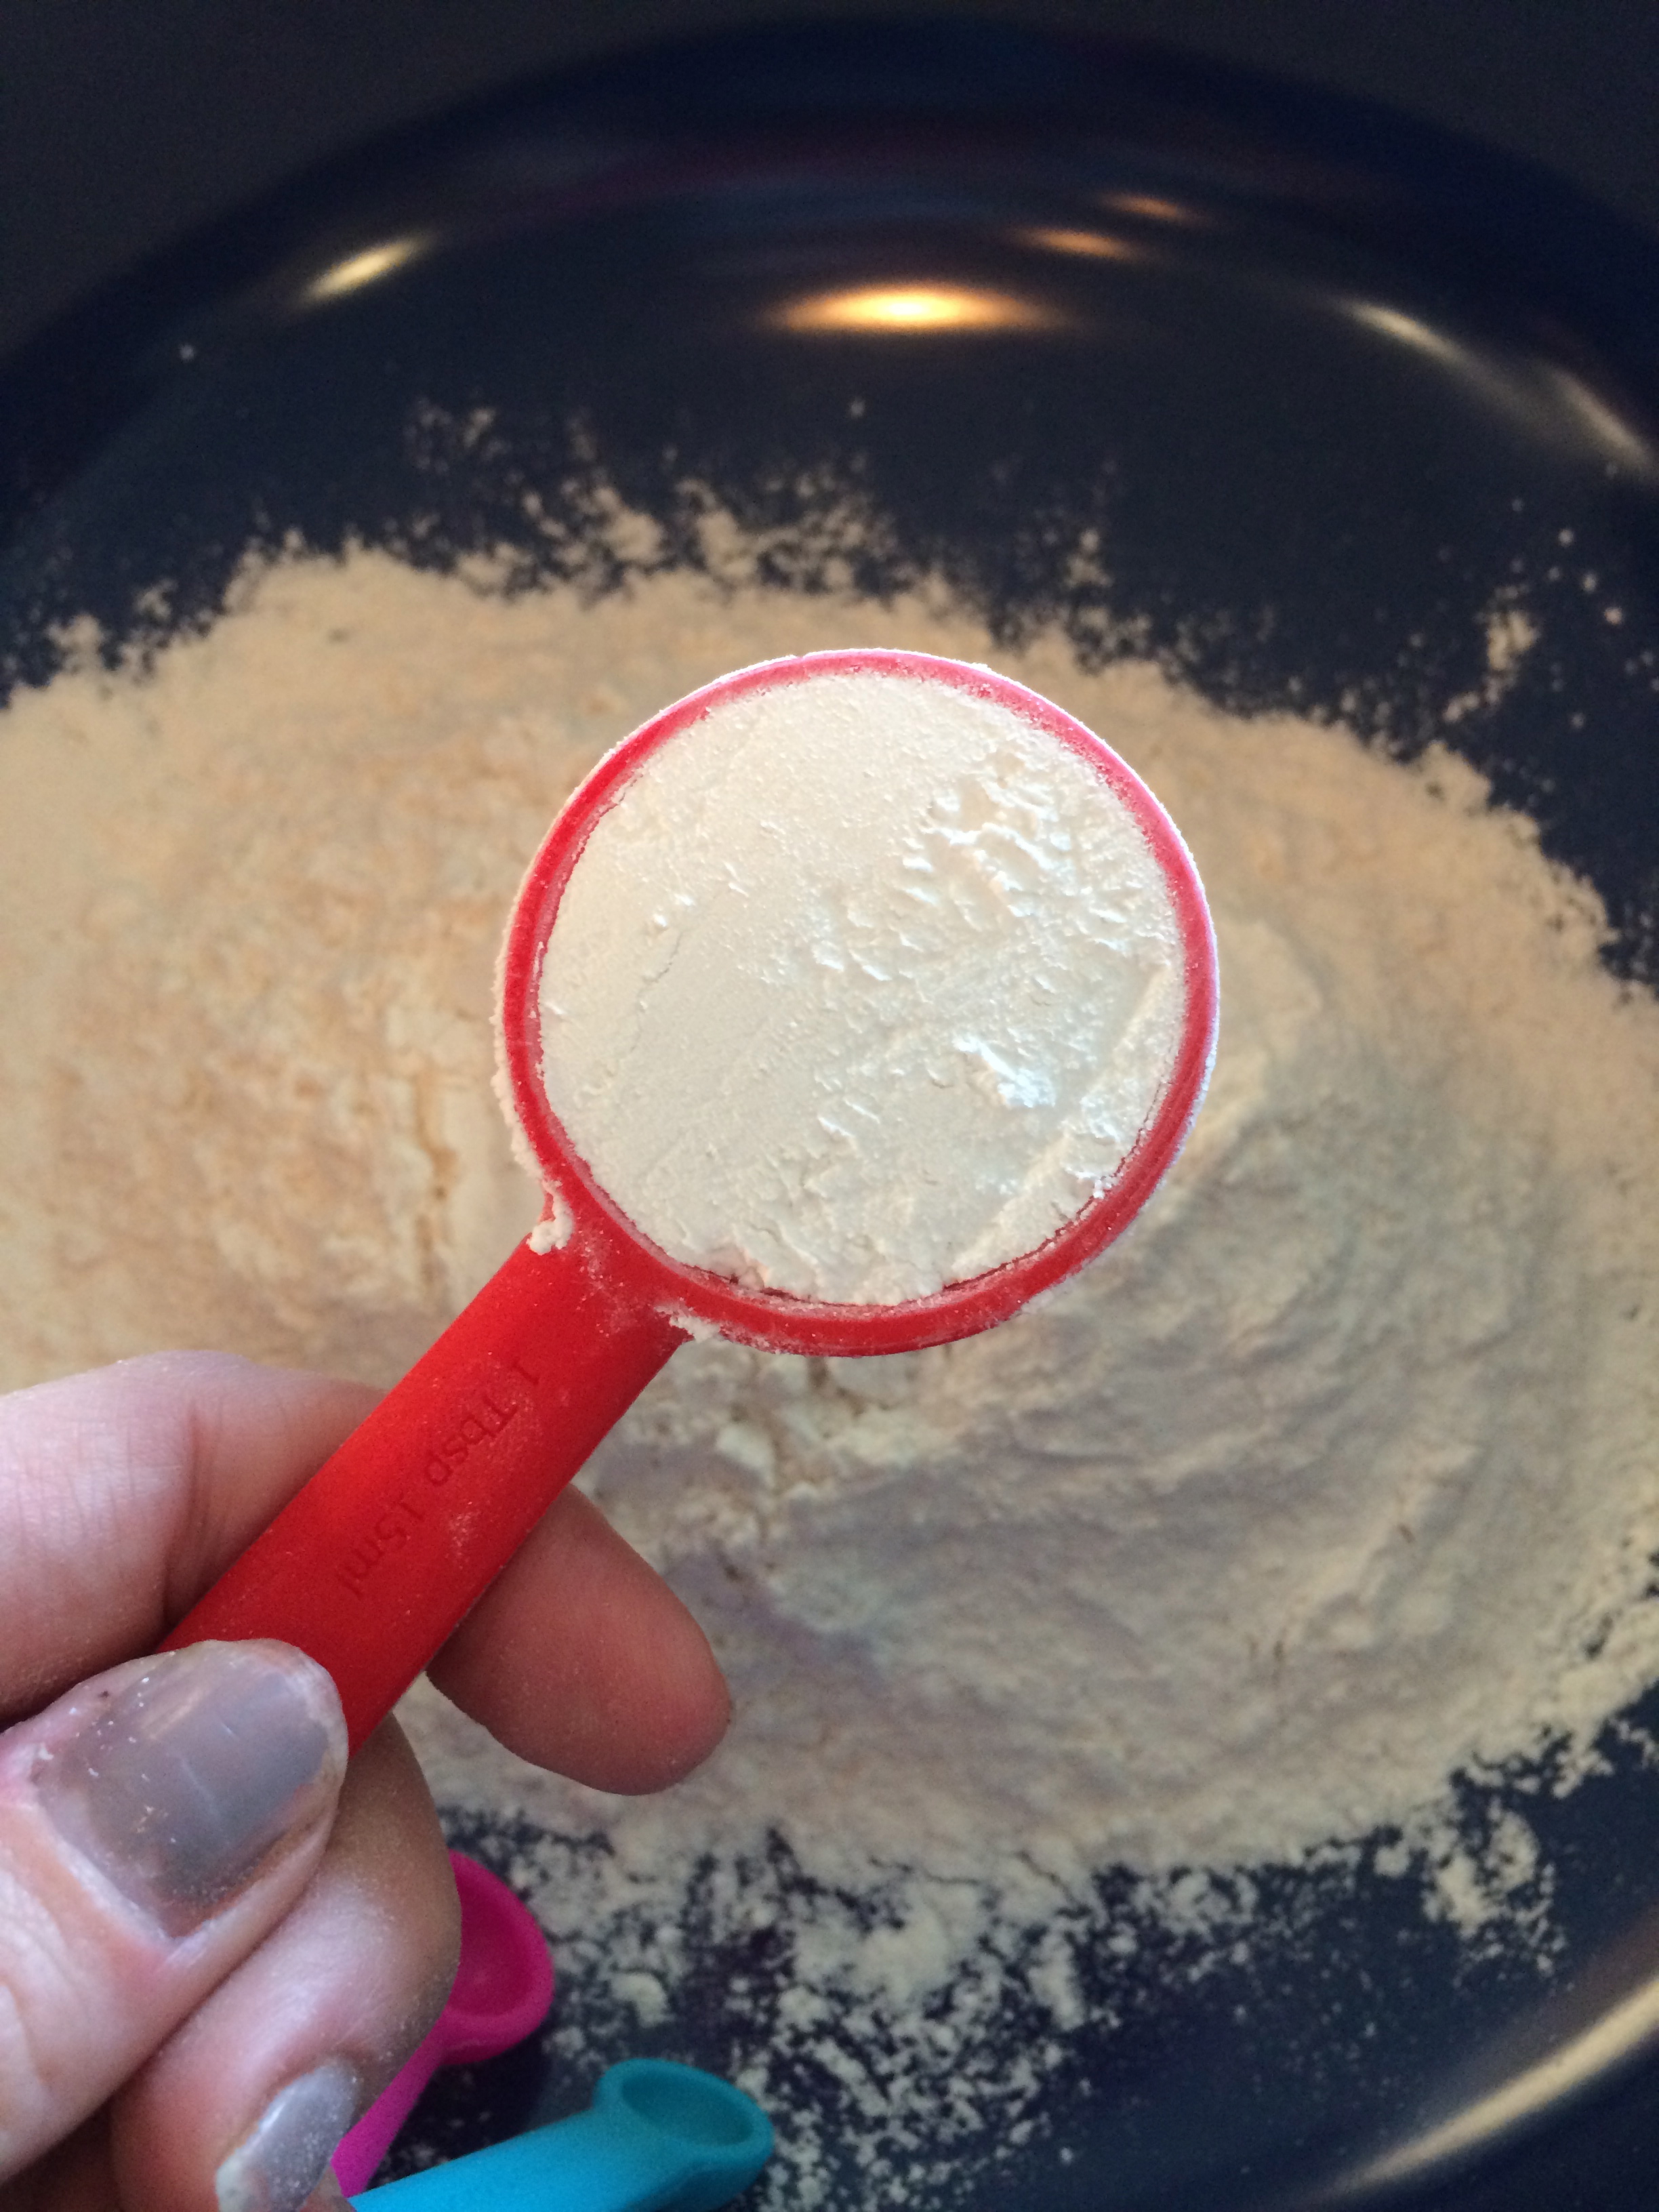
- 1 Tbsp baking powder
- 1/4 c. sugar
- 1/2 tsp salt
- 6 Tbsp cold unsalted butter
- 1 c. fresh raspberries (or insert in another fruit you want to use, blueberries or strawberries could be great!)
- 3/4 c. skim milk cottage cheese
- 1/3 c. heavy cream
How to Make:
First things first, preheat your oven (which I always seem to forget to do) to 425. Next, prep your baking sheet by lining it with a big sheet of parchment paper. My parchment paper loves to just roll itself back up in a ball so I set a drinking glass on each end to help keep it in place. Genius move, I know.
Next up: dry ingredients. Measure out the flour, baking powder, sugar and salt and whisk it all up together in a medium-sized bowl.


Now, butter time. Grab your butter directly from the fridge when you’re ready for this step. Chop it up into little cubes and then drop those directly into your bowl of dry ingredients. As I lacked a pastry blender, I went with the finger-mixing method. Gently work the butter into the dry ingredients until the large butter pieces start to become little pea-size guys. The butter should be mixed in enough that the dry ingredients just look a bit more like a sandy mixture, kind of with a breadcrumb consistency.


With whichever fruit you decided to use, throw it on a cutting board and chop it up a bit. Strawberries you’d want to definitely chop down into smaller pieces but blueberries and raspberries can just get a quick rough chop and be all set. Once you’re done chopping, throw the fruit into the dry ingredients.


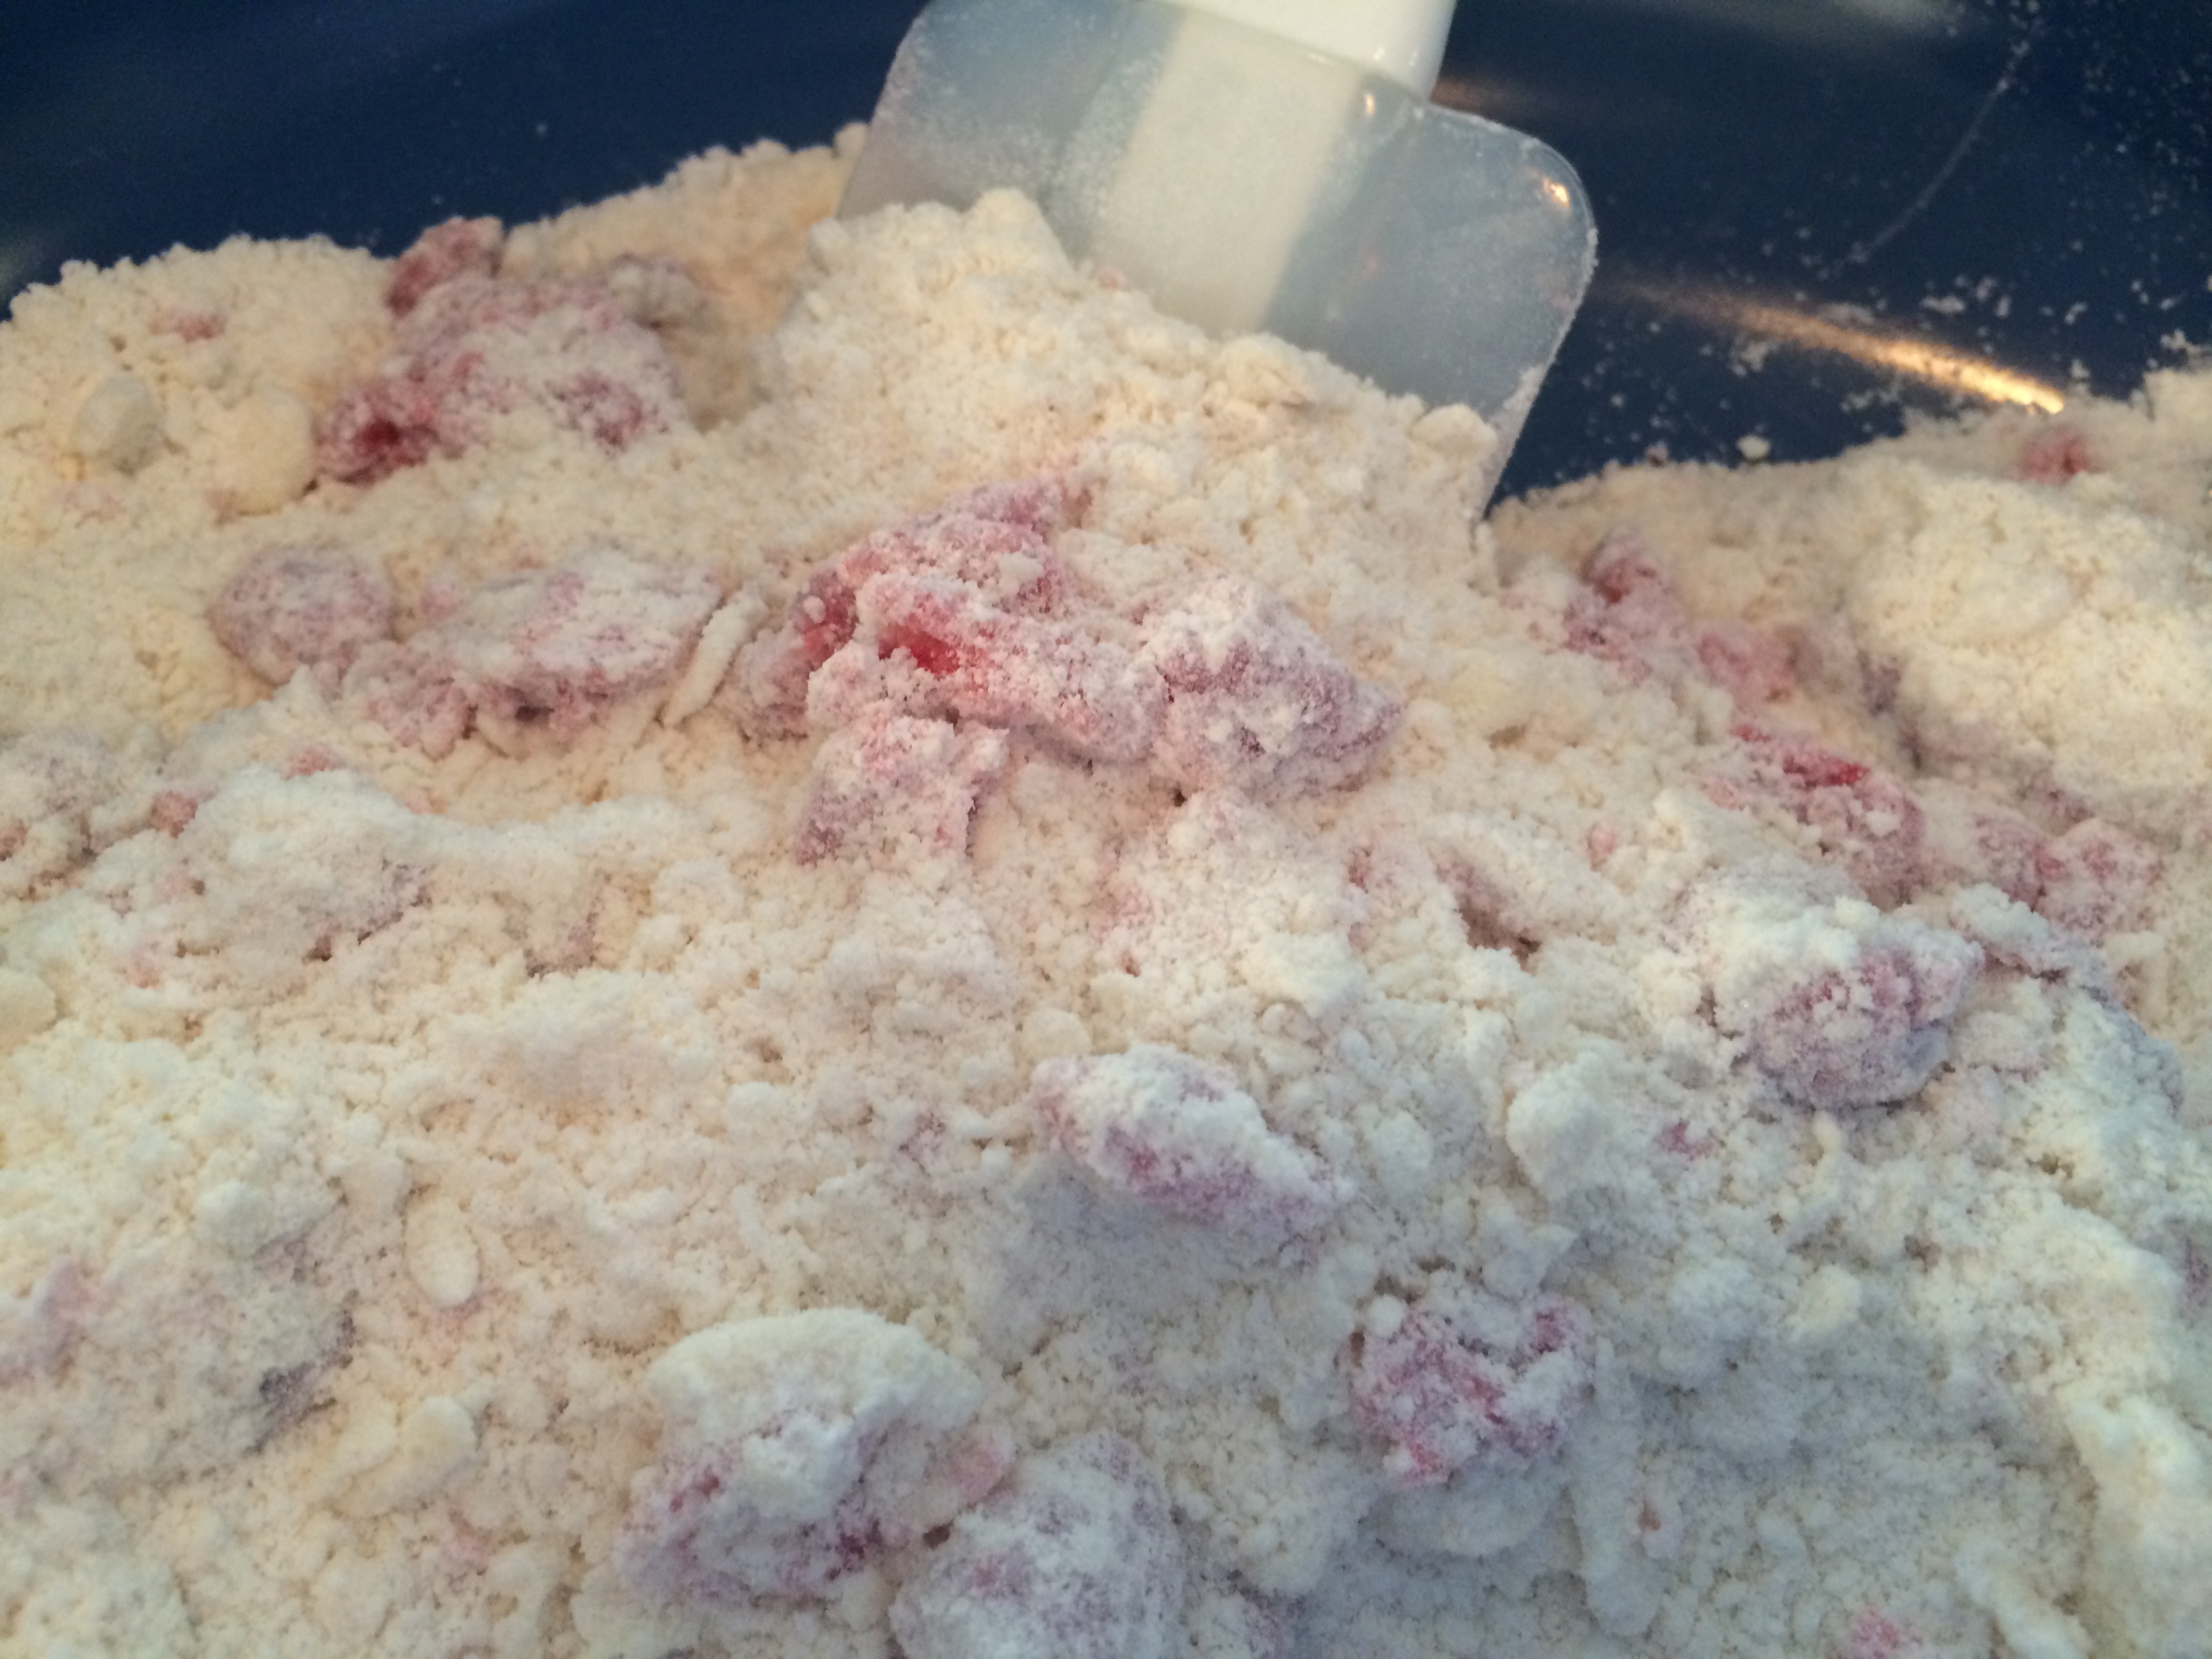
Last, but certainly not least, measure out and throw in the cottage cheese and the heavy cream. Stir everything together gently, ensuring all the dry ingredients are exposed to the wet ingredients, soaking up all the dairy goodness.


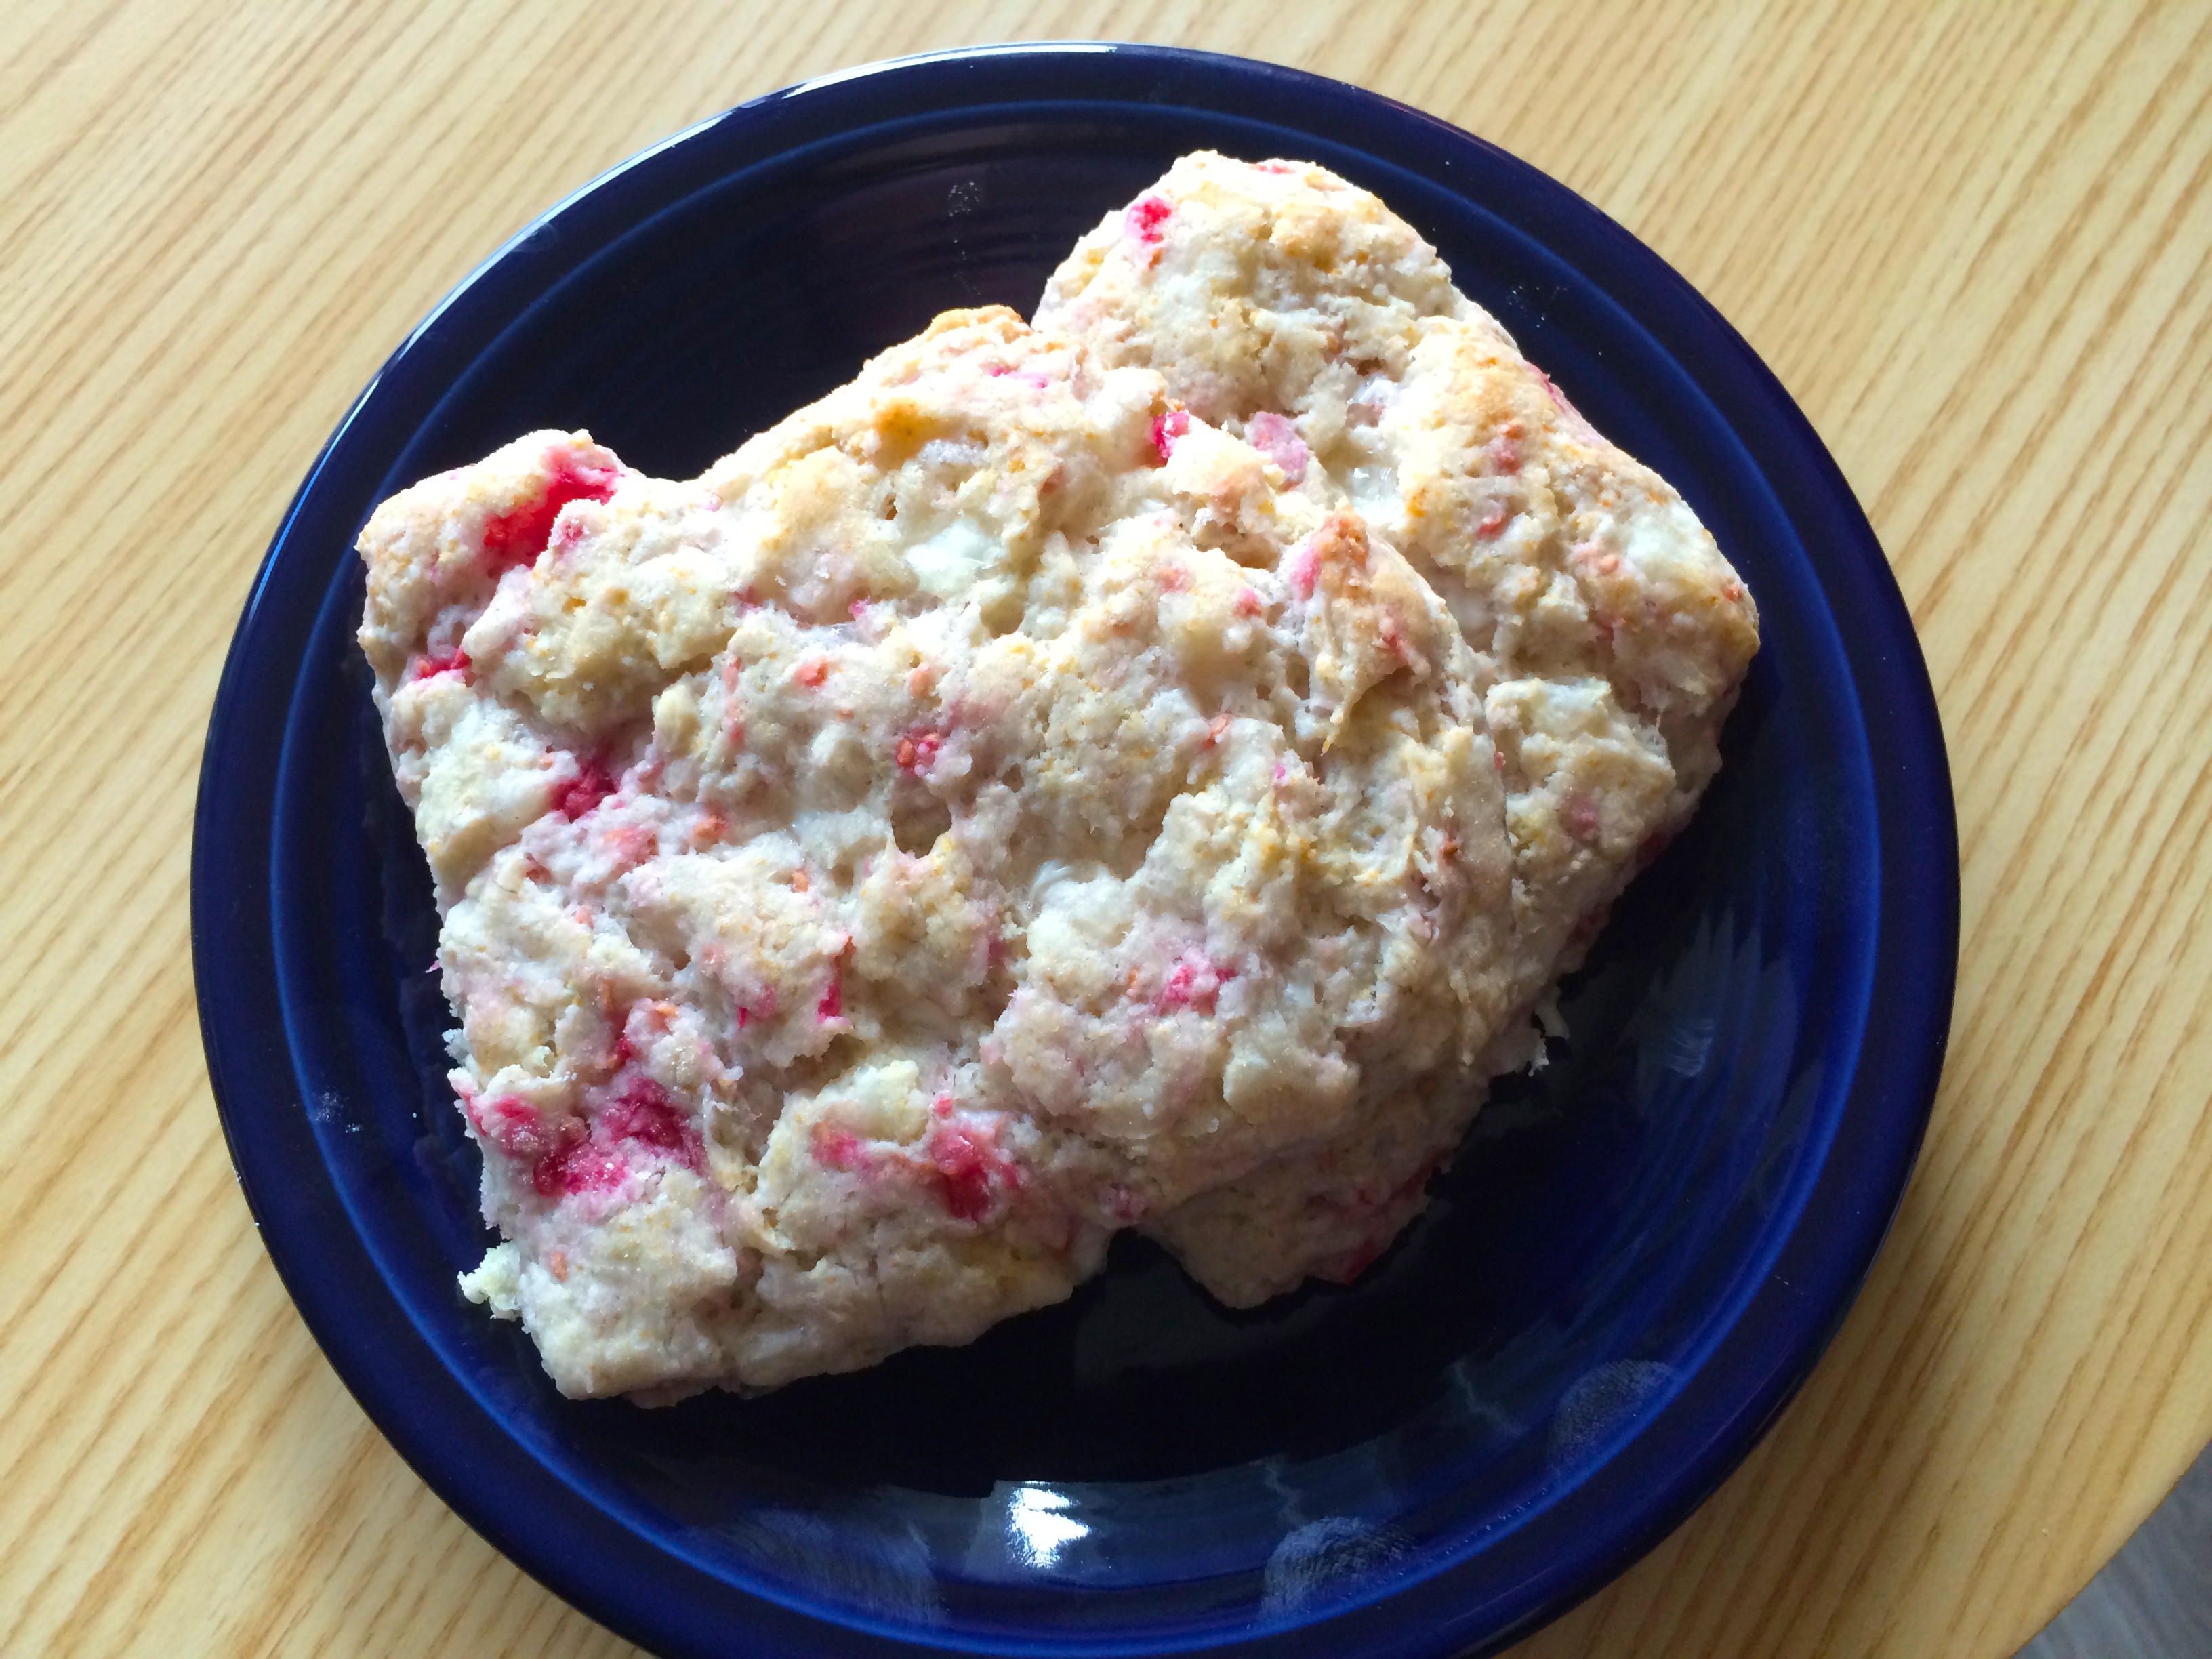
Once it all starts to come together and look like dough, pour out the batter on to a floured surface (cutting boards work well for this). Get your hands good and floured up too, as this is a sticky dough and it loves to hang out on your hands. Add some flour to the top of the dough and work it into a square that’s about an inch high. Now, cut the square into 9 smaller squares and transfer each square to your parchment-lined baking sheet.


Bake ’em for 15 minutes or until the tops are just starting to golden up.
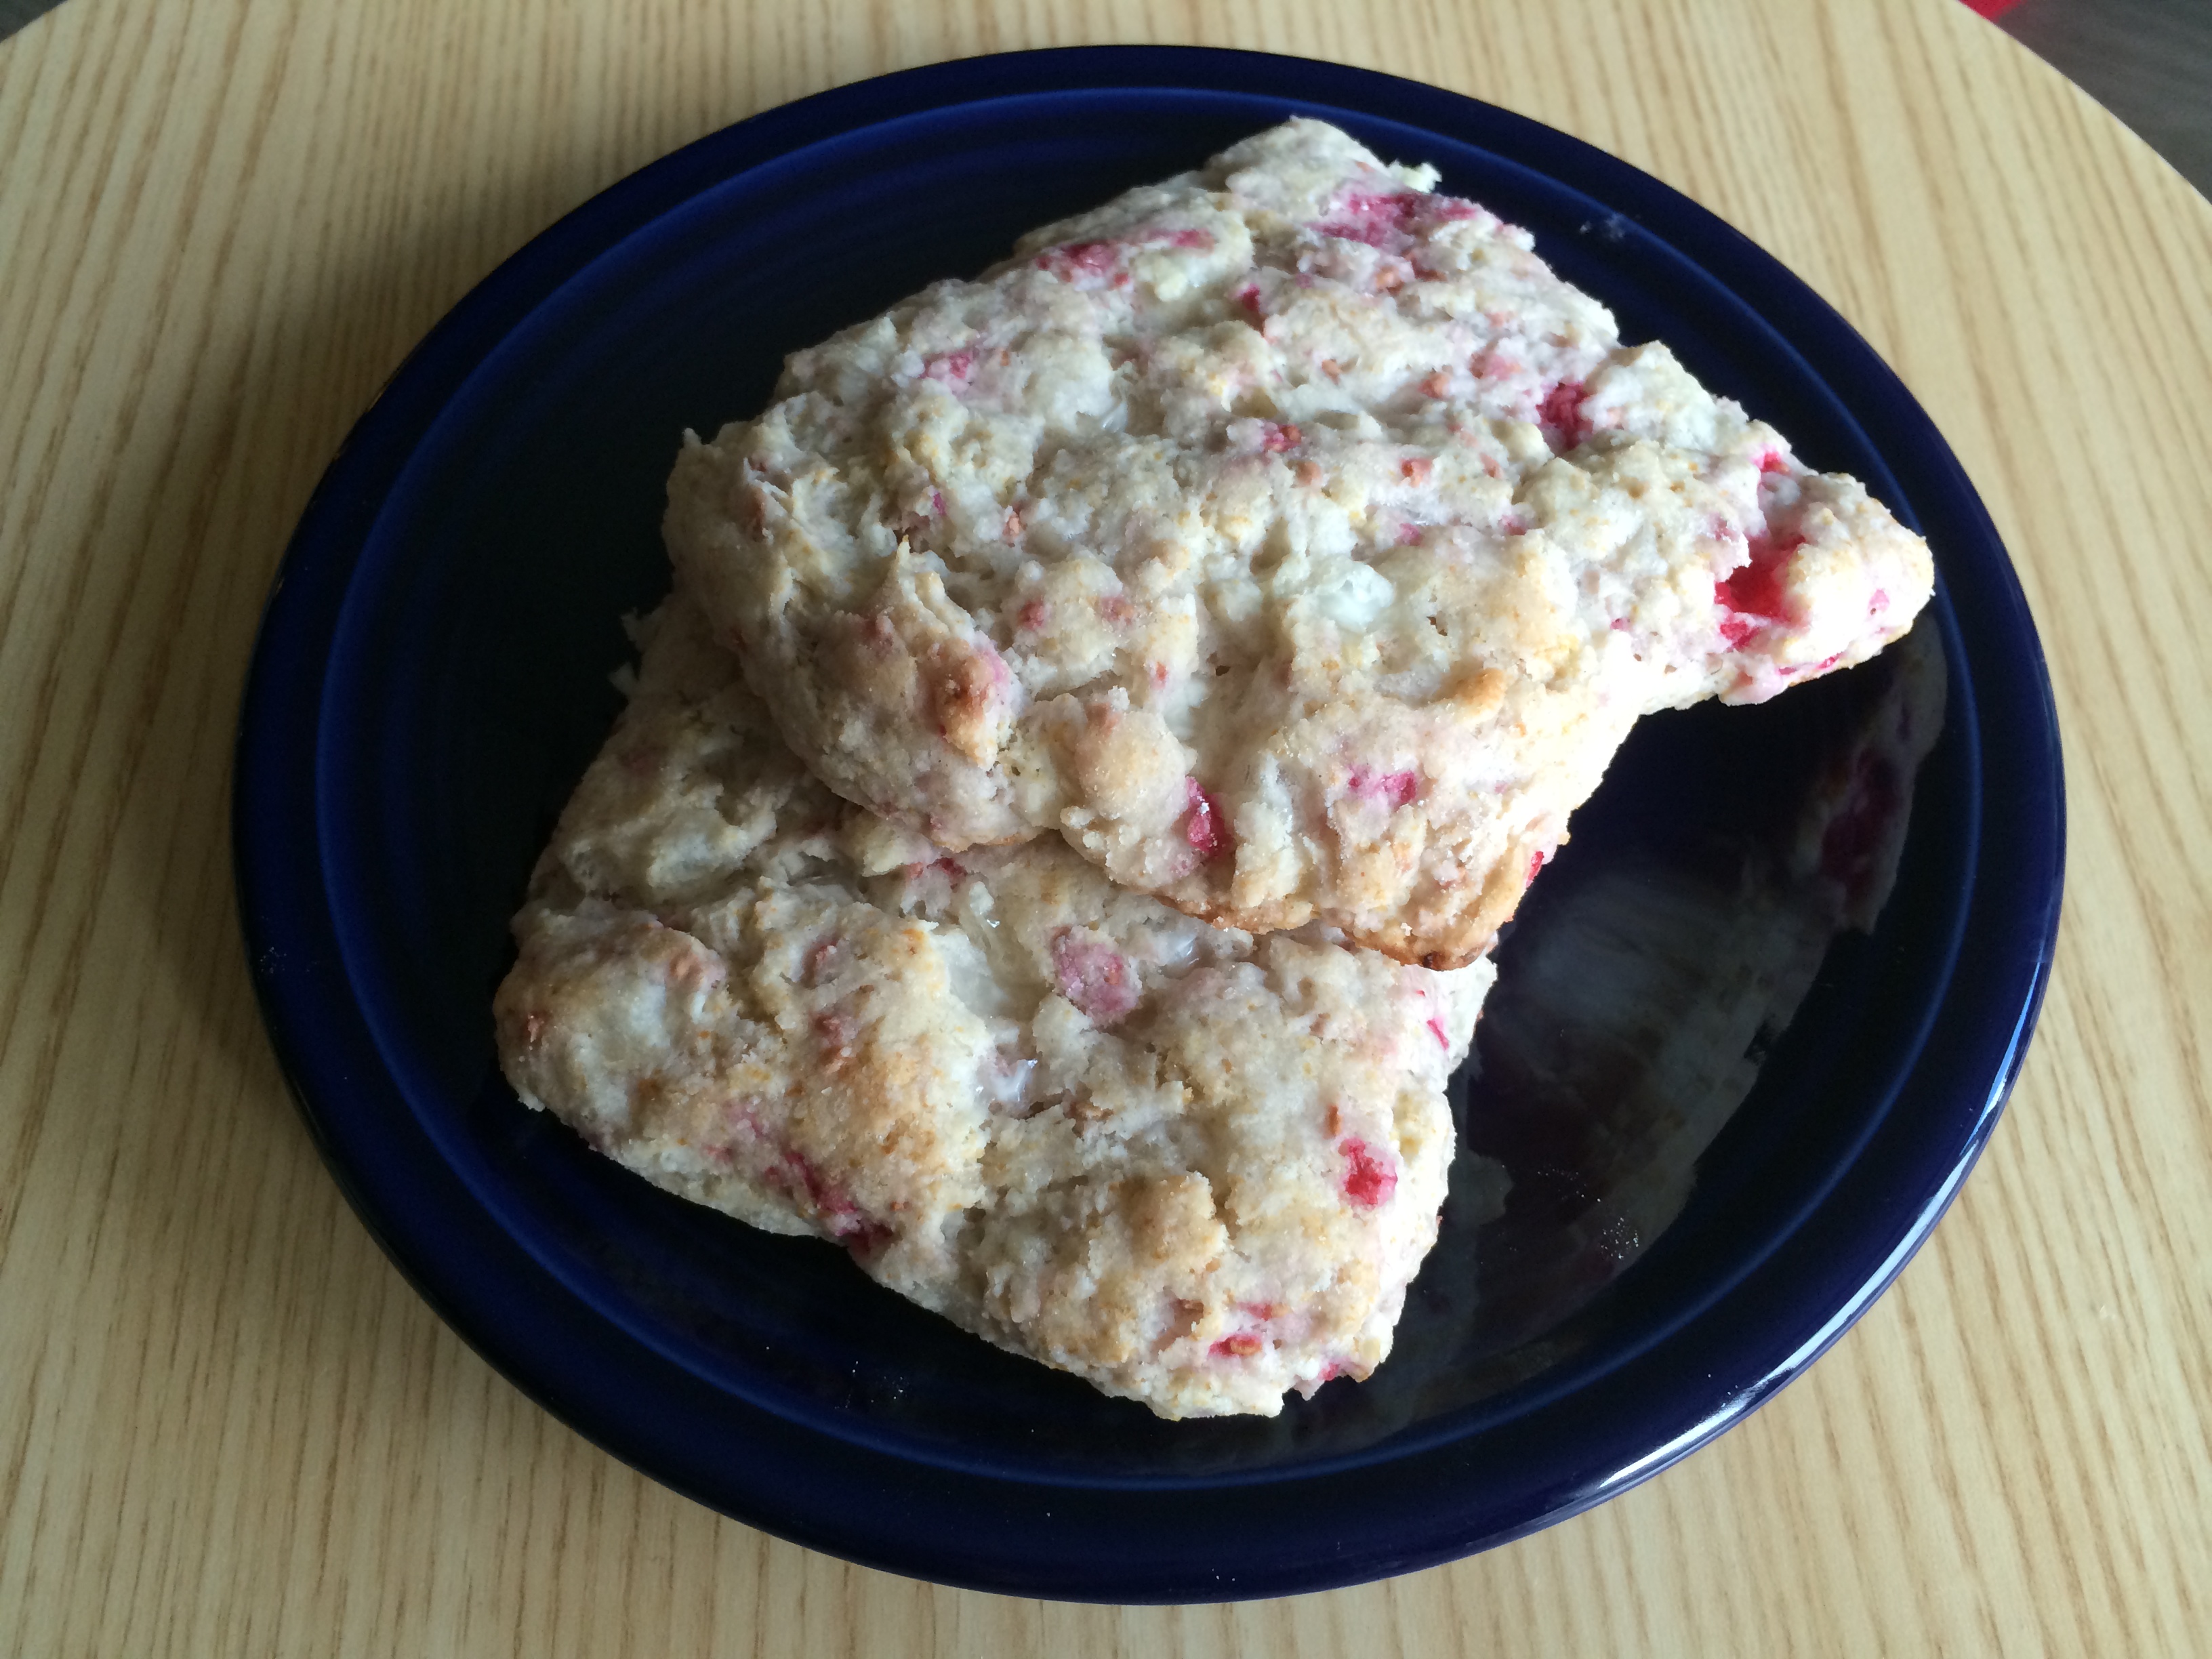
Sigh, they look and smell SO tasty, right?! Cool them for a few minutes in the pan, then move them to a wire cooling rack to fully cool.

These are SUPER good when they’re still warm but they keep well in a Ziploc for a few days too. We loved having them on the counter to allow both of us to grab a quick breakfast on-the-go. They were also great for a snack or a little dessert at the end of the day. To be perfectly honest, they don’t last long on our counter as we both gobble them up pretty quick. I don’t even feel guilty about that, they’re so tasty and wonderful that we just can’t help ourselves.

These got a big thumbs up from my husband, the scone-lover and I think you guys will REALLY love them too.
Highly encourage you guys to try these out and leave me a comment about how they go!


