Tag Archives: Onions

Turkey Wrap with Thyme Onions and Cranberry Yogurt

11 Jan

DSC_0148

Well…the last year blog hiatus was unplanned. Lot of “life” things happened and the blogging fell on the back burner. The fun part is that all of the “life” things were good – a new house and a new baby came our way in 2015! I was pregnant for most of the last year and was REALLY tired the majority of my pregnancy, which really was silly because I sat all day for work (I commend any pregnant mama out there who is on her feet all day). Thus, I lost my drive for blogging as I spent many a night sprawled out on the couch with exhaustion from baking a human, or working alongside Luke to figure out the details / paperwork / DIY projects that come with a first house purchase, or making lists on lists on lists to prep for baby. Ruby Julaine arrived on October 2nd and it’s been a whirlwind of blow-out diapers, a hungry hungry baby, and giggles / cries / grins ever since.

Time does fly though and I’m now a mama to a three month old (what?!) and 9+ months into being a homeowner. I’m on my last few weeks of maternity leave and just love all the time I get with my little peanut. I’ve been finding time to have fun in the new kitchen while Ruby naps or while she’s strapped to my chest. Food is still VERY much one of my favorite things to read about, explore, talk about and share. I just have to be a bit more creative about how to sneak it into my day.

This blog started as a place where I could not only track the recipes that I knew would be “make again” for me because of how delicious they turned out, but to also share those recipes that I love, with you all. I’ve had a blast seeing what posts resonate with folks the most, creating and sending out Giveaway Packages and finding new and different ways to explore food.

As I prepared to delve back in to the blogging world, I knew that a different approach on the blog would be needed due to Ruby requiring so much of my free time. As all of my past posts will show, I used to photograph every step of a recipe. I always thought that was  cool on blogs that I read and I appreciated seeing those as I tried new recipes to ensure I was doing things the right way. But, I’ve realized that…

  1. it makes these posts crazy long at times
  2. often all of those pictures don’t provide anything better than a simple written description could

Thus – I’m trying a new approach going forward with a just a few summary pictures to capture a recipe and a more concise “How to Make” section.

Enough back story and rambling, what am I bringing to the blog today? This is a recreation of a “Twisted Turkey” wrap that I would get EVERY time it was offered at one of my past client’s cafeteria. It was a basic turkey wrap but with sautéed onions and cranberry mayo, which brought the wrap to another level. I always thought of it as a twist on a Thanksgiving dinner with elements of turkey and cranberry sauce used in a completely different way.

When I left that work project, I knew it was only a matter of time before I would have a craving for that wrap. So I made my own version, and I think you’ll LOVE it!

DSC_0151

I added my own healthy twist for the cranberries – making a cranberry yogurt instead of mayo. The base is a twist from my favorite cranberry sauce from Real Simple with Greek yogurt added in until the yogurt was smooth enough and the right taste. I also left out the bourbon from the base recipe (though you could keep it in and crank up the flavor even more!).

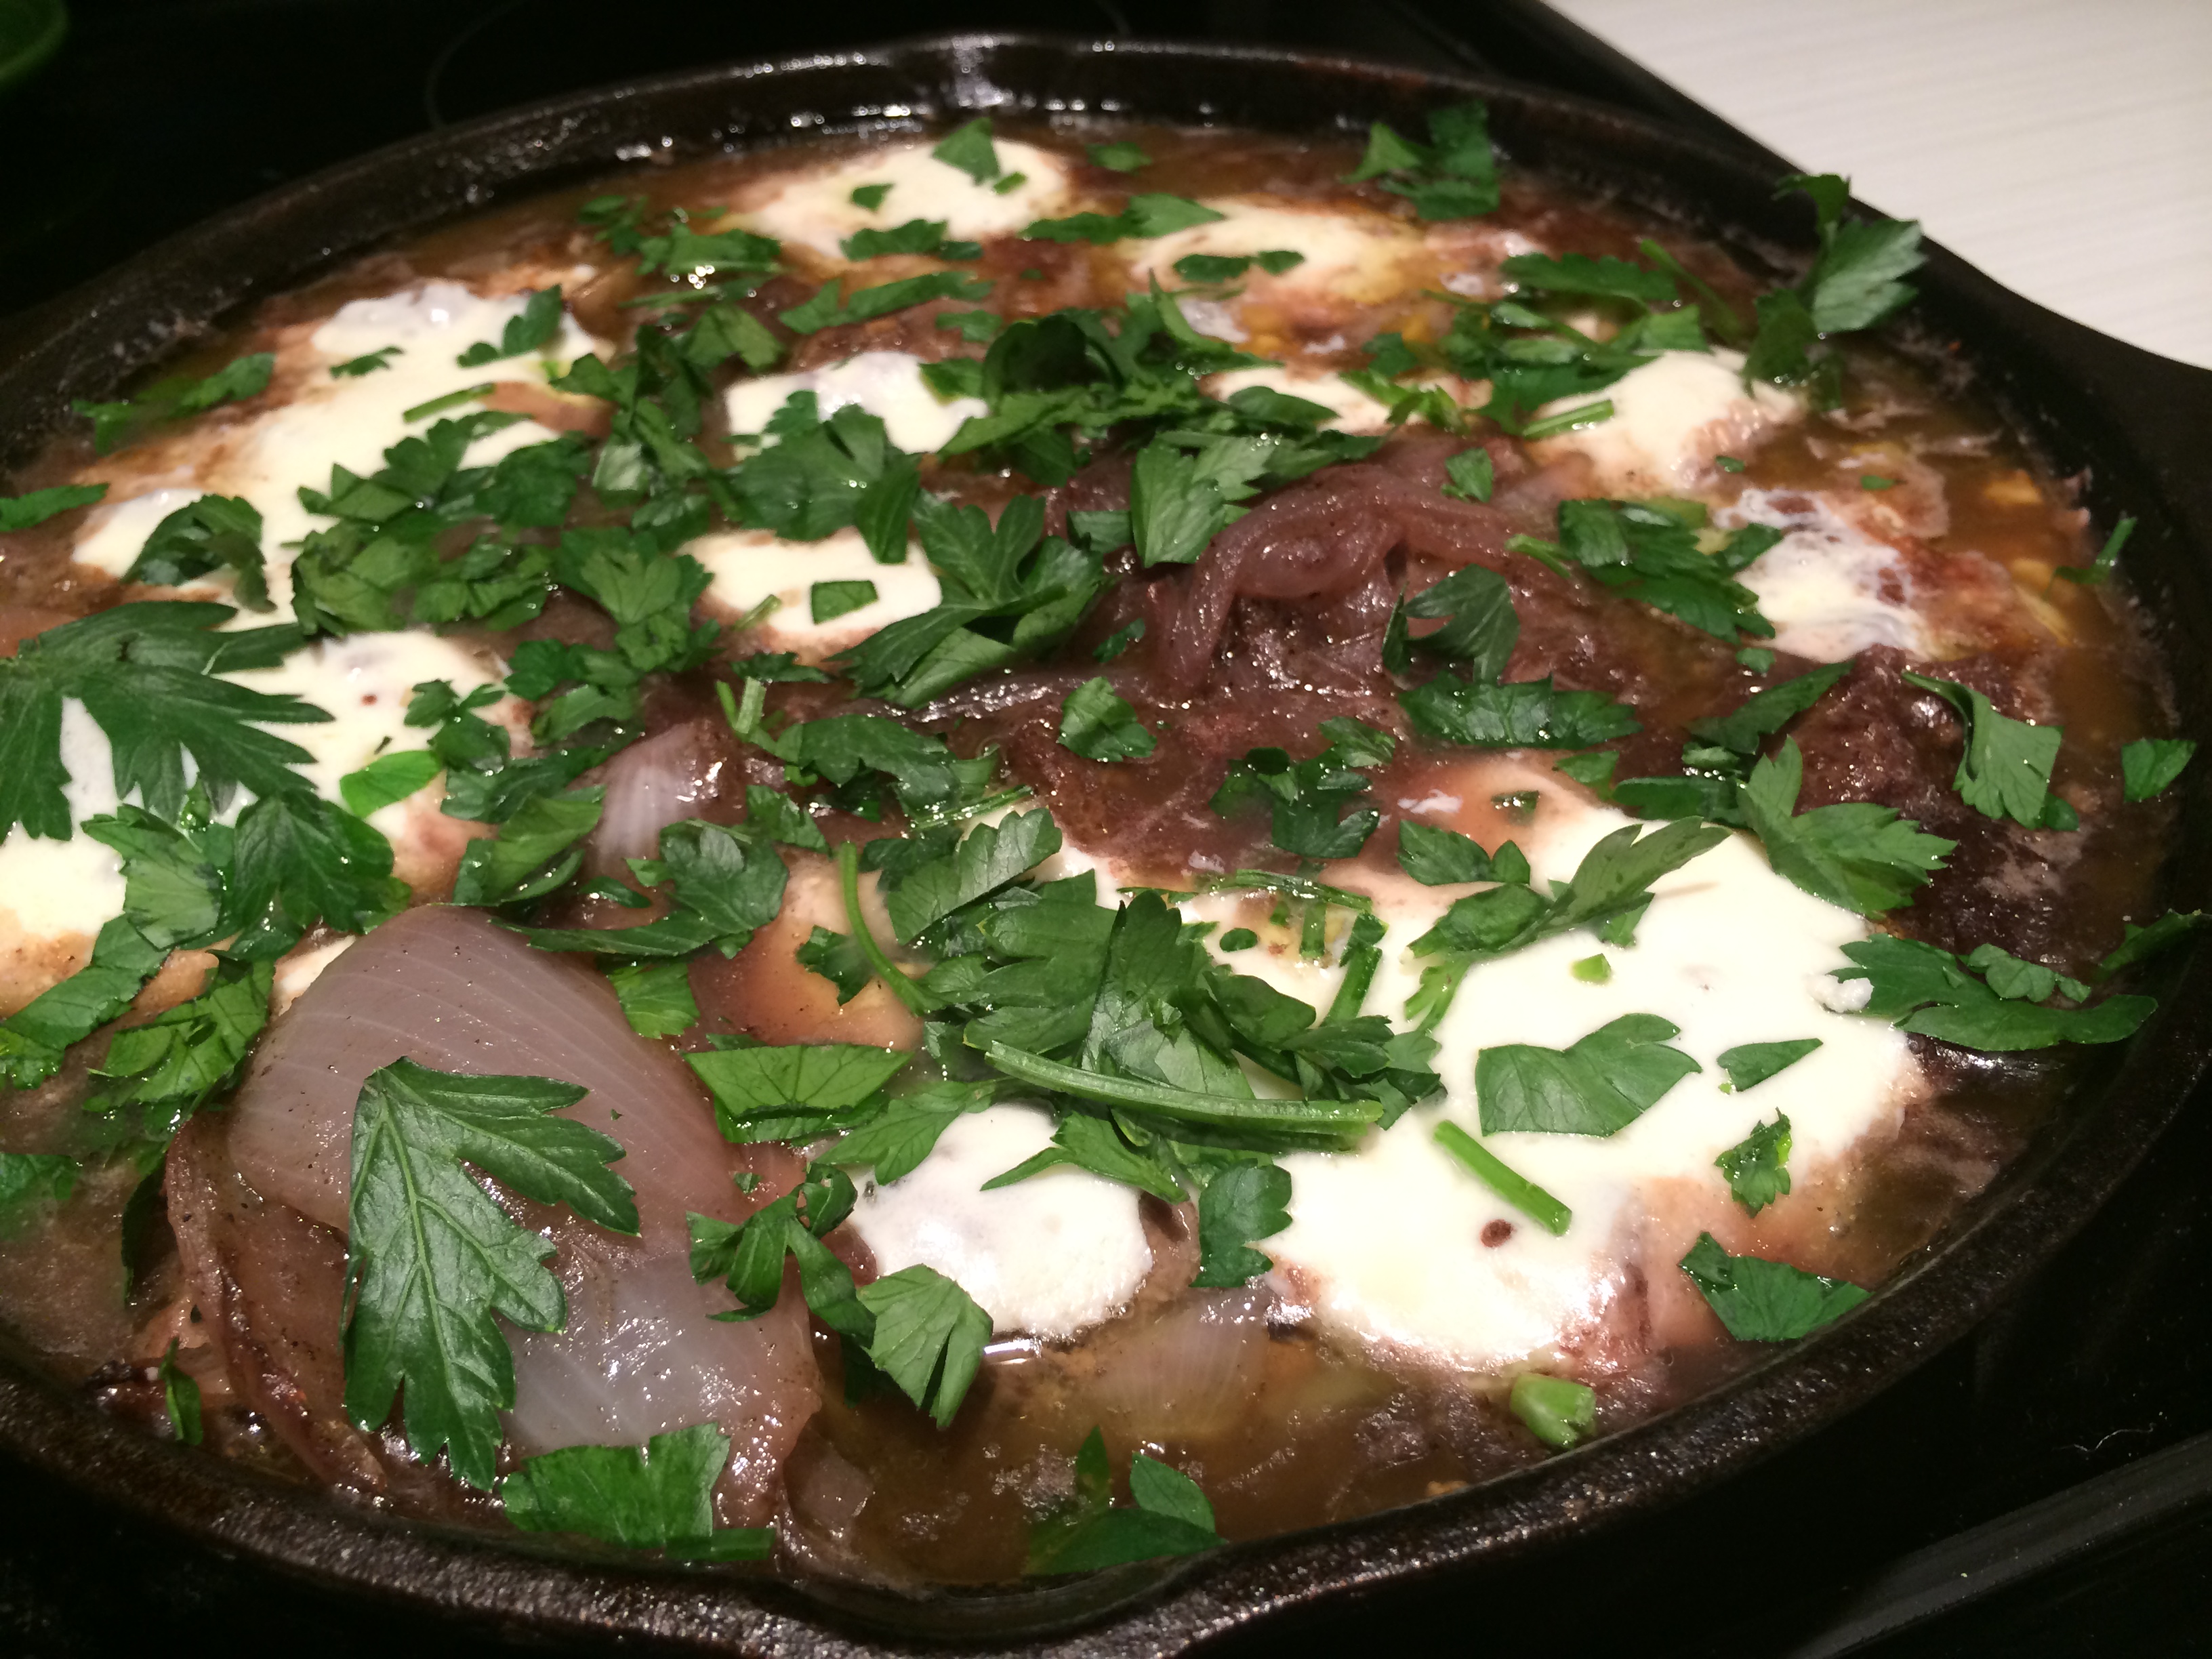
I also amped up the sautéed onions by taking a sub-recipe from my French Onion Soup Meatballs recipe, which I featured before on the blog. I have a vivid scent memory of making the onions the very first time I made those meatballs and I thought they’d be PERFECT for this wrap. I wasn’t disappointed!

I would recommend making a big batch of the sautéed Thyme Onions and Cranberry Yogurt in advance and then you’ll have both on hand to add to your wraps for the week and you can add these into other dishes too! The onions are great in sandwiches of all shapes and sizes or even on top of a steak and the cranberry yogurt is really tasty with granola and ice cream. 🙂

Ingredients (makes 1 wrap):

  • 1 tortilla
  • Handful of your choice of greens (I used iceberg lettuce in one wrap and spinach in another, up to you!)
  • 3-4 tomato slices
  • 1/2 cup of Thyme Onions (see below)
  • 3-4 slices of deli turkey breast
  • 2 Tbsp of Cranberry Yogurt

Thyme Onions:

  • 1 Tbsp olive oil
  • 2 white onions, halved and sliced
  • 1 tsp salt
  • 1/2 tsp pepper
  • 1/2 tsp dried thyme
  • 1/4 cup beef stock
  • 1/4 cup red wine (I used Shiraz)

Cranberry Yogurt:

  • 1 12-ounce bag of cranberries (I used fresh, but you can also do frozen)
  • 3/4 cup sugar
  • 1/2 cup grapefruit juice
  • Greek yogurt to taste (I used about 1½ cups)

How to Make:

I recommend starting off with the Thyme Onions. These smell utterly FANTASTIC as they cook. Have a snack to munch while you make these, or you may be tempted to eat your hand. Seriously.

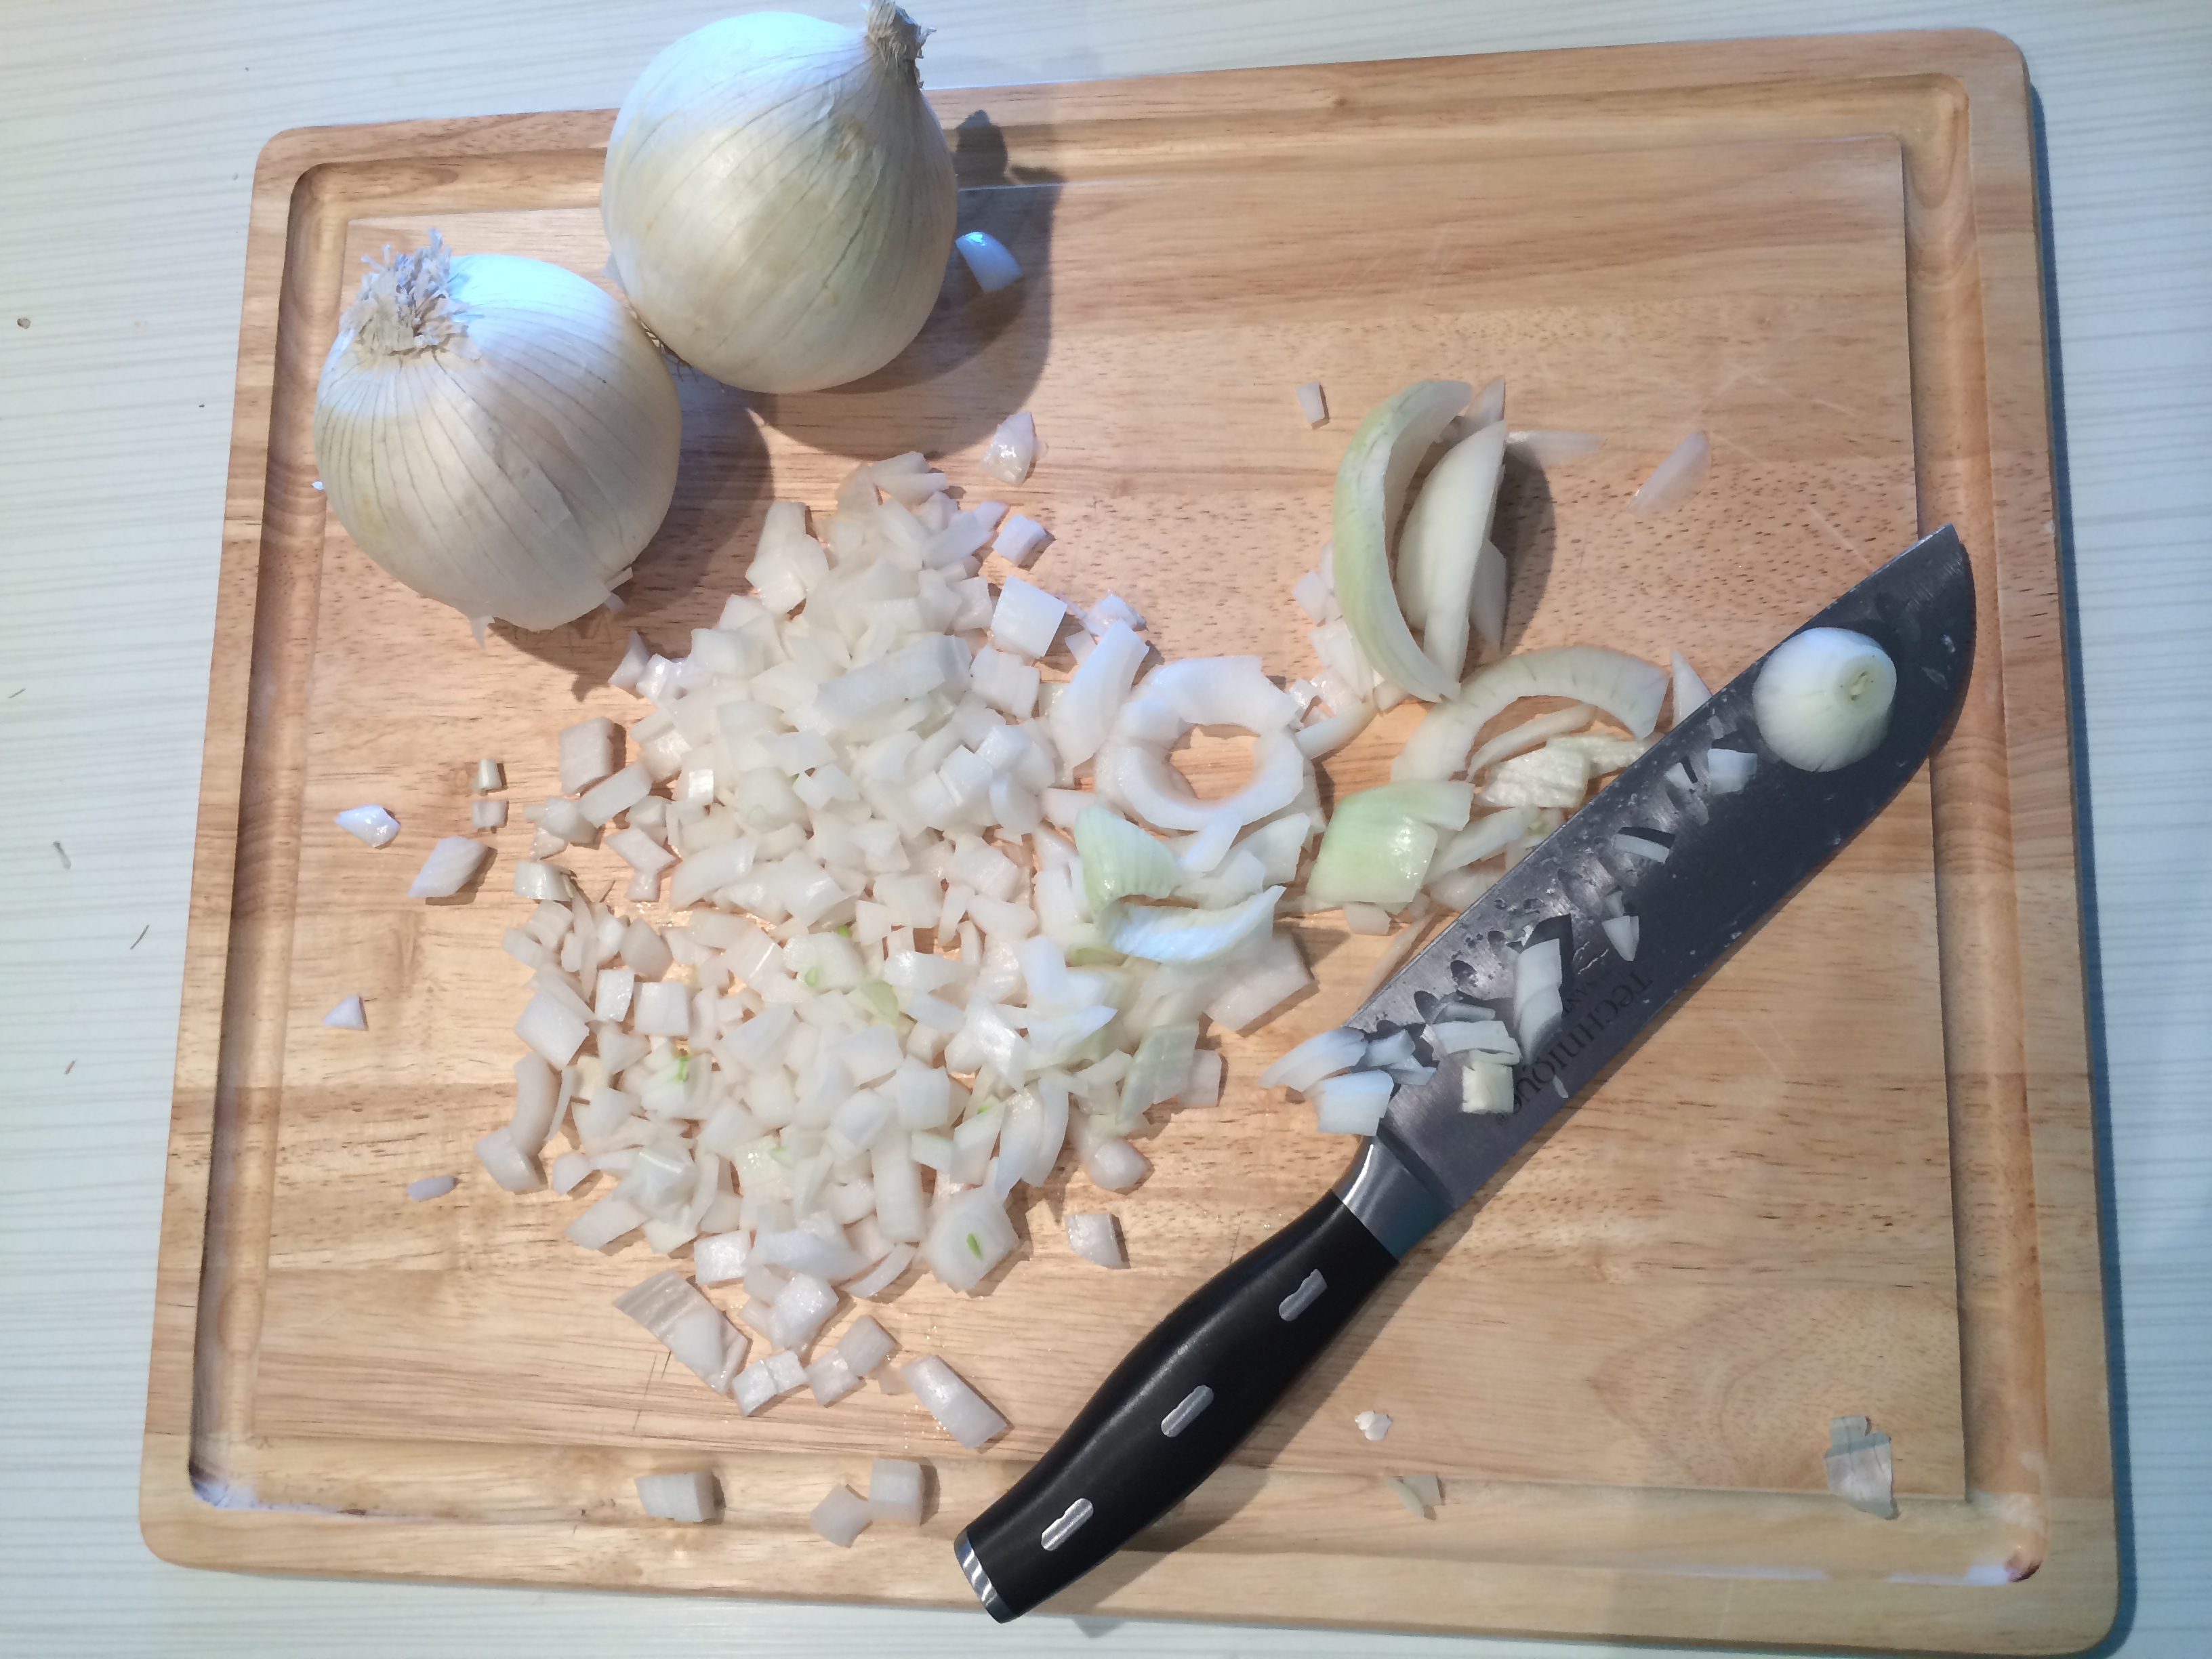
Slice your white onions by halving them and then slicing them into half-moon shapes. Add the olive oil to a big skillet and heat up over medium heat. Add in the sliced onions and the S&P. Stirring often, cook the onions until they’re caramelized – about 15-20 minutes – then add in the thyme, beef stock and red wine.

Turn the heat down to medium low and stir the onions frequently until there is little to no liquid left. Turn off the heat and set the onions to the side. They’ll be a pretty light purple (from the wine) and will taste SO good.

DSC_0133

To make the Cranberry Yogurt (my spin on cranberry mayo), it’s a combination of making a traditional cranberry sauce, like you’d eat at Thanksgiving, and then adding in yogurt until the result is the taste and consistency you want.

Put the cranberries, sugar and grapefruit juice all into a saucepan and simmer the concoction over medium low heat. You want to let this go until the cranberries burst and the sauce starts to thicken up, which takes about 20-25 minutes.

It works great if you have the onions and the cranberries all going at the same time as both need similar total time to cook and you can then stir and keep an eye on both things.

Once your cranberries are thick and the berries have burst, you’re ready to add in the yogurt. I love the creaminess and taste of Greek yogurt (not to mention the extra protein), so that’s what I recommend. Pour the cranberry sauce into a food processor (blender would work well too) and slowly add in yogurt until you get the flavor you want and the consistency you want. I added yogurt in 1/4 cups increments to see how things tasted / looked after each addition. I ended up adding about 1 and 1/2 cups total. But, this is completely up to you! Once you’re done, it’s a gorgeous pink color.

DSC_0138

The time has come to assemble your wrap! Spread the Cranberry Yogurt in a line down the center of your wrap and then, using the back of the spoon, spread it all over the tortilla. You can’t feel guilty about using lots of this delicious stuff, as it’s NOT the usual condiment of mayo. Yay!

Down the center of your tortilla, add your greens of choice and the slices of tomato. Then, lay your slices of turkey. Lastly, spread out the Thyme Onions on top.

DSC_0154

Fold up the bottom and wrap up the tortilla by folding one side of the tortilla over your ingredients and then gently rolling it up. Slice in half and enjoy!

This takes your normal turkey wrap and really kicks it up a notch in flavor. One of my favorite lunches to purchase is NOW my favorite lunch to make at home. Cheers!

DSC_0144

Advertisement

French Onion Soup Meatballs

8 Oct

IMG_6602
To carry on with delicious comfort fall foods, I have a main dish recipe that will blow the socks off your feet. Yes! Your socks will land in the other room and you won’t even care because you will be in the midst of devouring the most tender and savory meatballs.

Ok, so that may be a BIT of an exaggeration …a little bit…

But I can’t tell you enough how good these are so you must just trust me and make them yourself! Pleaseeee! And tell me how they turn out for you because I just know it’ll be a hit. A walk-off triple. Three and out for a rockstar defense. (Sorry, my husband’s coaching terms are rubbing off.)

Before we dive into meatball heaven here, I must disclose that I have a soft spot for meatballs. I don’t know what it is, but I think they’re one of my favorite comfort foods. I have favorite go-to recipes for tangy turkey meatballs with cranberry sauce  (one I’ve been meaning to share with you guys), another for BBQ meatballs that are great when you are sick and just want yummy, simple food and the ones I’ve shared with you here already – Spicy Turkey Meatballs, Barefoot Contessa style. Now I think I’ve stumbled into a fourth to keep in my arsenal of meatball go-to’s.

Now if you’re at all on the fence about meatballs (which, I’m sorry but I don’t QUITE relate), perhaps convincing you that these are like sinking your teeth into a delicious meat version of french onion soup, with the same drippy cheese and delicious cooked down onions. Except this…

…that cheese and onion that makes french onion soup SO good?!?

It’s INSIDE the meatballs!

Mind. Blown.

Right?!

So stay with me here, if you like anything I said above then all I can say is, you will love these babies. This recipe is adapted from the amazing recipe posted over at Cupcakes and Kale Chips. I cannot say how thankful I am for Brianne’s creation. My version is adjusted for ingredients we had in our kitchen and I note a few spots below that you could also experiment and make these your own.

Ingredients:

Onions / Filling (makes enough to stuff 15 or so meatballs, plus a bit extra):

  • 1 Tablespoon garlic infused olive oil (adds a little extra flavor, but normal olive oil works too)
  • 2 white onions, halved and sliced
  • ½ tsp dried thyme
  • 1 tsp salt
  • ½ tsp pepper
  • ¼ cup beef stock or broth (whichever you have on hand)
  • ¼ cup red wine (I used Shiraz as I’m obsessed and it’s always in our kitchen)
Meatballs (makes 15 or so meatballs):
  • 1 ½ lbs ground beef (you could use ground turkey if looking for a healthier option)
  • ¼ cup oats
  • 1 Tsp fresh parsley, roughly chopped plus extra to sprinkle on top, at the end
  • 1 tsp pepper
  • 1 tsp kosher salt
  • 1 egg
  • 8 oz fresh mozzarella (divide 3-4 oz into half-inch cubes for your meatballs – about 15 small mozz cubes – and slice up the remainder to place on top of the meatballs)
  • ½ Tbsp garlic infused olive oil (again, to add some extra flavor but normal olive oil will work too)
Meatball Sauce: 
  • 1 ¾ cup beef stock or broth (again, whichever you have on hand)
  • ¼ cup red wine (Shiraz for me again!)
  • 2 Tbsp cornstarch
  • S&P (to taste)

How to Make:

First thing that you’re going to get cooking is the onions. Halve and slice up the onions.
Aug-Sept 2014 028
After heating up the olive oil in a saucepan, add in the sliced onions, S&P and let it cook down and become fragrant for 15-20 minutes. Make sure to give this a stir with a spatula regularly to keep everything cooking.
Aug-Sept 2014 029
Aug-Sept 2014 030
Aug-Sept 2014 035
While your onions are cooking, start in on the meatballs. Mix ALL of the ingredients listed for the meatballs, except the mozzarella, together in a medium-sized bowl. Mix everything together using your hands or a spatula. Then, divide the meat mixture into 15 separate balls.
Aug-Sept 2014 034
Aug-Sept 2014 038
Back to the onions, once they’re carmelized and looking GOOD, add in your thyme, letting it cook in with the onions for a few minutes.
Aug-Sept 2014 031
Then add in the wine and beef stock / broth. This is when it hits you…these onions are going to be out of this world. And why have you never thought to cook onions this way? What is it about red wine and beef stock / broth that makes onions smell and taste so darn good?! I do not know the answer to that, but I admit that I snuck quite a few onions from the pan while everything reduced down.
Aug-Sept 2014 032
Aug-Sept 2014 033
Aug-Sept 2014 036
Sigh, good stuff. Let the onions cook down until there’s not much liquid left in the pan. Then remove from heat and let it cool a bit.
While those onions are making your mouth water, it’s time to prep your mozzarella. Divide about 3-4 oz of the mozzarella block into 15 small cubes. Put these on to a plate or in a bowl. Next to your mozzarella pieces, place your meatballs. Once your onions are cooked down and cooled, add them to your assembly line. Add an empty plate to the end, where you can place your finished meatballs.
Now for the fun part! We are stuffing these meatballs, guys. And it’s an imperfect process and that is a-ok.
No stressing, ok?!
To stuff each meatball, take one of the meatballs and flatten it in the palm of your hand.
Aug-Sept 2014 039
 Grab a small handful of onions and place those in the middle of the patty.
Aug-Sept 2014 040
 Place one of the small mozzarella cubes on top and then gently pat the meat mixture around the stuffing to make it back into a ball shape.
Aug-Sept 2014 041
This doesn’t turn out perfect looking meatballs, onions might be visible and mozzarella might be visible and it’s ok! Guess what?! It makes everything melty and wonderful and it will taste the same darn way no matter what they look like. So have fun, and stuff all of your 15 meatballs!
Now for this next step, I used my cast iron skillet as it’s stove top and oven friendly. If you have one, I’d recommend you use it for this next step as it’s super simple. If you don’t have a pan that is both stove top and oven friendly, not to worry. You can start with a skillet and then transfer to a oven dish after. As you decide on your skillet / oven dish of choice, preheat the oven to 350.
Heat up a the olive oil in the skillet and place all 15 of the meatballs in, one by one. Brown them on all sides, flipping them to ensure they’re browned all over. And again, don’t worry if they break a part a little bit.
IMG_6595
Aug-Sept 2014 043
Once the browning process is complete (and you’ve wiped that drool off your chin, because yes, these look and smell SO good at this point), mix up your sauce, whisking everything together. If you’re using the same pan from stove top to oven, then pour the sauce on top and carefully place in the oven. If you’re switching dishes, move your meatballs from the skillet to an oven dish and then pour the sauce on top before putting in the oven. Bake these delectable dudes for 15-20 minutes.
Aug-Sept 2014 044
Aug-Sept 2014 045
While those are baking, slice up the remainder of your mozzarella cheese and chop up some extra parsley for the top of the meatballs.
After the 15-20 minutes go by, pull ’em out and place the mozzarella on top. Pop ’em back in and bake for an additional 15-20 minutes. Bake until the cheese starts bubbling and starts to turn golden.
IMG_6601
Pull the meatballs out, garnish with the remaining fresh parsley and serve it up to hungry people. These will disappear faster than you can even fathom. They are drippy, cheesy, flavorful meatballs. They will rock your world and warm your insides. They would be perfect alongside some fresh veggies and some bread or grain that will soak up the juices on your plate. Nothing should be wasted here, friends!
IMG_6608
I hope you guys give this a go. It’s a new favorite in our home and will be for decades (we’ve made it twice in the last two months)!!

Nowinsky Chili

20 Sep

IMG_6244
Chili is a staple of fall. I don’t care who you are or what you think about that, in my world, it just IS. And when my husband and I were musing about fall foods a few weeks ago, both of us had the “lightbulb” moment of…”let’s make CHILI!”.

Now, having a solid chili recipe in your arsenal is essential. It’s something that could vary a little bit every time you make it, but in theory, you still have the same overall chili outline.

I did not have a chili recipe that I could fall on without looking up something to get me started.

My mother in law has one. A GOOD one. One that the entire Nowinsky family knows and loves. One she tweaks every time she makes it, sometimes with steak and sometimes with ground beef. She had never even written it down until we probed her for the basic outline so that we could give it a try.

This is foolproof, guys. It really is. You put in meat, spices, beans, veggies and liquid…you let it slow cook for several hours…and it becomes chili. That’s the basic premise. And you get to use Bloody Mary mix. (A newfound favorite drink. De-lish!)

IMG_6205

It will also fill your entire kitchen with a chili aroma. That’s a bonus because let me tell you, the way it tastes will warm your insides and make you ooze happiness.

Ok, ok, that’s dramatic. But it WILL be good. And you WILL want to make it again.

We are diving in the chili-making process with a cannonball…here…we….

….GO!

Ingredients:

  •  3 lbs ground beef
  • 2 Tbsp dried basil
  • 2 Tbsp Italian seasoning
  • 2 Tbsp oregano
  • 2 Tbsp chili powder
  • 2 white onions, chopped
  • 3 celery stalks, chopped
  • 16 oz tomato juice
  • 16 oz Hair of the Dawg (or any other Bloody Mary mix)
  • 3 cans diced tomatoes
  • 1 can whole peeled tomatoes
  • 2 cans chili beans
  • 1 can black beans
  • 1 Tbsp garlic powder
  • 6 (or so) dashes of hot sauce

How to Make:

First, it’s time to brown the meat. And not just the meat, we browned it with 1 Tbsp of each of the dried basil, Italian seasoning, oregano and chili powder.

IMG_6210

IMG_6211

Yum.

While that’s browning, chop up your white onions and celery stalks.

IMG_6206

IMG_6207

When the meat is mostly browned (my own technical term), add in your onions and celery and low that cook on low for about 15 minutes.

IMG_6213

IMG_6216

Now, this makes a large batch of chili. So for us, we divided it amongst our largest stockpot and crockpot. But if you have a BIG stockpot, this will all fit nicely. If not, I do think splitting amongst two big stockpots or between your stockpot and crockpot, will work too. It did for us!

Now, take your meat/onion/celery mixture and pour into your stockpot/crockpot. Now, we get to add everything else!

Add in the tomato juice (not pictured in step format, but I promise it went in) and the Bloody mix, which adds a nice amount of spice (we like Hair of the Dawg…it’s sooooo tasty)…

IMG_6217

…and then the canned diced and peeled tomatoes…

IMG_6218

IMG_6224

…and the chili and black beans…

IMG_6220

IMG_6222

…add in 1 Tbsp of garlic powder….

IMG_6225

…and the remaining 1 Tbsp of basil, Italian seasoning, oregano and chili powder.

IMG_6226

Give everything a BIG stir and then, for a final touch of ‘zing’, add in some dashes of hot sauce (not pictured, but is an essential final step). We did about 6 dashes, but you can do more or less depending on your affinity for the condiment.

IMG_6243

Now, if you’re doing this as an all-day crockpot item, I recommend doing this is on low for 6-8 hours. The longer and lower heat, the better!

If you’re like us, and wanting to eat this for dinner and you’re making it early afternoon, you can easily do this in your crockpot on high for 4 hours.

Now, for the stockpot option, leave that on medium-low for a short cooking time of 4 hours, or on low for a long 6-8 hour batch.

IMG_6252

The good news is that this is flexible and you can tweak it depending on the time you have and the cooking method you plan to use!

When you’re ready, this is great to serve with a little sour cream or plain Greek yogurt, a sprinkling of your favorite shredded cheese and a big slab of cornbread. We really enjoyed dipping and eating our Beer Bacon Cornbread with this chili and it was perfect.

IMG_6245

So if you too are ready for fall foods, you want something to warm your insides and make your kitchen smell like heaven, you need to make yourself a big batch of Nowinsky chili.

You WON’T be disappointed!!

%d bloggers like this: