
So being home for the weekend means more often than not, when bored and not sure what to do with myself…I end up in the kitchen trying something new. I wanted to do some true baking this weekend, as in recent weeks it’s been more about cooking than baking. What to try…what to try…
I opened up my Smitten Kitchen cookbook for inspiration, as I remembered many a glossy page with cookies and breads on them. I wasn’t disappointed when I turned to this page with these little guys.
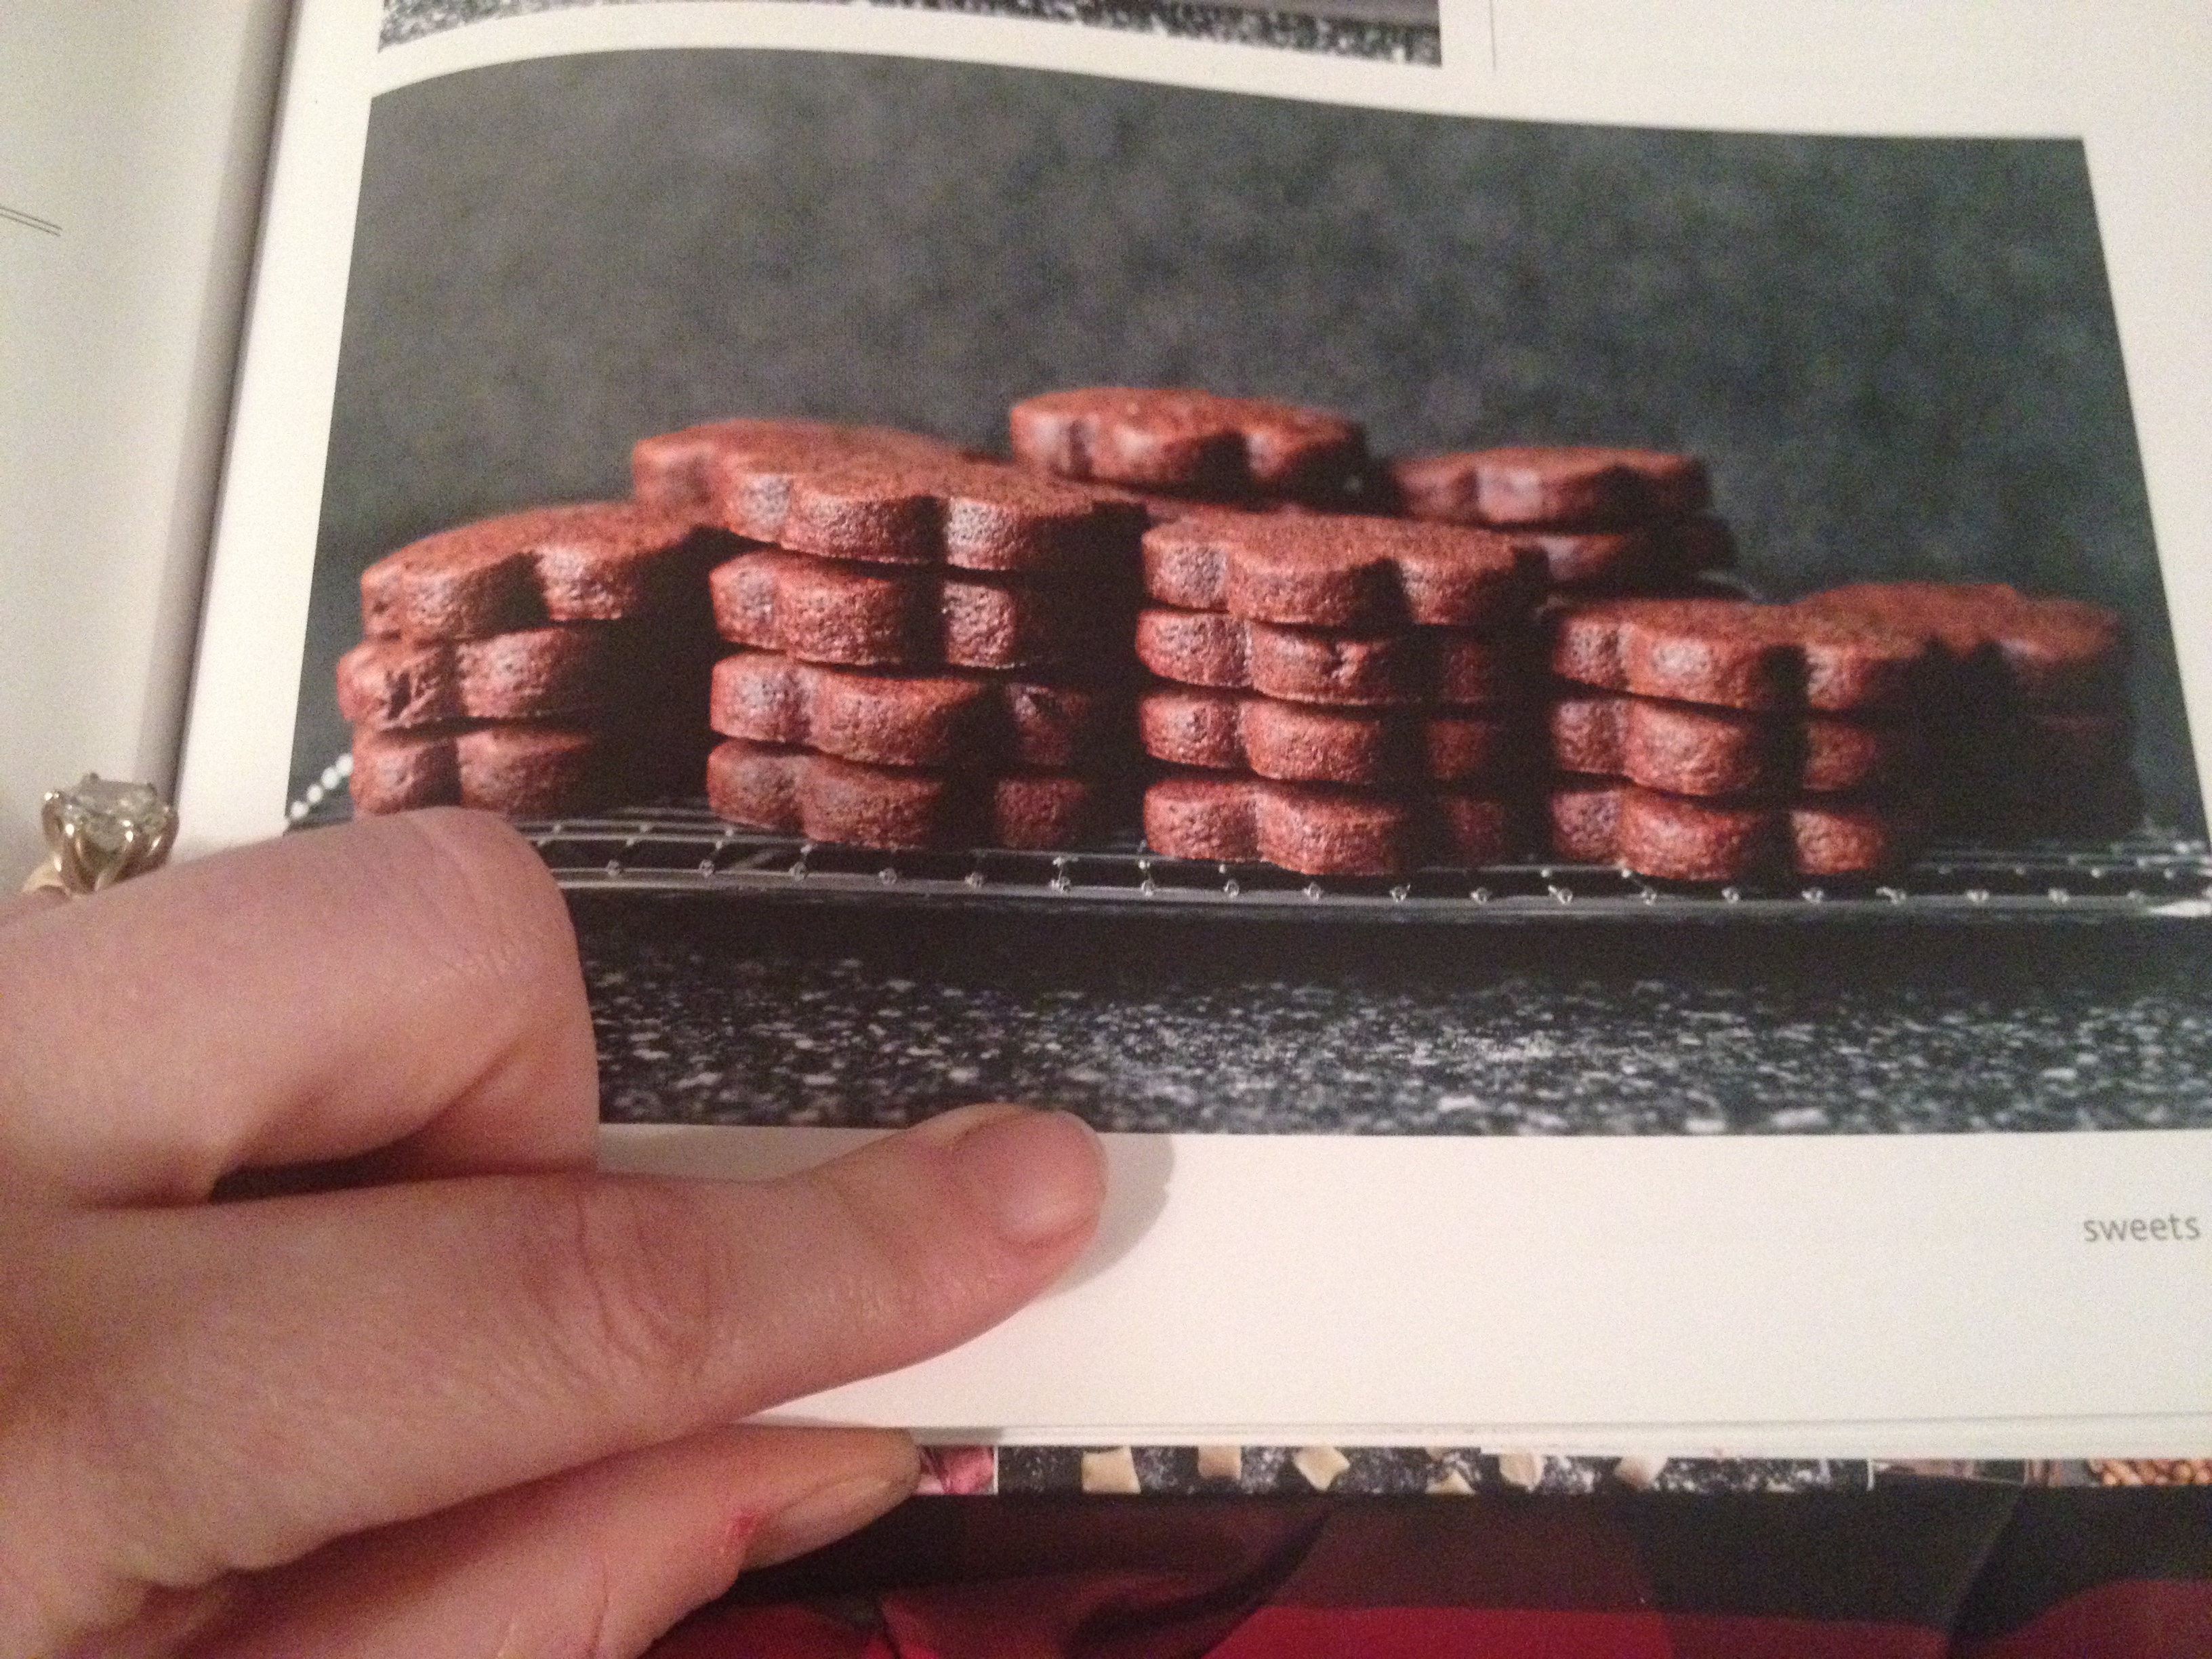
Brownie roll-out cookies is what she called them (here’s her original blog post with the recipe), but essentially they’re chewy chocolate sugar cookies.
I accept! Nothing about that description sounds bad to me! Bonus, I had everything needed in my kitchen. That’s usually what sells me on a recipe that I begin to tackle after 9:30 at night. Call me lazy but it’s crazy cold outside and I didn’t feel like a late night trip to Lunds.
So, this whole recipe is incredibly simple and doesn’t take a lot of time for mixing/cooking. However, do note that this requires the dough to chill for an hour before baking, so factor that into your baking plan of attack. I also didn’t switch up the recipe at all, loved it just the way she wrote it! However, I did add my own finishing touch at the end, which you’ll just have to read about to find out what that was…
Ready to make some VERY tasty and VERY pretty little cookies? I sure hope you said yes, because I’m planning to tell you anyway.
Ingredients (makes approximately 24 cookies):
- 3 cups all-purpose flour
- 1/2 teaspoon salt
- 1/2 teaspoon baking powder
- 2 sticks unsalted butter, softened
- 1 1/2 cups sugar
- 2 large eggs
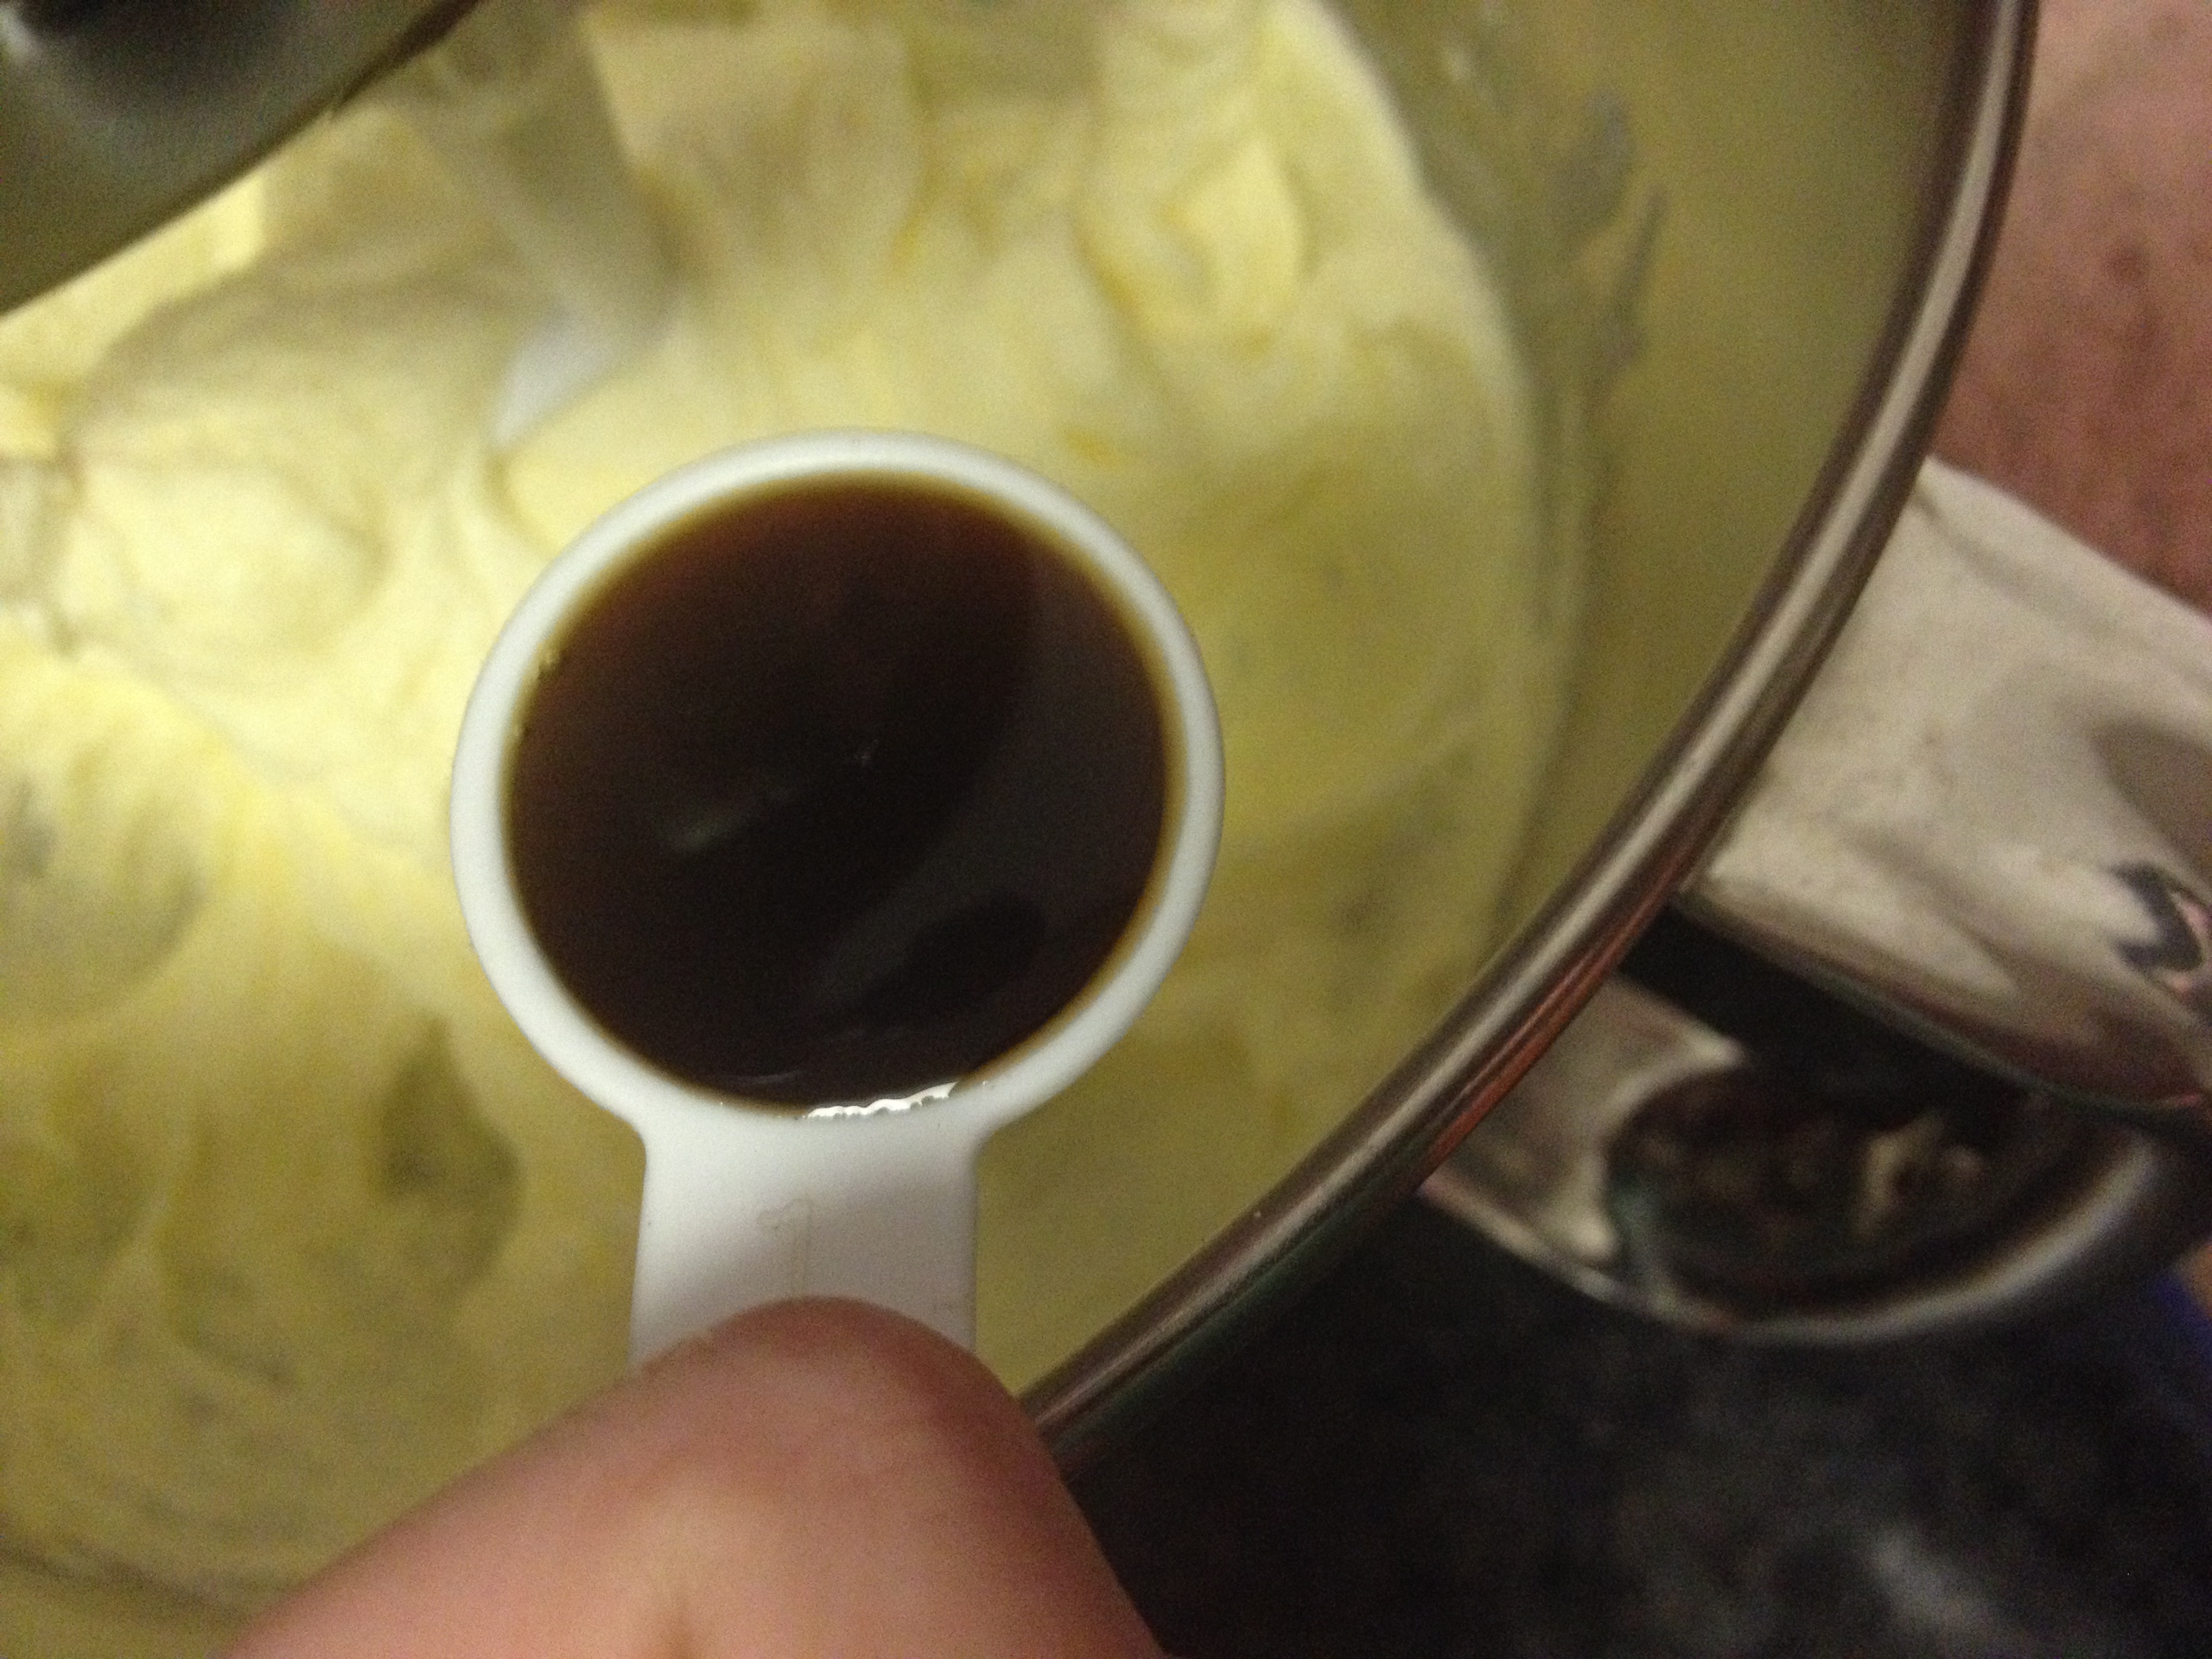
- 1 teaspoon vanilla extract
- 2/3 cup unsweetened cocoa
- powdered sugar for dusting the tops
How to Make:
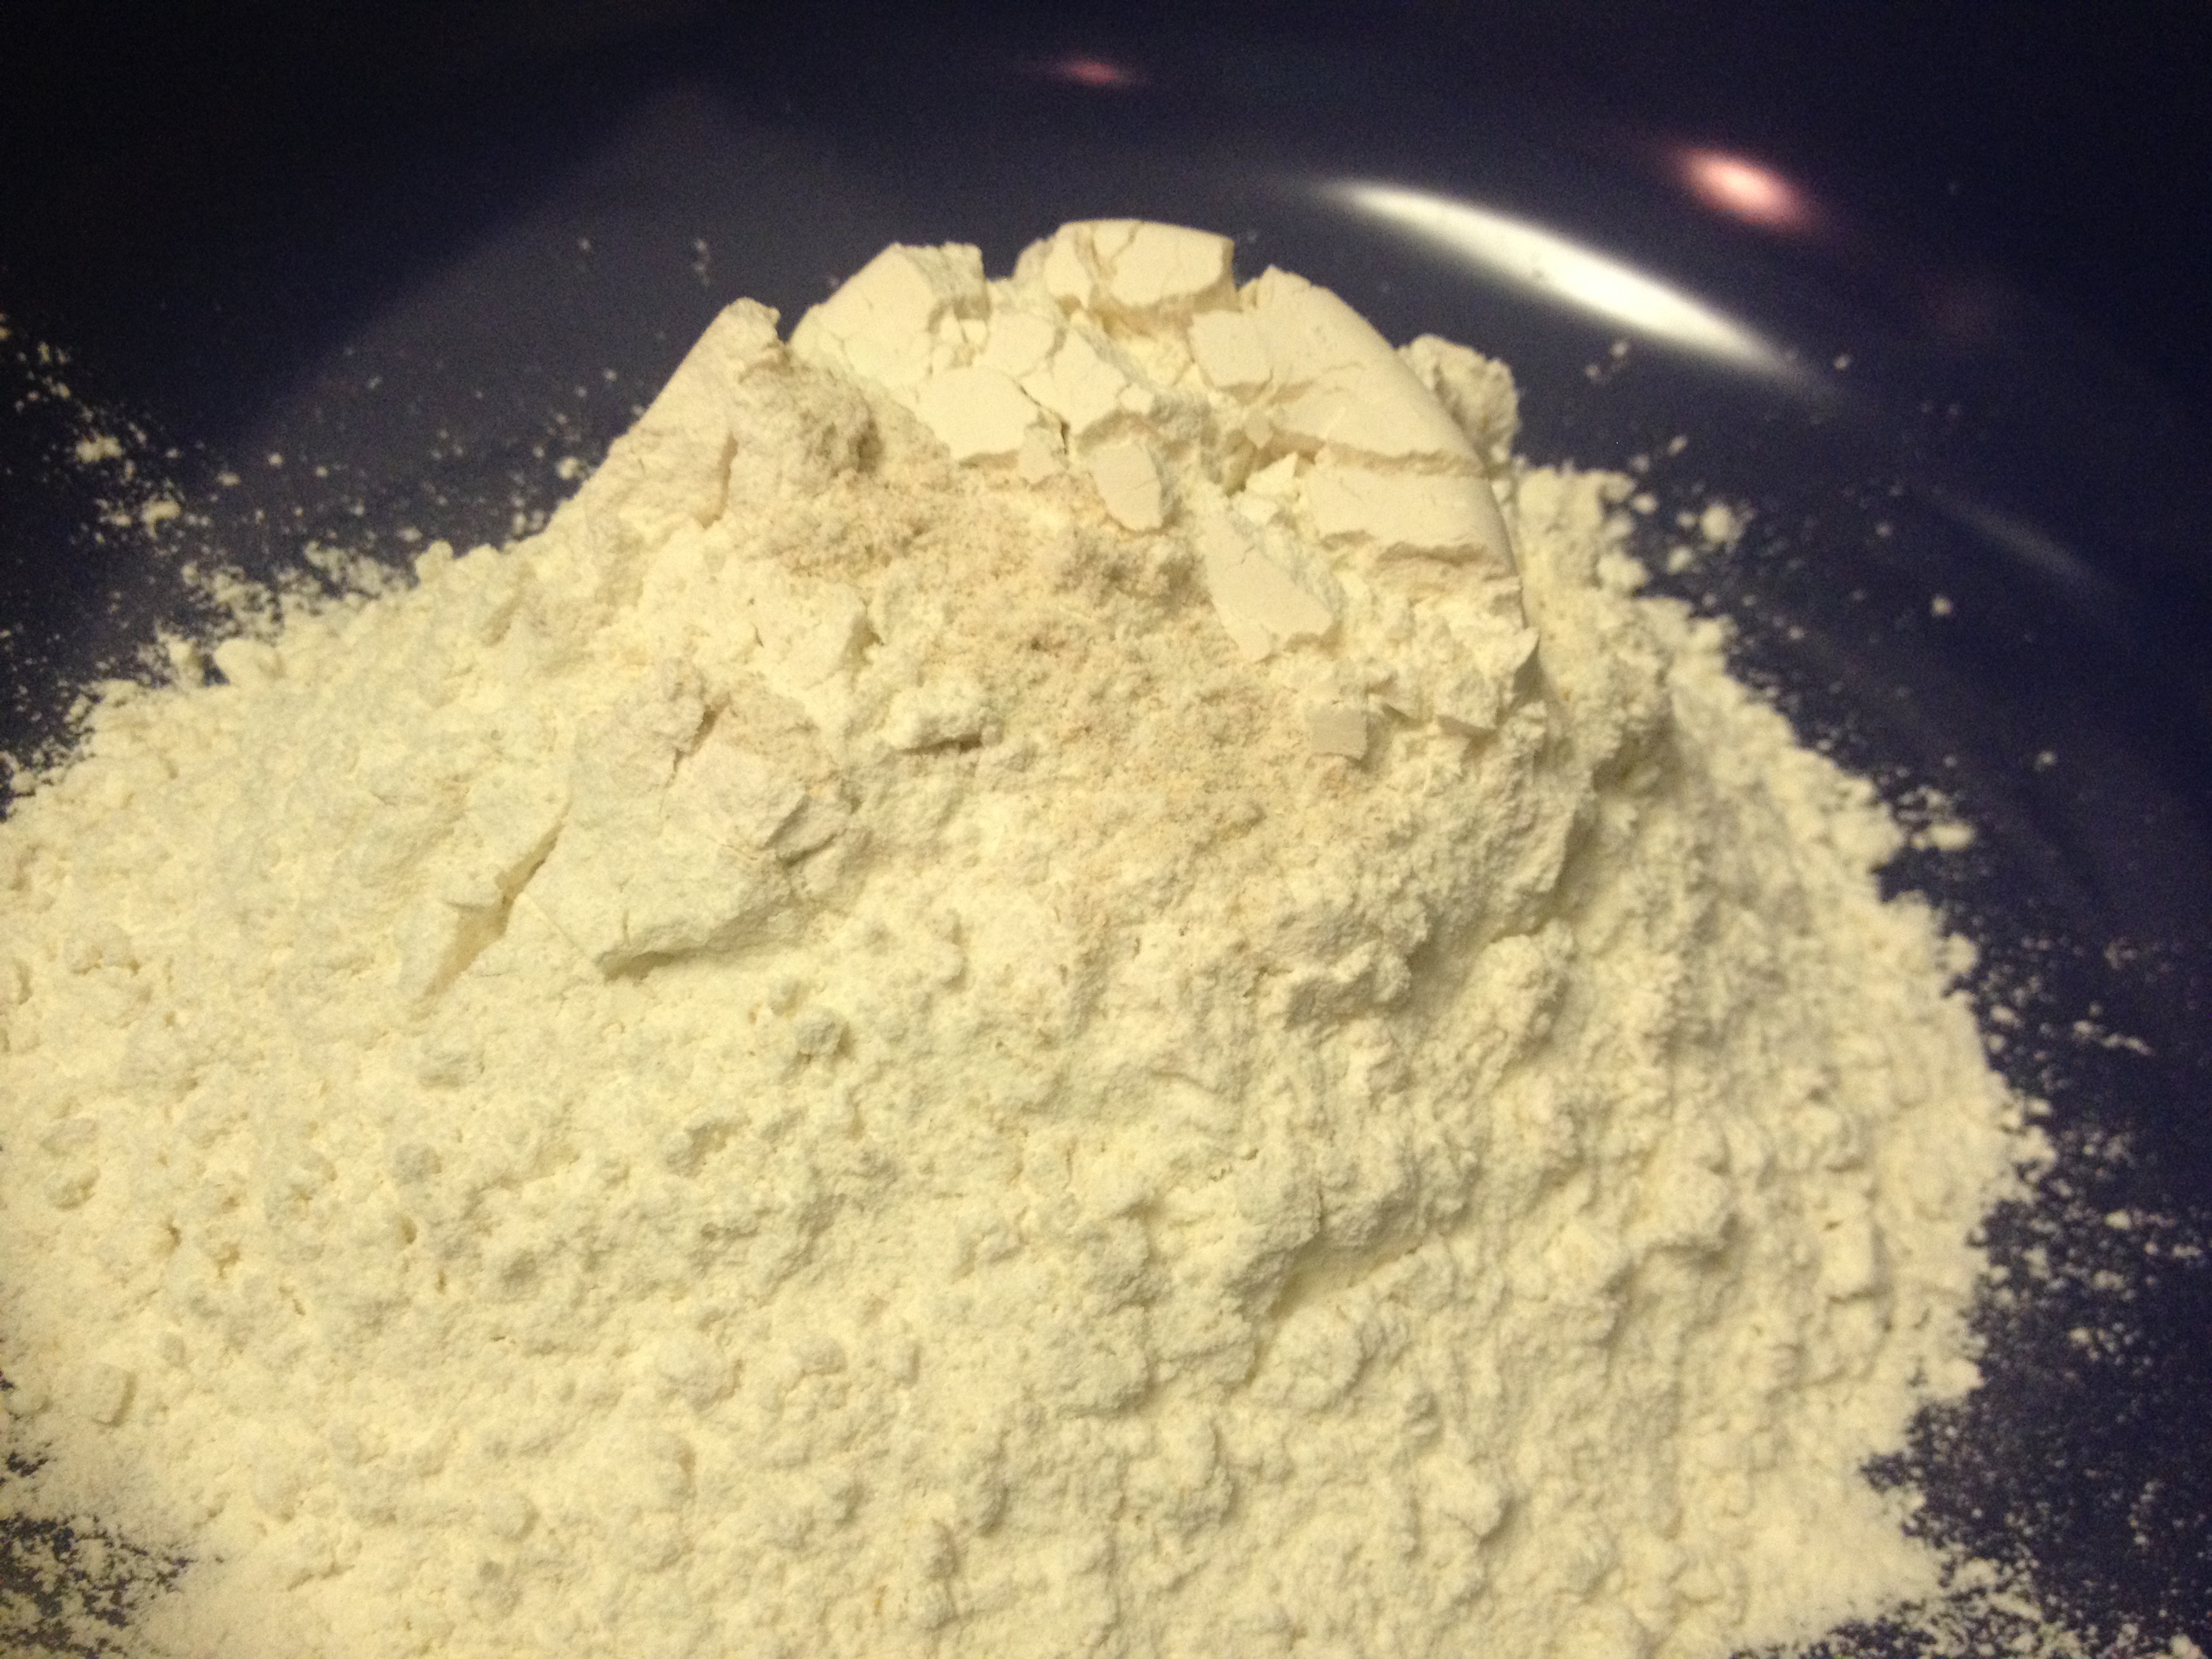
Nothing to this recipe! First things first (after pre-heating the oven to 350), mix up the flour…
…cocoa…

…salt…

…and baking powder.
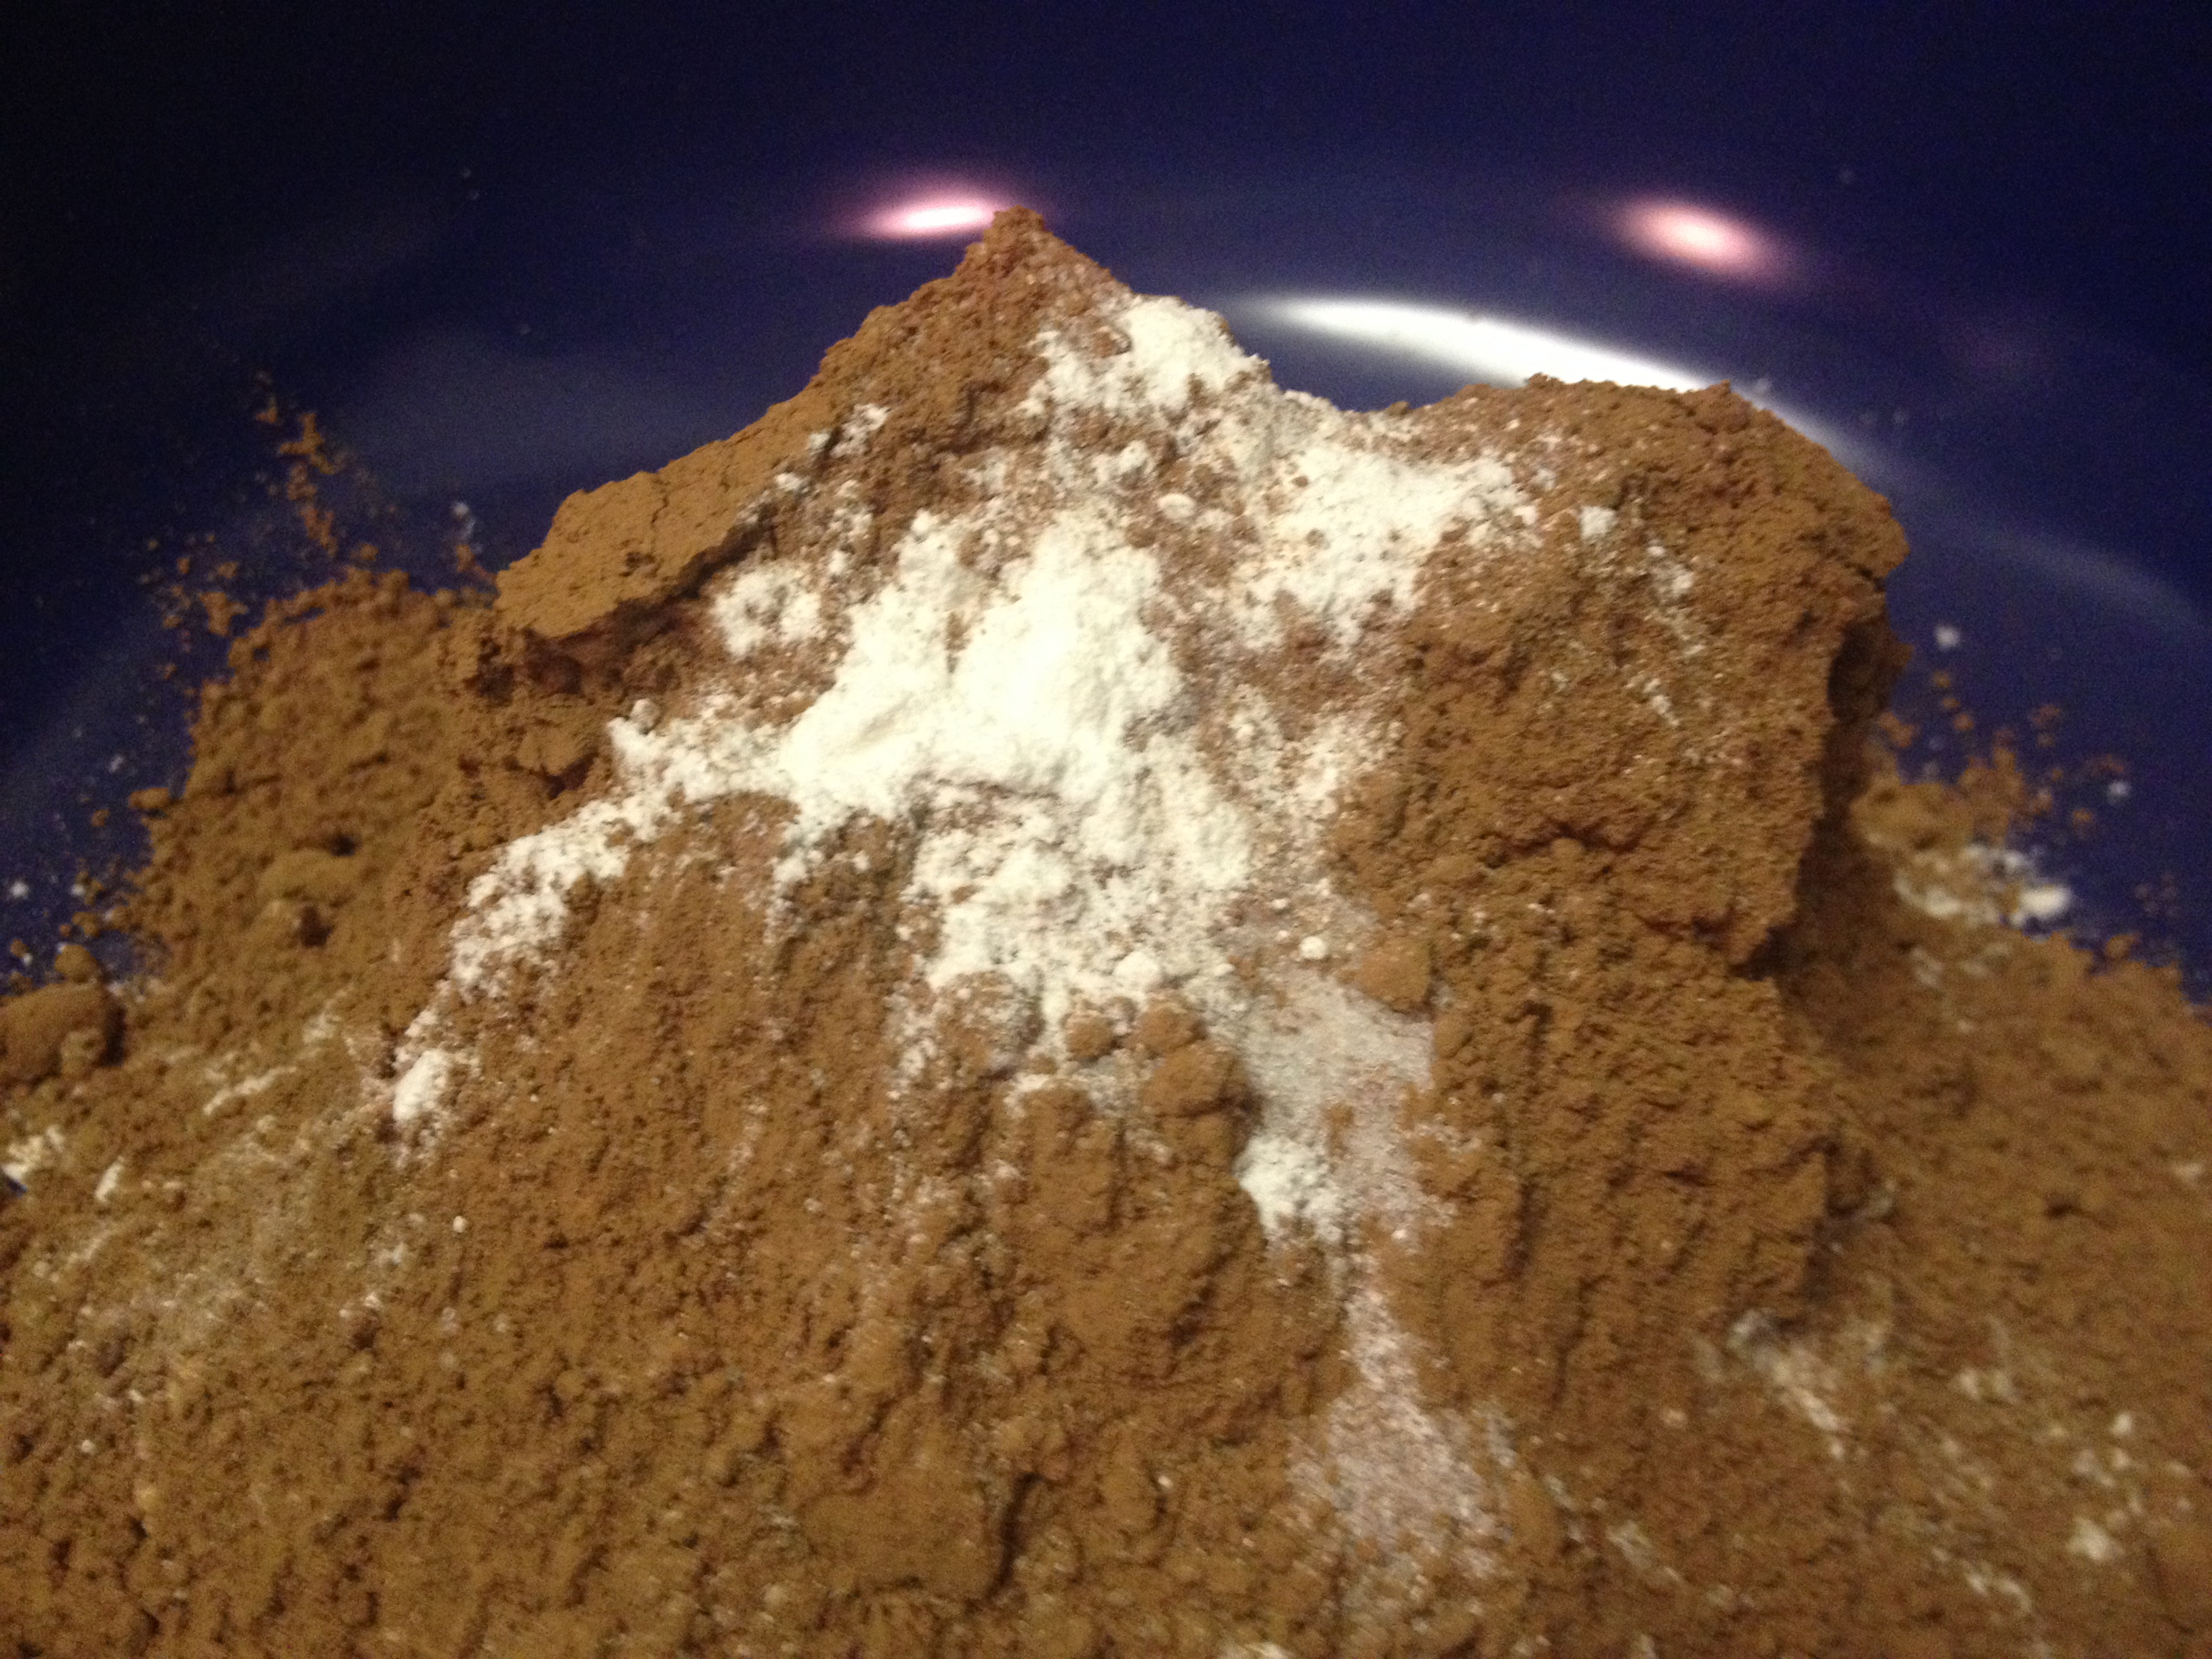
Whisk all of these items together and then set aside.

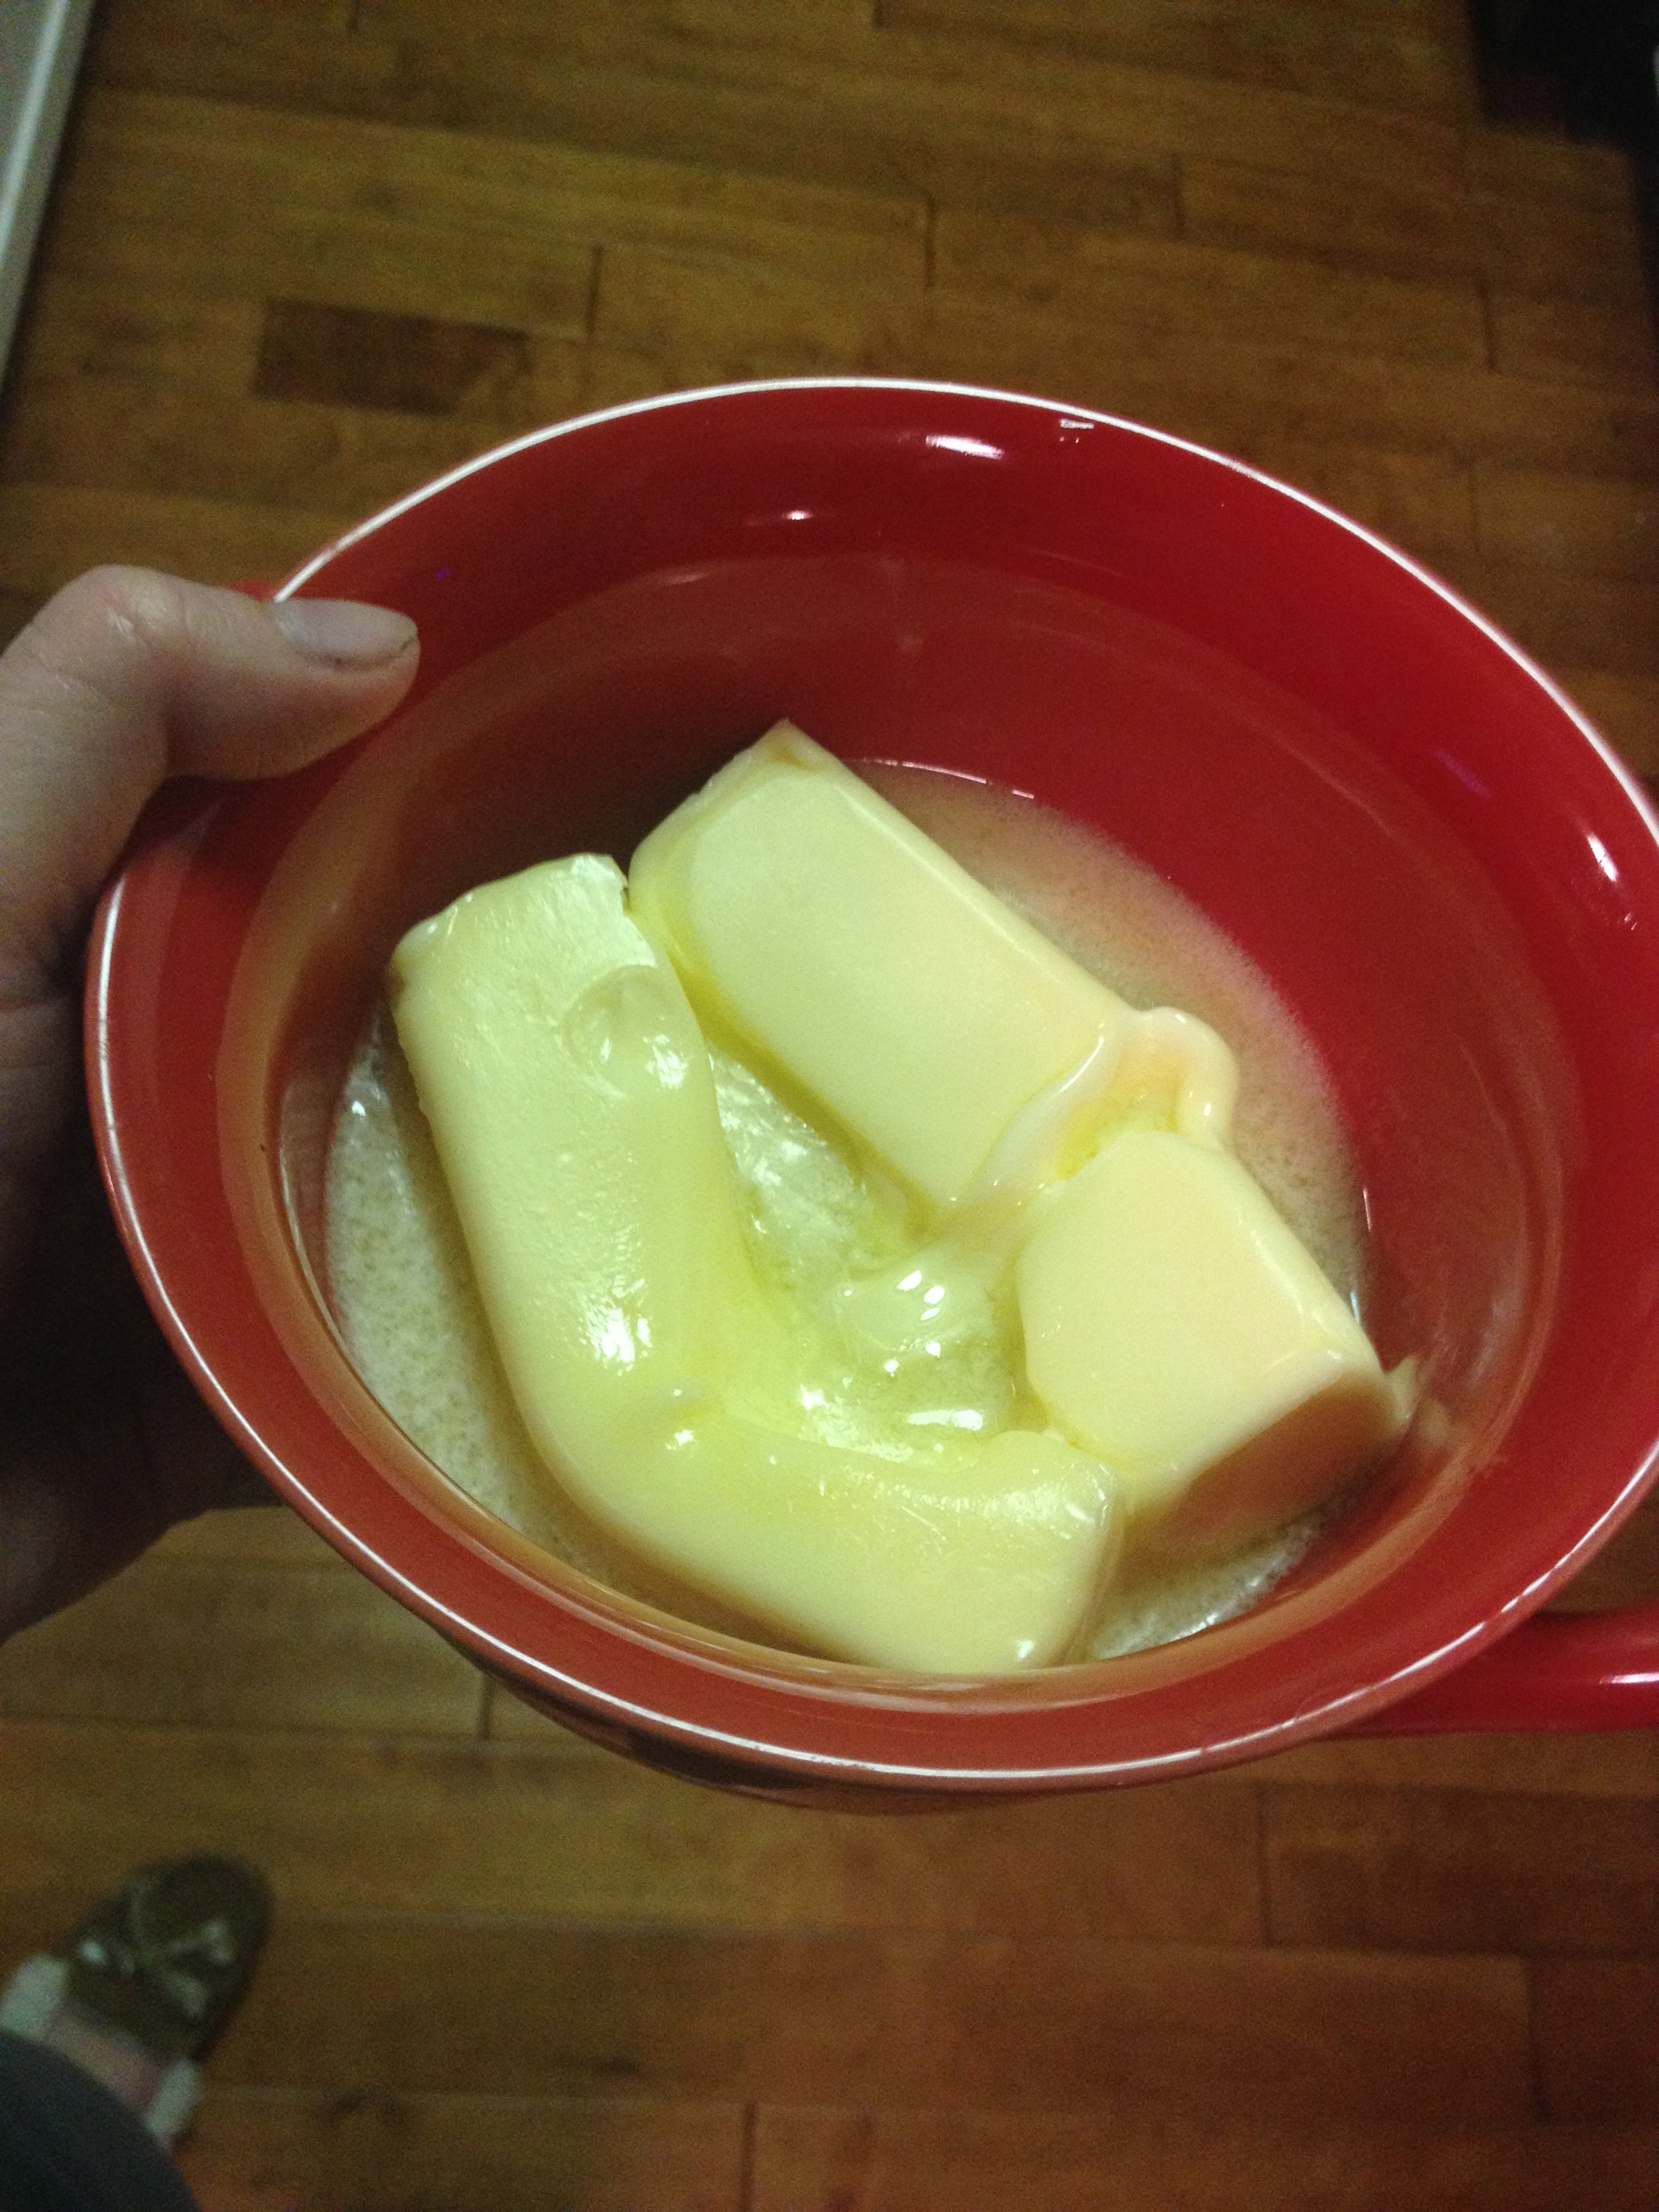
Now, soften the butter (if you haven’t had it set out to soften in advance, which I never do) for a bit in the microwave and then mix the butter and sugar together using your mixer of choice.


You’ll want it to be light yellow and fluffy. That’s the green light that you’re ready to add the eggs, one at a time.

Mix that all in and then add in the vanilla. Use a spatula to scrap down the sides if the liquid starts to creep up the sides at all.

Last, gradually add in the dry ingredients, a bit at a time. I was a bit aggressive and ended up breathing in puffs of chocolate flour dust quite a bit. I do not recommend that situation so be gentle when adding your dry ingredients. Trust me. And also…the dough will get very thick, forewarning.
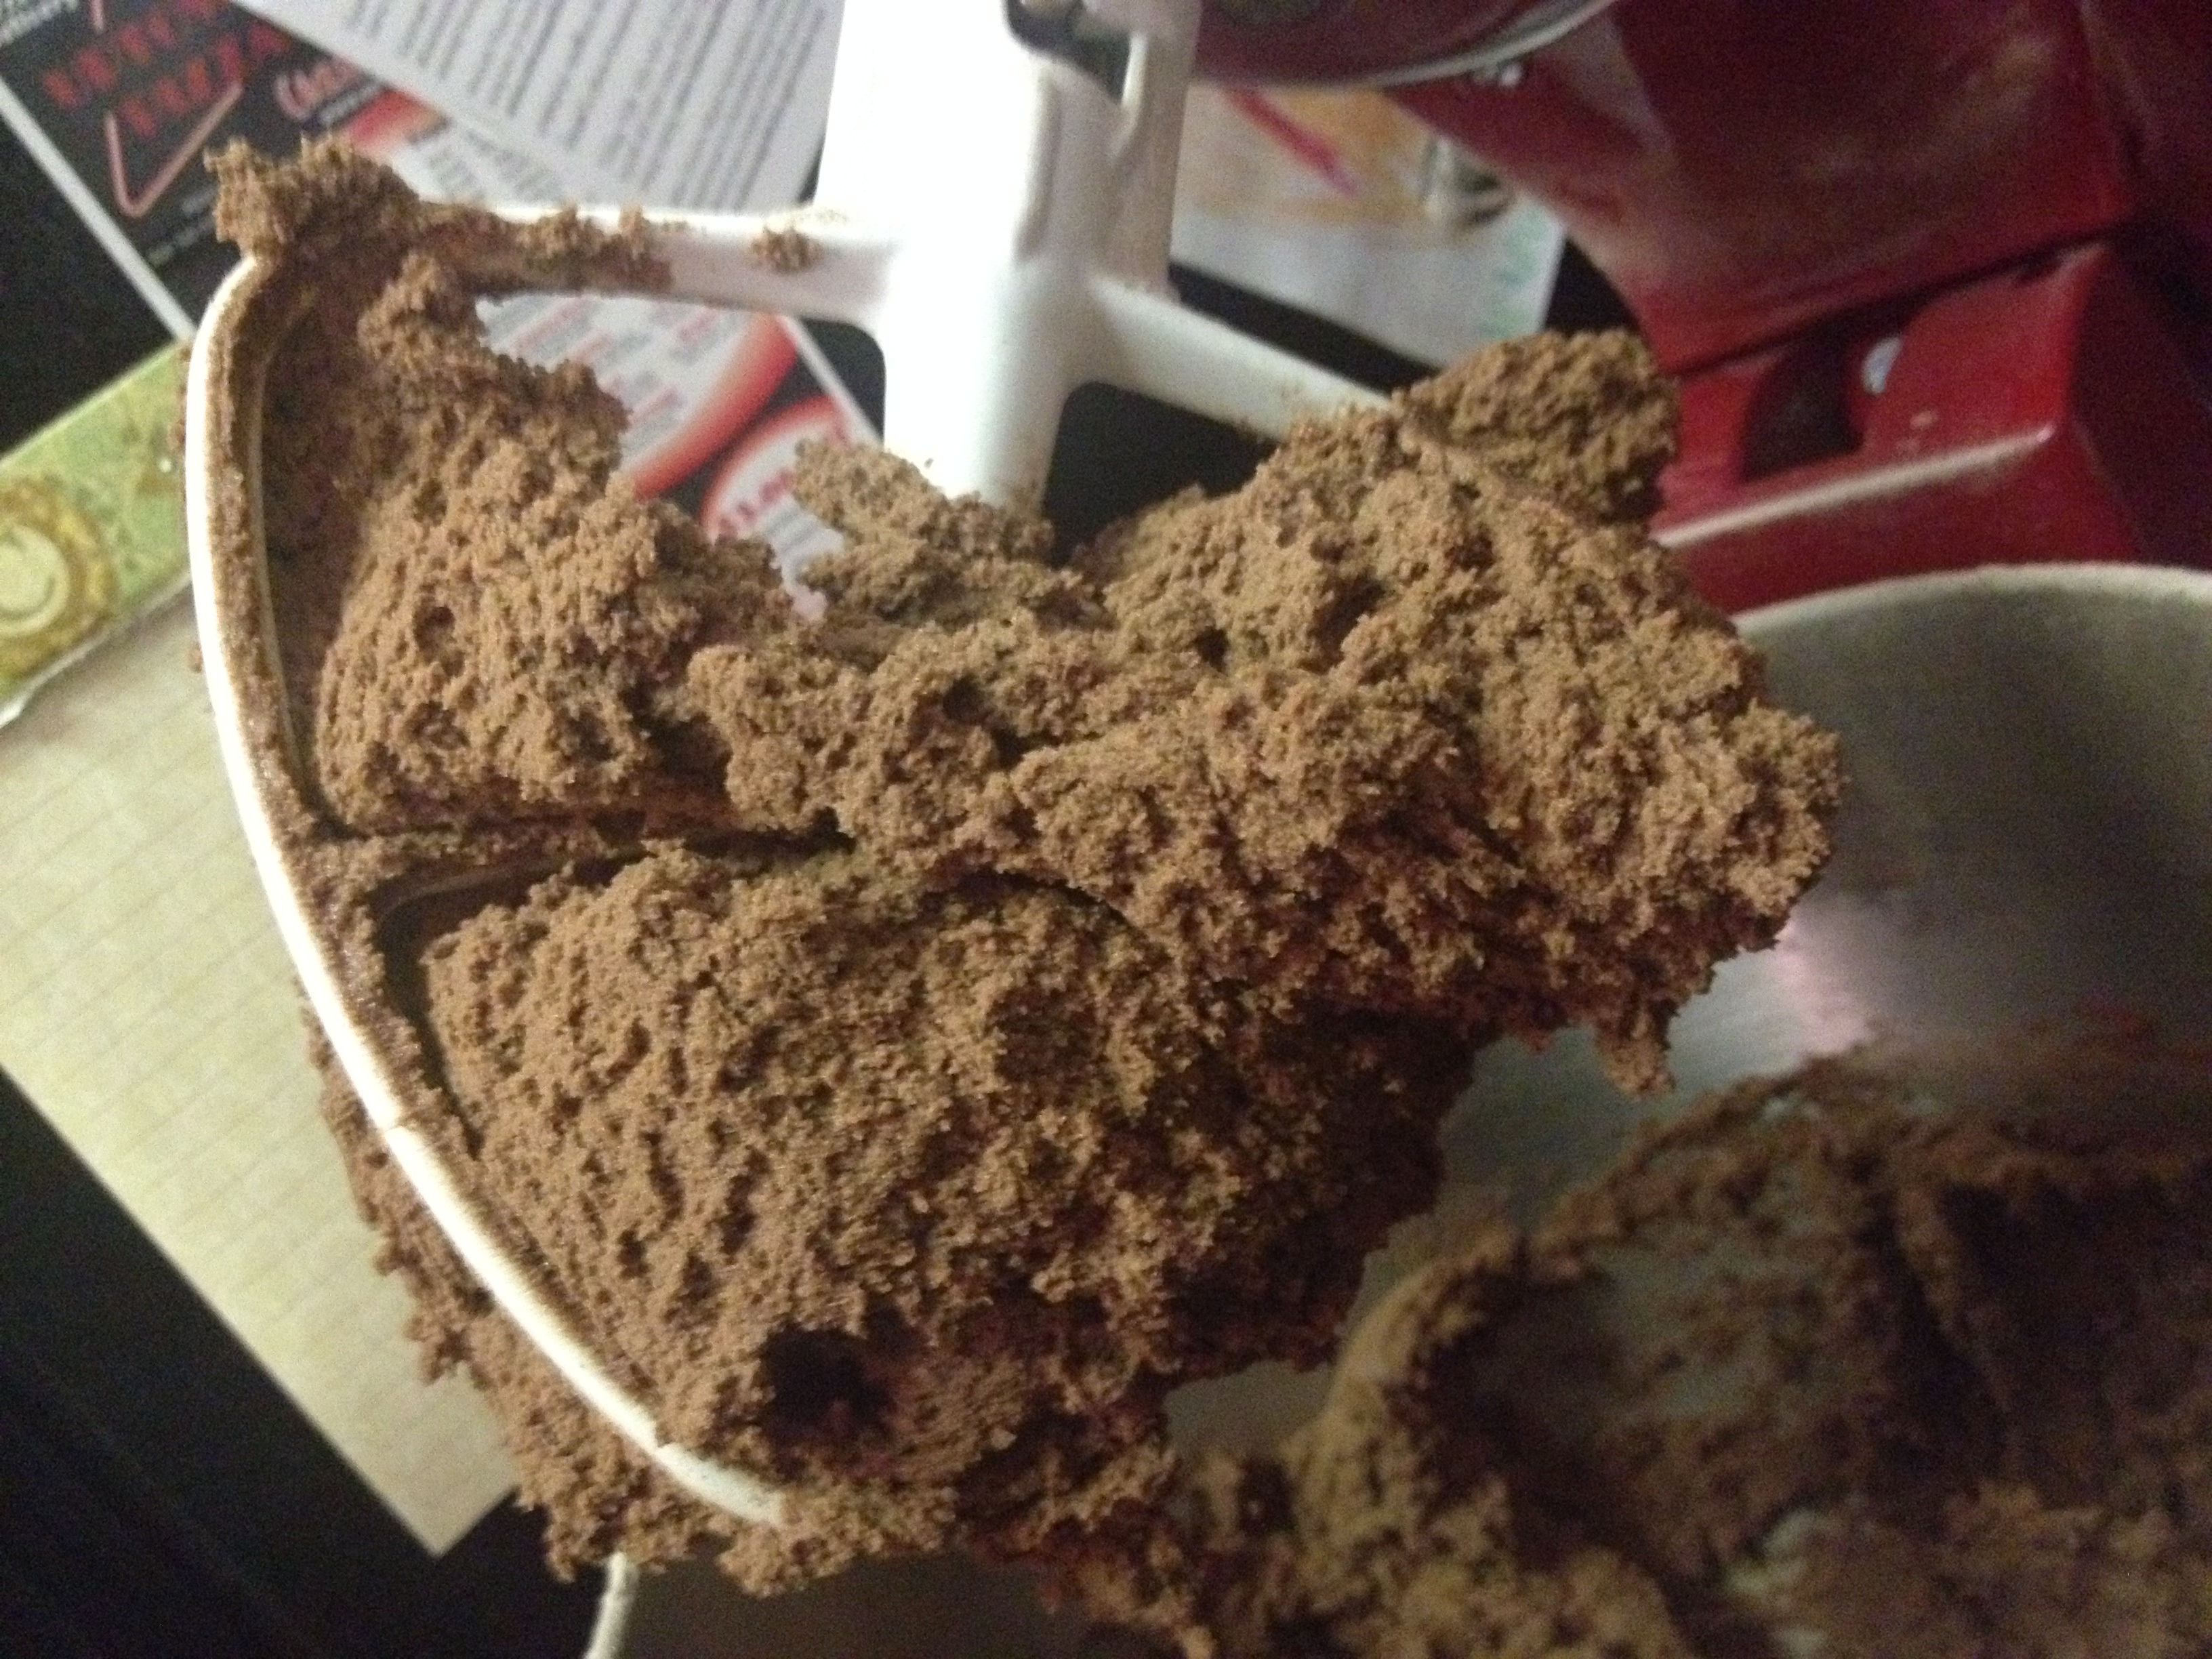

Grab some plastic wrap and lay the batter on the plastic wrap and then wrap up all of the dough, nice and tight. Then set that in the fridge for an hour to chill. Turn on some tunes, do the dishes…or turn on some Netflix, don’t the dishes..regardless do something to pass the hour!
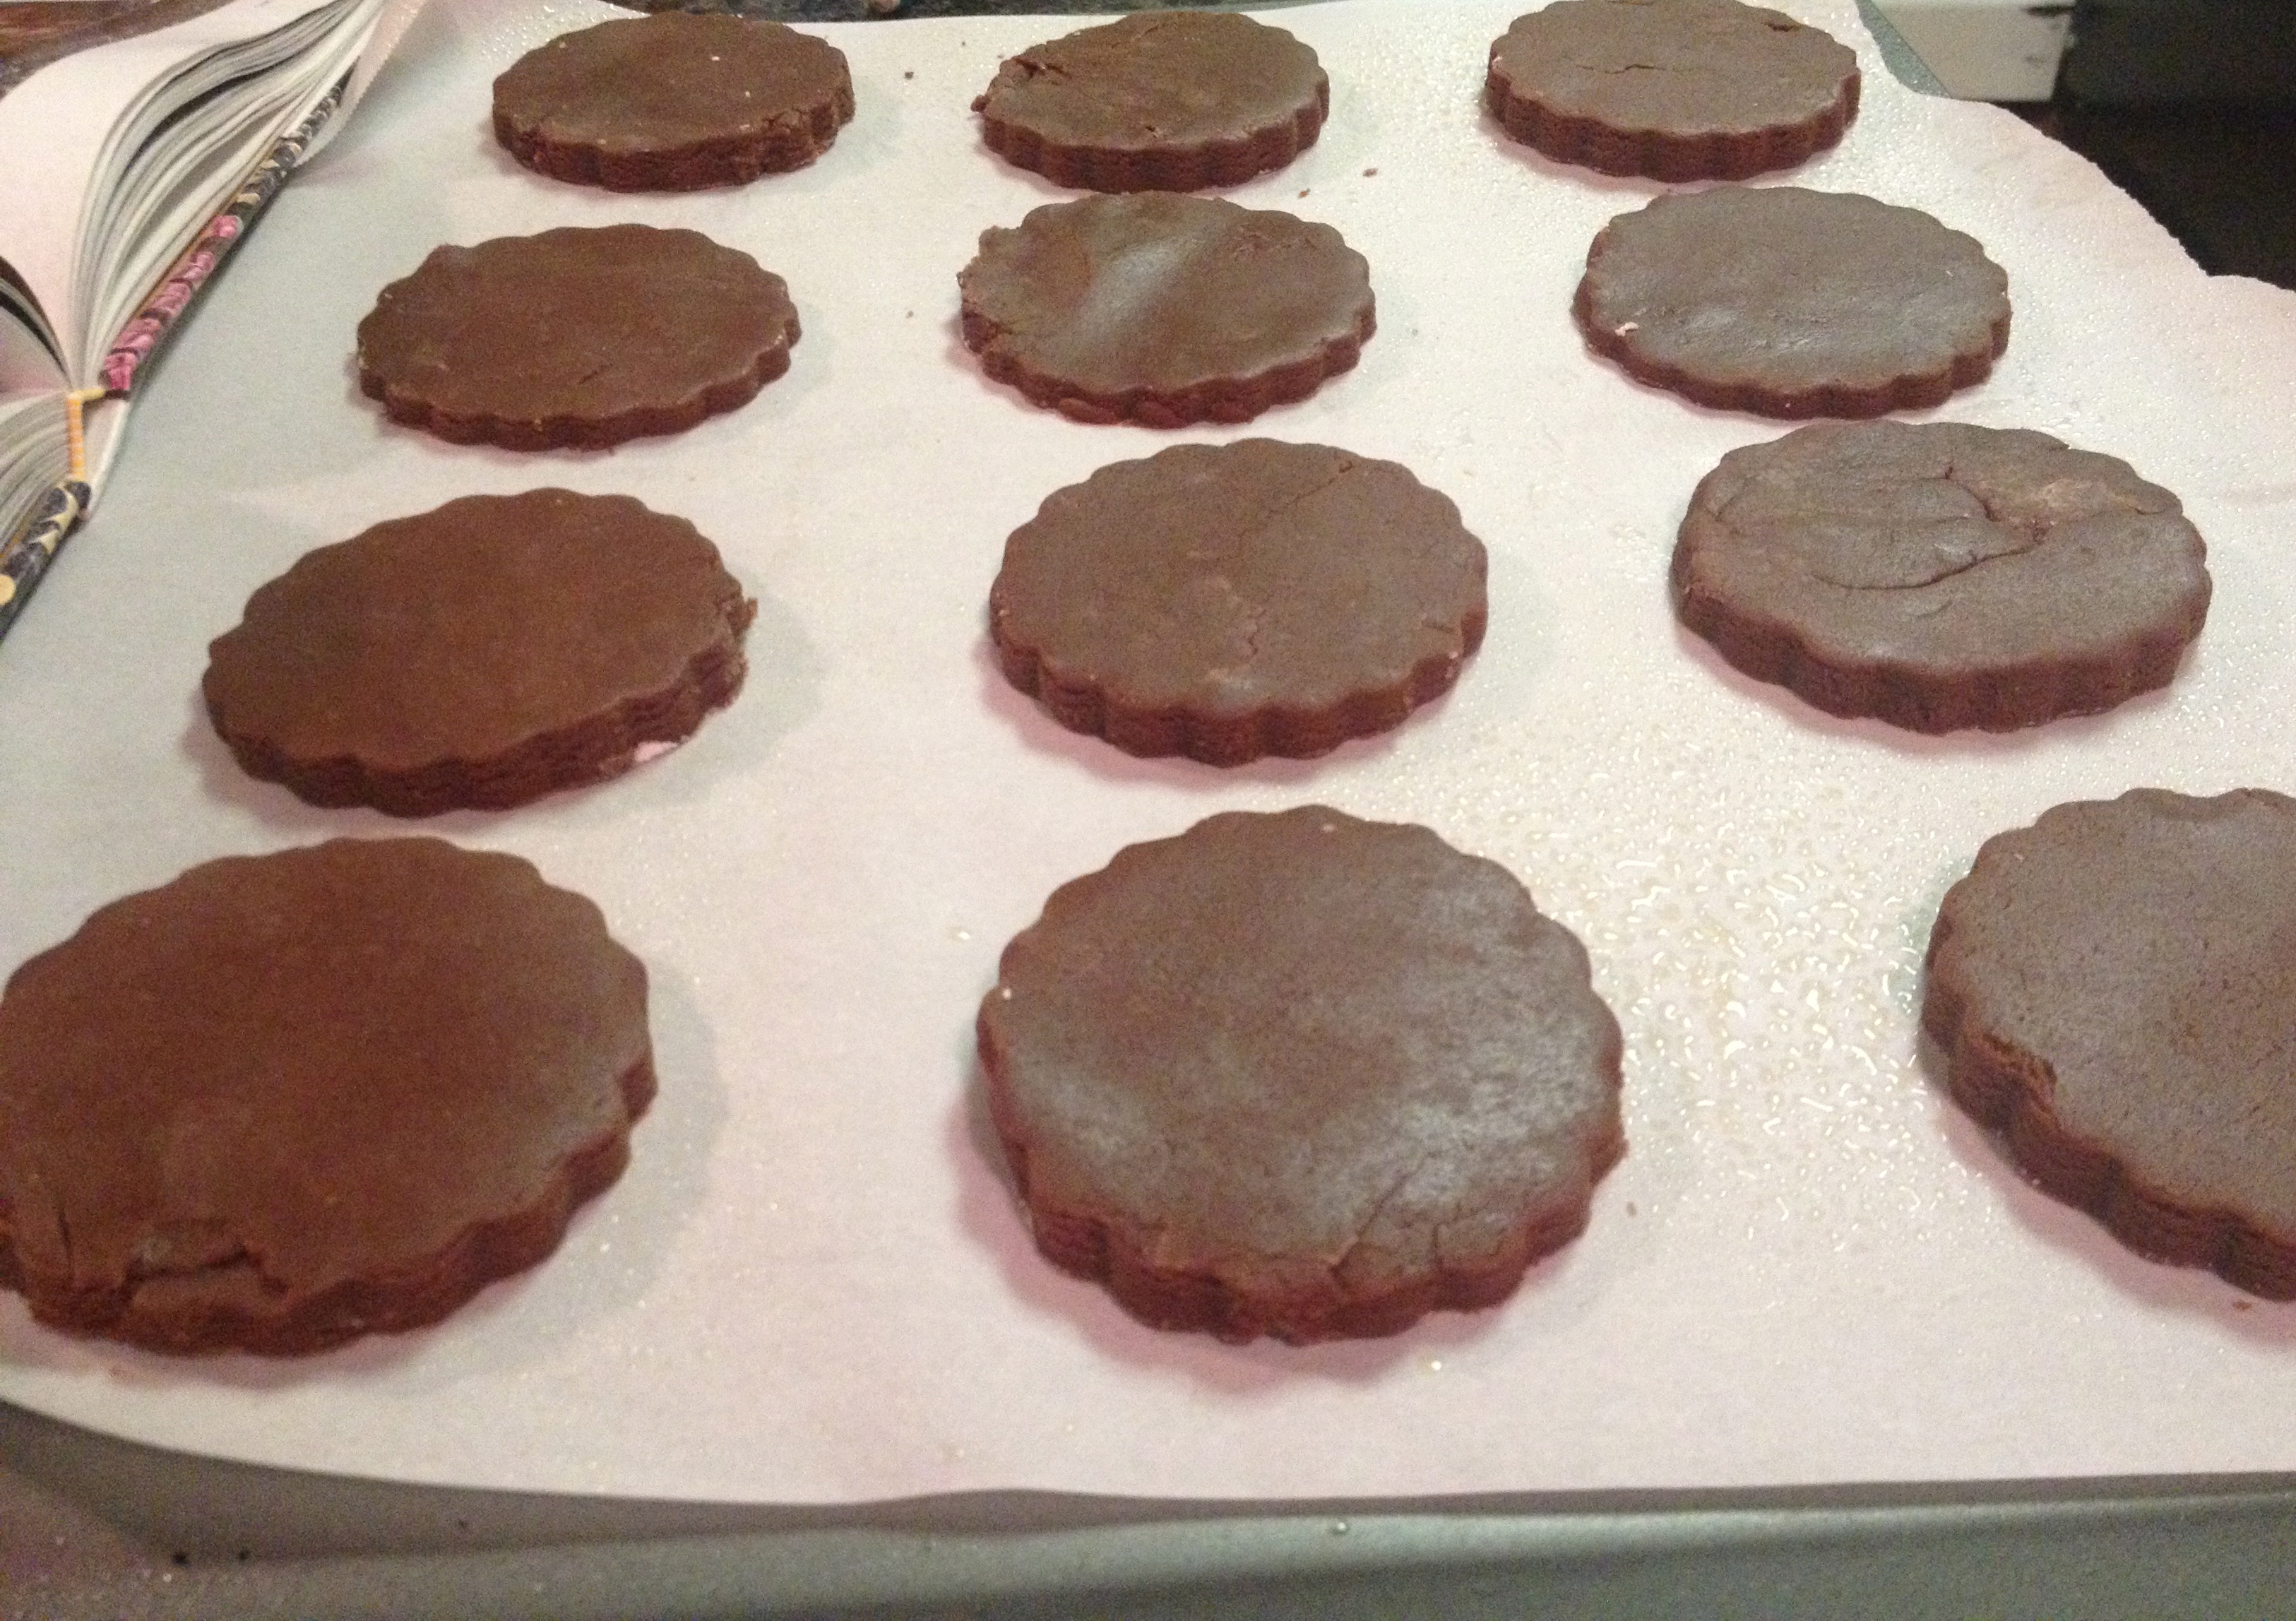
Then, time to roll out the dough. This works best on a floured surface and with a floured-up rolling-pin. I use a cutting board for rolling out dough and as it’s small, I did this in batches. You’ll have to modify your method based on what amount of counter space/cutting board space you have. And no fear with the white flour speckles being on the dough, you can rub them off with your fingers and any smudges that remain should bake off in the oven.

These cookies are best with some thickness – aim for between 1/8 and 1/4 inch thick. Use whatever fun cookie cutter you’d like! I thought it’d be fun to make these look like wafer cookies, so I used a cookie cutter with a flowing edge. I loved the way they turned out! Reminded me of the cookies that are on either side of an ice cream sandwich (which then had me thinking THAT would be a good experiment. I shall report back on how that experiment goes!).
 But back to cookies. Place parchment paper on cookies sheets and give them a good spray with Pam. Then set your cut-out cookies on the parchment paper, nicely spaced out. These get baked for 8-11 minutes, the thinner cookies will be closer to 8 minutes and the thicker ones closer to 11 minutes.
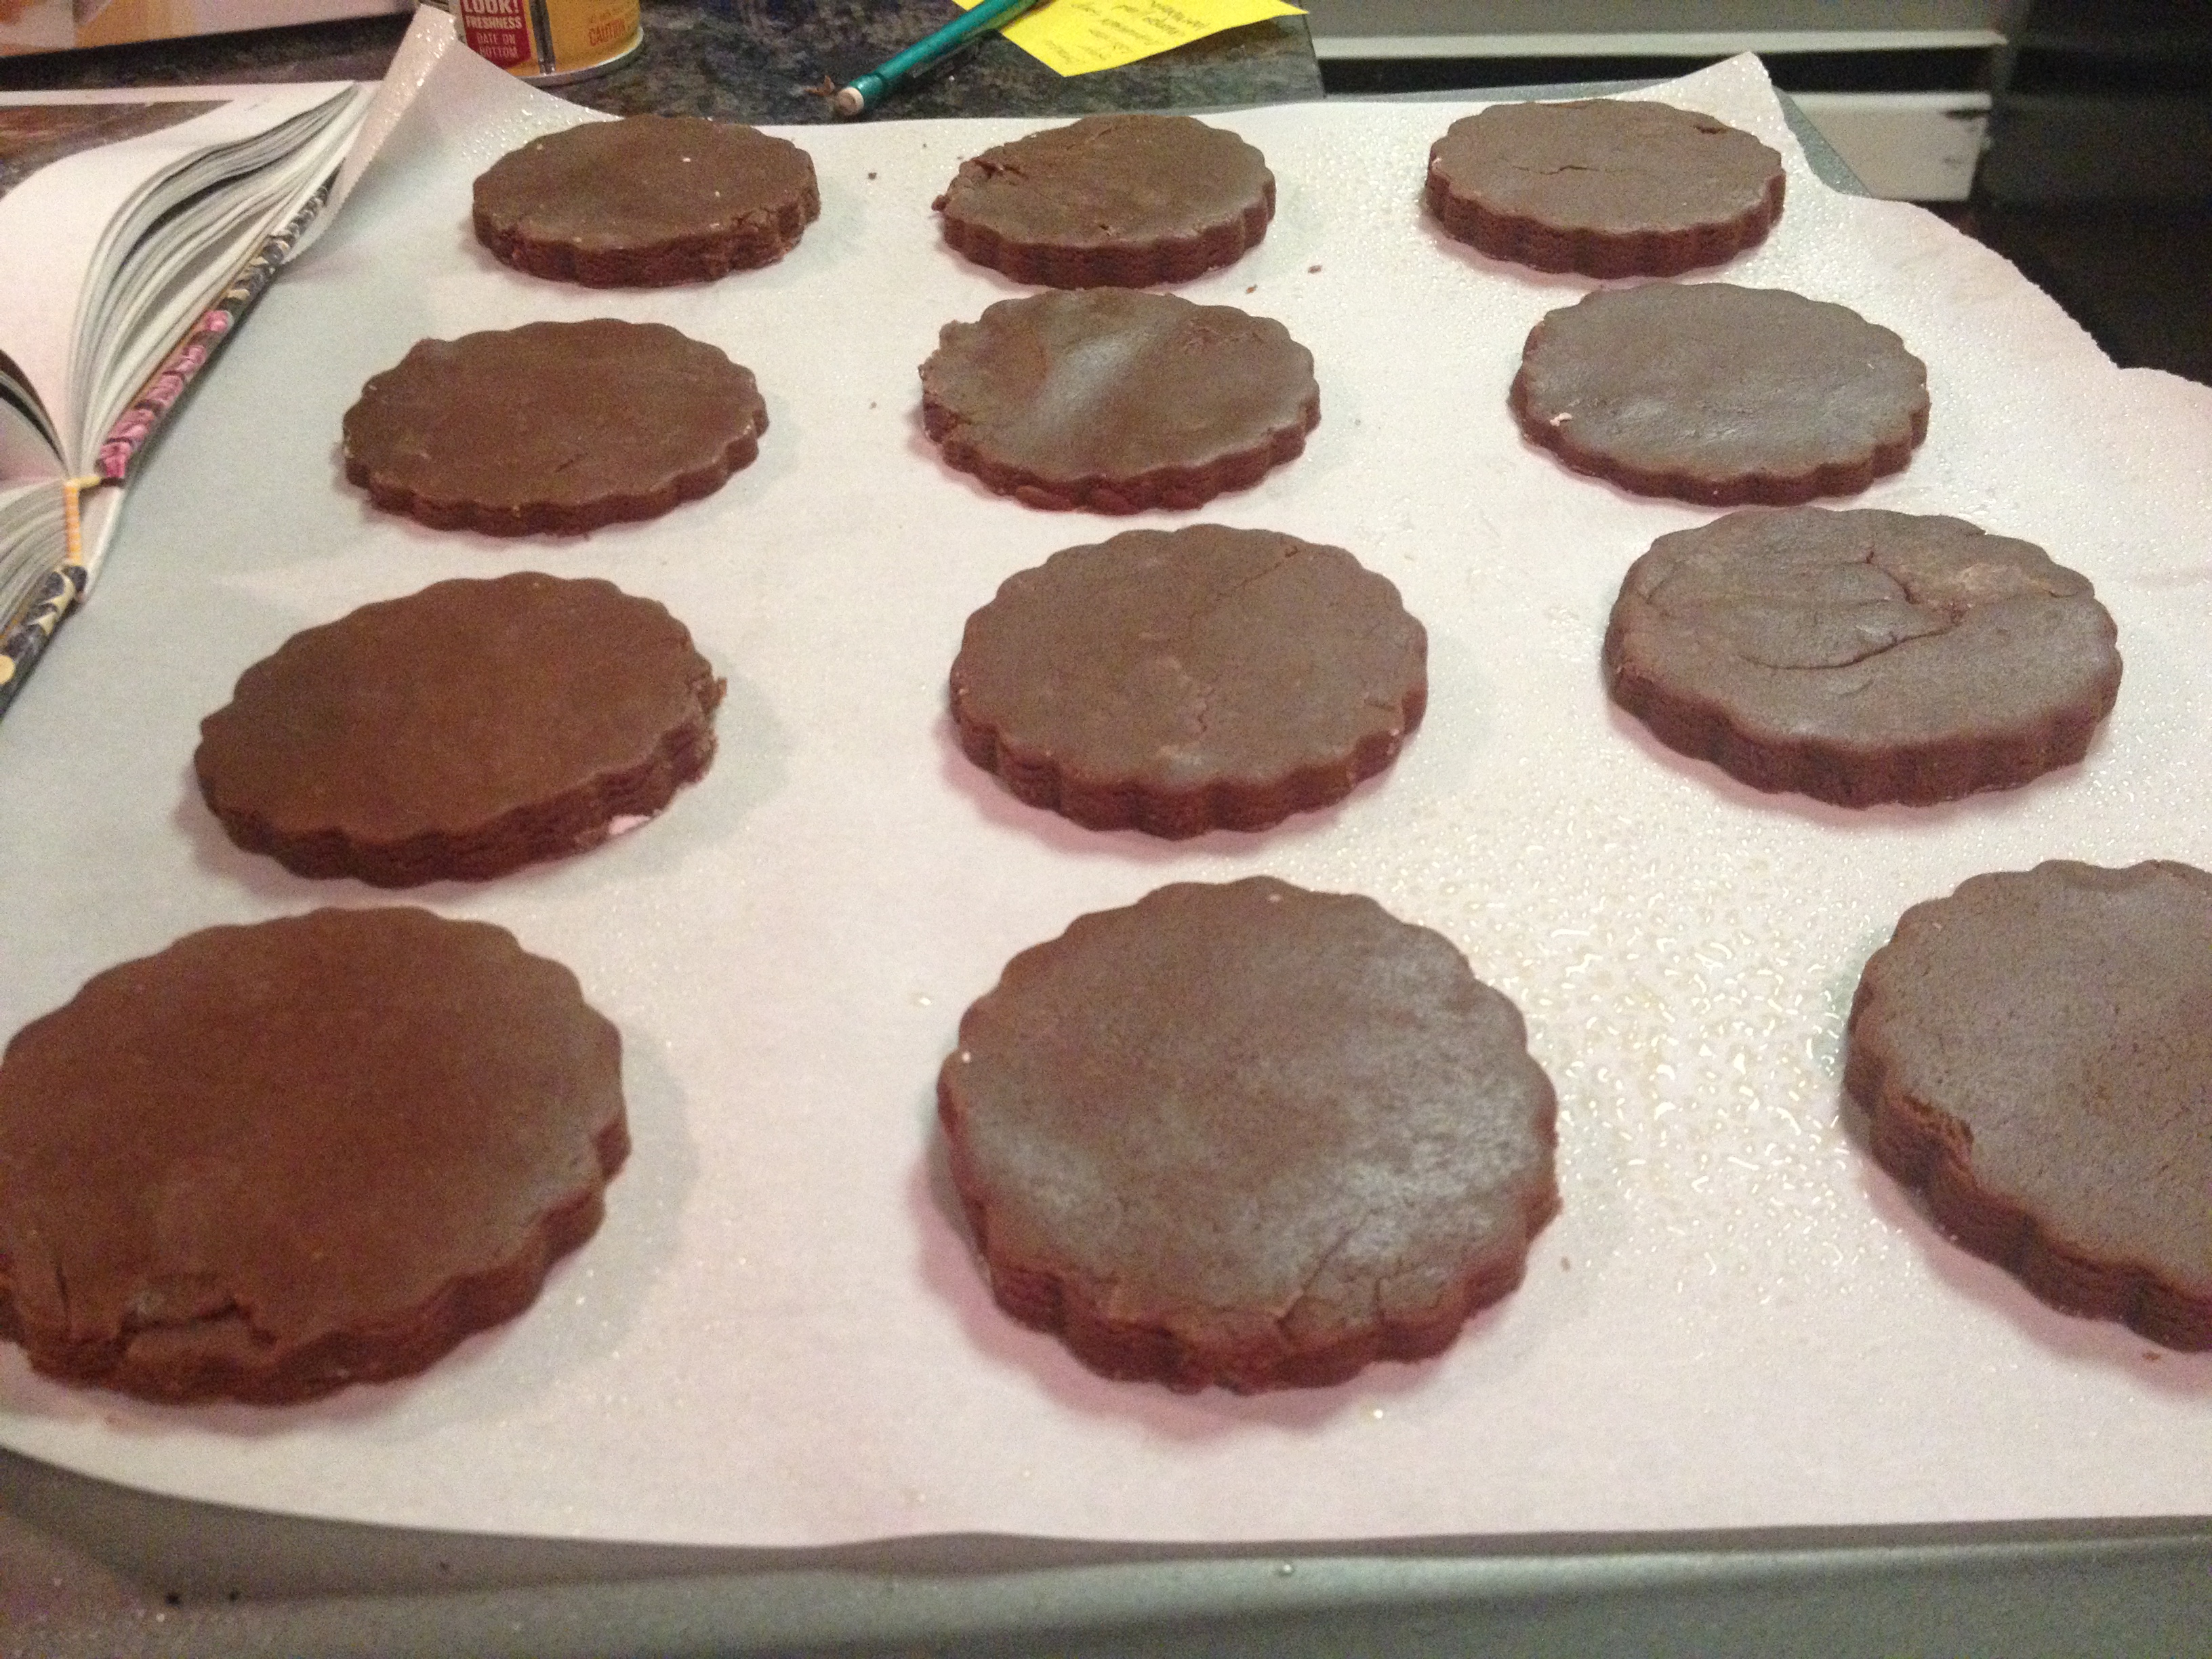
When they’re done you’ll have firm edges and a softer center. Perfect cookie!
Set them out to cool, though you must sneak one just to be sure they’re done. It’s the job of the baker!

Now, my addition to this original recipe of Smitten Kitchen’s is to dust the tops with powdered sugar. It gives the perfect amount of sweetness as I thought the cookies themselves needed just a little something extra. Powdered sugar does the trick!

You’ll love these, chewy, delicious chocolate and the sweetness of the powdered sugar make these a cookie I’m definitely going to make them again.

Hope you all enjoy these as much as I did! I’m bringing most of the batch down to the team in Texas this week, I hope you share your batch with a good group of folks too!

