

So I realize to many, granola is not the most exciting thing. To those people I say, you need to try THIS granola.
Now, I’ve posted a previous granola recipe on here (which I still thoroughly enjoy and still recommend), but this is granola with a different sort of twist – sweet and kicked up a notch, with different crunch, different flavors (hello again, browned butter) and CHOCOLATE. Yes, there is chocolate in this granola and I know it shouldn’t be my favorite part as at the heart of it all, granola is supposed to be “healthy-ish” (right?!)…but it is. I’m not even sorry about it.
I made this a few weeks back and our apartment smelled soooooooo good. I would make this solely to make my apartment smell like THAT again. If for nothing else, make this to infuse your home with smells of cookies, oatmeal, and browned butter.
Gah.
So. Delish.
Ironic choice of words (and still true words) as this recipe is from Seriously Delish, the cookbook I’ve raved about a few times (the Baked Oatmeal from a few posts back is from here too). I want to make just about every recipe in this cookbook, so this will NOT be the last time you read about it on this blog. Jessica wrote a masterpiece that has the right amount of creativity, taste, coziness AND her hilarious commentary throughout; it’s the perfect cookbook compliment to her blog How Sweet Eats. I’ve read Seriously Delish cover to cover a few times. (P.S. is that weird? I read cookbooks cover to cover. Ok, ok. Yes, that’s weird. Please reserve your judgment.)
So about that granola…
…here we go, in a recipe adapted from Jessica’s recipe in Seriously Delish.
Ingredients:
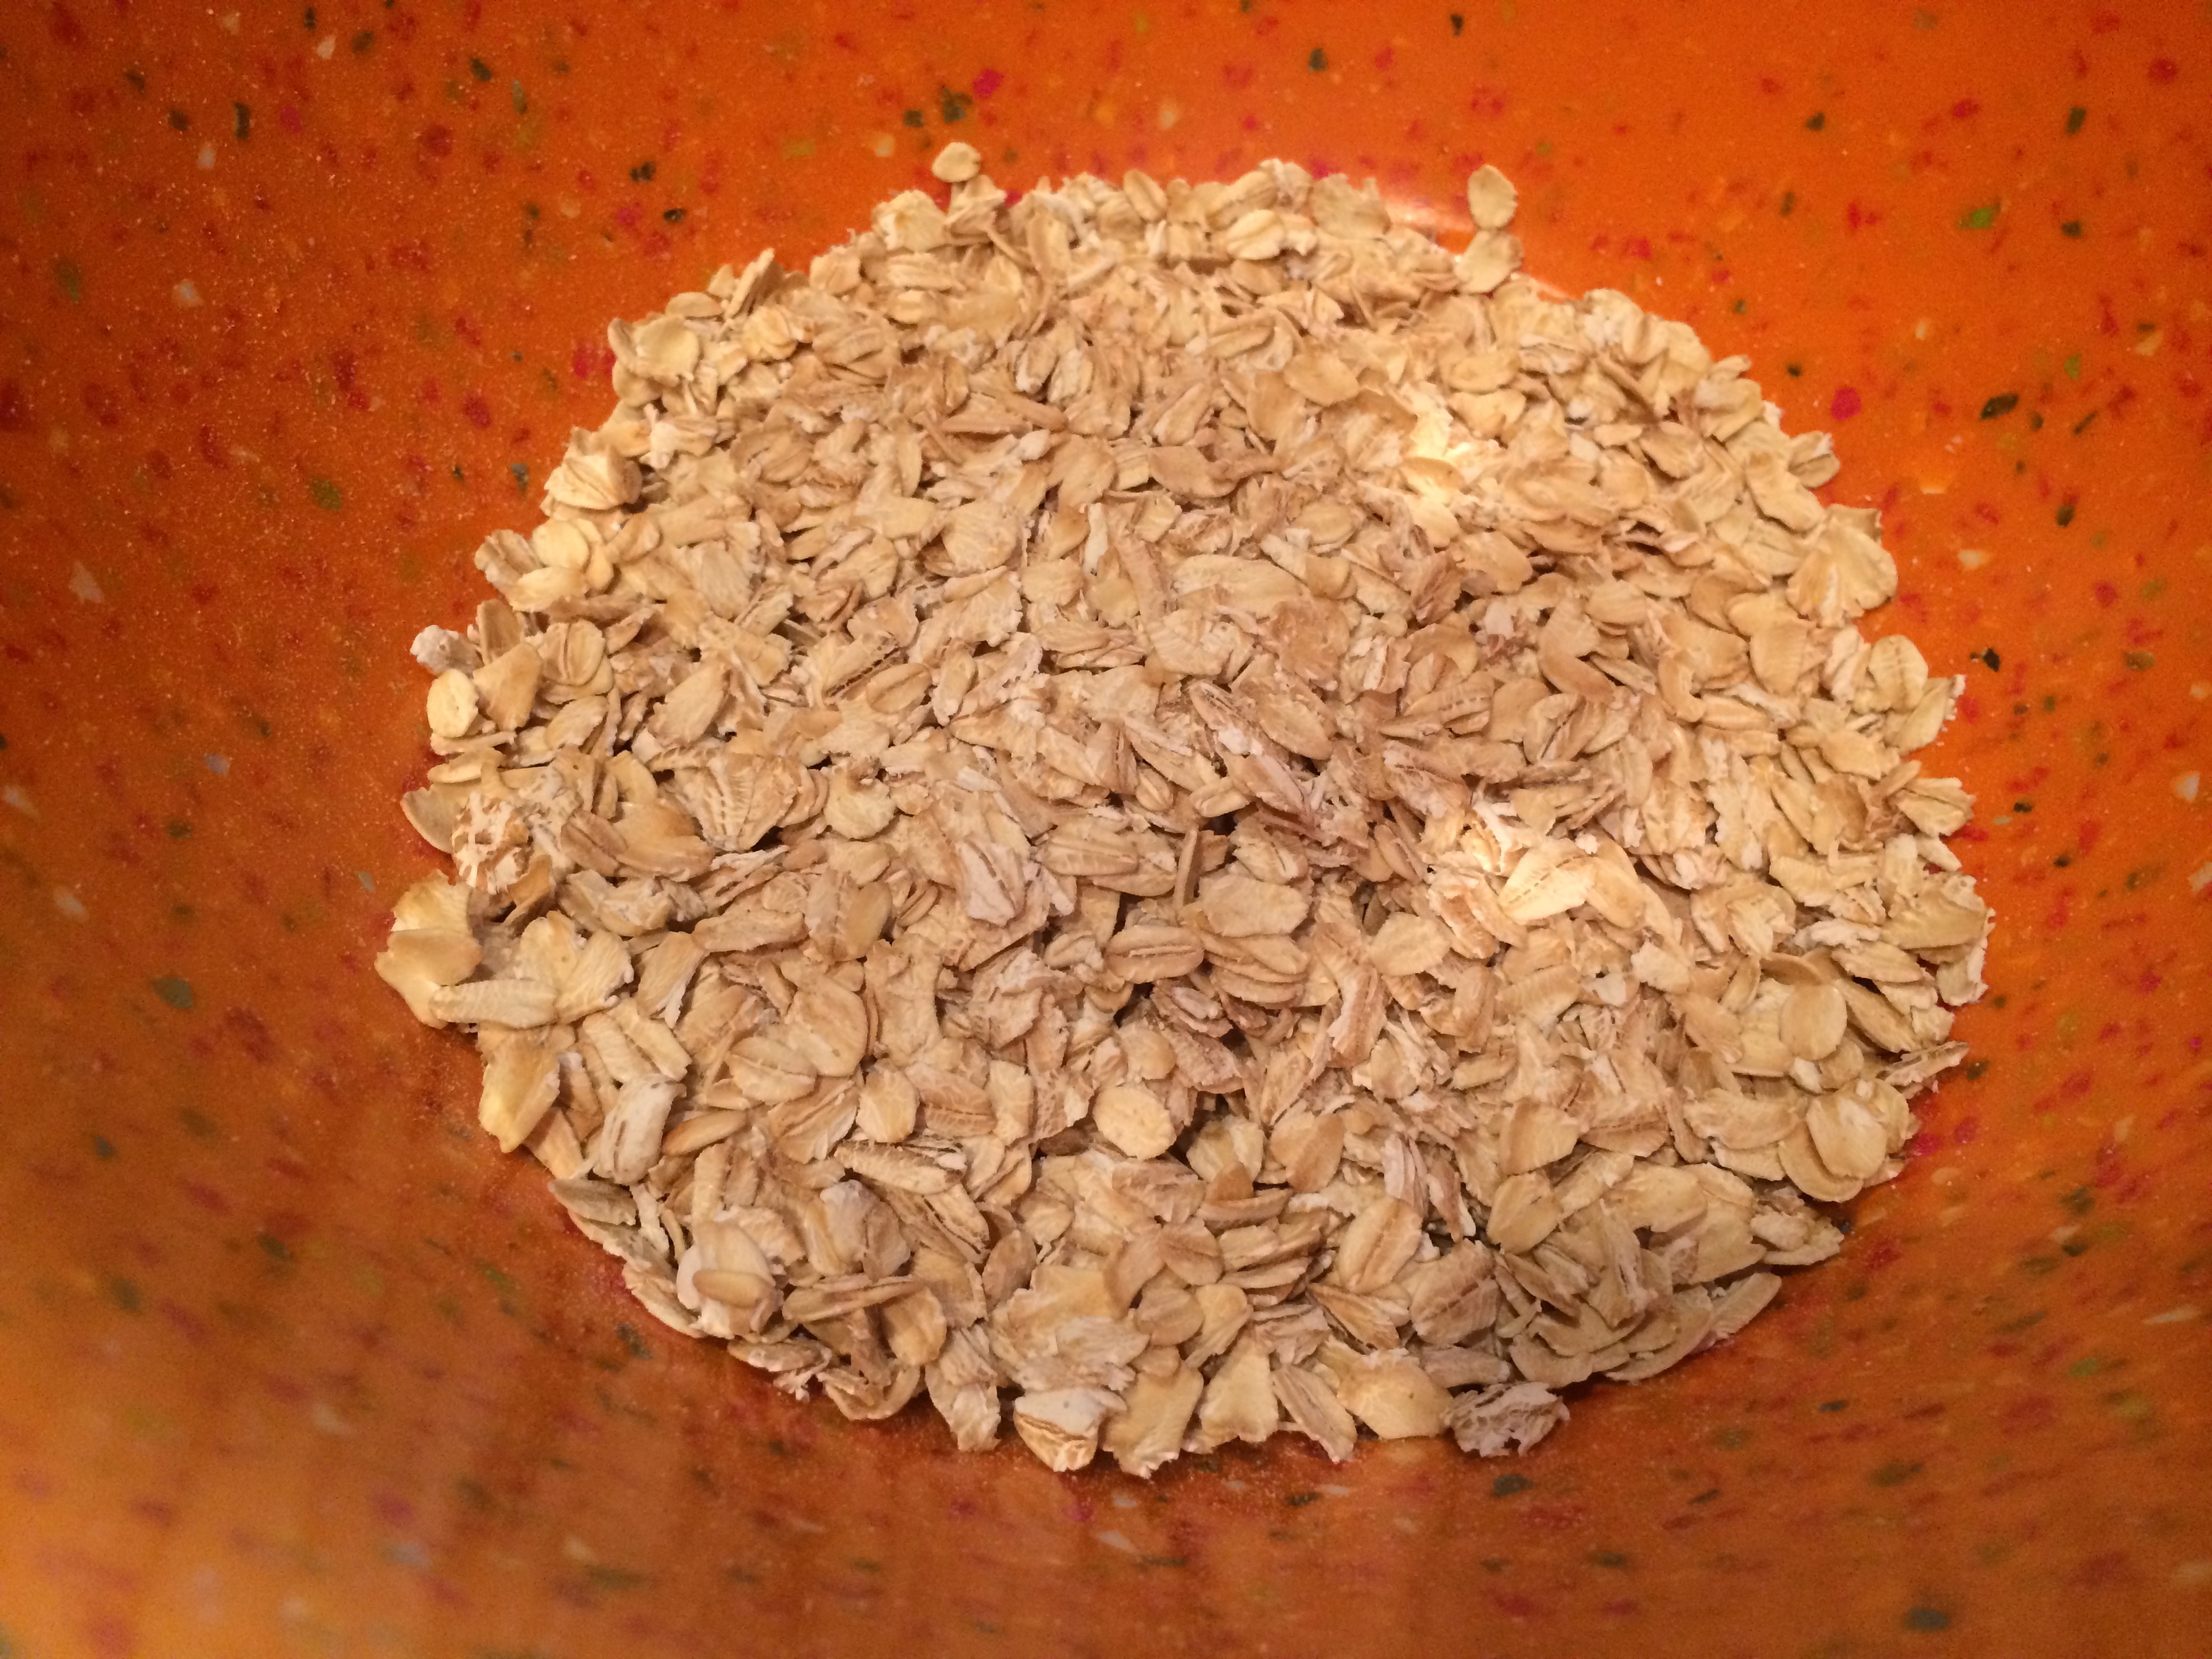
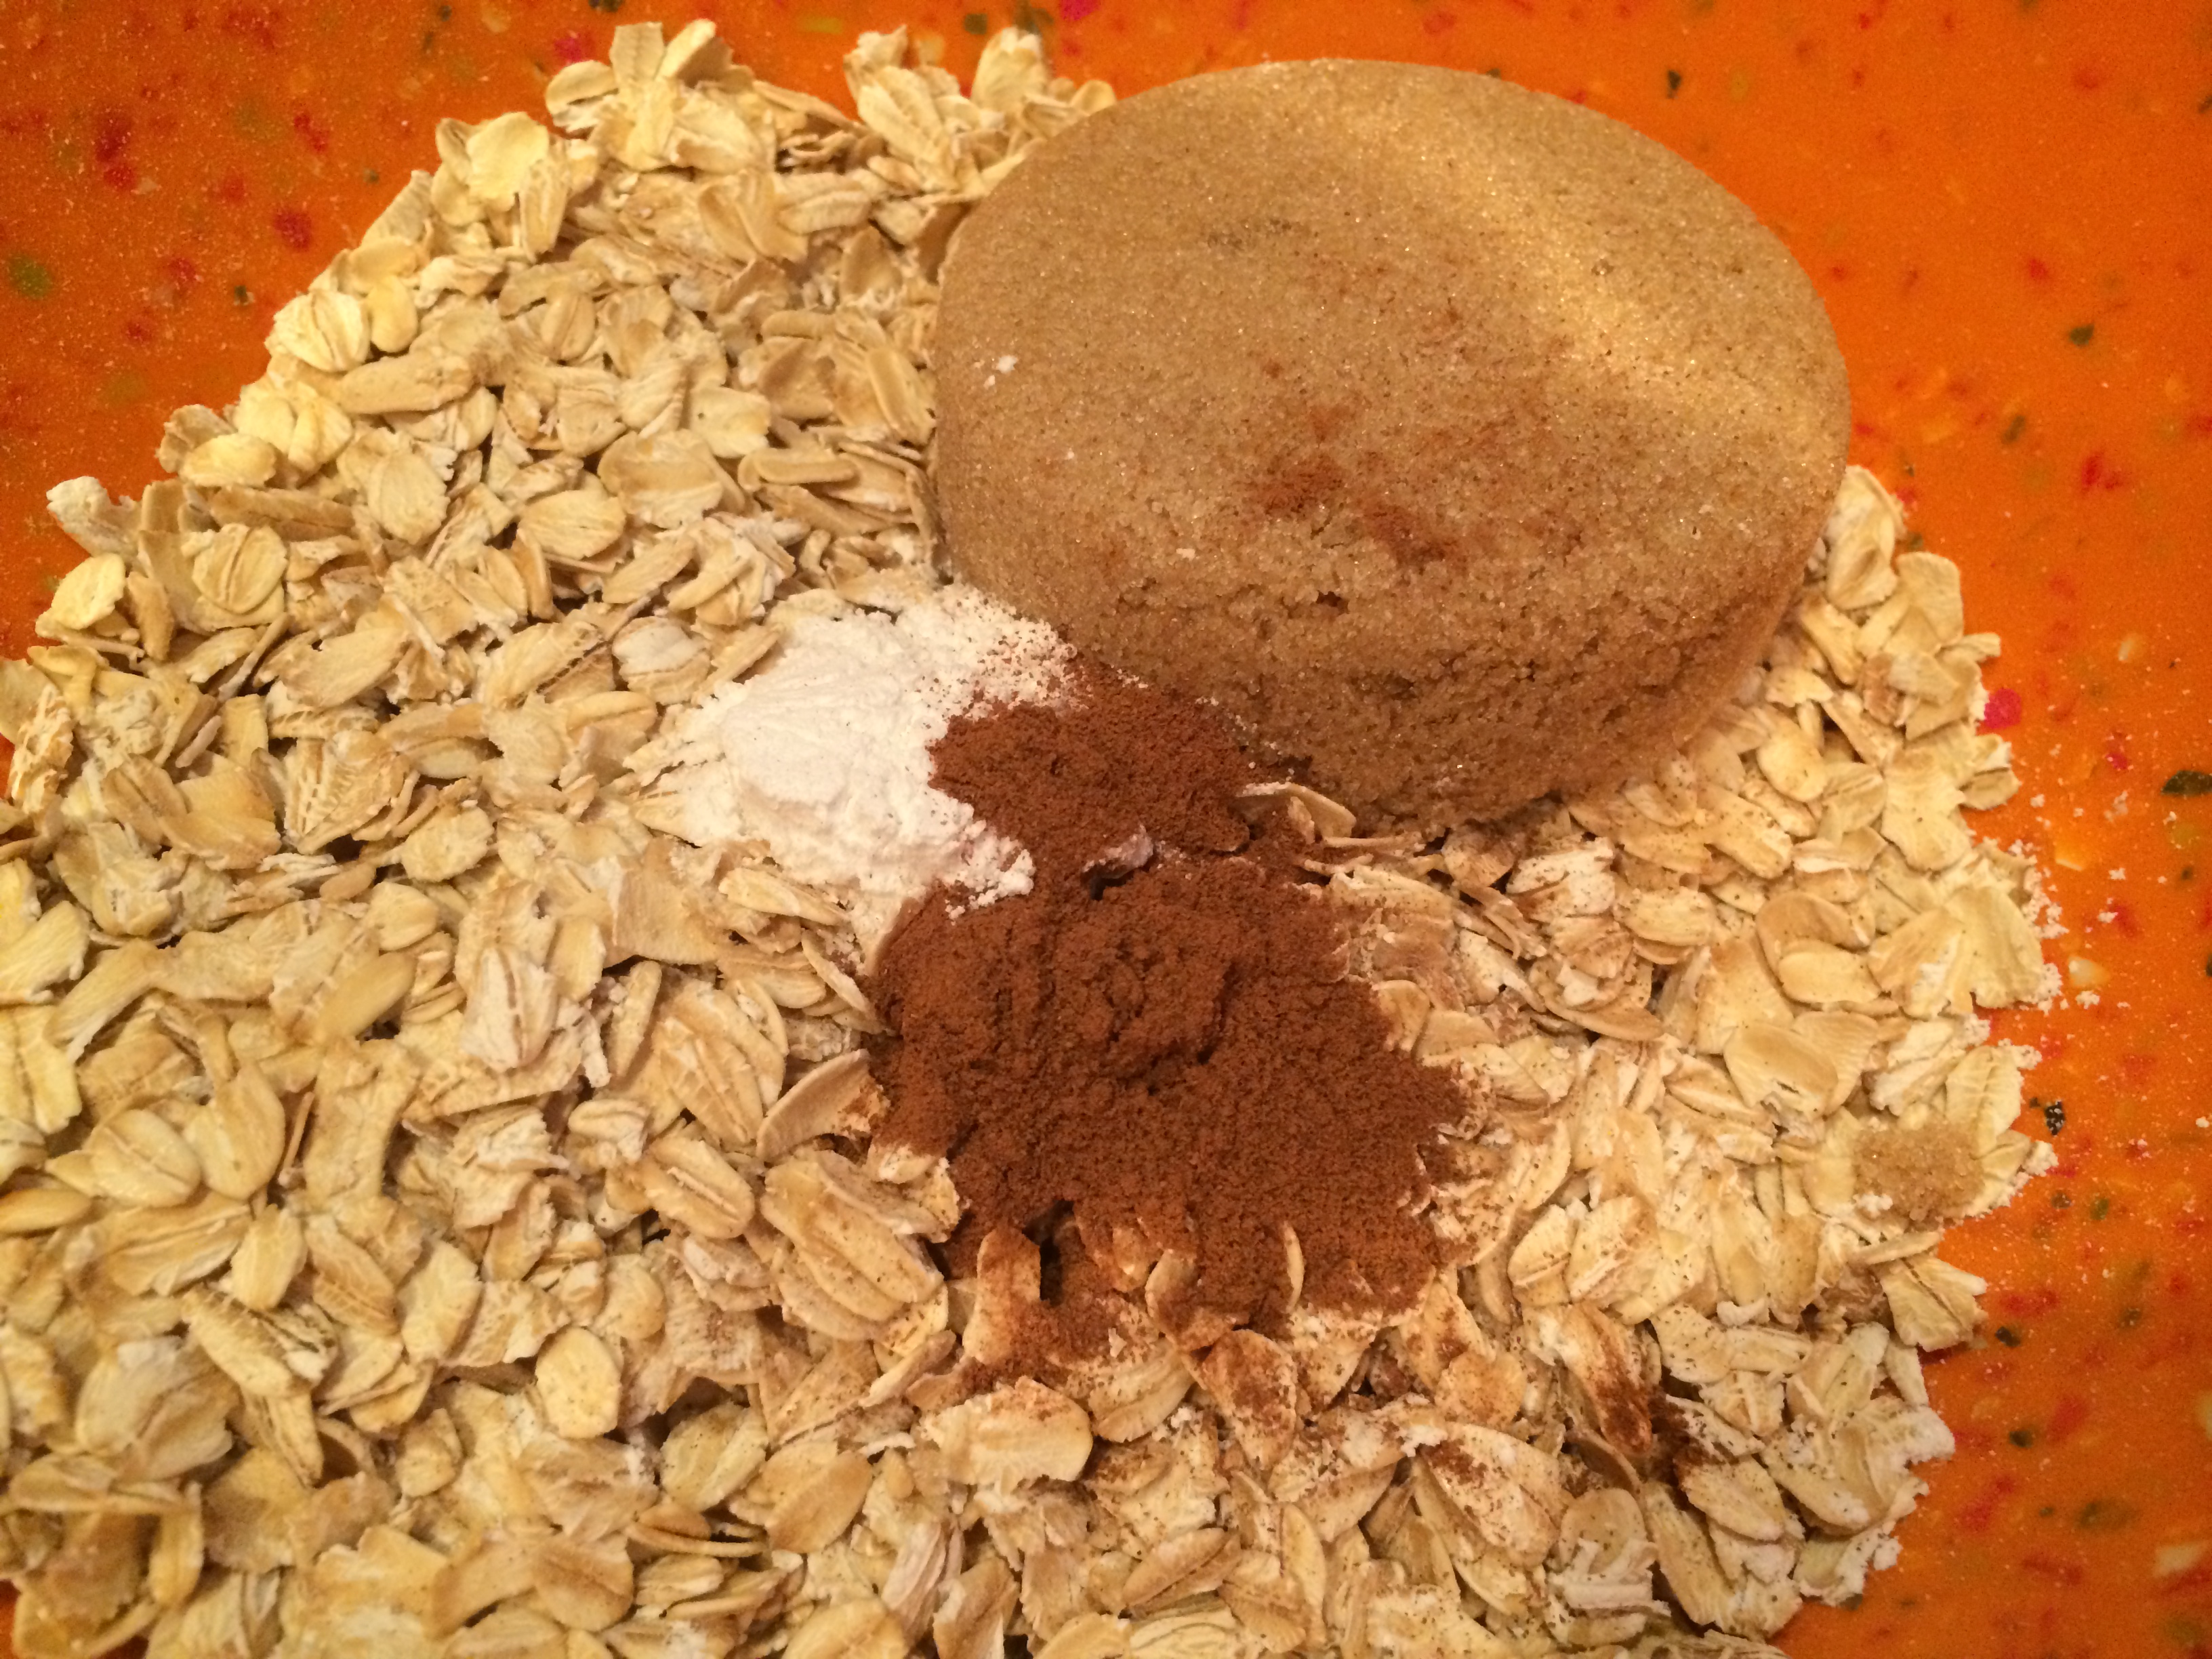
- 2 1/4 c old-fashioned rolled oats
- 1 c slivered almonds (other nuts would work great – pecans or walnuts, etc.)
- 1/2 cup whole flaxseed (you can do ground flaxseed too)
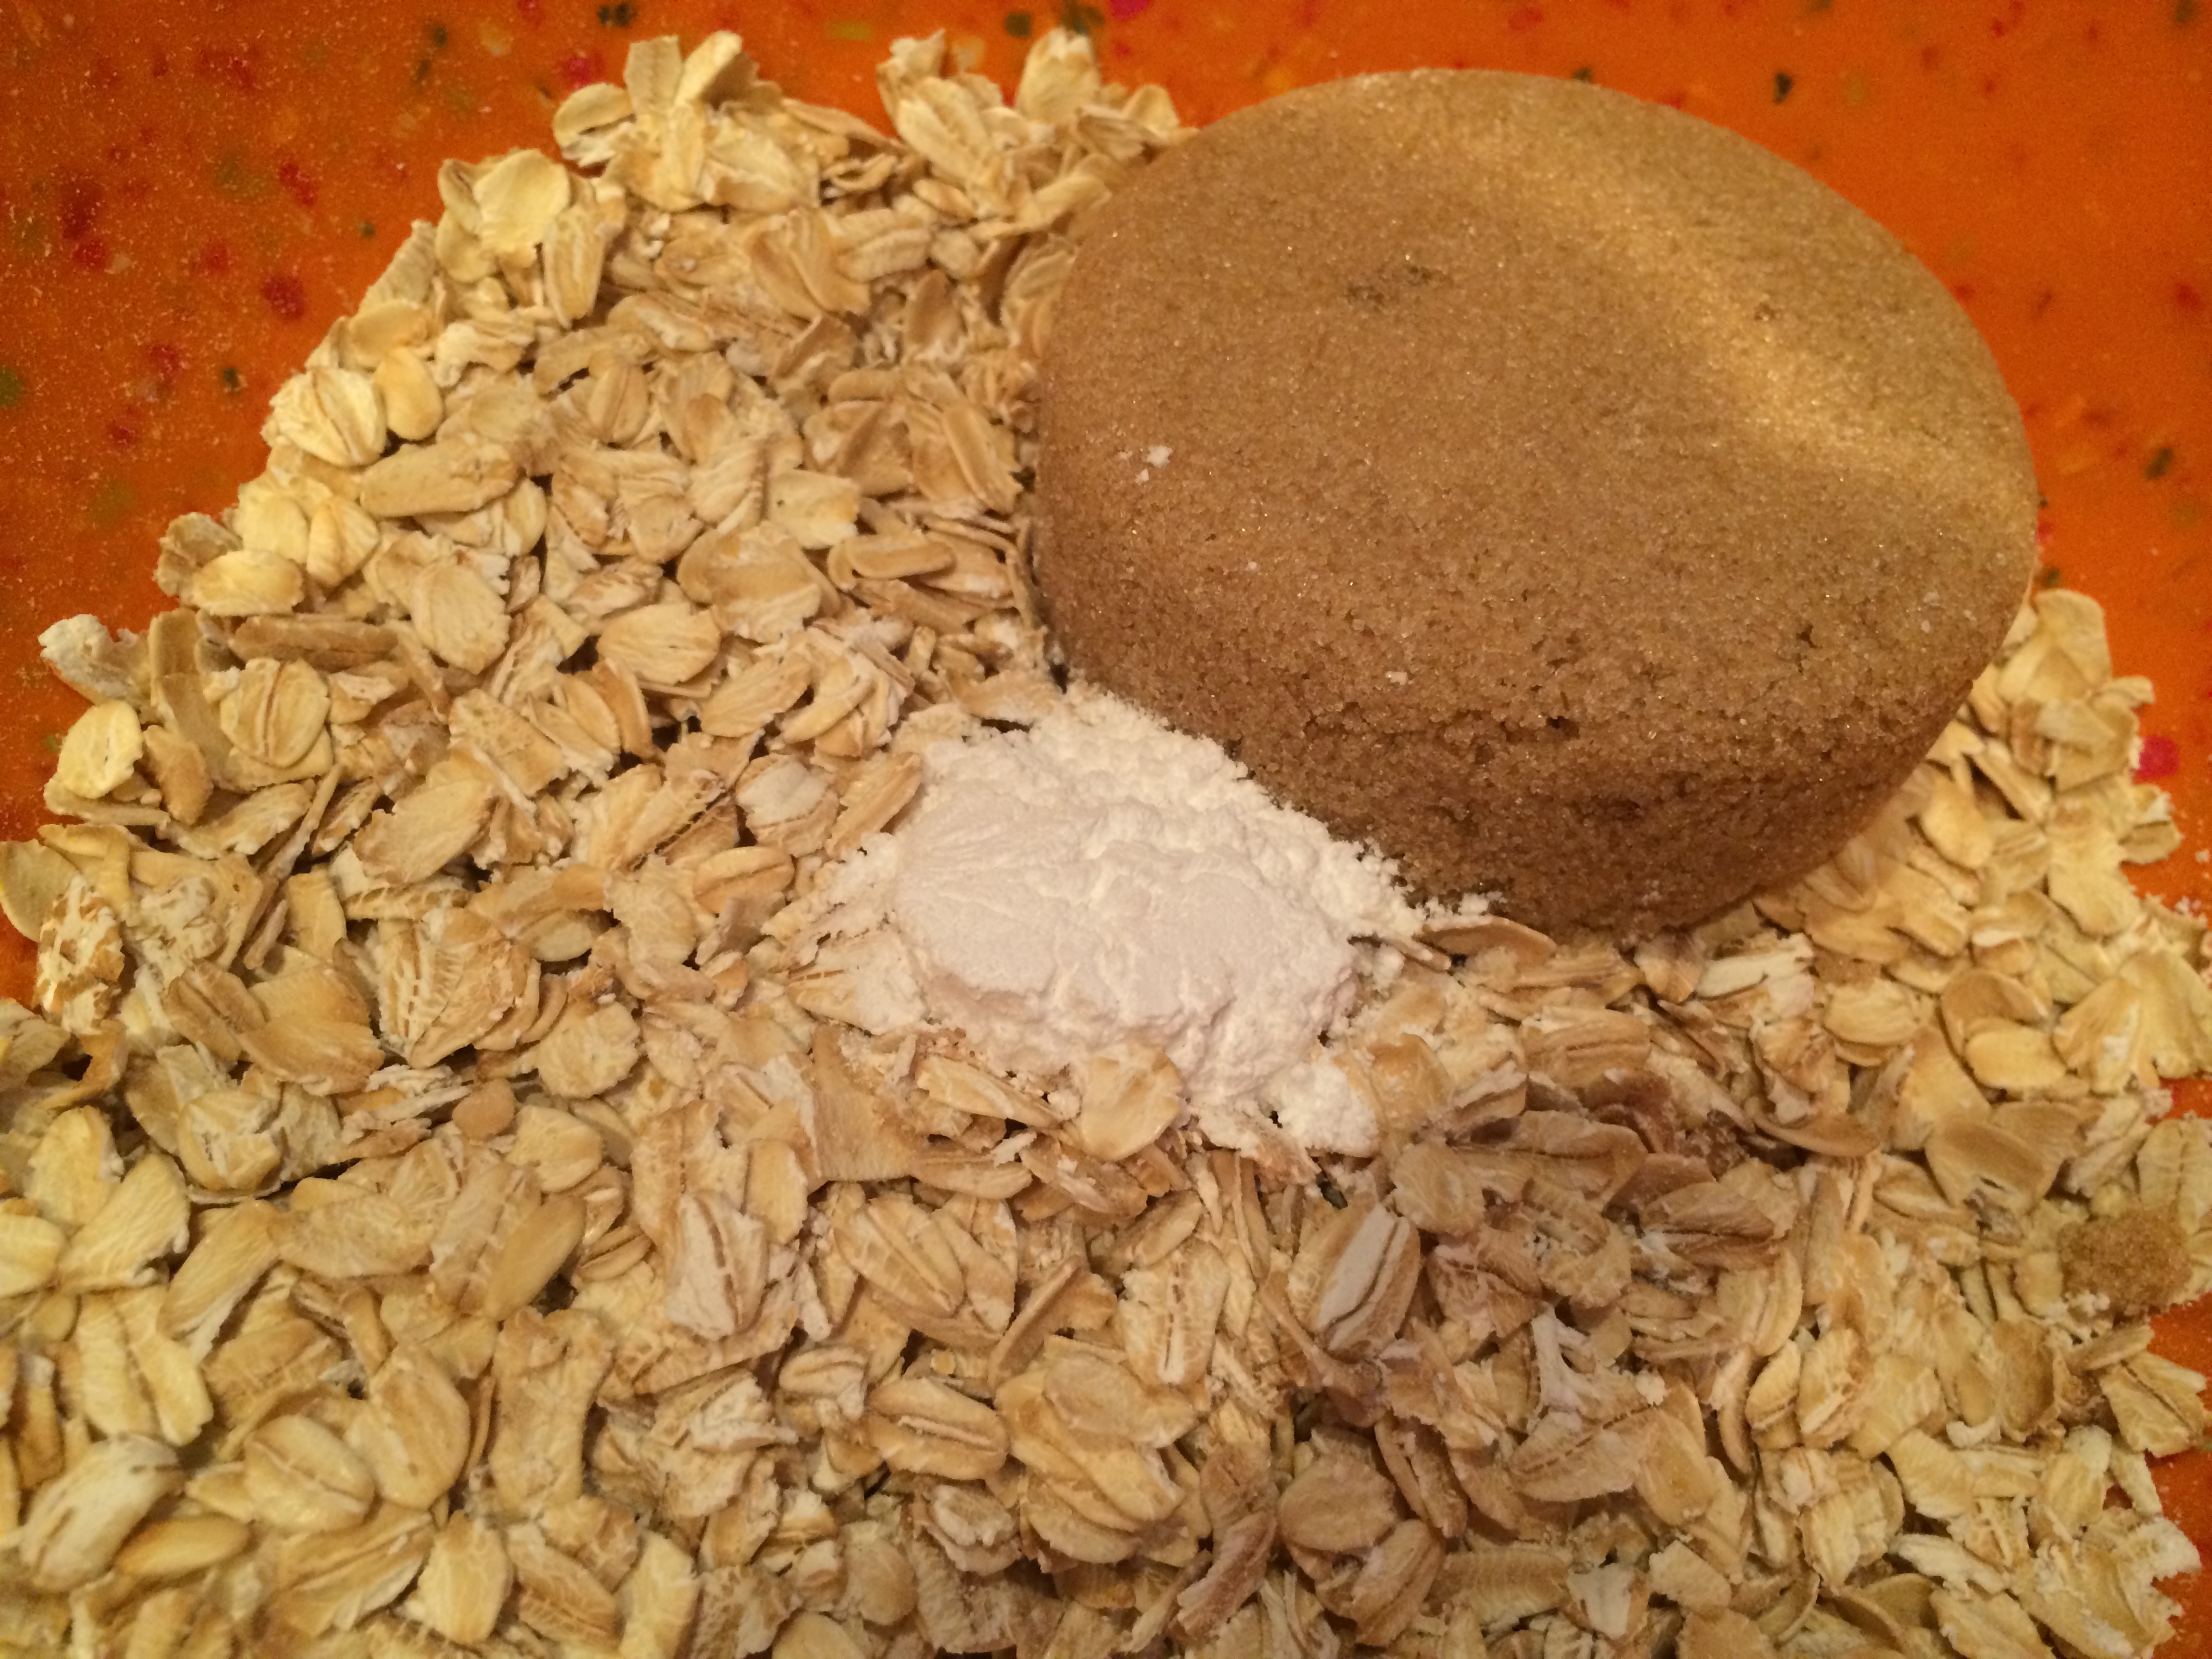
- 1 Tbsp brown sugar
- 1 tsp ground cinnamon
- 1/4 tsp salt
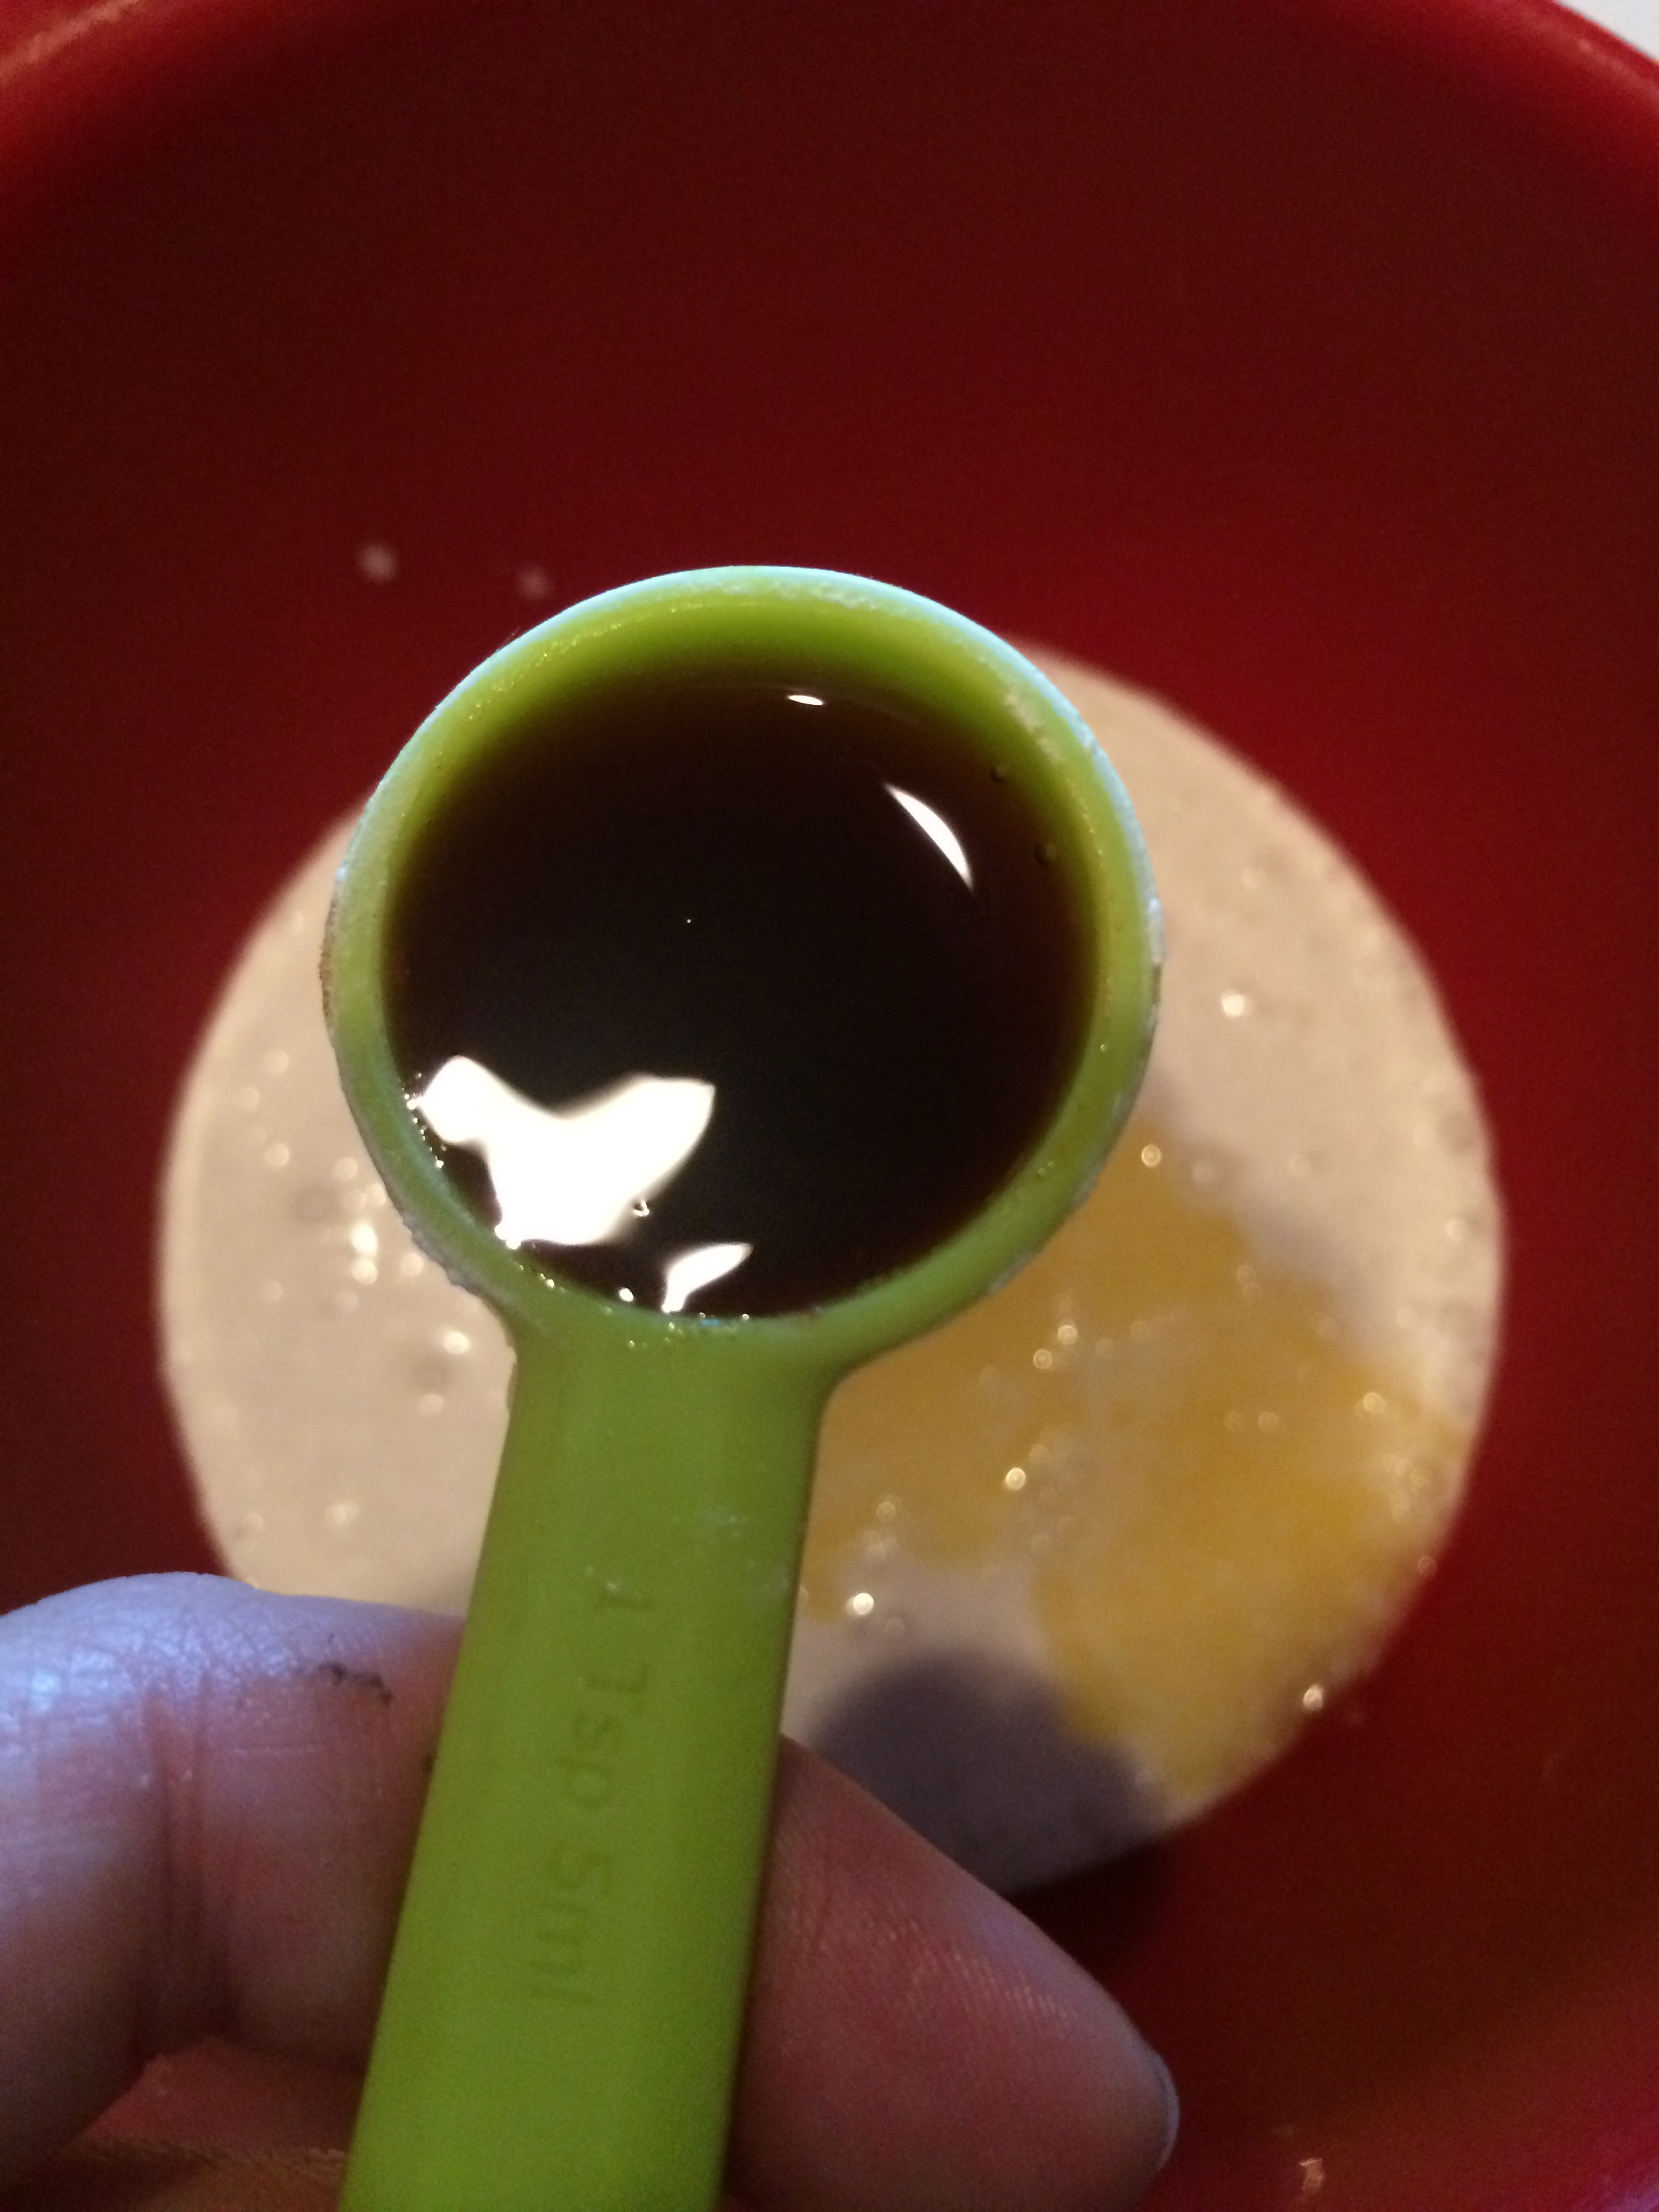
- 1/2 cup honey
- 2 Tbsp unsalted butter, browned
- 2 Tbsp melted coconut oil
- 2 tsp pure vanilla extract
- 1/4 c – 1/2 c semi-sweet mini chocolate chips (sprinkle in as much extra chocolate-y ‘sweet’ as you want!)
How to Make:
This is super simple guys, you can whip it up in no time. Whether you do this the morning you plan to enjoy it for breakfast (it’s excellent with some Greek yogurt) or make it the night before.
Before you start mixing, preheat your oven to 325 and line a cookie sheet with parchment paper. Set the cookie sheet away for now and locate a large bowl. Now to mix!
In said large bowl, combine the oats…

…slivered almonds…

…flaxseed (and I went with whole flax seeds to add some extra texture and crunch, but you can use ground flaxseed if you prefer too)…

…brown sugar…

…cinnamon…

…sprinkling of salt…

…then stir that all together and set aside. On to the liquids!

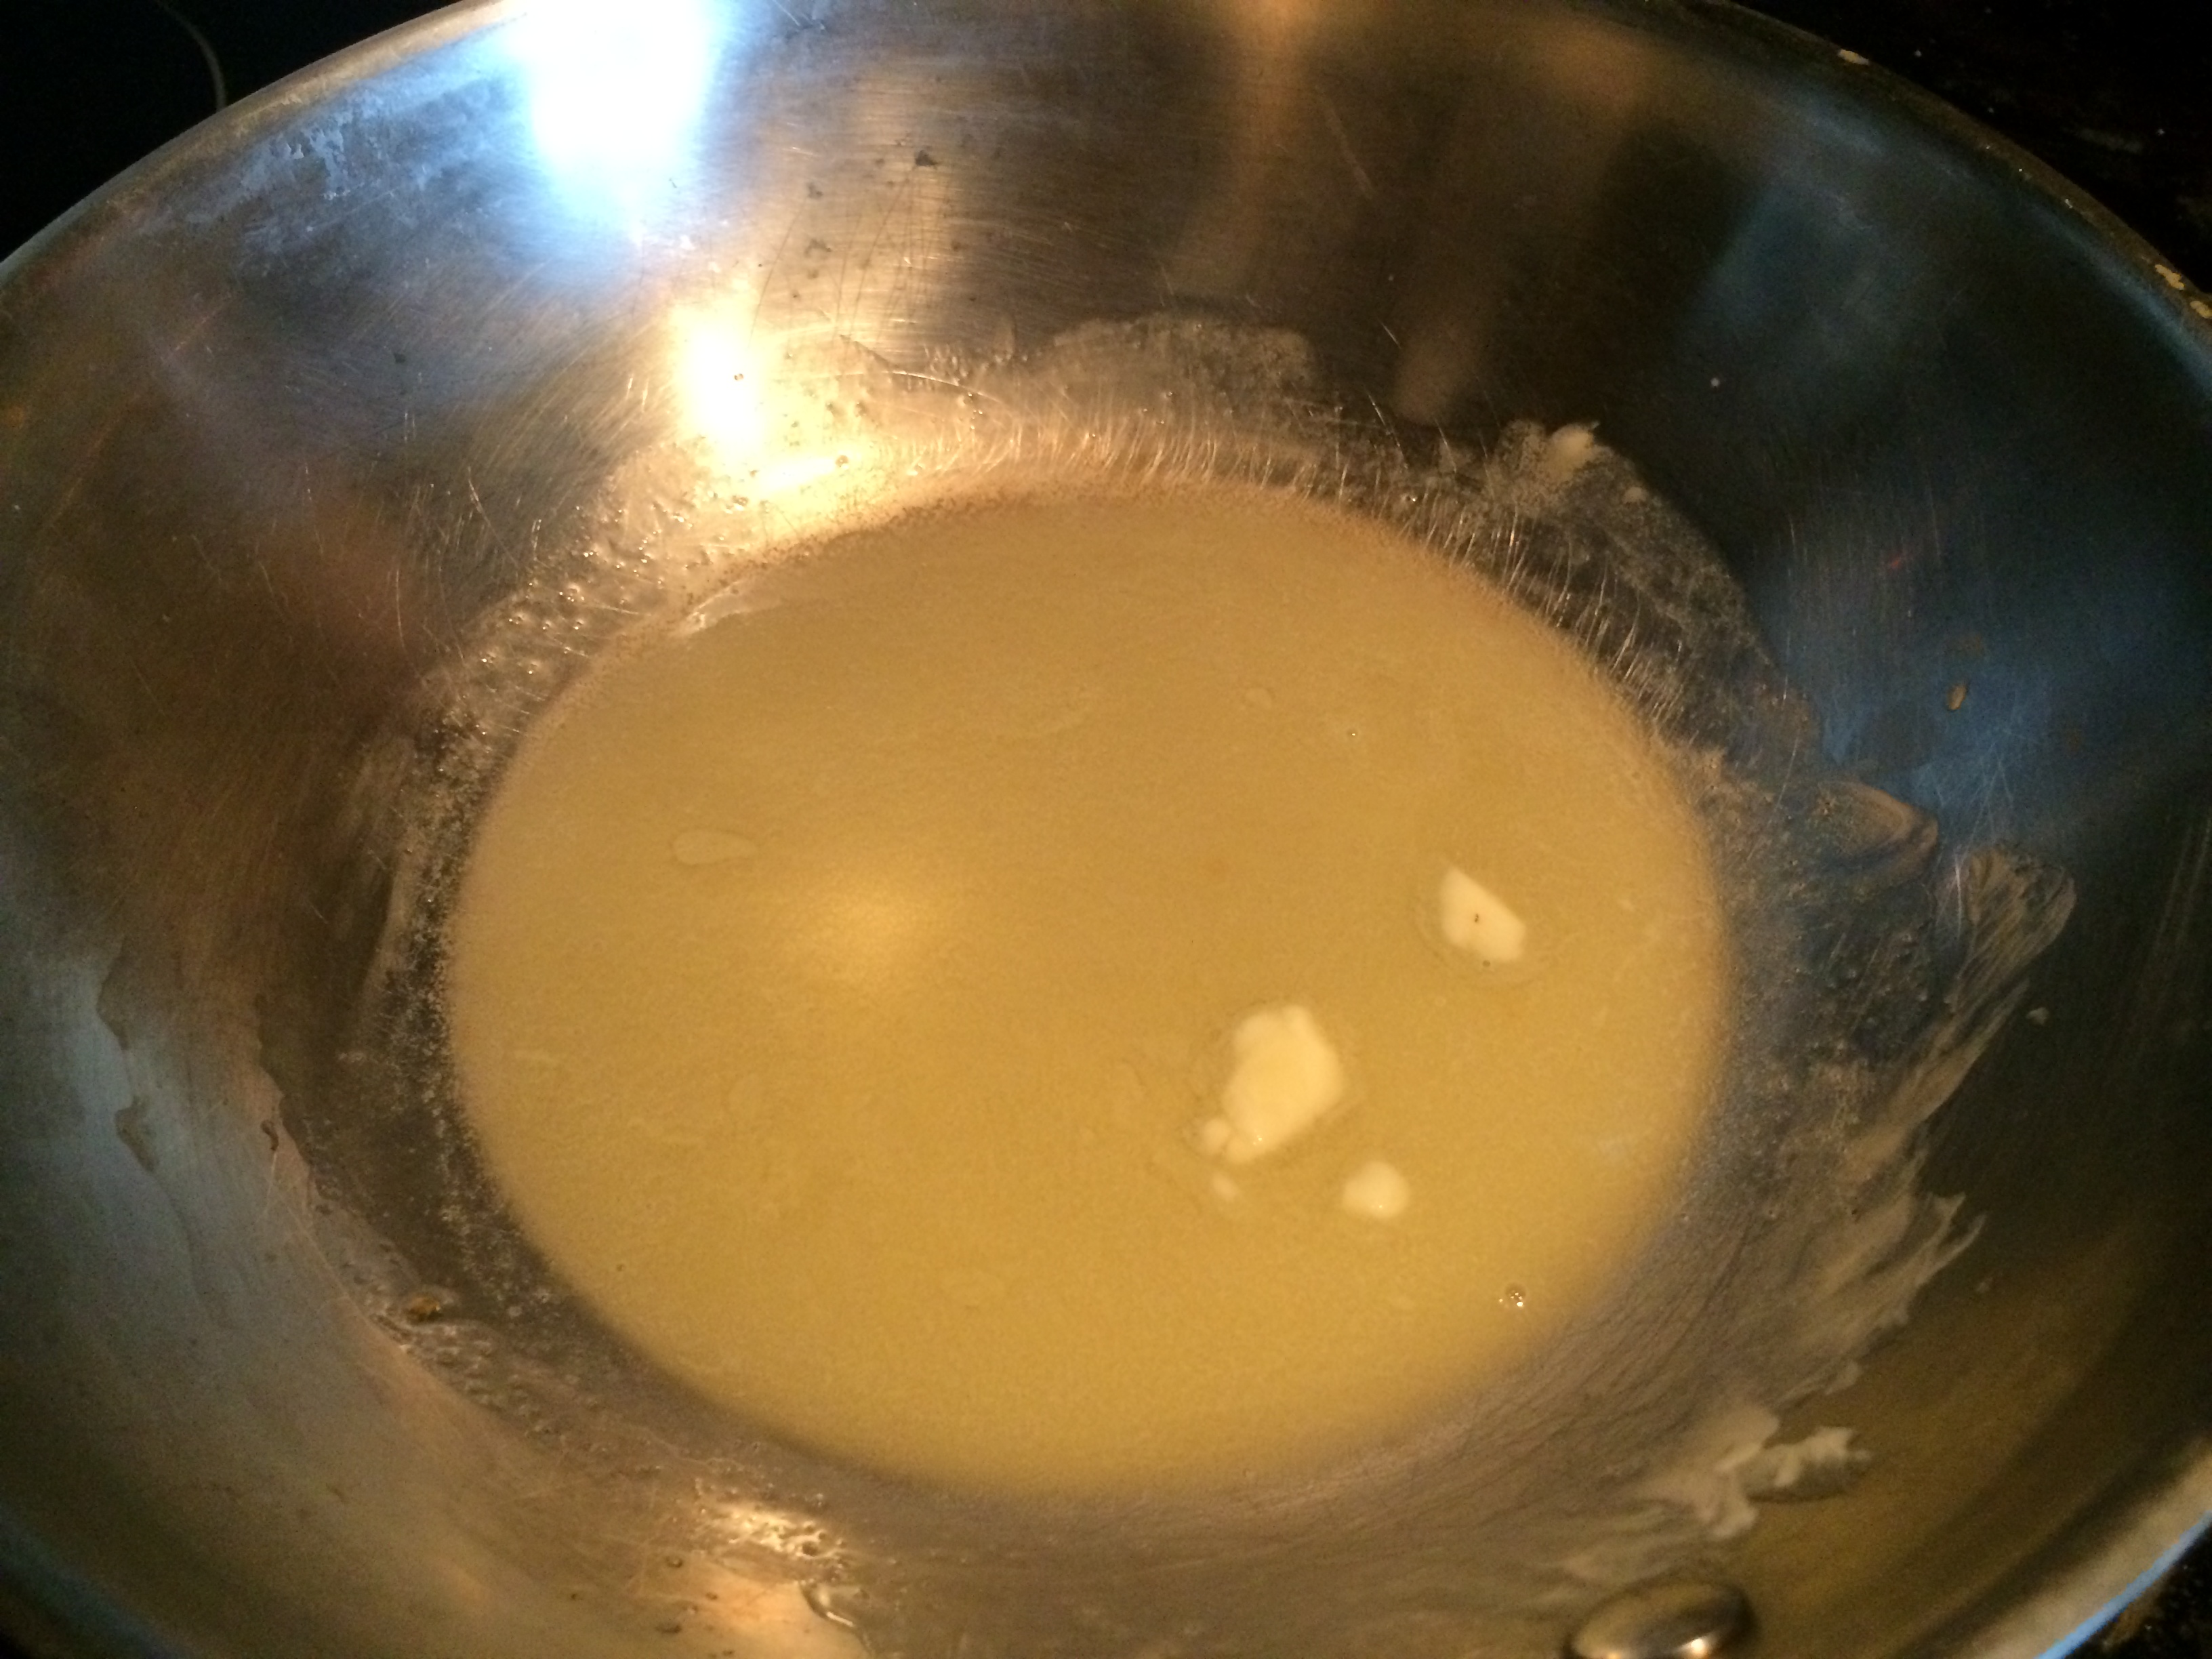
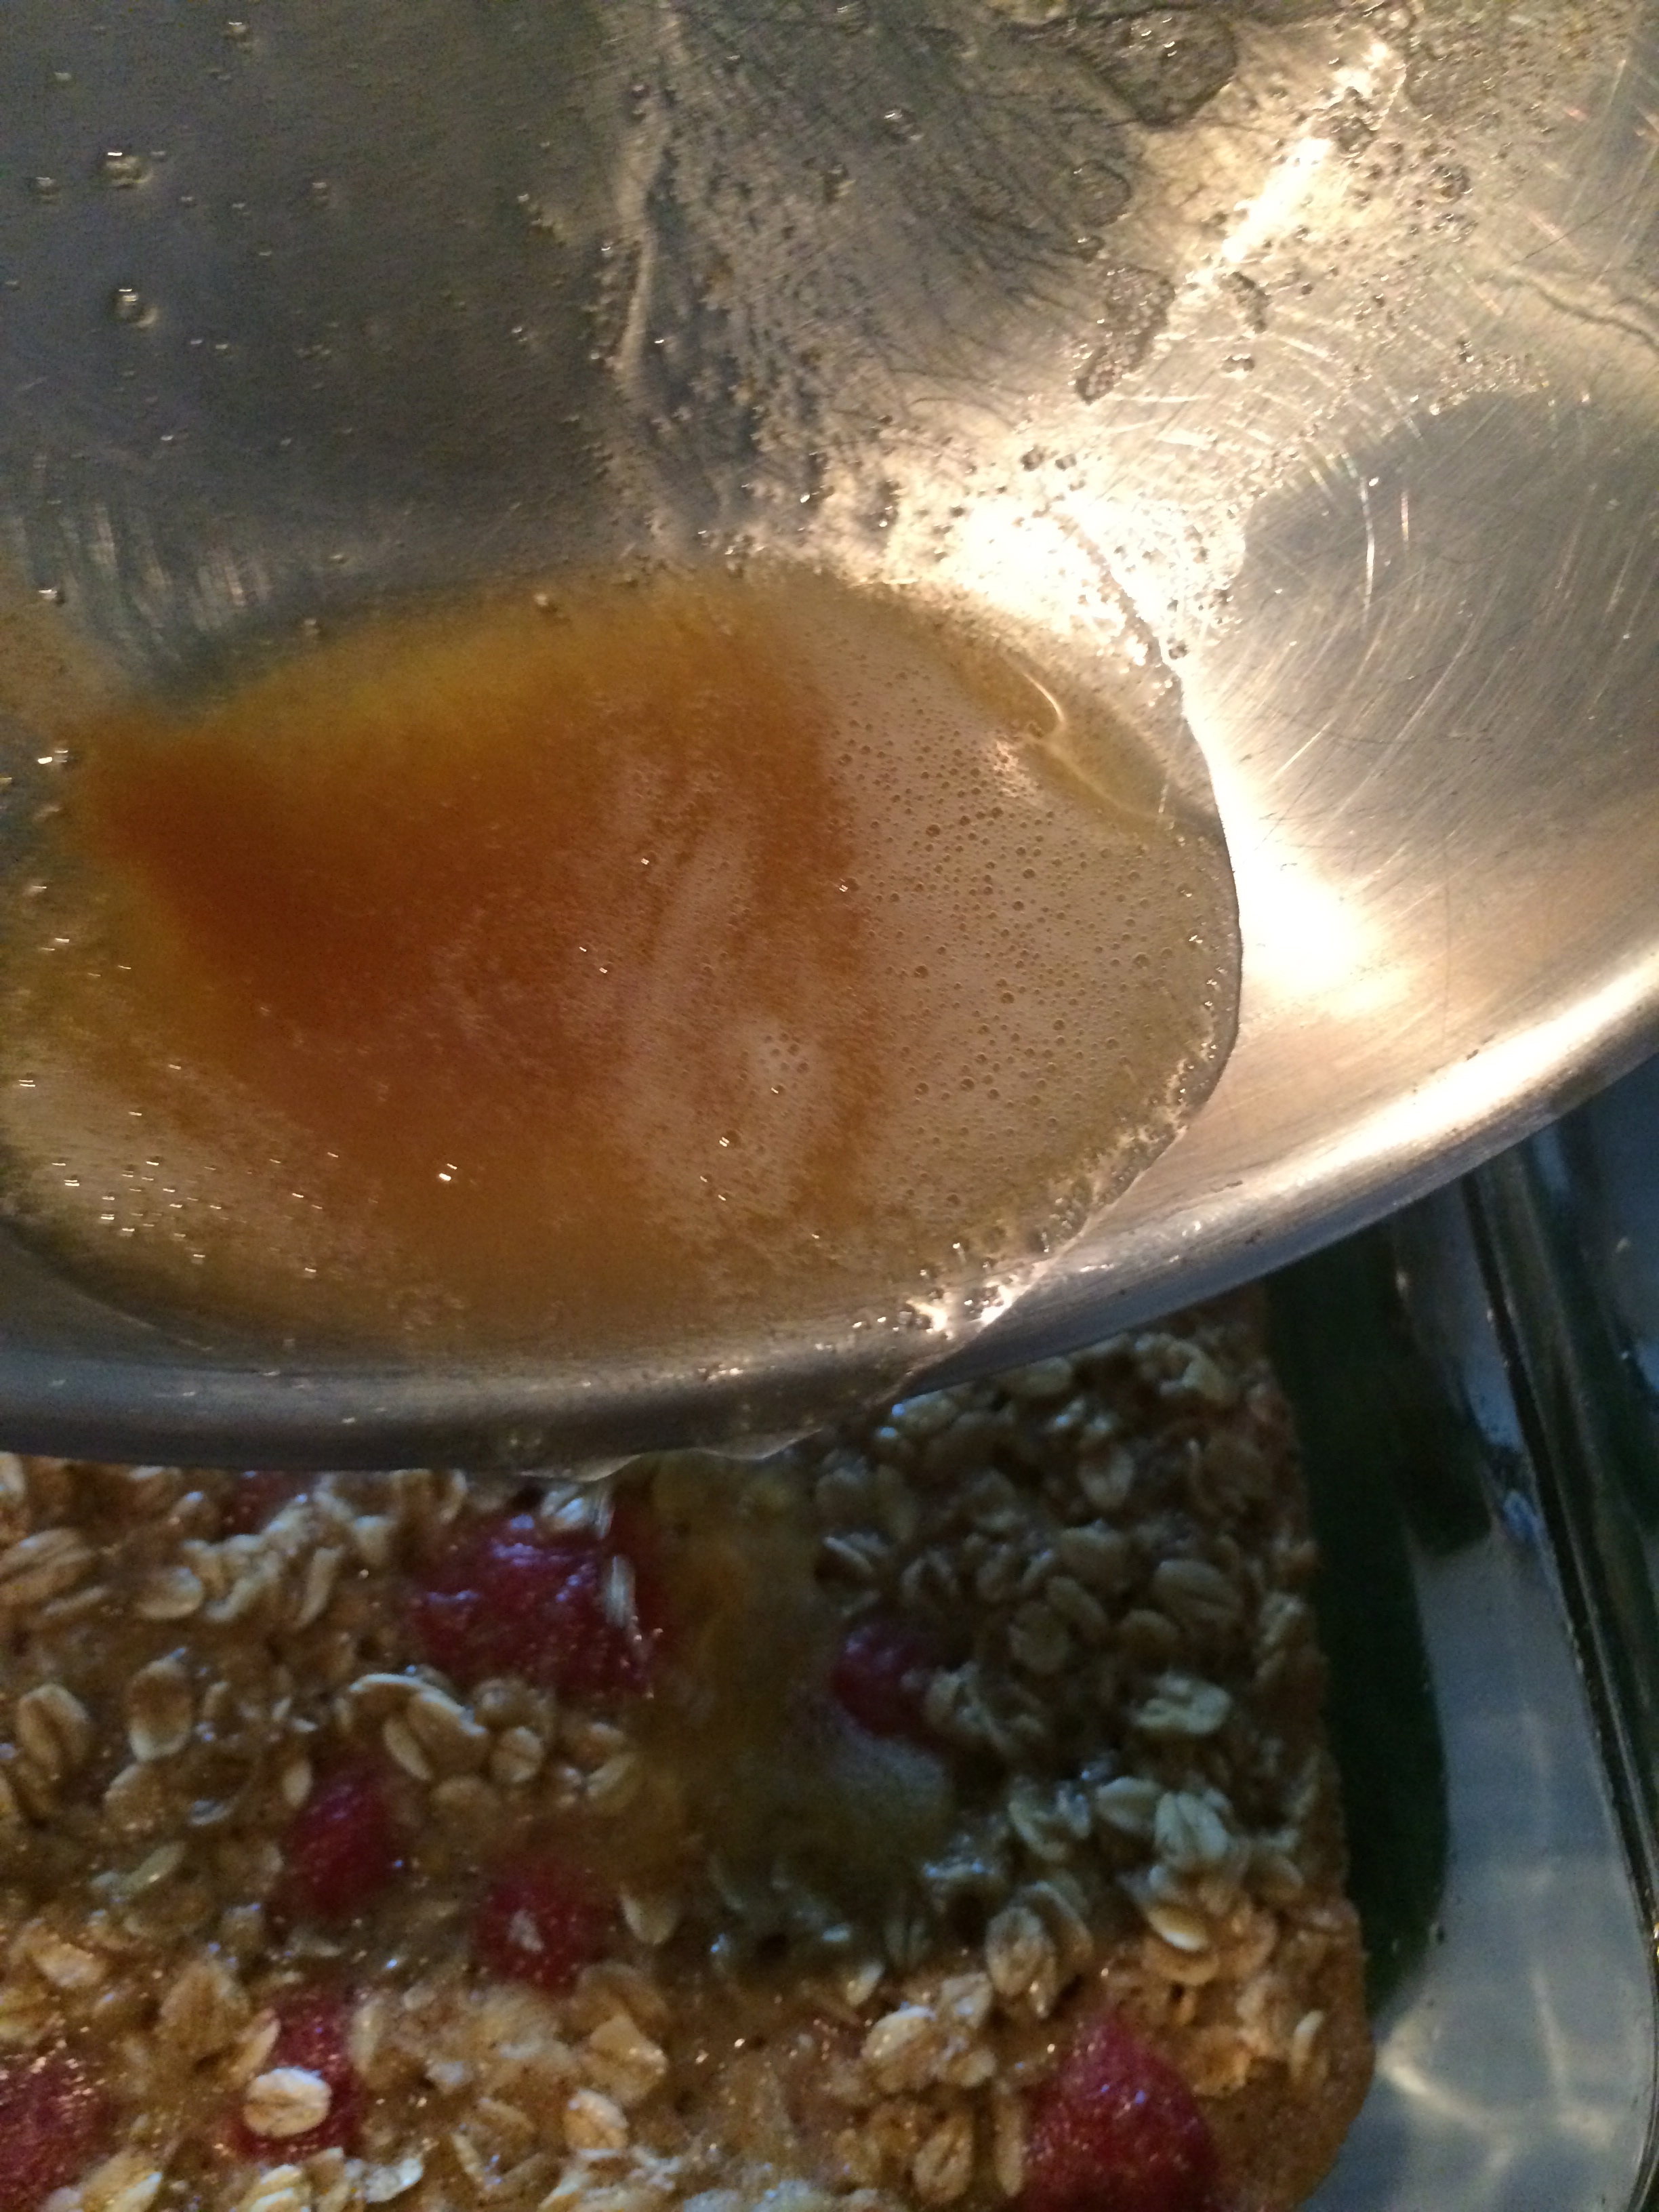
The liquids will all get poured into a saucepan over low heat. Start with the honey…

…then the coconut oil…

…and then vanilla.

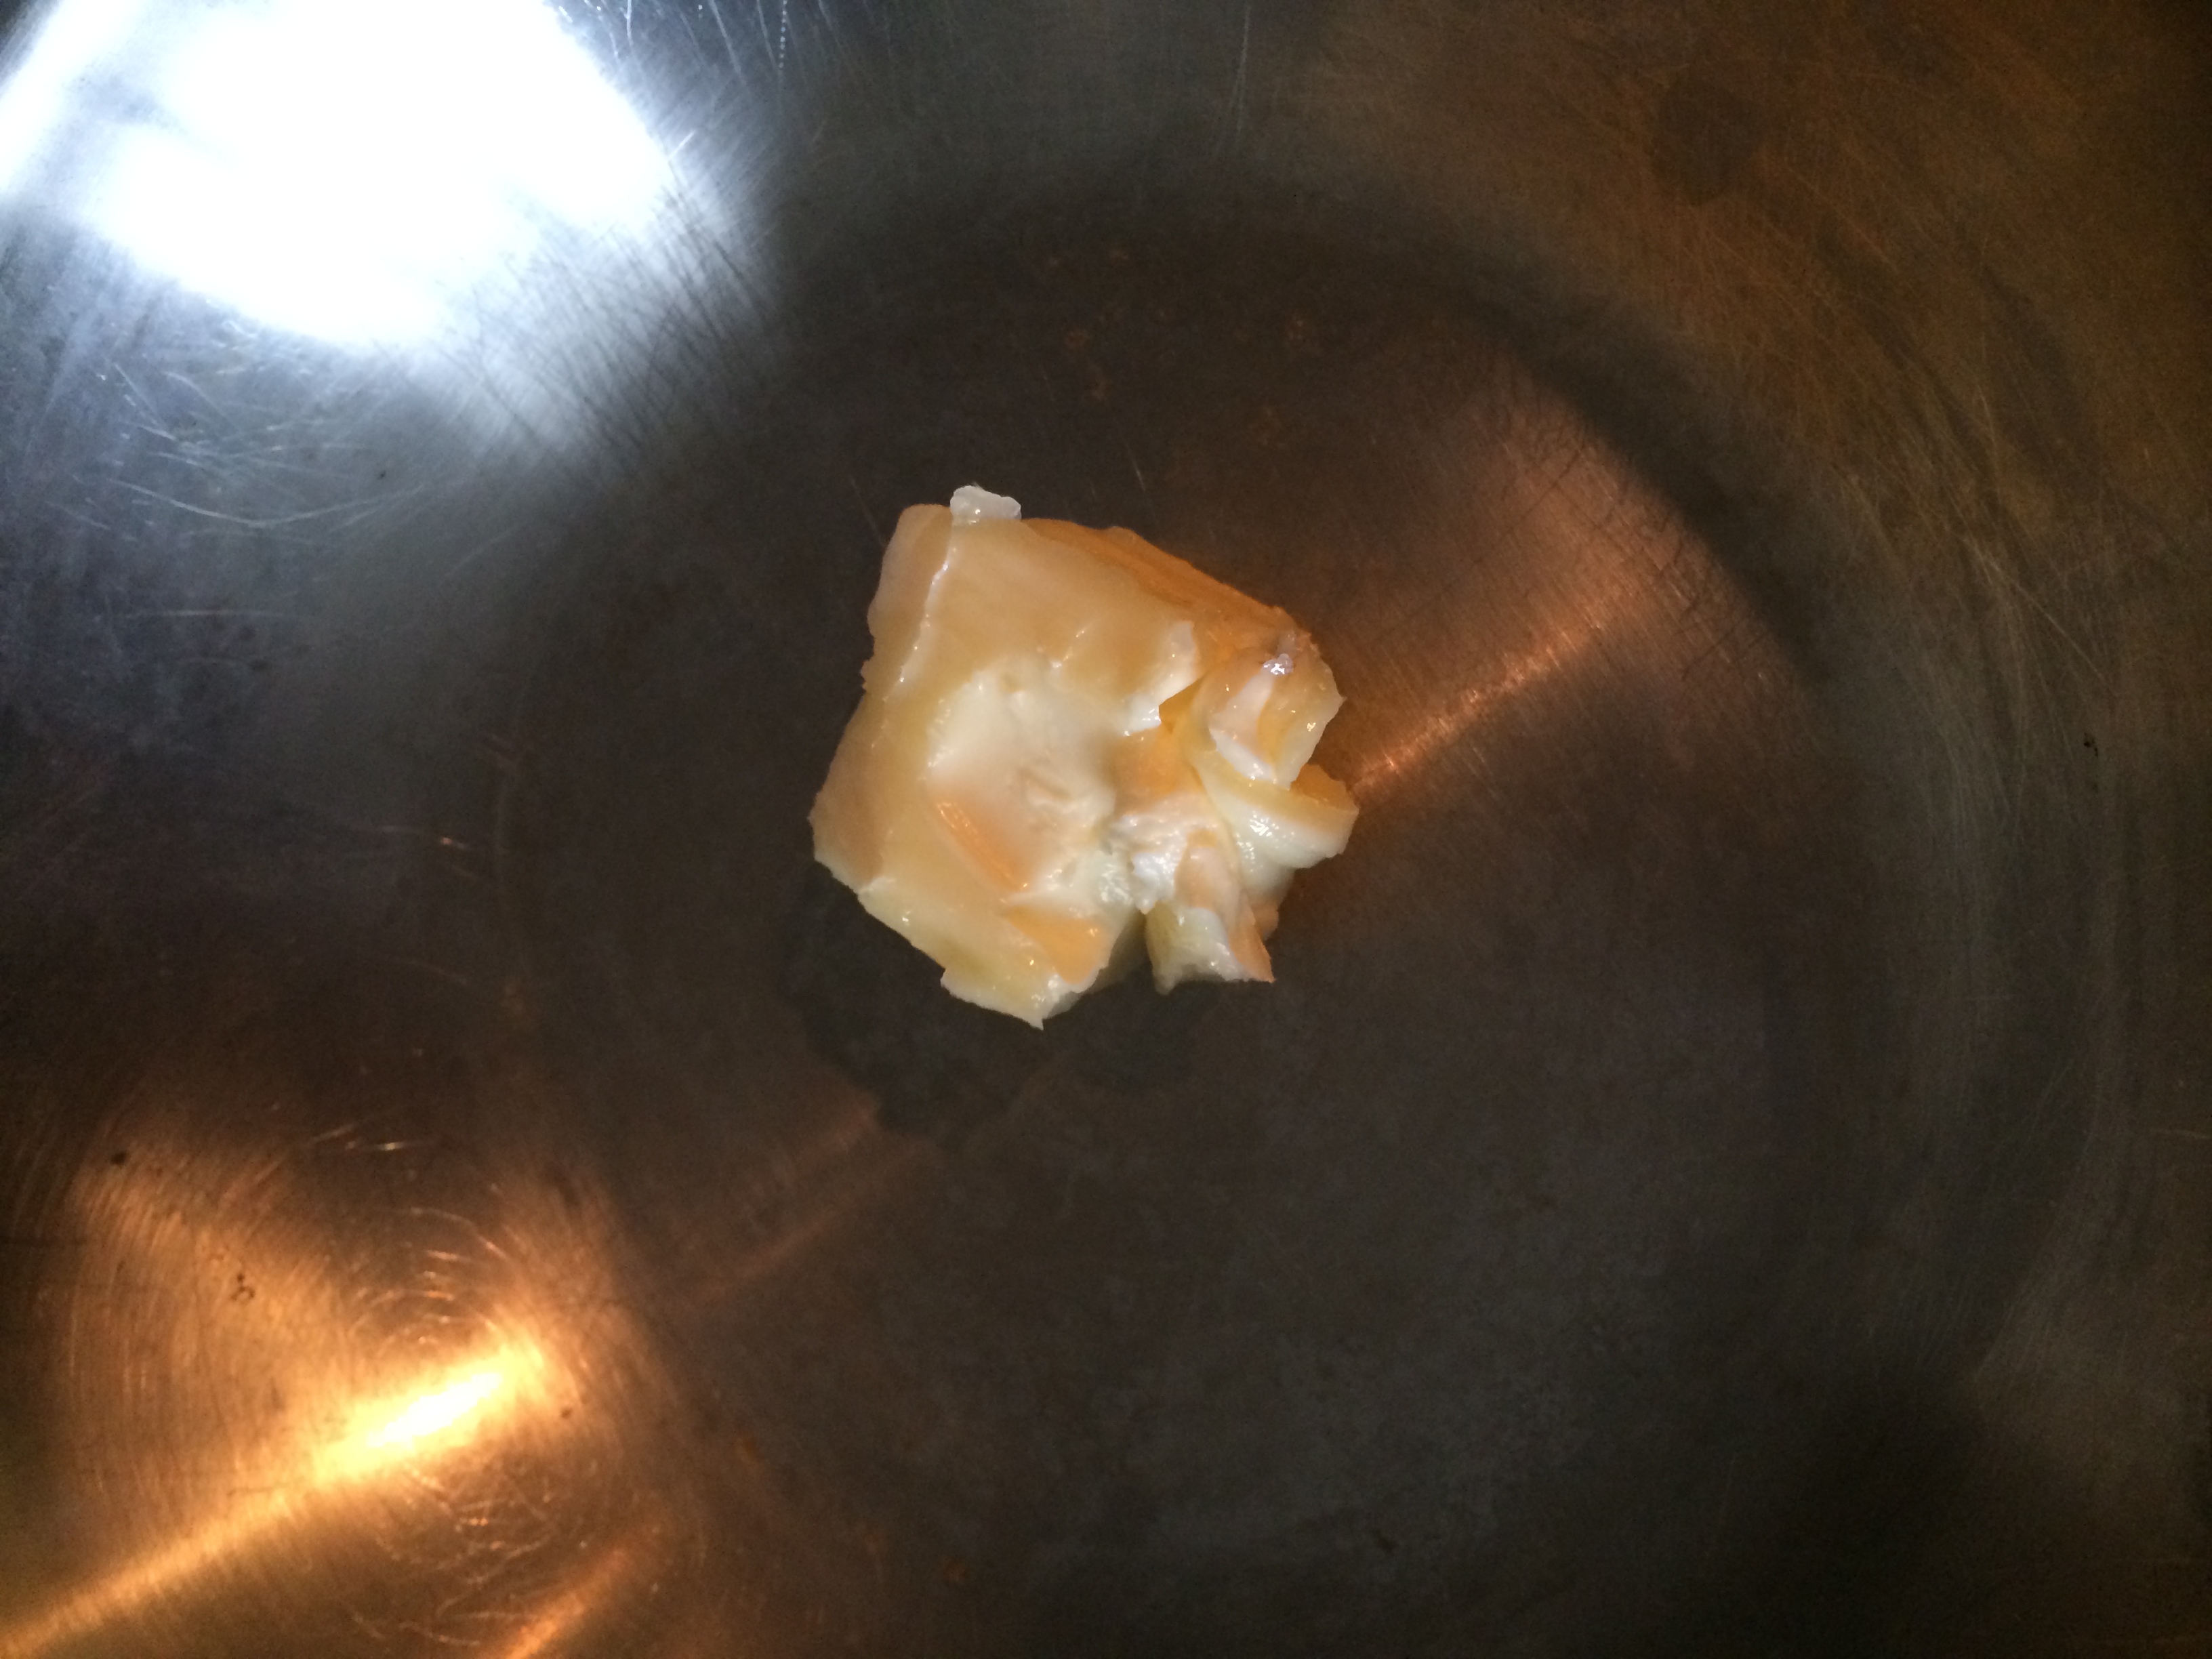
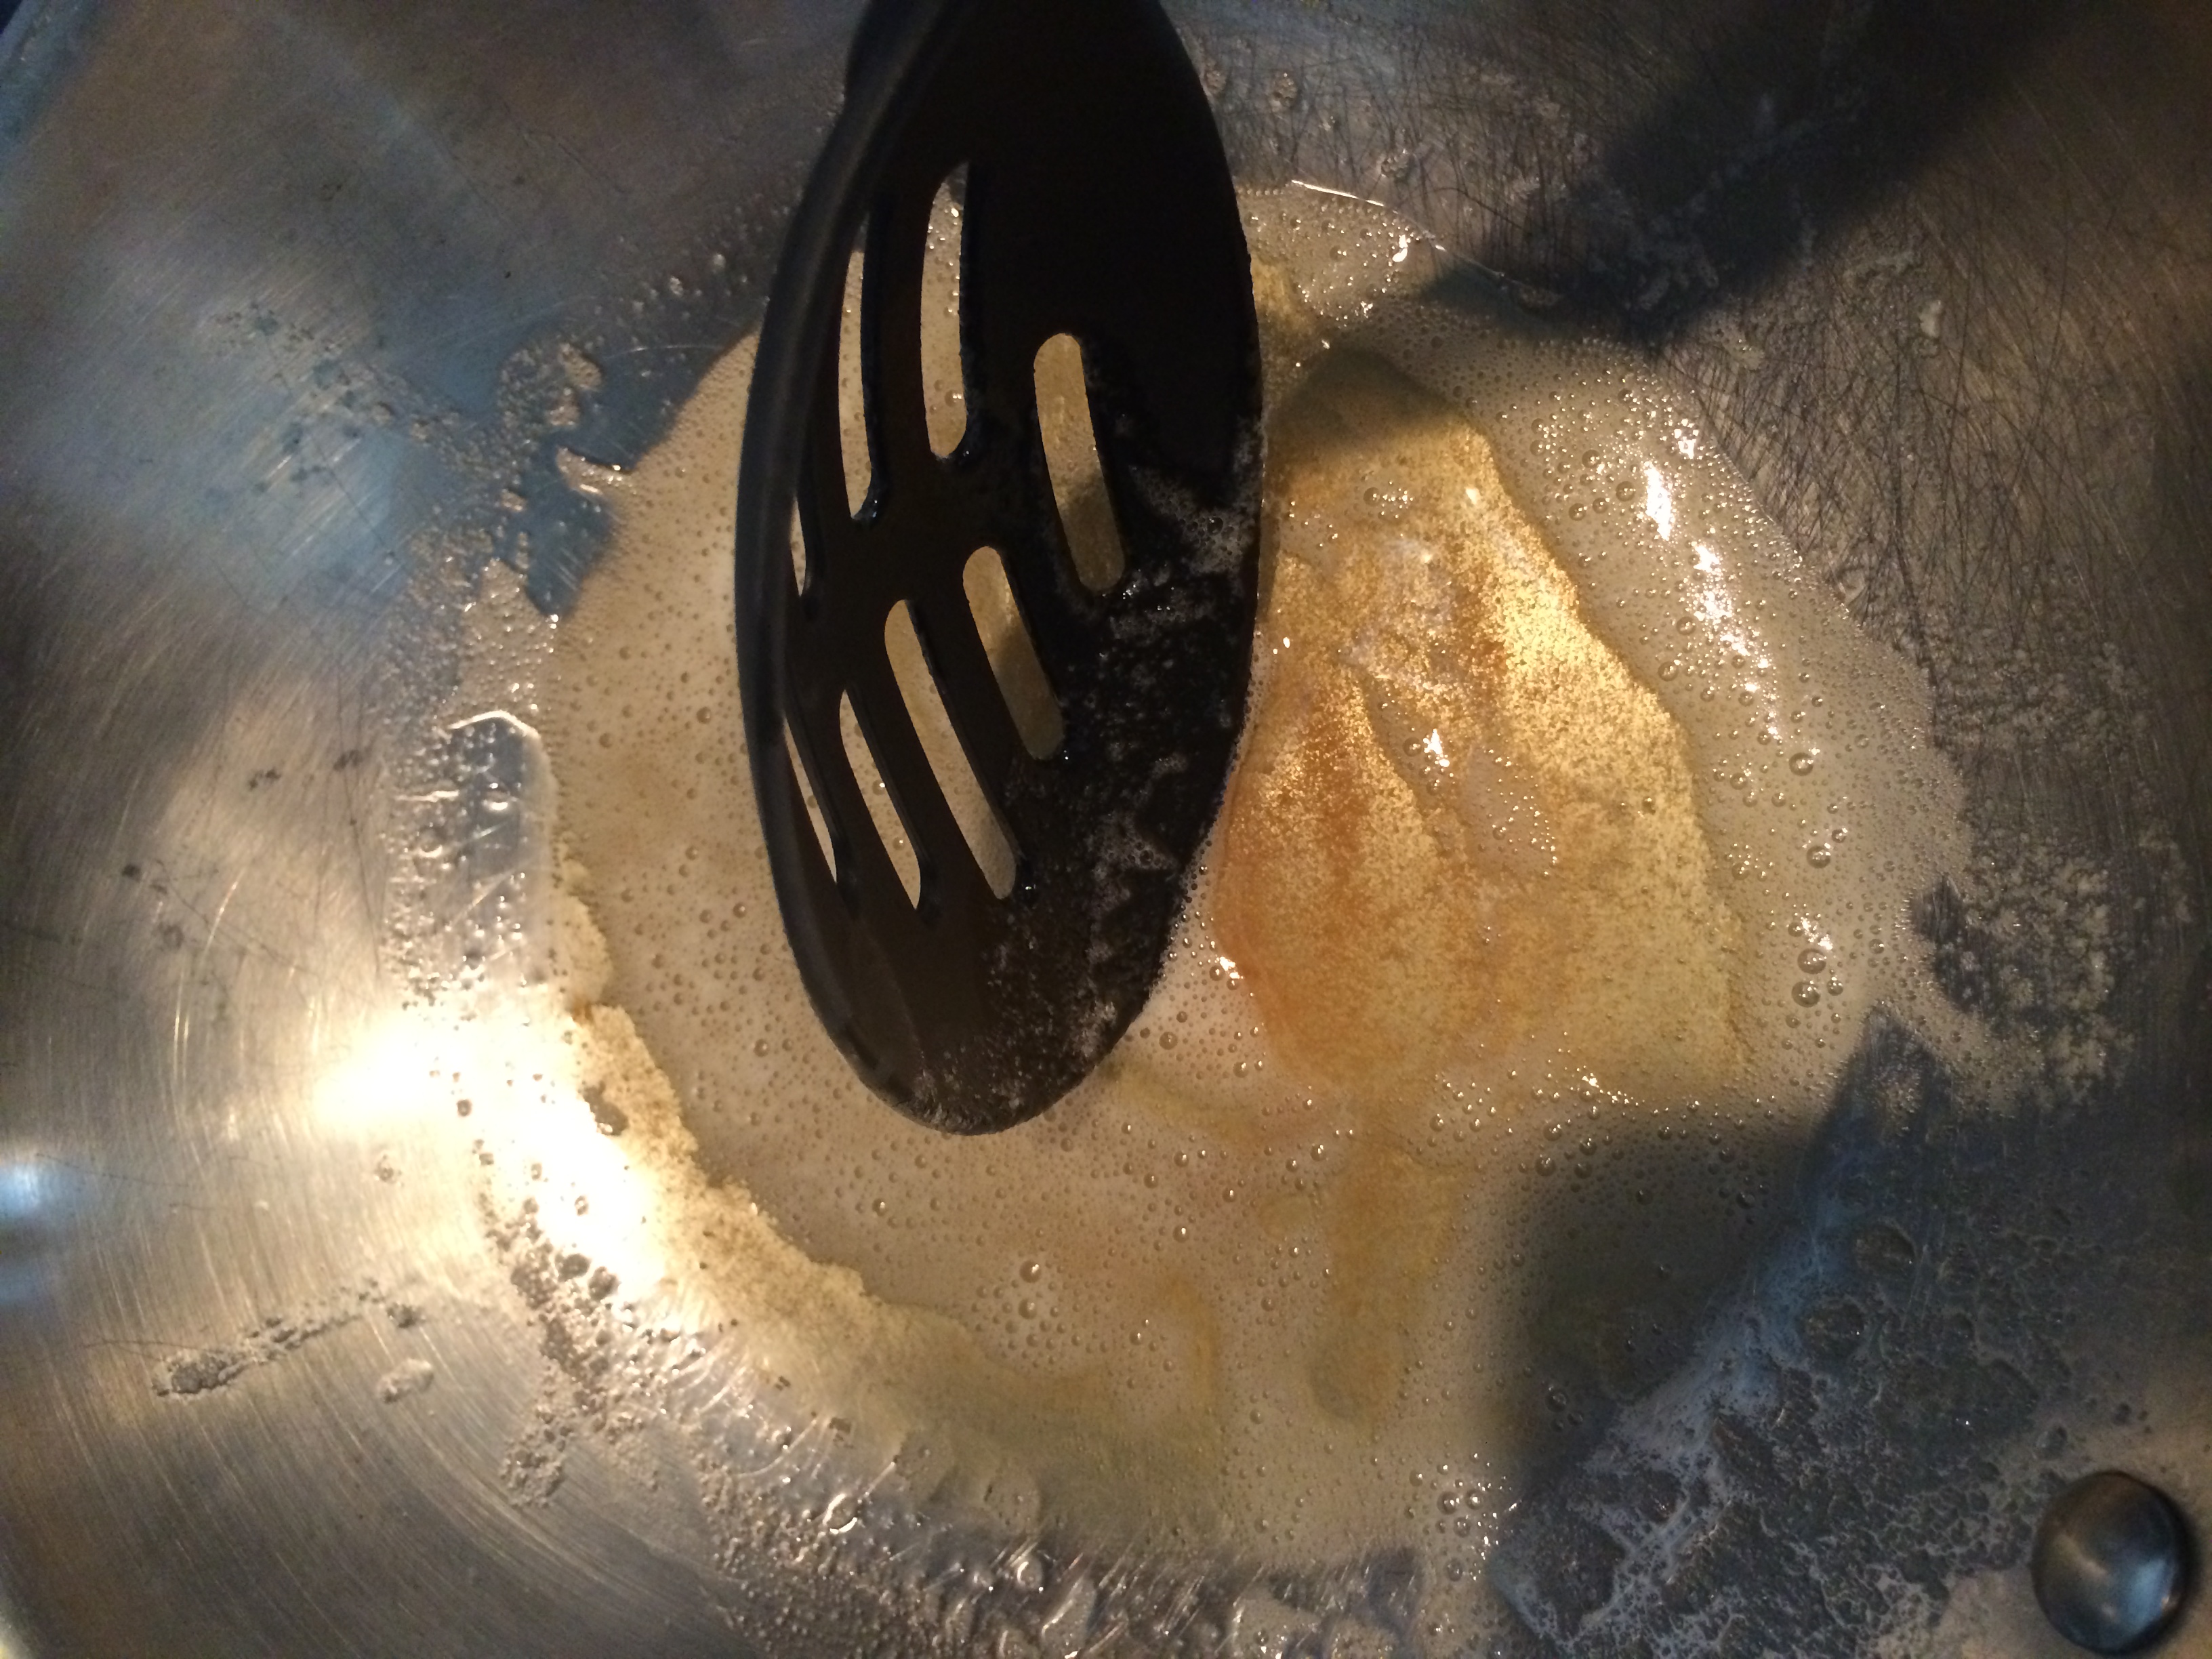
Before adding in the butter, you want to brown this up. In a separate small saucepan, melt down the butter over medium/low heat, whisking continually until wonderful brown flecks appear on the bottom of the pan.

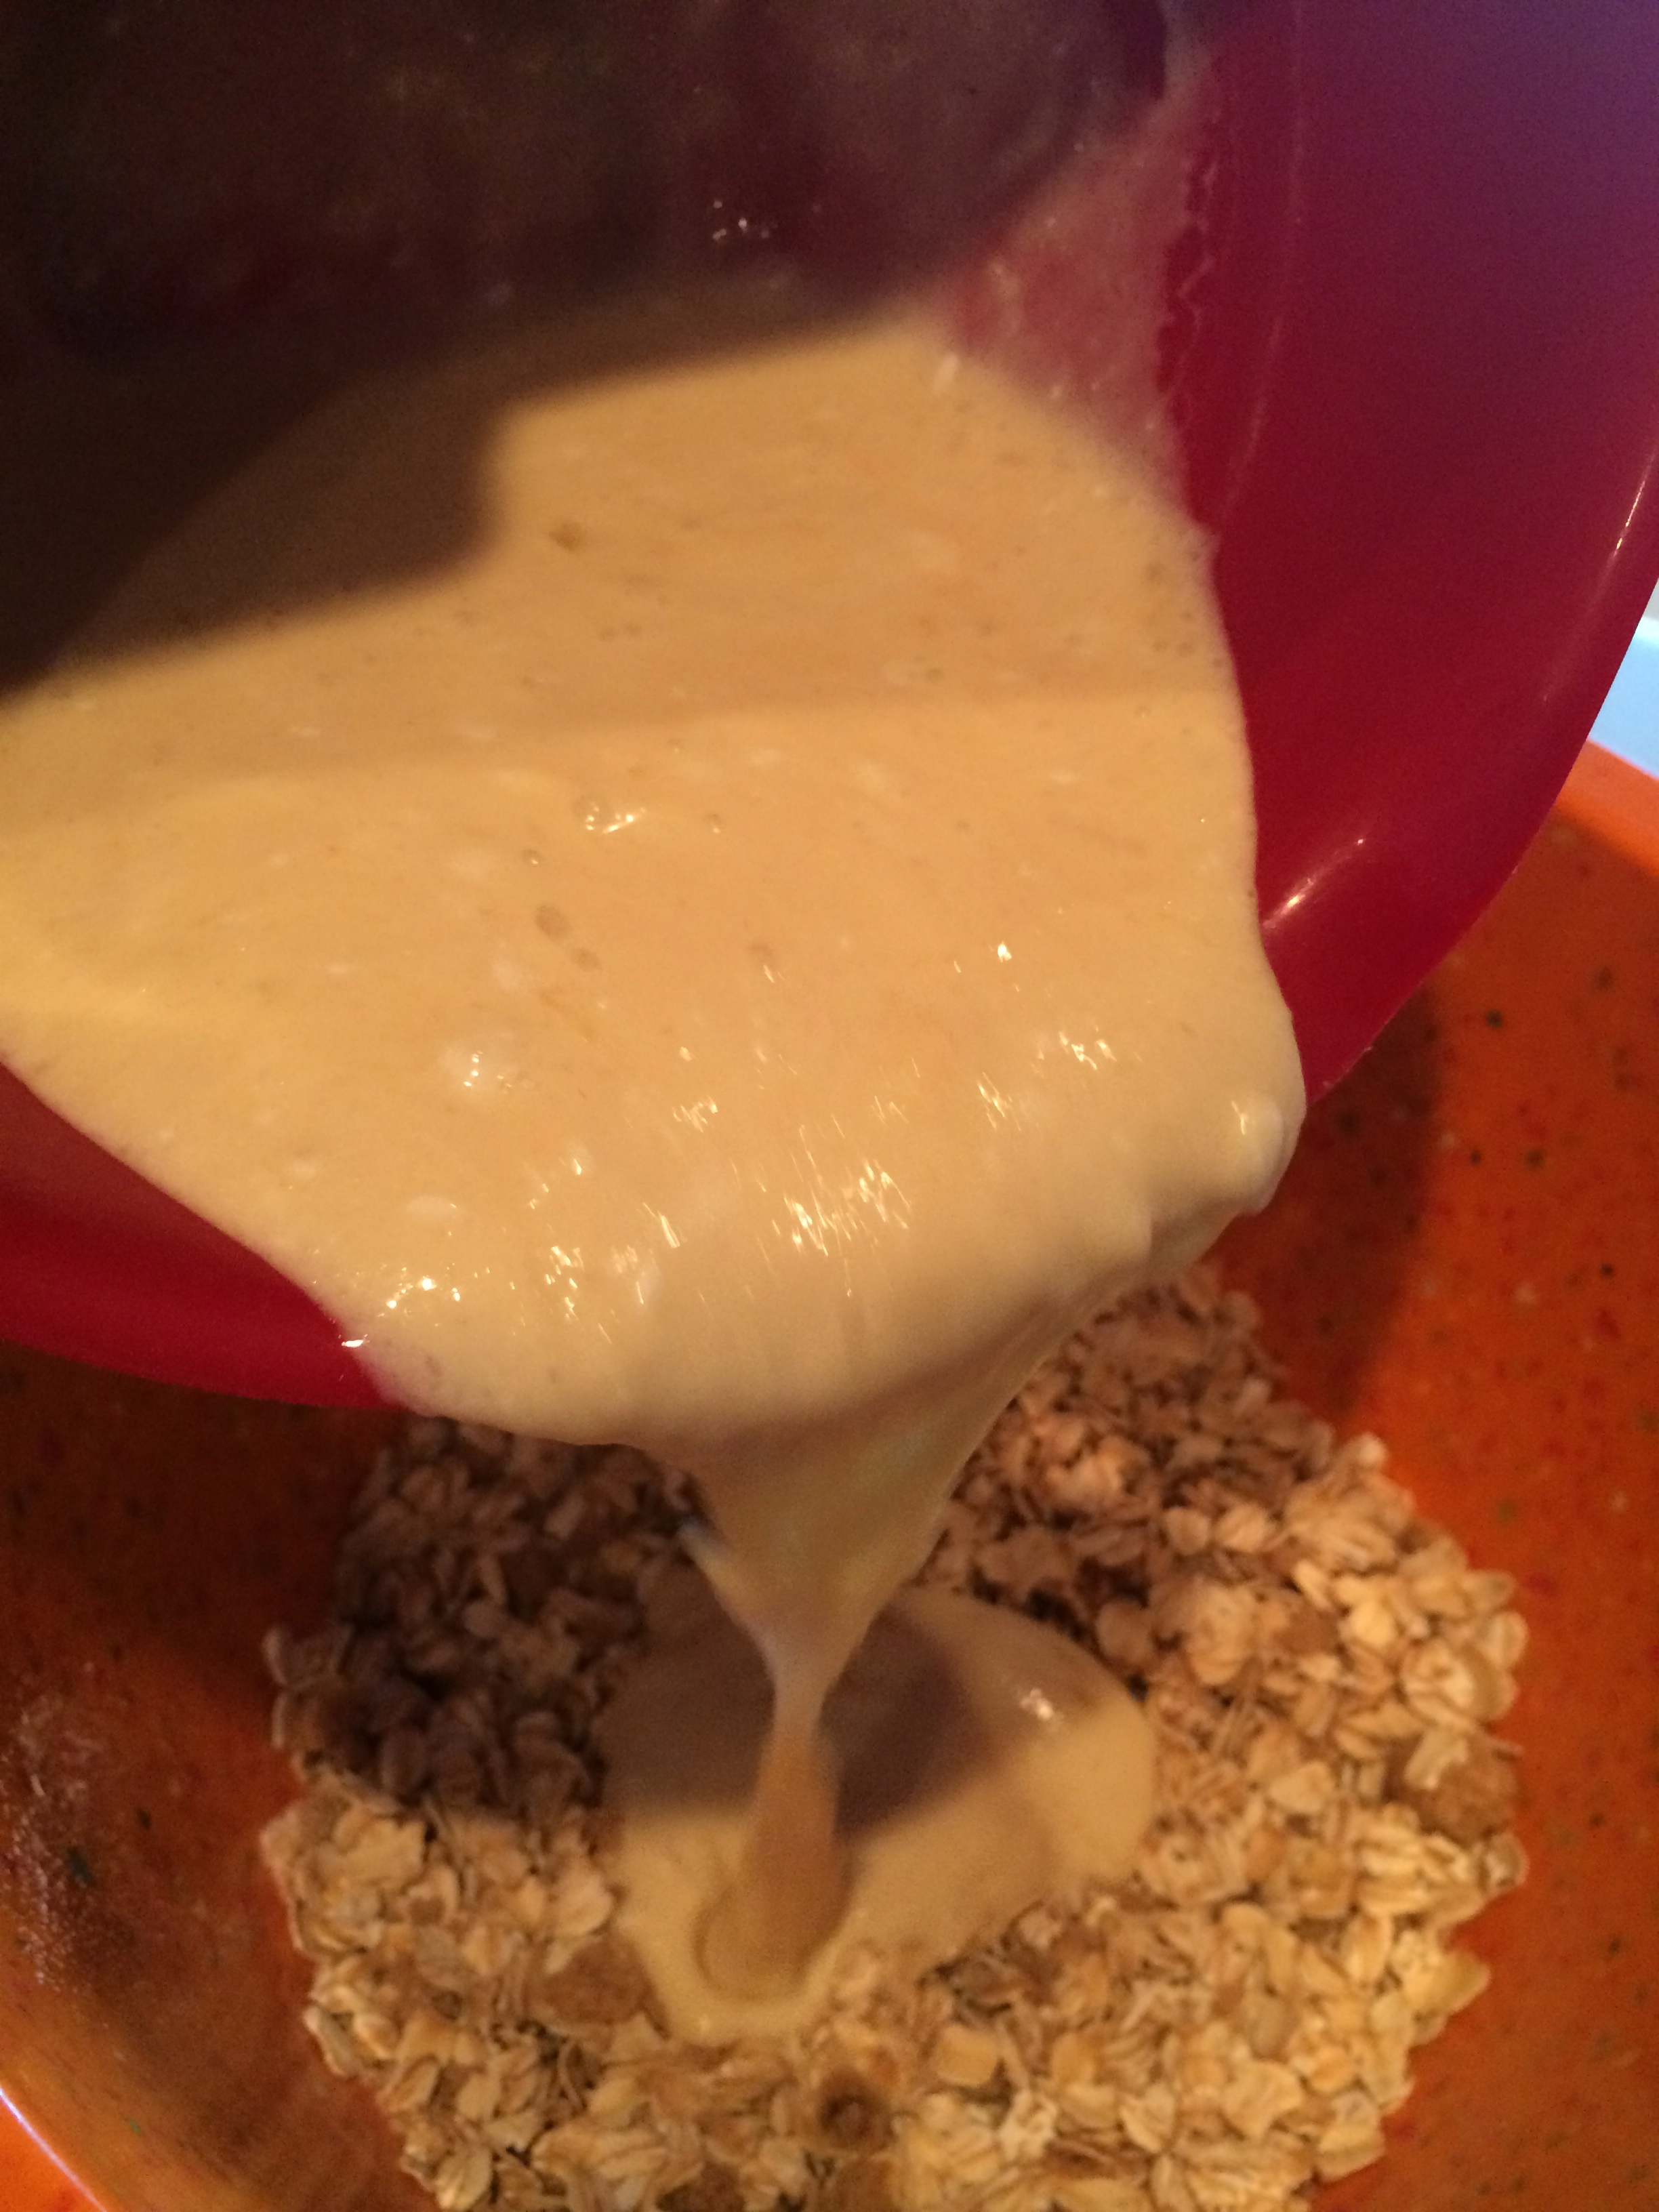
Once it’s at that point, remove from heat and pour it in with the rest of the liquids.

This liquid concoction smells like HEAVEN right now. Take a moment to take a deep breath in and savor that.

Sigh.
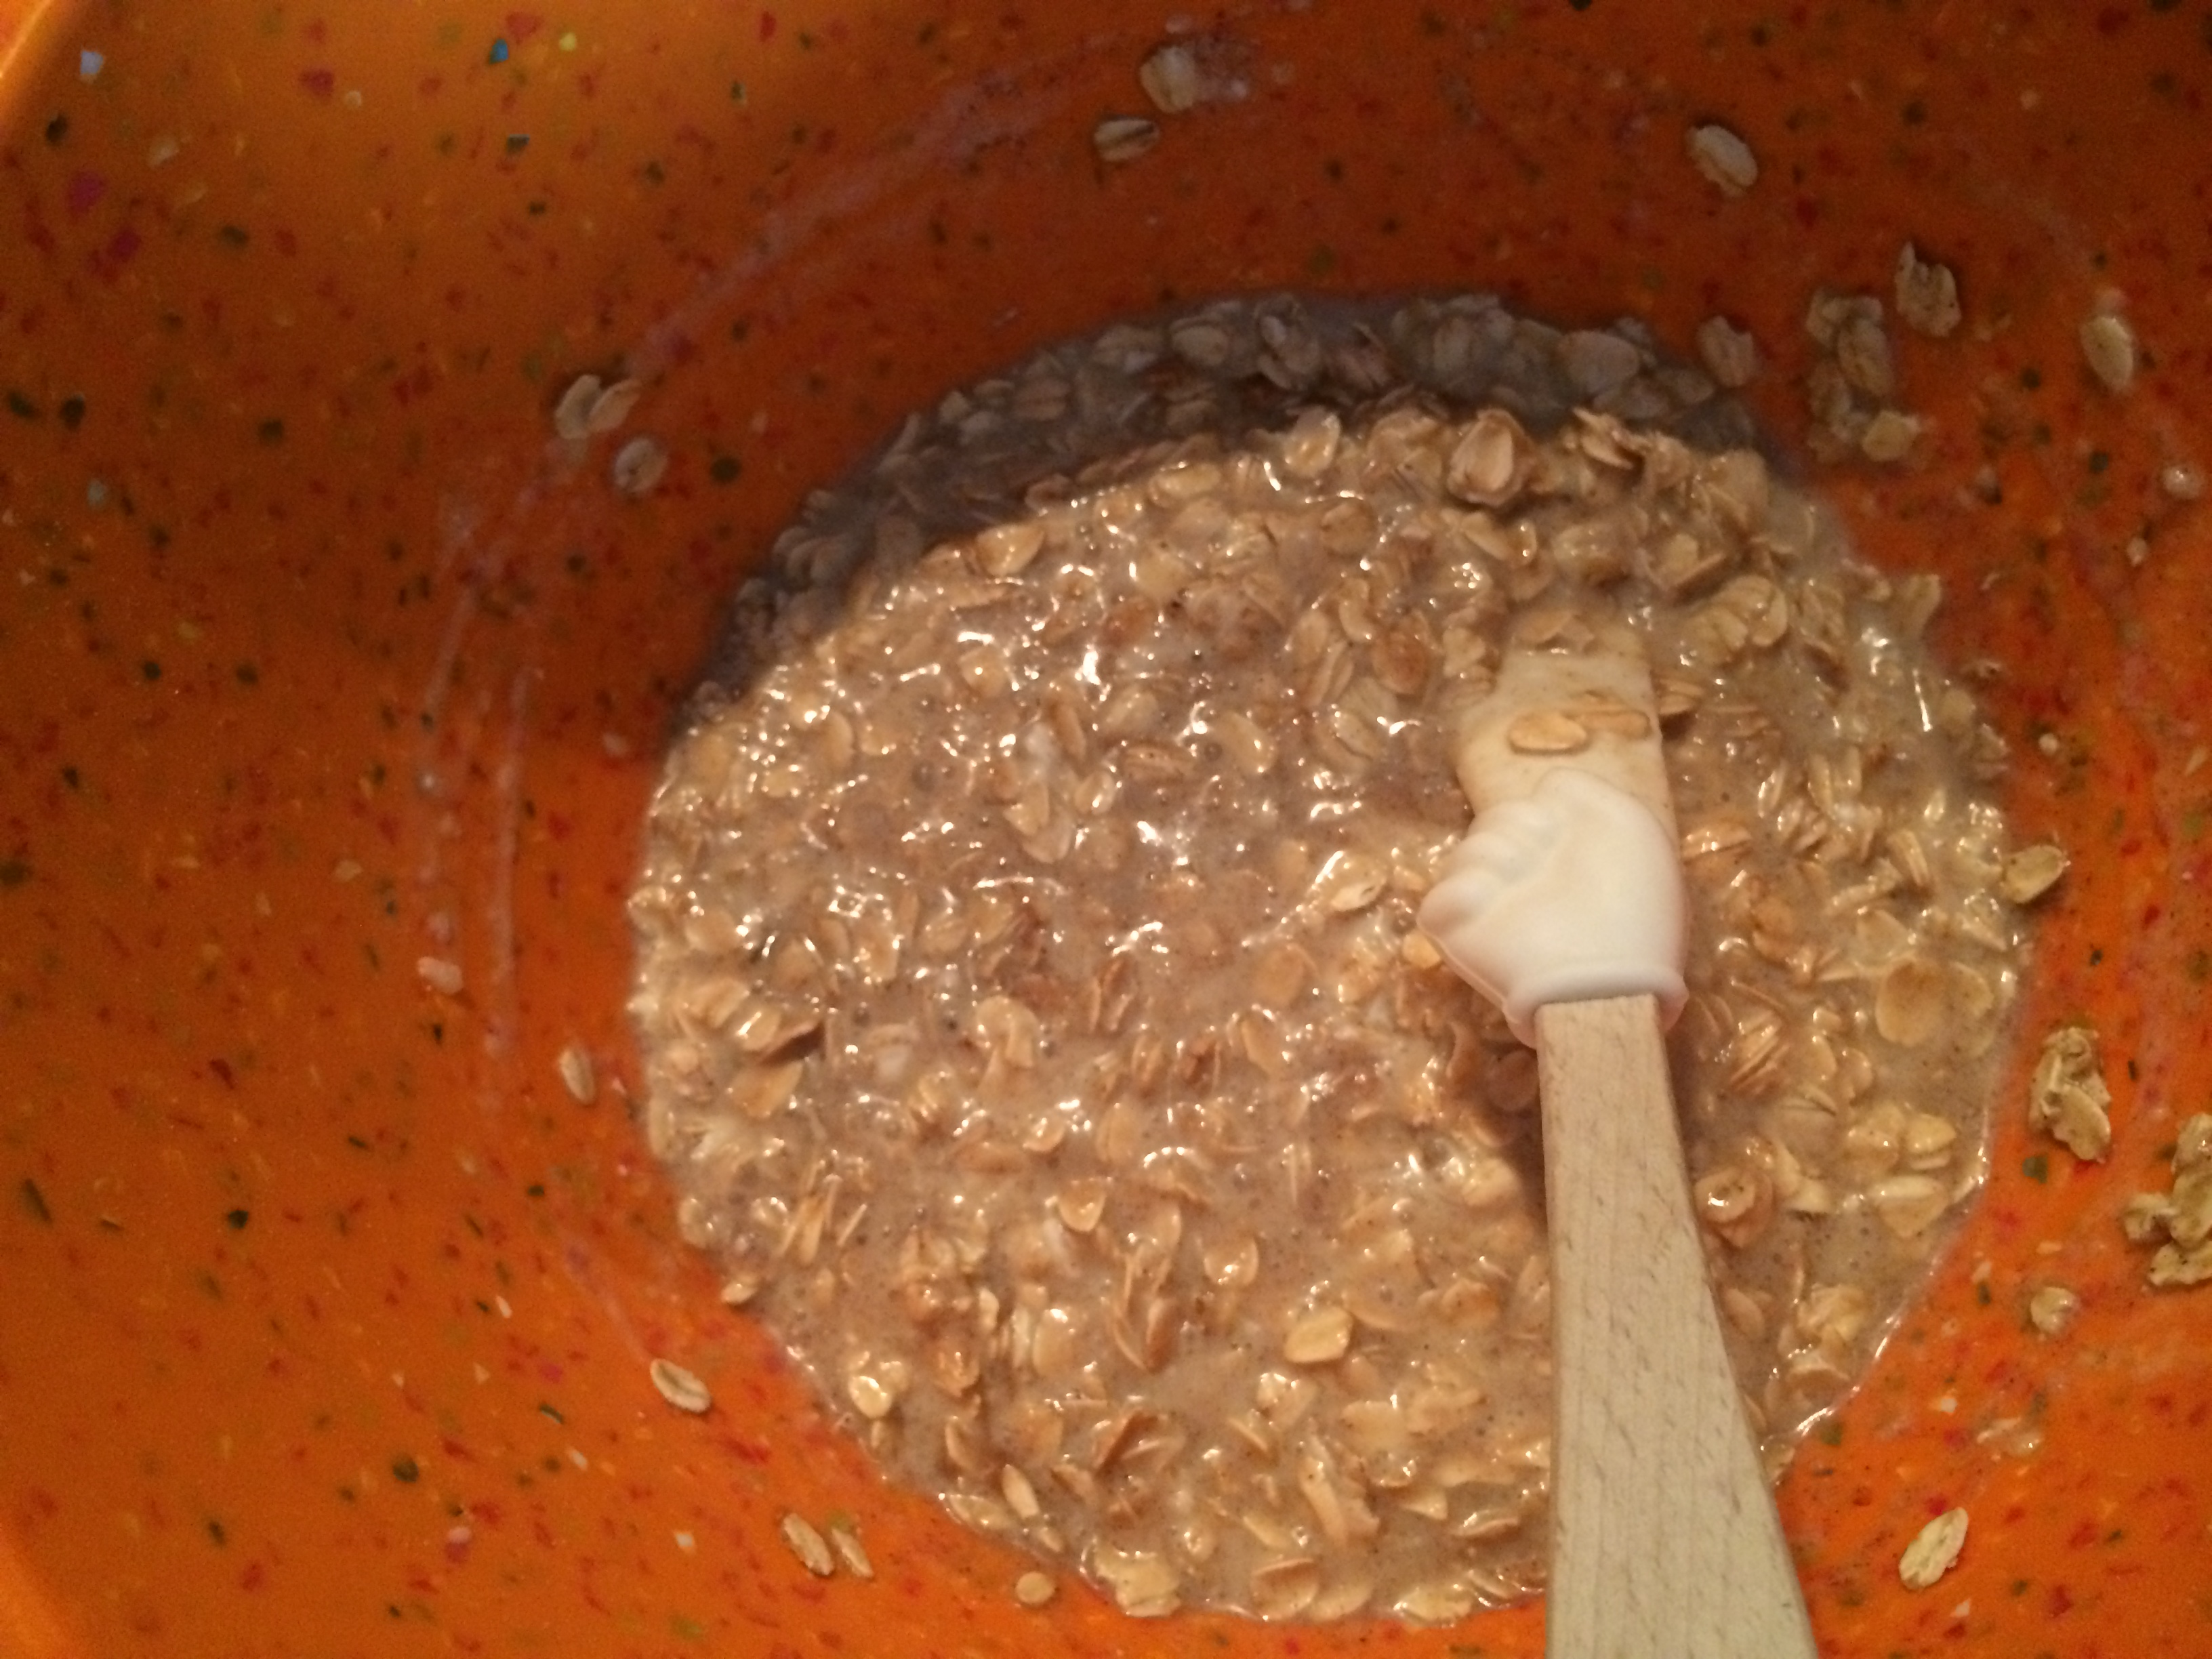
Ok, now all that’s left is to mix up those liquids in with the dry ingredients. Use a spatula to mix everything and ensure all of the dry ingredients are coated.


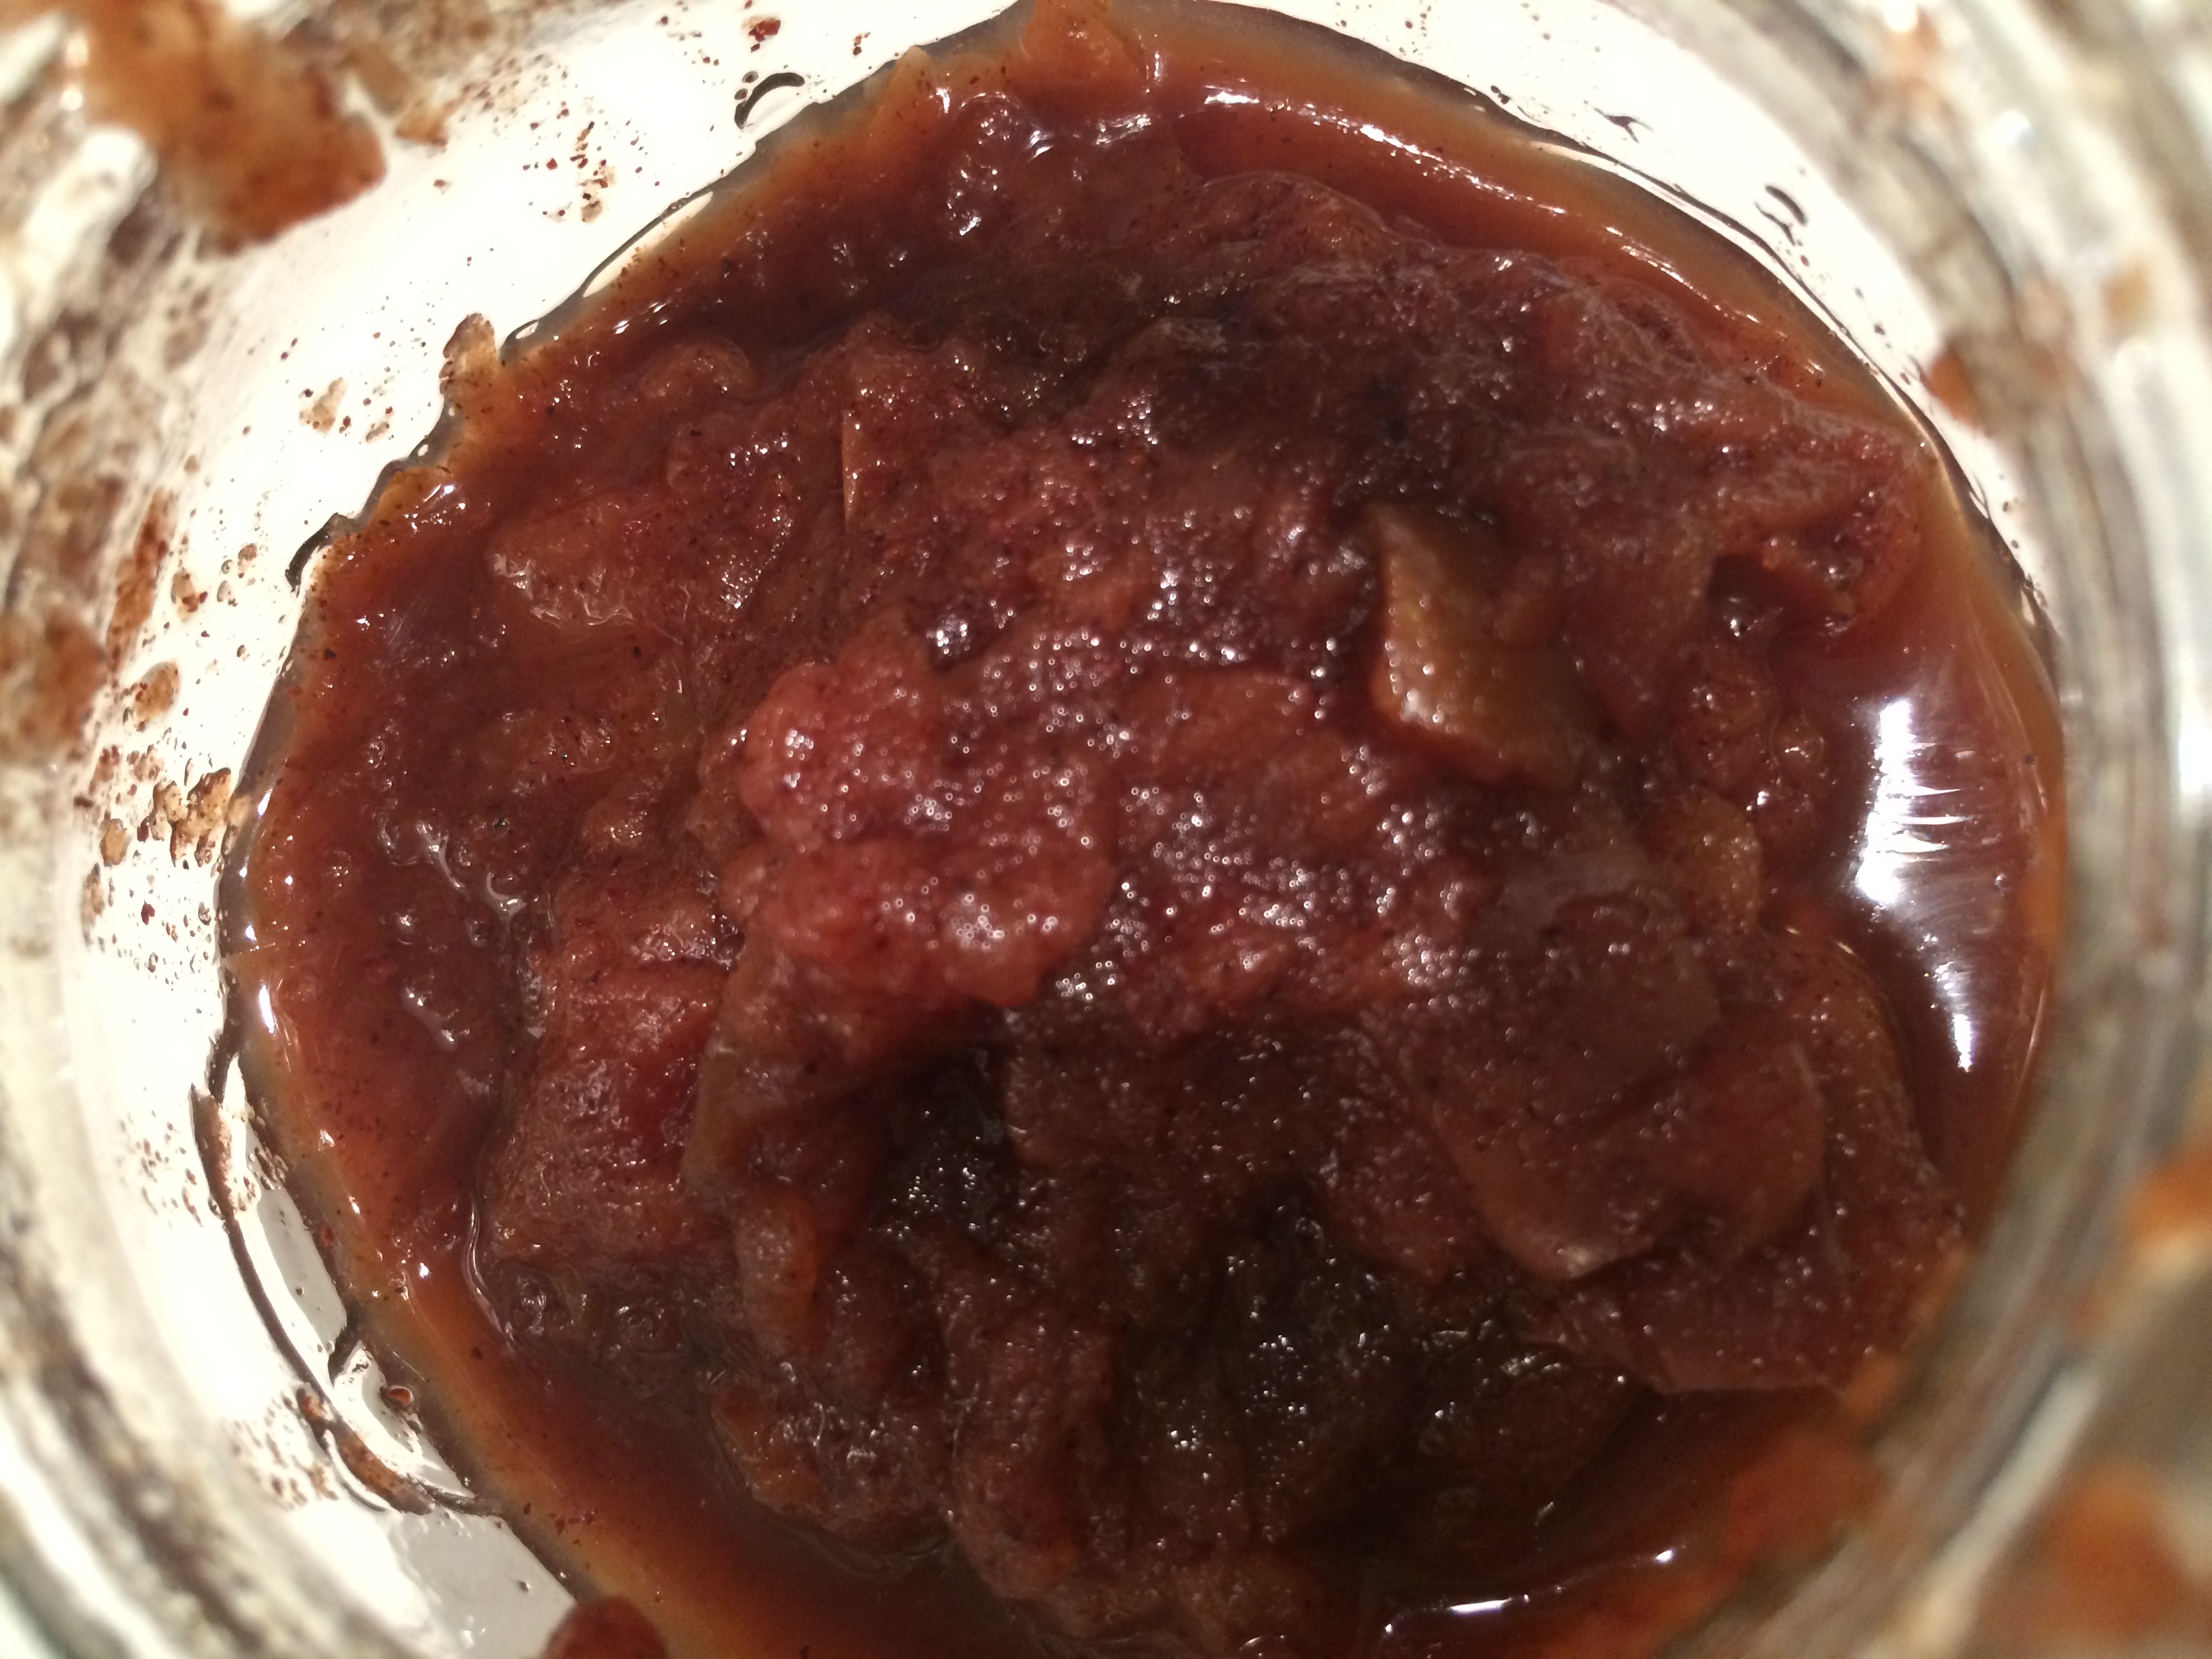
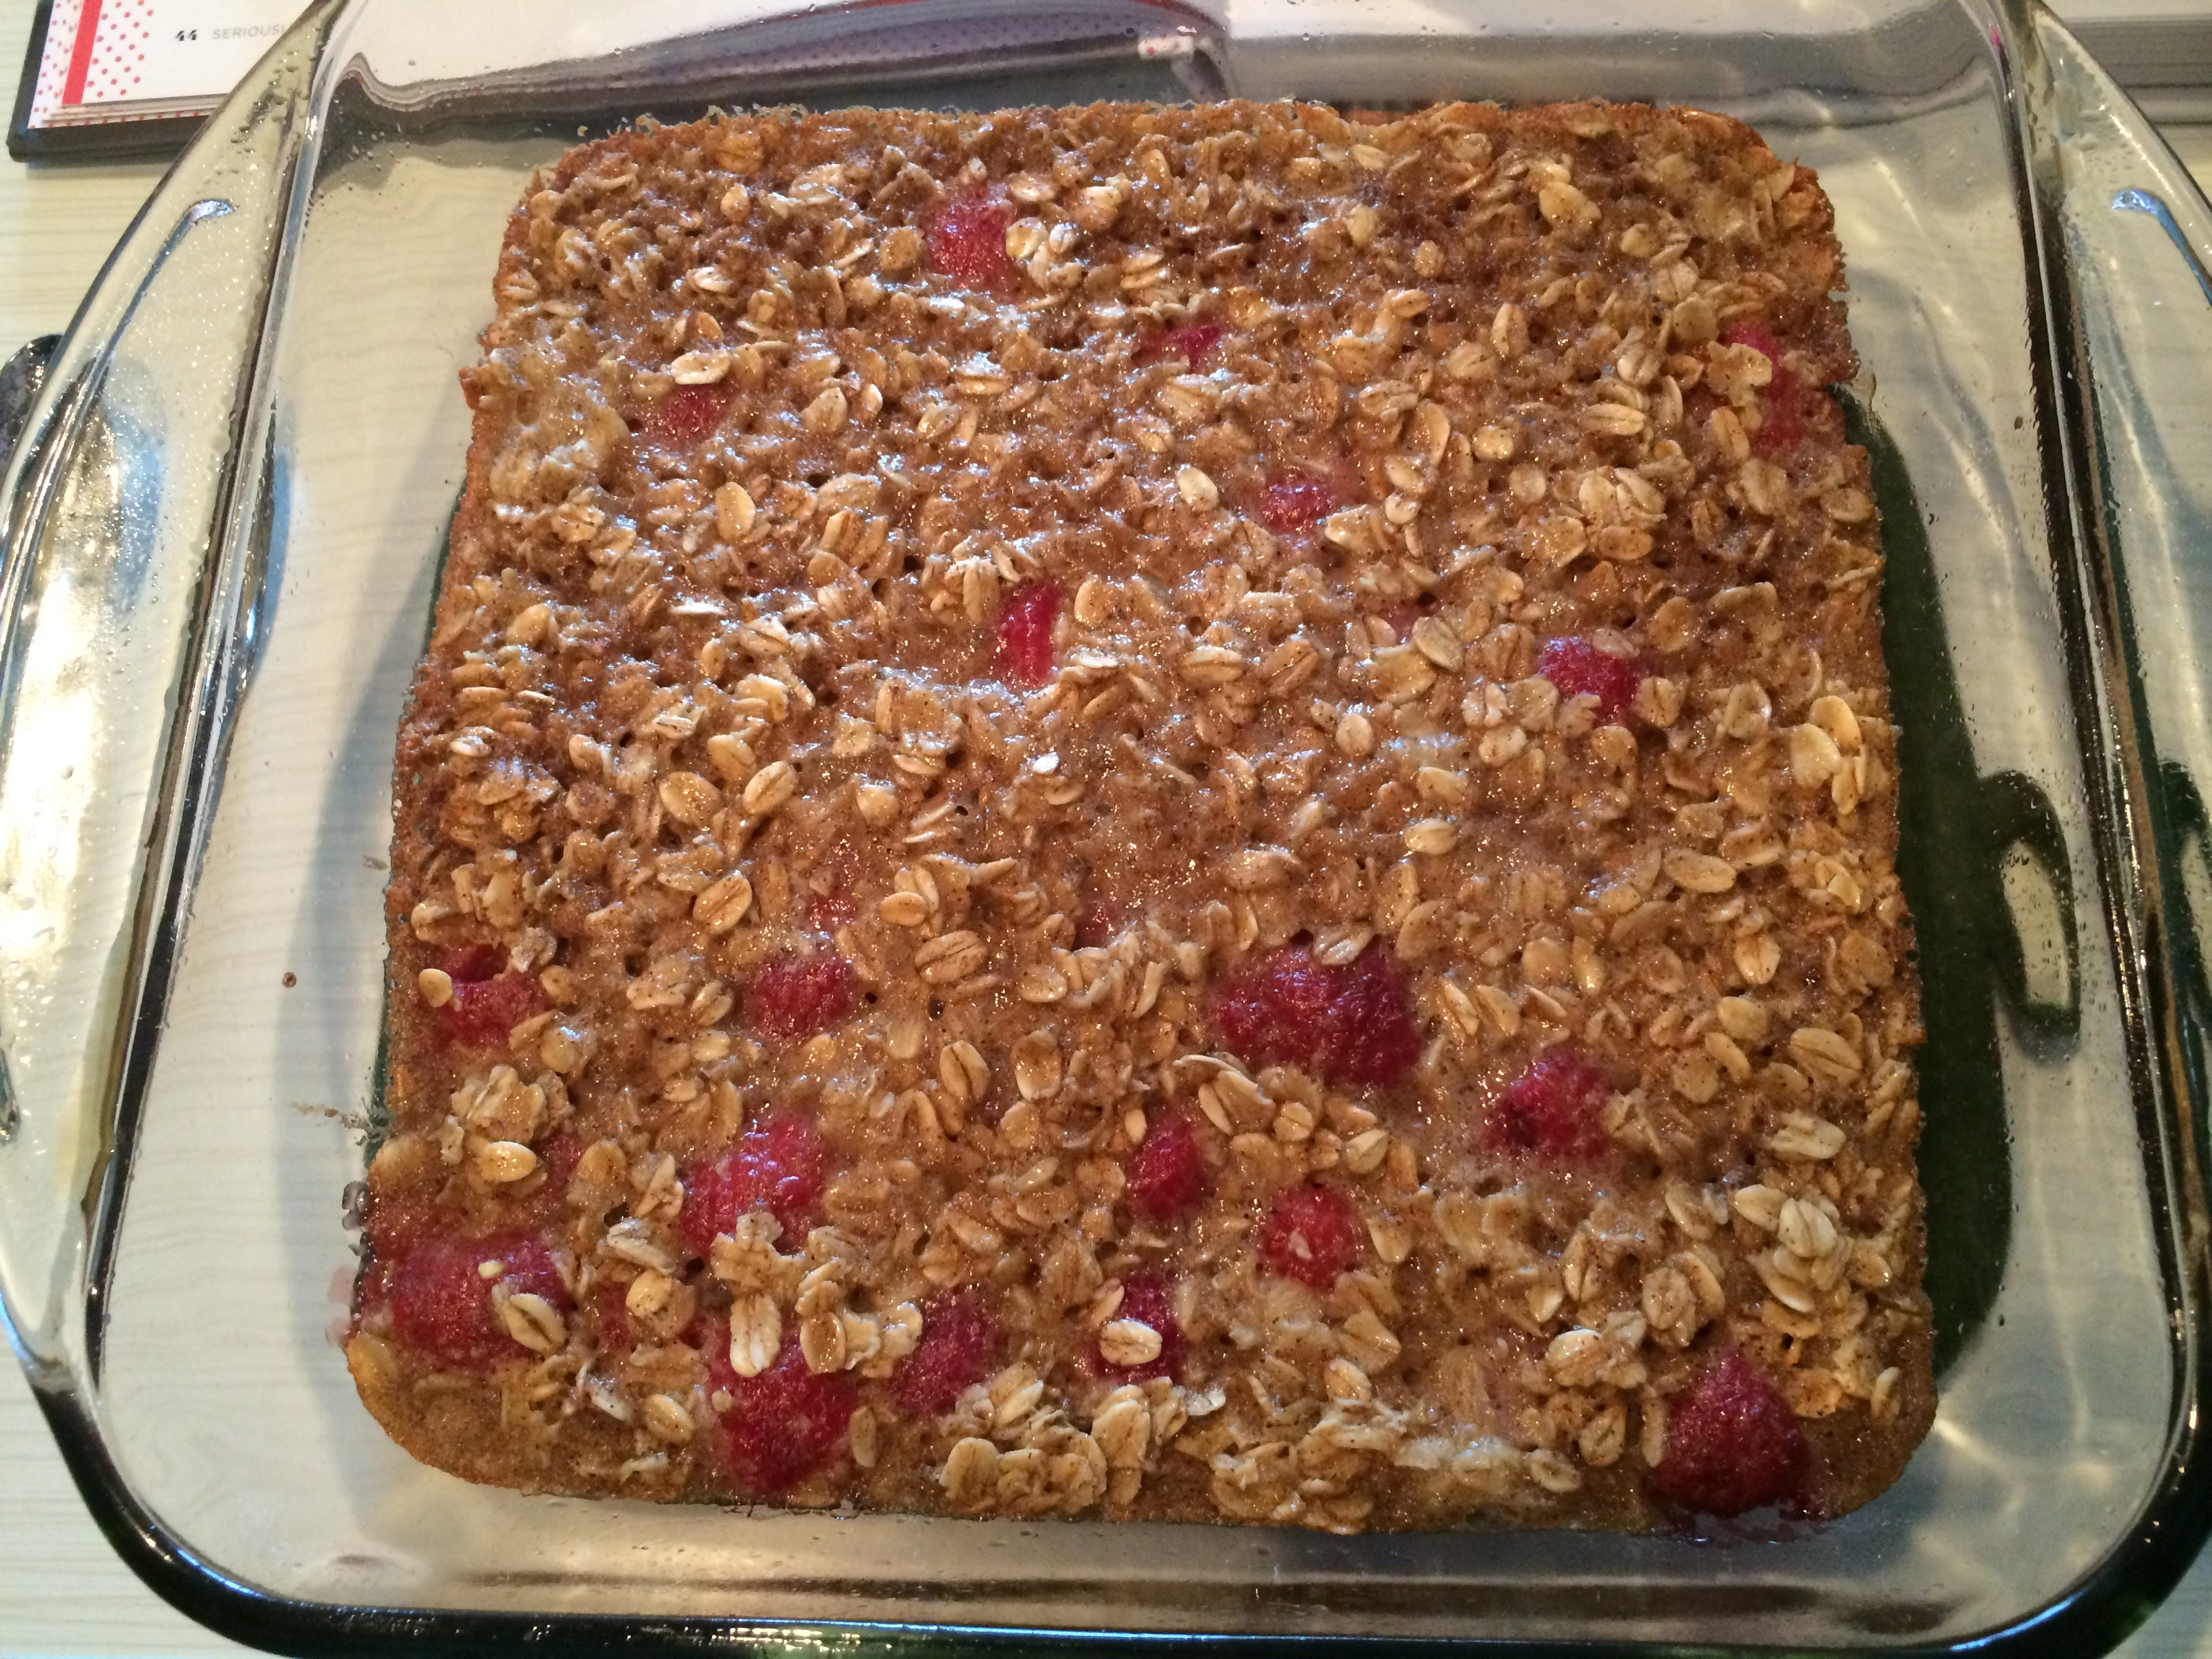
Spread this out on the parchment paper and pop it in the oven. Bake for 3o minutes, stopping to stir at the 10 min, 20 min and 25 min marks. Stir again at the end when you pull it out. The granola should be golden brown and have succeeded in filling your kitchen with delicious smells. (See the pics below to see how this darkens over the cooking time.)


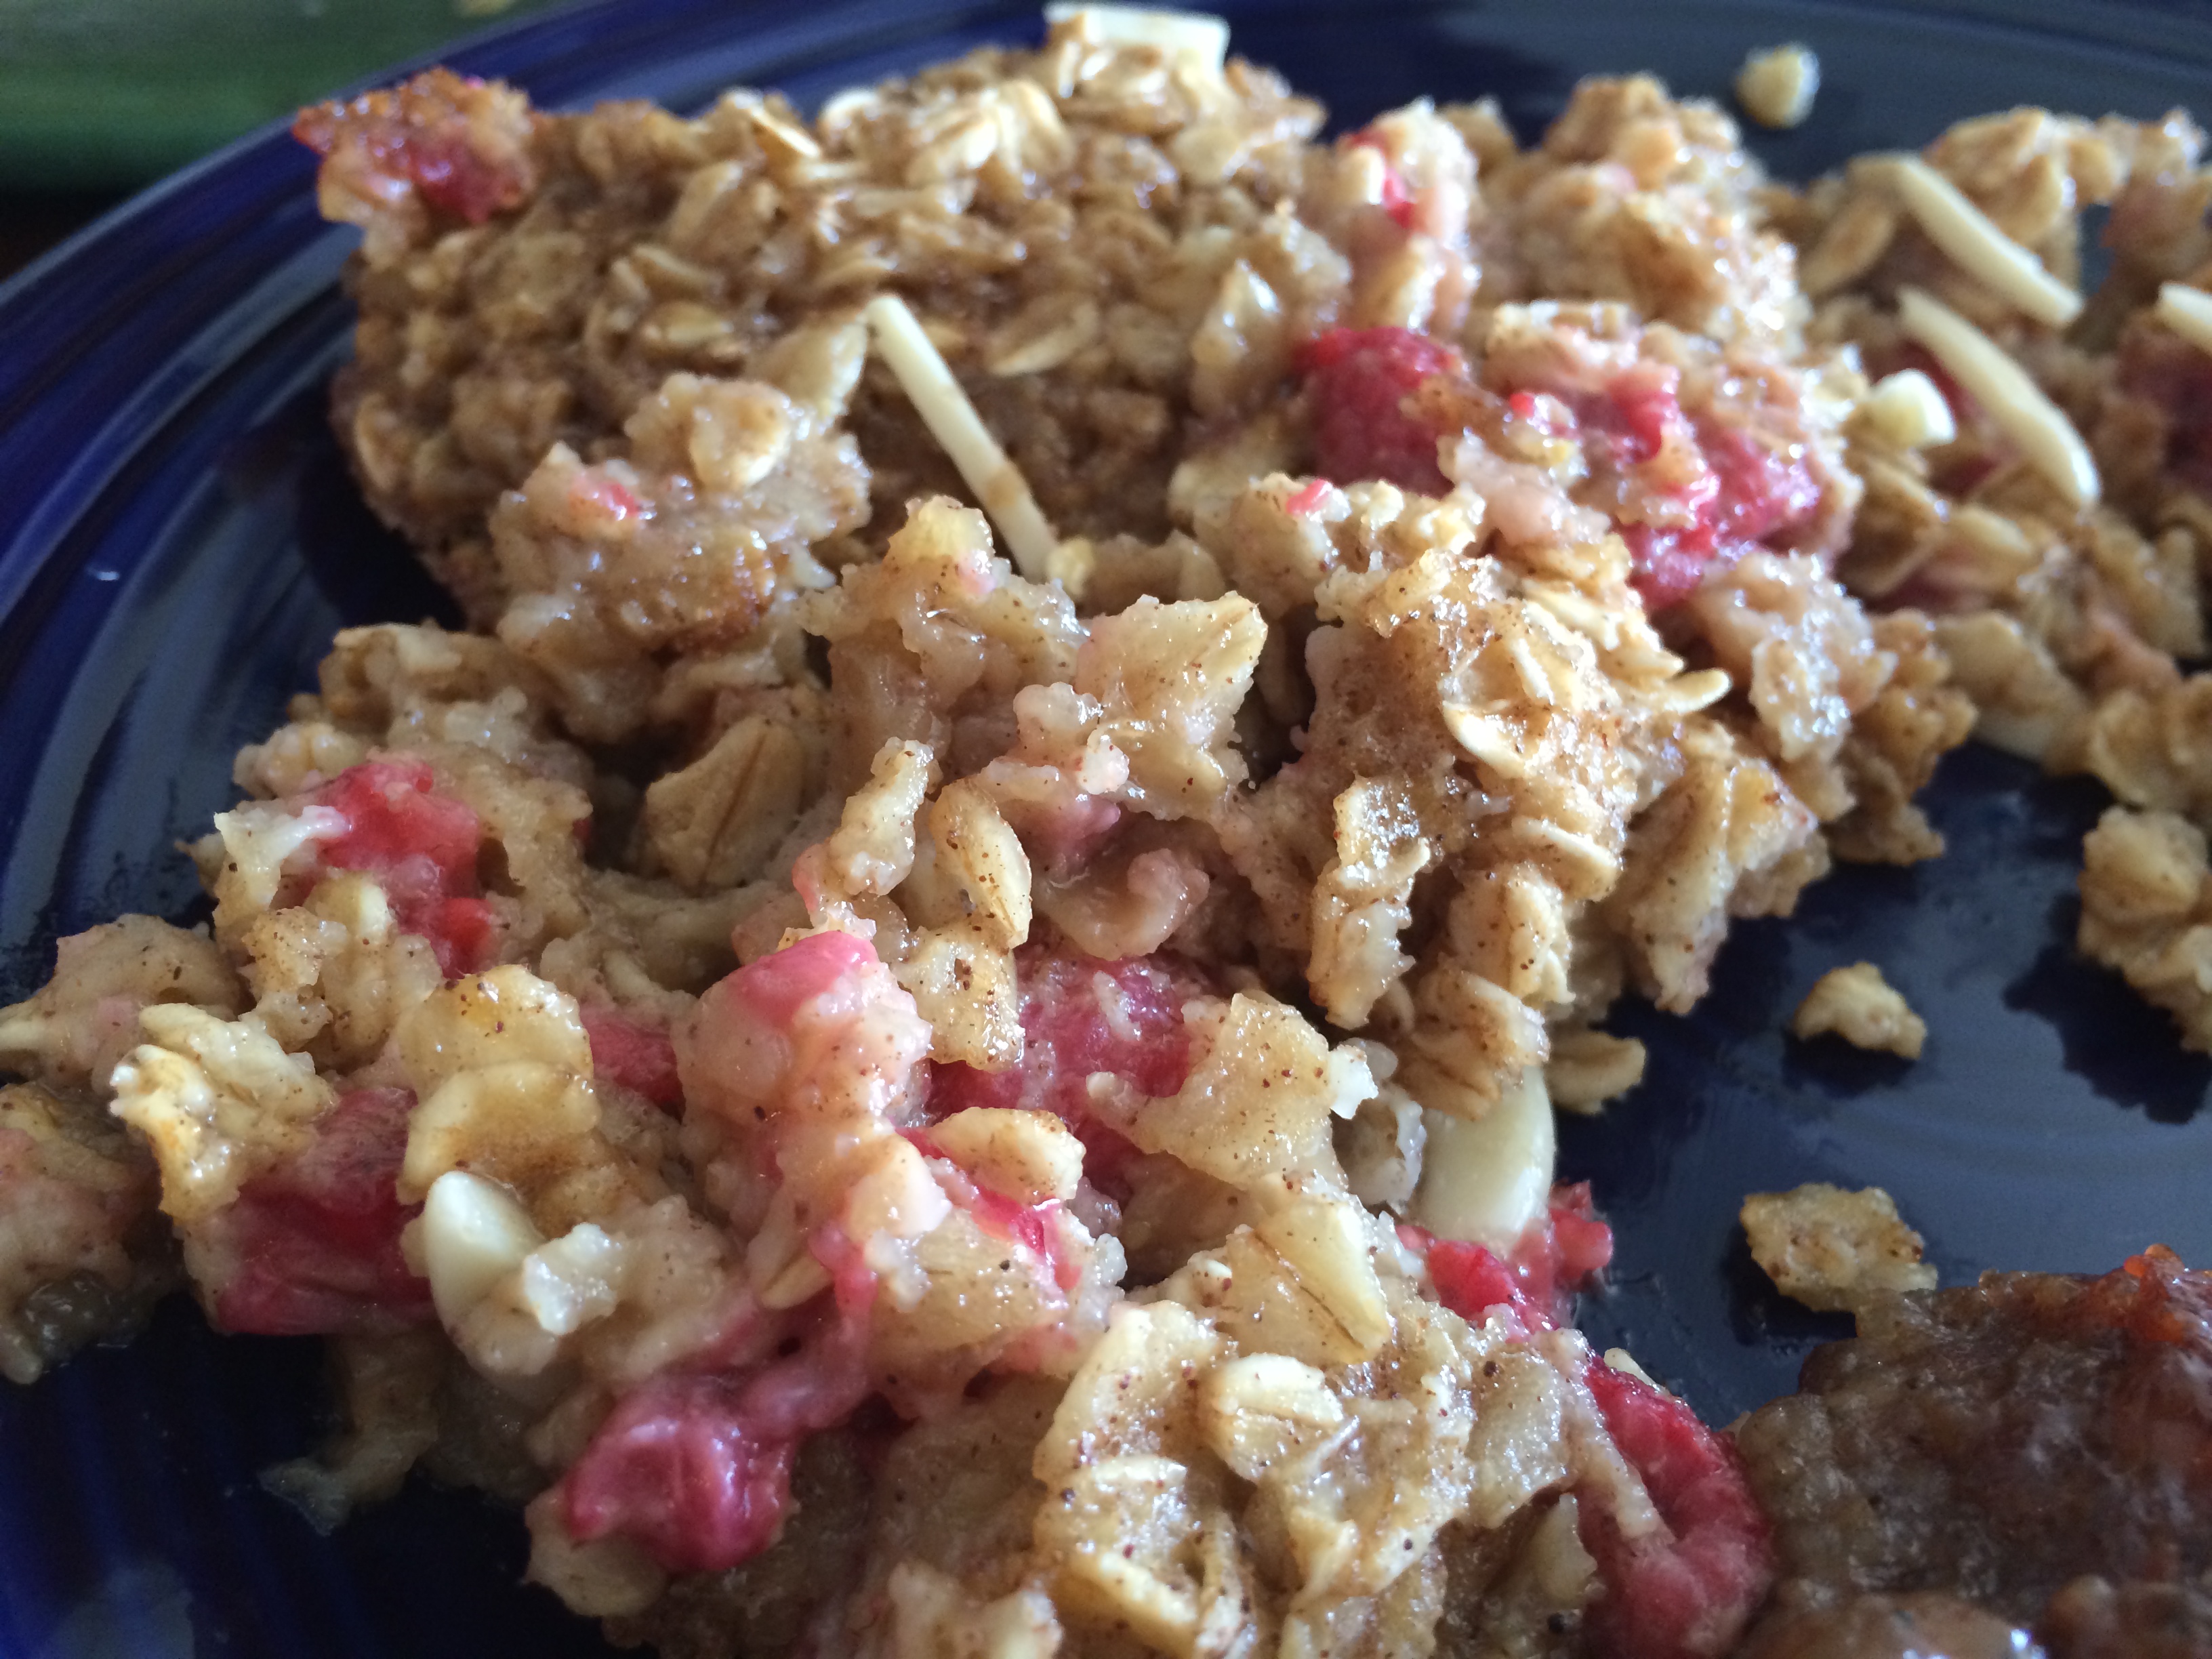
But wait! As you recall, we have one last ingredient to add in…mini chocolate chip time.
Let the granola cool for a bit before sprinkling the chocolate over the top. To cool, I used the parchment paper to lift the granola out of the pan and set the parchment paper on the counter. Once the granola has cooled for about 15 minutes, I sprinkled the mini chocolate chips throughout the granola and let the chocolate melt a bit (as the granola is still warm). But, I let the granola cool for an hour or two with the chocolate chips.


I just scooped this it into Tupperware to store. It’s been delicious on ice cream for a sweet and crunchy dessert or mixed with Greek yogurt for a fancy (but easy) breakfast. It’s also great all by itself for a snack.

Hope you guys give this a try, let me know what you think! And definitely encourage you to get creative and add any other little tidbits to the granola (ideas: spices [nutmeg], nuts [pecans or walnuts], dried fruit, etc.).
To print off this recipe for easy reference in the future, click here


